
How to Cover, Insulate, and Plug a Chimney: A Roofer’s Guide to Stopping Drafts
Ever notice a cold spot in your home that seems to come from the fireplace? I’ve been on hundreds of jobs where that chill was a simple chimney draft, quietly stealing heat and money.
Fixing it is straightforward with the right approach. Here’s my practical breakdown of the three key steps:
- Picking the correct cover or cap for your chimney top.
- Insulating the flue safely and effectively.
- Plugging the fireplace opening to completely block airflow.
Why a Chimney is Your Home’s Biggest Draft Culprit
Think of an unused chimney as a permanent, open window in the middle of your roof. Warm air from your house naturally rises, and that open flue is the easiest escape route. This process, called the stack effect, constantly pulls your heated or cooled indoor air right up and out. Sealing a disused chimney is one of the single most effective air-sealing projects you can do for your home’s efficiency.
The real trouble happens at the critical junctions where the chimney meets everything else. The chimney-to-roof flashing is a complex seam that can leak air long before it shows a water stain. More directly, the flue itself is a wide-open pipe. If it’s not capped or plugged, it’s a direct highway for conditioned air to vanish.
You can often feel this waste happening. Common signs include a persistent cold draft coming from the fireplace, a noticeable drop in room temperature near the hearth, and unexplained spikes in your heating bill. You might also find moisture or musty smells in the firebox, which is damp outside air condensing inside your chimney (chimney drafts can cause these issues).
By sealing the chimney, you stop this constant air exchange. Your attic stays at a more stable temperature, which reduces strain on your HVAC system. Your furnace or air conditioner doesn’t have to work as hard to replace the air you’re losing, so you use less energy.
The Anatomy of a Chimney Draft
Picture your chimney flue like a giant soda straw stuck through your roof. When the wind blows across the top, it creates suction, pulling air up from your house. Even on a calm day, the temperature difference between your warm house and the cold outside causes air to flow upwards. This isn’t a small leak; it’s a designed airway that’s working against you when it’s not in use.
The draft feels different depending on your chimney type. A traditional brick chimney draws air through tiny cracks in the mortar (the parging) inside the flue and through the porous bricks themselves. A prefabricated metal flue system is tighter but can draft air through seams in the pipe sections or where it connects to the firebox.
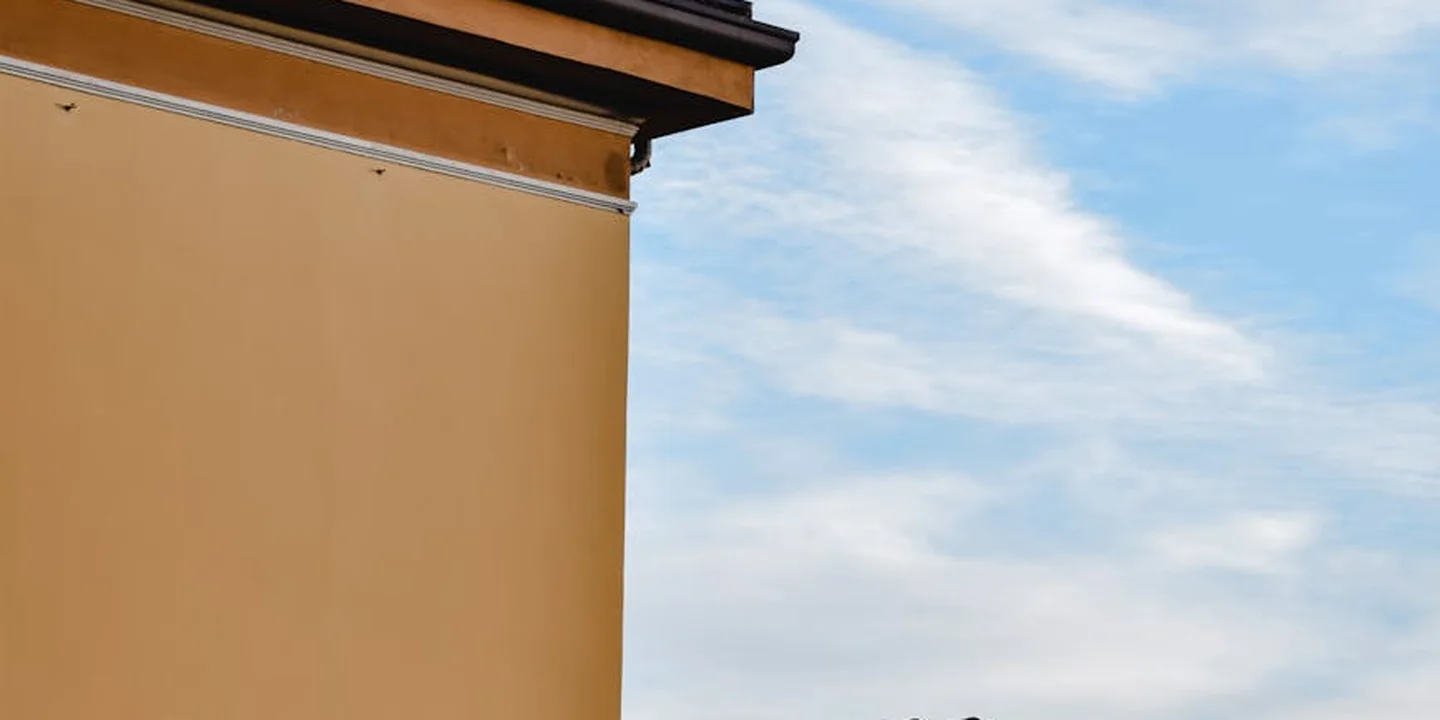
Where the Cold Gets In: Flashing, Crown, and Flue
Focus your inspection on these three key areas. First, the chimney crown is the cement “lid” on top of the brick stack. If it’s cracked, water and air pour in. Next, look at the mortar joints between the bricks. Deteriorated, crumbly mortar is like having gaps in your wall. Finally, the roof flashing is the metal skirt that seals the chimney to the shingles. If it’s rusted, bent, or poorly sealed with caulk, it’s a major entry point.
What You’ll Need: Tools and Materials for the Job
What materials you need depends on whether you’re working from the rooftop (sealing the top) or from the attic (plugging the flue inside). Here’s a breakdown to answer that question directly.
For long-term durability, choose galvanized or stainless steel over plain steel for metal parts. For sealing, a high-quality, UV-resistant sealant made for masonry will last years longer than a cheap caulk.
For Covering the Top: Flue Caps and Chase Covers
To cover a chimney flue, a stainless steel flue cap is the standard, reliable choice. It bolts over the flue tile to keep out rain, animals, and downdrafts. Copper tops are a premium, longer-lasting option that develops a handsome patina. For prefab metal chimneys with a metal chase, a custom-fitted chase cover is the proper solution to seal the entire top.
Most local building codes require any flue cap on a wood-burning chimney to have a mesh spark arrestor. This is a critical safety feature that prevents embers from escaping. These rules are part of the broader chimney flue building code requirements for residential houses. Knowing them helps with permits and inspections.
For Insulating and Plugging: From the Attic Side
Yes, you can and should insulate around a chimney chase in the attic, but you must do it safely. You can use spray foam around a chimney, but only specific, fire-blocking formulations designed for this purpose. Never let standard spray foam or other combustibles touch a hot flue pipe.
The safer, recommended method is to use non-combustible insulation like rigid mineral wool board. You can cut it to fit snugly around the chimney chase and seal the edges with caulk. Keep all insulation, especially fiberglass batts, at least one inch away from a metal flue liner to prevent a fire hazard. This distance is crucial for safety and performance requirements.
The best way to plug the flue itself from below is with an inflatable chimney balloon. It seals the opening tightly but is removable. For a permanent seal, a rigid foam plug cut to size and wrapped in a fire-retardant foil blanket works well.
Essential Safety and Sealing Gear
Your personal safety is the first priority. This means a proper roof safety harness tied to a secure anchor, a sturdy extension ladder with stabilizers, heavy-duty gloves, and safety glasses. Roof work is no place for shortcuts.
For the sealing work, you’ll need a few key materials. Have a high-temperature silicone caulk for sealing metal flue caps. Use a flexible, elastomeric flashing sealant for the chimney flashing joints. For repairing brick mortar, you’ll need a bag of type N mortar mix and a trowel. Aluminum flashing tape is also useful for sealing seams in the attic.
The Roofer’s Method: Covering, Insulating, and Plugging Step-by-Step
This is the hands on process I use on every job. Follow these steps in order.
Step 1: The Pre-Work Inspection (From the Ground Up)
Never climb up before looking up. Start your inspection from the ground with a good pair of binoculars.
Your goal here is to spot any major problems that could make the job unsafe or pointless.
- Scan the chimney for cracks in the bricks or mortar. Even hairline cracks can let in water.
- Look at the metal flashing where the chimney meets the roof. Is it bent, rusted, or pulling away? This is a common leak source.
- Check the top of the chimney for bird nests, leaves, or other debris blocking the flue.
Most critical, figure out what that chimney is for. Is it connected to a fireplace you never use, or is it venting a furnace or water heater? If any gas appliance uses that flue, do not seal it completely. You could trap deadly carbon monoxide in your home.
Inside the House: Checking the Firebox and Damper
Now, go inside. Open the fireplace damper and shine a flashlight up.
- Does the damper open and close smoothly? It must seal tightly when closed to stop drafts.
- Look for piles of soot or animal nests inside the firebox. These need to be cleaned out before you do anything else.
I once showed up to a job where the homeowner didn’t check this. A family of raccoons had made a home in there. We had to stop everything and call wildlife control.
Step 2: Cleaning and Prepping the Chimney
This step answers the question, “How do I prepare the chimney for covering?” Good prep is 80% of a lasting seal.
If the flue is dirty, hire a professional sweep. For basic debris on the chimney crown, you can carefully brush it off.
For brick or block chimneys, the surface must be clean, dry, and sound before you apply any sealant. Use a wire brush to scrub off loose mortar and dirt. If there’s moss, a mix of water and mild detergent works. Let it dry completely for a full day.
Step 3: Installing the Exterior Cover
A proper chimney cap is your first defense against rain and animals.
To cover a brick chimney top, measure the flue liner’s outside dimensions and get a stainless steel cap that fits snugly over it. Make sure to properly install the chimney liner before securing the cap with the provided screws, ensuring it’s level.
Covering a block chimney uses the same principle, but the cap often needs to be sized for the entire chimney crown. The key difference is ensuring the cap’s base seals flush against the flat concrete surface.
Flashing is non negotiable. The cap should integrate with or sit above the existing chimney flashing. Never screw or sealant directly onto the main roof flashing. You could create a water trap. Think of the flashing as the chimney’s raincoat; the cap is just the hat.
Step 4: Insulating and Plugging from the Attic
This is where you stop the drafts. Always work from the attic, not the roof, for this part.
First, answer “How do I properly insulate a chimney?” Safety is key. The chimney flue gets hot. You must maintain a clearance of at least 2 inches between any insulation and a metal flue liner.
- Use non combustible insulation like rock wool bats. Fit them around the wooden chimney chase frame, but keep that air gap from the flue itself.
- Never, ever spray expanding foam directly onto a flue. I’ve seen it melt and smoke, creating a real fire hazard.
For plugging the flue itself, an inflatable chimney balloon is the best way. Here’s how:
- Measure the flue’s width at the damper level.
- Insert the deflated plug up into the flue, above the damper.
- Inflate it according to the instructions until it’s snug.
- Seal the edges around the plug’s sleeve with foil tape to block any tiny air gaps.
Remember my warning from Step 1: if that flue vents a furnace, water heater, or could in the future, do not use a permanent plug. An inflatable one you can remove is your only safe option.
Step 5: The Final Weatherproof Seal
How do you ensure the cover is weatherproof and secure? You test it.
Back on the roof, run a bead of high quality, UV resistant masonry sealant around the base of the chimney cap where it meets the crown. Seal any screw heads or seams.
The best test is a simple water check. Have a helper inside the attic with a flashlight while you gently run a garden hose over the chimney top and flashing for a few minutes. Look for any drips or moisture in the attic around the chimney. Finding a leak now saves a major repair later.
Safety on the Roof: Codes, Hazards, and When to Stop
This section directly answers the question, “Are there any safety considerations or building codes I need to follow?” The short answer is yes, many.
Chimney work is often a pro only task. If your roof is steep, high, or you have any doubt, hire a licensed contractor.
- Roof Pitch: A low slope roof is one thing. A steep pitch is a falling hazard that requires special equipment and training.
- Power Lines: Be acutely aware of any overhead lines near the chimney. Aluminum ladders and long tools can conduct electricity.
- Falling Hazards: You are not just risking yourself. Dropped tools can injure people or damage property below.
The Non-Negotiables: Personal Protective Equipment (PPE)
On my crew, this rule is absolute. If you go on the roof, you must wear:
- A properly anchored roof safety harness.
- A helmet to protect from falls and bumps.
- Rubber soled, non slip shoes with good tread.
Regular sneakers on roof shingles are like walking on ice. It’s not worth the risk.
Building Code Red Flags You Must Know
Local codes vary, but some rules are universal for fire safety.
You must maintain specified clearances between chimney materials and any wood framing or insulation. This is to prevent heat from starting a fire inside your walls.
Blocking the exhaust for a gas appliance violates building and safety codes. It creates an immediate carbon monoxide danger. Always verify what is venting before you plug.
Many areas require a permit for chimney modifications. A pro will know this and handle it. Doing work without a permit can void your home insurance if something goes wrong.
Common DIY Mistakes That Cause Big Problems
I’ve been called to fix these errors more times than I can count.
- Spray Foam on the Flue: As mentioned, this melts. We had to chisel out a solid, smoky mass from one chimney. It was a mess.
- Creating a Moisture Trap: Sealing the top cap without proper flashing integration can direct water behind the bricks. This leads to interior leaks and rot.
- Compromising Structural Flashing: Never nail or screw into the main roof flashing to secure a cap. You puncture the water barrier. Always attach to the chimney masonry itself.
The biggest mistake is not knowing when a job is beyond your skill level. There’s no shame in calling a professional. A botched chimney seal can lead to water damage, mold, or worse, a fire. Your safety and your home’s integrity come first.
Knowing Your Limits: When to Call a Professional Chimney Sweep or Roofer
My best advice after decades on roofs is to trust your gut. If you feel uneasy on a ladder or looking at the chimney from the ground, that’s your first sign to call a pro. I’ve trained many new crew members, and the first rule is knowing what you can handle safely in a single afternoon. A straightforward cap replacement on a low, simple roof is one thing. A full chimney plug and insulation job on a steep, tall roof is a different beast entirely.
Some jobs are almost always professional territory. A high-pitched or complex multi-level roof is a major fall hazard. If your chimney has multiple flues or pots, sealing them correctly is a precise task. Significant masonry repair, like repointing crumbling mortar or fixing large cracks, requires specific skills and materials. Getting it wrong can trap moisture and cause faster deterioration.
A professional assessment should give you a complete plan for a code-compliant, long-lasting fix, not just a quick plug. They will look at the entire system: the chimney crown, the flashing integration with your roof, the flue liner condition, and what appliance the chimney serves. This full-picture view is what prevents future leaks, drafts, and safety hazards.
Signs This Job is Over Your Head
Look for these clear red flags. They mean it’s time to pick up the phone, not a tool.
- Extensive Flashing Damage: If the metal where the chimney meets the roof is heavily rusted, bent, or has large gaps, it’s a primary leak source. Proper repair often involves lifting surrounding shingles and integrating new flashing, which is core roofing work.
- Cracked Chimney Structure: Vertical cracks in the brick or stone, or a crumbling concrete crown (the top slab), are structural concerns. Sealing a flue inside a damaged chimney is a waste of time and money.
- Uncertainty About Appliance Venting: You must know what fuel (gas, oil, wood) each flue serves. Plugging an active gas water heater vent is dangerous and can lead to carbon monoxide backup into the home.
- Any sign of interior water damage on the ceiling or wall around the chimney breast. This points to a leak that may start far above where you see the stain.
What to Expect from a Professional Service
Hiring a certified chimney sweep or a licensed roofer with chimney experience should be a process, not a mystery. Here is what a proper service looks like.
First, they perform a thorough inspection, often with a camera for the flue interior. They identify all issues: flue condition, crown damage, flashing integrity, and mortar health. Next, they provide a detailed written estimate that separates necessary repairs (like new flashing) from optional upgrades (like a top-seal damper). The work itself should address all components. This means repairing masonry, replacing flashing, and then installing the appropriate insulation plug and cap for your specific chimney type.
A proper job will include a warranty on both materials and labor, and the technician should explain the work performed before they leave. Compare this to the risk of a DIY error: a small mistake in sealing can cause moisture entrapment and accelerated rot, or a poorly secured cap can become a wind-borne projectile. The cost of fixing a professional’s work is on them. The cost of fixing your own mistake, plus any subsequent water damage, is all on you.
Quick Answers
How do I prepare the chimney for covering, beyond just cleaning?
Address any mortar damage first. Use a wire brush to remove loose material, then repoint cracked joints with type N mortar mix. A solid surface is crucial-sealant over crumbling mortar is a waste of time and material.
What’s the key difference between a cap for a prefab metal chimney and a brick one?
A metal chimney needs a chase cover that seals the entire metal chase top. A brick chimney uses a flue cap sized for the clay flue liner. Never interchange them; the fit and flashing integration are completely different.
After I plug the flue, how can I be sure it’s safe?
If the chimney ever served a gas appliance, install a carbon monoxide detector in the room immediately. For any plug, check for drafts by holding a lit incense stick near the sealed fireplace opening; no movement means you’ve succeeded.
Sealing Your Chimney for a Warmer Home
Focus on creating a complete, airtight seal at the chimney crown and flue liner to stop drafts at their source. A proper seal with the right materials blocks heat loss, reduces energy bills, and prevents water from sneaking into your home’s structure.
Your roof’s health relies on your commitment to safe, code-compliant maintenance. Building your skills with resources on Roof Care, All Types of Roof Guide, Care, Maintenance ensures you can spot minor issues before they become major, costly repairs. Equally important are roof repair safety practices to protect you during inspections. Following safety guidelines keeps maintenance productive and risk-free.
Ray Huffington
Ray is an experienced roofer. He has worked as a general contractor in the roofing industry for over 15 years now. He has installed and repaired all kinds of roofs, from small houses to large mansion, and from basic shingles to cement and metal roofs and even solar roof panels. He has seen homeowners struggle with roofing questions and always has experience based proven advice to help those in need. If you need roof pros, Ray's your guide.