
How Do You Seal Roof Shingles and Structural Junctions to Prevent Leaks?
Ever notice a dark stain on your ceiling or feel a drip during a downpour? From my years on roofing crews, I can tell you that most leaks begin right where your shingles meet a wall, chimney, or vent pipe.
If you’re spotting water inside, the good news is you can often fix it yourself. Sealing these structural junctions correctly will block water out and protect your home.
In this guide, I’ll share my field-tested approach: choosing the correct sealant for your roof type, preparing the surface so the seal actually sticks, and applying sealant to key problem areas like step flashing and valleys.
Key Takeaways
- Water finds its way in at junctions like walls, chimneys, and valleys, not through the middle of a shingle.
- Scraping off old sealant and cleaning the area properly is eighty percent of a lasting repair.
- Pick your sealant based on your roof material, asphalt shingles and metal roofs need different products.
- If you feel uneasy about the height or slope, that is your sign to hire a professional.
- Checking seals and flashing during seasonal gutter cleaning catches problems while they are still small and dry.
First, Ask Yourself: Is This a Job for You or a Pro?
Safety is not the first step. It is the only step. I judge every job by the risk before I even get my tools. For a low, flat surface like a carport or detached garage, a careful homeowner can often handle it. This is why searches for “how to seal a carport roof” are so common. It is a manageable entry point.
The moment your roof has a pitch or is off the ground, the risks multiply fast. A slightly damp shingle can be as slick as ice. The height of a single-story fall can cause serious injury. You must always look for overhead power lines. A sudden weather change can make a simple job dangerous. Even your ladder setup needs perfect attention. When roof walking is unavoidable, prioritize safety with fall protection and stable footing. Avoid walking near edges and plan your route before you step.
Some jobs have clear red flags that mean you should call a pro. Any roof with a steep pitch, what we call a 6/12 or greater. Any home with two or more stories. Repairs to the main structural junctions, like where a dormer meets the main roof. If you see water stains but cannot find the exact entry point, that is a pro job. Water runs, and sealing the wrong spot fixes nothing.
I have been on thousands of roofs. A safe seal is the only kind that lasts, because you are around to maintain it.
Step 1: Find the Weak Spots (Your Pre-Seal Inspection)
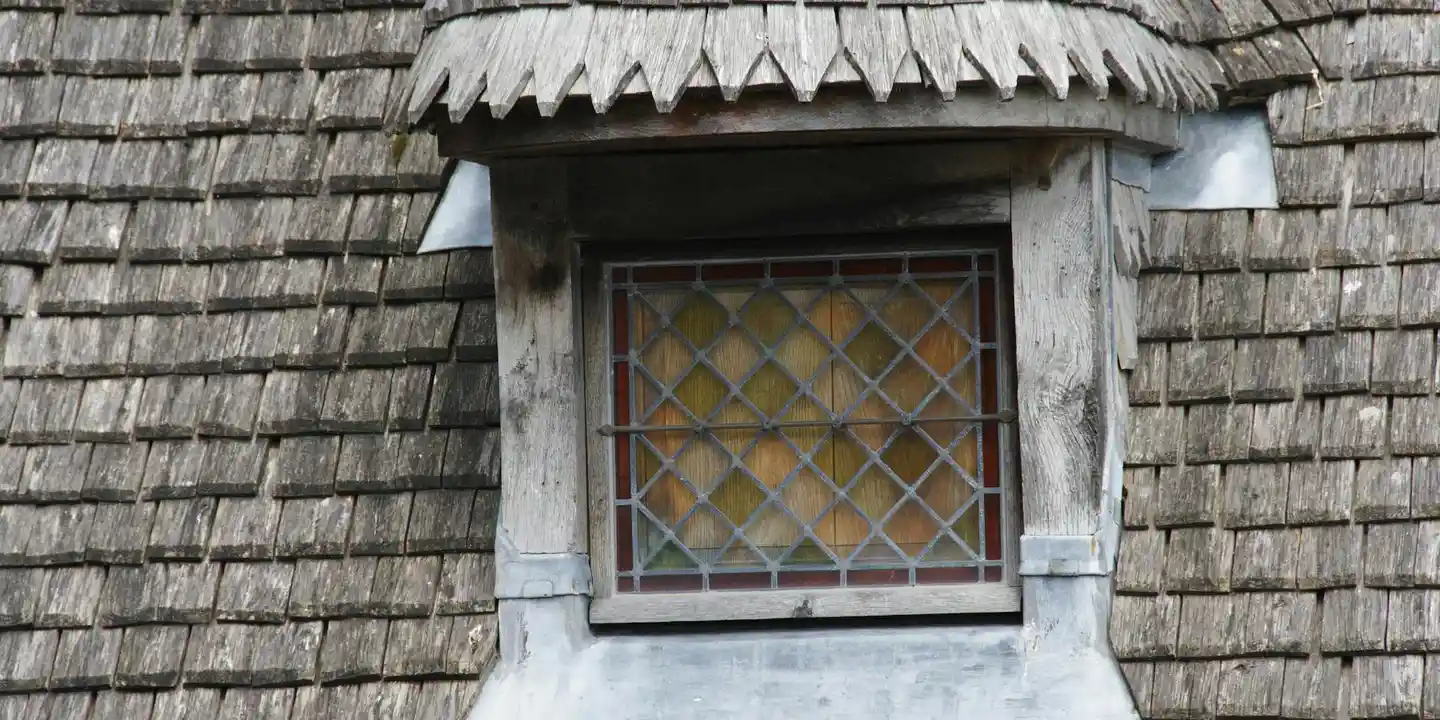
Never just slap sealant on a roof and hope for the best. I learned that the hard way on a job where we sealed a crack in the flashing, only to find the real leak was a few feet away in a worn-out vent boot. The first and most important step is a slow, careful inspection. You are a detective looking for clues, especially around roof vents where leaks often occur.
Start from the ground with a good pair of binoculars. Look for obvious signs like missing or curling shingles, dark stains in the valleys, or flashing that looks bent or detached. This safe view gives you a game plan before you ever get on a ladder.
If you can safely access the roof, that’s where the real investigation happens. Walk carefully and look closely. A systematic check twice a year, in spring and fall, is a good rule. This catches problems after winter storms and before the rainy season hits.
Here is your checklist of the most common leak points. Run through this list every time you inspect.
- Valleys: These are the gutters of your roof surface. Look for shingles that are lifting or buckling along the valley line. Check for excessive granule loss, which exposes the asphalt to sun damage.
- Chimney Flashing: This is a prime leak source. Inspect the base flashing (where it meets the roof) and the step flashing up the sides. Look for cracked or shrunken roof cement and rust spots on metal flashing.
- Plumbing Vent Boots: The rubber boot around the pipe can crack and dry rot over time. The nail heads holding it down can also work loose and lose their seal.
- Skylights: Check the perimeter flashing. Often, the sealant between the flashing and the skylight frame dries out and splits, creating a direct path for water.
- Wall/Roof Junctions (like dormers): Where a vertical wall meets the roof, step flashing should be woven under the shingles. Failure here often shows as water stains on the interior wall.
- Edge Metal (Drip Edge): This metal strip directs water into the gutters. If it’s loose, rusted through, or was never installed, water can get underneath your shingles and rot the roof deck.
Step 2: Gathering Your Arsenal – The Right Stuff for a Tight Seal
Using the wrong sealant is like using scotch tape to fix a garden hose. It just won’t hold. The right material depends entirely on the job. For most residential shingle roofs, you’ll work with three main types. Choosing the right shingles is just as important as picking the right sealant.
Roofing cement or caulk is your go-to for precision work. Think of it as a thick, durable putty. I use it for sealing small cracks in flashing, bedding down loose nail heads, or sealing the edges of new vent boots. It stays flexible and adheres well to most surfaces. A product like a tite seal roofing compound is a typical example of this category.
Flashing tape is my secret weapon for larger, flat repairs. This is a peel-and-stick membrane with a super-sticky asphalt backing. It’s perfect for patching a small hole in the roof deck, sealing around a newly installed pipe, or covering a corroded section of valley metal. It conforms to shapes better than cement.
Liquid roof sealant or coating is for broad, waterproof coverage. This is rolled or brushed on. It’s the best choice for sealing flat roof sections, coated metal roofs, or giving an extra layer of protection over sealed seams on a low-slope porch roof.
Many homeowners ask: do concrete roof tiles need sealing? What about terracotta? Can you seal roof tiles at all? Here’s the straight answer. The tiles themselves are durable and often have a factory glaze. The critical sealing points are not the tiles, but the vulnerable spots underneath them: the waterproof underlayment and all the flashings. Sealing is about protecting the system, not the individual tile.
Your Tool Pouch for the Job
Having the right tools makes the job faster, safer, and gives a more professional result. Gather these items before you head up.
- A stiff wire brush or roofing brush (for cleaning off old debris and sealant)
- A putty knife (for applying and smoothing cement)
- A utility knife with fresh blades (for cutting shingles or tape)
- A standard caulk gun
- A hammer
- Galvanized roofing nails (for resecuring loose flashing)
- Sturdy work gloves and safety glasses
Let me be clear about one non-negotiable rule. Sealant will not stick to dirt, moss, or moisture. Every surface you seal must be bone-dry and scrubbed clean. Spending ten extra minutes cleaning is what makes a repair last for years, not just months.
Step 3: The Critical Prep Work – Clean and Dry is the Rule
How do you prepare the roof surface before sealing shingles and junctions? I get this question a lot. The answer is simple but non-negotiable. Think of sealant like paint. You wouldn’t paint over a dirty, peeling, wet wall and expect it to stick. Your roof is no different. Proper preparation is key to ensure a watertight seal.
Here is the step by step cleaning process I follow on every job.
- Remove all debris. Sweep away leaves, pine needles, and dirt with a stiff broom.
- Scrub away organic growth. For moss or algae, a 50/50 mix of water and oxygen bleach works well. Let it sit, then gently scrub and rinse.
- Scrape away old sealant completely. This is the most vital step. Use a putty knife or roofing scraper to remove every bit of cracked, brittle, or peeling caulk or tar. New sealant will not bond to old, failed sealant, no matter how good the product is.
After cleaning, you must let the area dry. I mean bone dry. Wait 24 hours of clear weather if you can. Trapped moisture under your sealant will cause rot and make the new sealant fail fast. It’s better to wait an extra day than to do the job twice.
Once the area is clean and dry, check for damage. Look for small holes, rotted wood, or rusted flashing. For minor substrate damage on the roof deck, I repair it before sealing. Apply a layer of roofing cement, then embed a piece of roofing fabric into it. Smooth another layer of cement over the top. This creates a durable, waterproof patch for the new sealant to adhere to.
Step 4: Applying the Seal – Techniques for Trouble Spots
Now for the main event. You have the right sealant and a perfectly prepped surface. Here is how to apply it where it matters most.
Sealing Roof Valleys and Edges
How do you seal valleys and roof edges to prevent water infiltration? First, understand the valley’s job. A roof valley is like a gutter on your slope, funneling huge amounts of water downward. Your sealant job should never block this flow, only direct it.
Always check the underlying valley metal or waterproof membrane first. If it’s rusted through or torn, sealant on top is a temporary fix at best. It needs replacement.
To seal the shingle edges along the valley, run a thick bead of sealant under the shingle’s cut edge where it meets the valley center. Press the shingle down firmly. Do not smear sealant across the open valley channel. You want water to flow over the sealed edge, not get dammed by it.
For the drip edge, apply a continuous bead of sealant along the top edge of the metal where the shingles will sit. After nailing the starter shingles, I often add a small bead over the nail heads and along the seam for extra insurance.
Sealing Around Roof Vents, Pipes, and Chimneys
What is the proper technique for applying sealant around roof vents and chimneys? This is where most DIY jobs go wrong. The goal is to create a “shingle and flashing sandwich” where water is shed in layers.
Never just caulk around the base of a pipe. That’s a guaranteed leak. Here is the specific step order my crew uses.
- Carefully lift the shingle courses above the flashing. Use a flat bar gently to avoid breaking them.
- Apply a generous bed of sealant to the roof deck where the base of the pipe flashing or vent collar will sit.
- Set the flashing down into this wet sealant. Nail it in place according to the manufacturer’s instructions.
- Apply sealant over the nail heads and the top edge of the flashing.
- Finally, lay the shingle back down over the flashing. The sealant now locks the layers together from beneath.
For the sides of chimneys or wall flashings, the principle is the same. Sealant goes under the flashing’s vertical leg where it meets the wall, and then a finishing bead is applied over the top edge. The biggest mistake I see is smothering every joint in a giant glob of caulk, called a “tar blob.” This traps moisture, cracks quickly, and looks terrible. A thin, smooth, intentional bead is always stronger and lasts longer.
The Mistakes I See Every Time (And How to Avoid Them)
What are the common mistakes to avoid when sealing roof shingles and junctions? After decades on roofs, I see the same five errors on DIY jobs and, frankly, some from other crews. Avoiding them is what separates a lasting repair from a call-back leak.
Sealing Over the Problem
Never seal over a wet surface or old, failed caulk. Moisture trapped under new sealant will continue to rot wood or corrode metal. You must always scrape away every bit of old, cracked sealant and let the area dry completely before applying anything new. I once peeled back a shingle to find a softball of old tar hiding a fist-sized hole of rotted decking. Don’t let that be you.
Using the Wrong Product
Sealants are not universal. Using silicone on asphalt shingles is a classic error. Silicone doesn’t stick well to asphalt or the asphalt-based plastic cement used for flashing. For shingles and most roof flashings, use a high-quality polyurethane or roofing-specific sealant designed for your material. It’s like using dish soap in your car engine, it just won’t work right.
The “More Is Better” Myth
Over-applying sealant is a sure path to failure. A thick, globby bead looks strong but will dry unevenly. The outside skin hardens while the inside stays soft. This creates stress. That stress will cause the sealant to crack open, creating a new entry point for water. A smooth, concave bead about the width of a pencil is almost always perfect.
Ignoring the Root Cause
Sealant is a bandage, not a cure. If wood is soft, if flashing has shifted, or if a nail is popping, no amount of caulk will fix it. You must address the underlying issue first. Sealant should be the final protective step after making the structural repair, not a way to hide it.
Creating a Water Trap
This is a subtle but critical error. Never seal the bottom edge of a shingle or the lower leg of step flashing. Water needs a clear path to drain *out*. If you caulk that bottom edge, you create a dam. Always apply sealant to the top and sides of a junction, leaving the bottom open for drainage. You’re directing water, not imprisoning it.
When Sealing Isn’t Enough: Knowing the Limit
There’s a clear line between smart maintenance and a failing roof system. Sealant is for strengthening your roof’s defenses, not for rebuilding them from the ground up.
This gets to a core question, can you seal a shingle roof that’s already failing? The honest answer is no, not for long. Think of sealant like sunscreen, it’s excellent preventive care, but it’s not a treatment for skin cancer. You can patch a single worn spot, but you can’t caulk your way out of widespread failure.
Sealant is meant for small, specific vulnerabilities at junctions. It is not designed to hold entire shingles down or bond massive gaps. When the roof system itself is compromised, sealant becomes a temporary hold at best, especially considering how long roof cement takes to dry.
Signs It’s Time to Call a Professional
Knowing when to put the caulk gun down saves you money and prevents disaster. Call a reputable roofer if you see any of these signs.
- Widespread shingle damage: Curling, cracking, or missing granules across large sections of the roof.
- Sagging deck: Any dip or soft spot you can see from the ground or feel when walking indicates structural trouble.
- Extensive rot: More than a few inches of soft wood around a vent pipe means the problem is bigger than surface-level.
- The leak persists: If you’ve properly cleaned and sealed a junction and water still gets in, the leak’s origin is elsewhere, often higher up the roof.
Regular, careful sealing of roof junctions is the single best way to extend your roof’s life and avoid expensive emergency repairs. A tube of good sealant and an hour of vigilance each year can keep you dry for a long time. But when your roof shows you its limits, listen. That’s the mark of a truly responsible homeowner. Knowing when and how to seal your roof can make all the difference.
Common Questions
1. How do I choose a sealant for an older roof or unusual material?
For older asphalt shingles that are brittle, use a flexible, self-leveling polyurethane sealant that won’t pull on the granules. For materials like metal, rubber (EPDM), or coated flat roofs, you must use a sealant specifically formulated for that surface to ensure proper adhesion and longevity.
2. What’s the best way to seal around a skylight?
First, check that the metal perimeter flashing is securely fastened and not corroded. Apply a controlled bead of sealant under the top edge of the flashing where it meets the skylight frame and at the corners, but never seal the bottom edge to allow for drainage.
3. Is there such a thing as using too much sealant?
Absolutely. A giant glob will dry unevenly, crack, and trap moisture. Always aim for a smooth, concave bead about the width of a pencil; a thin, intentional layer is stronger and lasts longer than a thick, messy one.
Your Blueprint for a Dry Roof
Seal every shingle and junction with the right materials and a methodical approach to stop water where it starts. This careful attention during installation or repair is what turns a good roof into a lifelong shield for your home. Ensuring proper techniques are used, especially during roof installations, is crucial for durability.
Take ownership of your roof’s condition by scheduling annual checks and tackling minor repairs promptly. Educating yourself on Roof Care for All Types of Roof ensures you can make informed decisions that prioritize safety and longevity, especially when it comes to roof repair safety practices.
Ray Huffington
Ray is an experienced roofer. He has worked as a general contractor in the roofing industry for over 15 years now. He has installed and repaired all kinds of roofs, from small houses to large mansion, and from basic shingles to cement and metal roofs and even solar roof panels. He has seen homeowners struggle with roofing questions and always has experience based proven advice to help those in need. If you need roof pros, Ray's your guide.