
How Do You Attach a Patio Roof to Your House Without Causing Leaks?
Dreaming of a covered space for year-round backyard enjoyment? That new patio roof will only last if it’s locked onto your existing house the right way.
Attach it poorly, and the first heavy rain will send water into your walls. I’ve repaired these failures many times, and they always trace back to a few common mistakes.
Here’s the process I follow on every job to get it right:
- Checking your home’s framing to find a solid anchor point.
- Choosing the correct bolts and hardware for a permanent hold.
- Installing flashings that create a watertight seal for decades.
Assess Your House and Plan the Project
Before you cut a single board, you need to look at your house like a doctor checking a patient. That wall isn’t just siding and paint. It’s a load-bearing structure that must carry the weight of your new roof. I always start by figuring out what’s behind the wall surface.
You are looking for the wooden studs, the vertical bones of your house. These are the only spots strong enough to bolt a ledger board, the main horizontal piece that holds your patio roof. Use an electronic stud finder. Then, double-check with the old-fashioned knock test. A solid thud means wood. A hollow sound means empty space. Your goal is to map a straight line of studs where the ledger will go, avoiding any electrical wires or plumbing pipes that could be hidden inside. A mistake here can be costly or dangerous.
Next, you have to deal with paperwork. Local building codes are not suggestions. They are rules for your safety. You will likely need a permit. The city will want to see your plans and inspect the work at key stages. They enforce rules for roof pitch, or slope, to ensure water drains properly. A common minimum is a 1/12 pitch (one inch of drop for every foot of run). Skipping the permit process risks hefty fines and, worse, building a structure that could fail and hurt someone.
Now, pick your roof style. For a DIY patio cover, you are usually choosing between a shed roof and a gable roof. A shed roof slopes in one direction, away from your house. It’s simpler to build. A gable roof has two slopes that meet at a peak, forming a triangle. It’s more complex but offers a classic look. Your choice depends on your skill, budget, and how much weather protection you need.
Let me tell you about a job from a few years back. We were all set to bolt a ledger for a porch roof. During our check, we poked a small probe into the sheathing behind the siding. The wood was soft and crumbly. The sheathing was rotted from a long-hidden leak. We had to stop everything, repair the wall structure first, and only then could we safely attach the new roof. That hour of inspection saved the homeowner from a major structural failure later.
Checking Your Wall’s Bones and Getting Permission
Finding studs is a two-step process. First, run your stud finder slowly across the wall. Mark the edges of each stud. Studs are typically 16 or 24 inches apart, center to center. Second, confirm by knocking. Tap along your marked line. The sound will change from hollow to solid when you hit the stud. You must attach your ledger board directly into these studs with long, thick lag bolts. Hitting just drywall or siding is a guaranteed failure.
Getting permission means a trip to your local building department. Typical permit requirements include a site plan, a materials list, and detailed drawings of your proposed structure. They will charge a fee. An inspector will visit to check the footing posts, the ledger attachment, and the final build. Working without a permit can lead to forced removal of your work, invalidated home insurance, and big trouble if you ever sell your house. It is never worth the risk.
Choosing a Roof Design That Works for You
Think of a shed roof like a lean-to shelter. It’s a single, sloping plane attached to your house. The pros are clear. It uses less material, is easier to frame, and is perfect for beginners. The cons are that it can look very basic and may not shed heavy snow as well without a steeper pitch. Exploring best shed roof techniques can help you tailor the pitch, framing, and drainage to your climate. These techniques help you balance simplicity with performance as you plan your shed roof.
A gable roof is the classic peaked shape you see on most houses. It’s more attractive and provides better air circulation underneath. The cons are more cutting, more complex angles, and a higher material cost. For a first-time builder, a shed roof is the sensible choice. If you have experience and want a more finished look, a gable roof is the way to go.
Gather Your Tools and Materials
You need the right gear for the job. For tools, this is not a hammer-and-nails project. You will need a circular saw or miter saw for cutting lumber. A drill with driver bits is essential for lag bolts. A level that’s at least four feet long. A roofing nailer for shingles saves immense time. A quality ladder and roofing harness are non-negotiable for safety, not optional accessories.
For materials, durability is key. Your frame should be built from pressure-treated lumber. It resists rot and insects. All metal flashing must be corrosion-resistant, like galvanized steel or aluminum. This thin metal is what seals the joint between your new roof and the old house wall. If it rusts, you get leaks.
Where you can, think about the planet. Choose roofing materials with recycled content, like certain composite shingles. Metal roofing is often made from recycled metal and is fully recyclable at the end of its long life. Using sustainable materials is a responsible choice that doesn’t sacrifice performance. Consider the environmental footprint of your roofing material and its lifecycle as part of your decision.
Safety Gear You Cannot Skip
Attaching a roof is pro-level work. I tell my crew that if you’re working high, you’re tied in. A roof safety harness attached to a secure anchor point is mandatory. Use a sturdy, extension ladder placed on solid ground. For working on the roof surface itself, roof jacks and planks create a stable platform. Falling is not a minor risk. It is the leading cause of serious injury in roofing.
The specific hazards here are real. The pitch of the roof can be slippery, especially with morning dew. Always be aware of overhead power lines when raising long pieces of lumber. Lifting heavy beams or bundles of shingles can cause back injuries. Use a partner or mechanical help, especially when walking on a roof.
Shopping List for Structure and Skin
Here is a basic checklist to get you started. Adjust quantities for your specific design.
- Lumber: Pressure-treated ledger board (2×8 or 2×10), pressure-treated posts (4×4 or 6×6), rafters (2×6 or 2×8), and fascia boards.
- Fasteners: 1/2-inch diameter lag bolts at least 4 inches long for the ledger, structural screws for framing connections, and galvanized roofing nails.
- Roofing Underlayment: A roll of synthetic or felt underlayment to act as a water-resistant barrier over your roof sheathing.
- Flashing: Step flashing and counter-flashing to weave into the existing house siding and roof.
When you buy shingles, try to match the brand, style, and color of your existing house roof. Consider how different roof shingle color choices will look with your siding and landscape. Matching shingles keeps your home’s look cohesive and prevents issues with manufacturer warranties that often require full, matching systems. Take a sample or a clear photo to your supplier.
Secure the Ledger Board and Prevent Water Intrusion
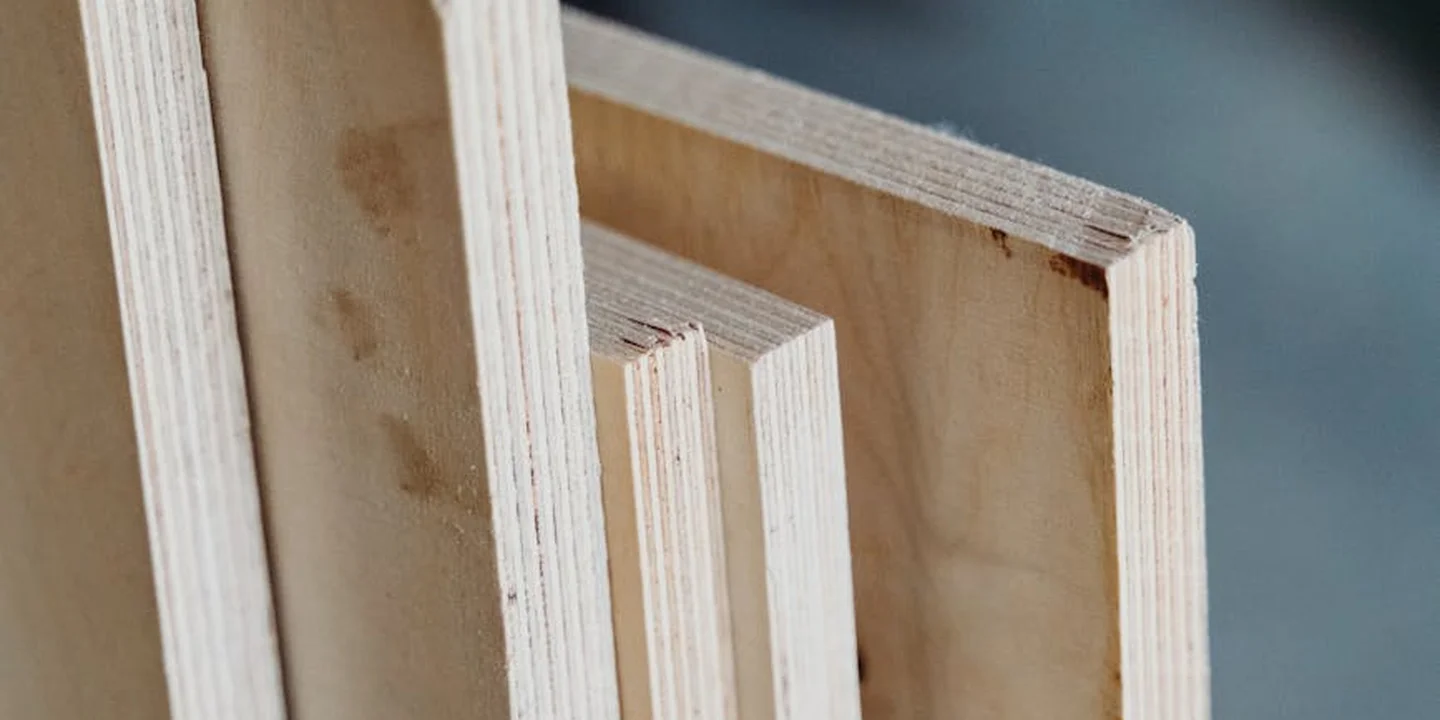
This junction where the new roof meets your house is the most critical spot. Get it wrong, and water will find a way in. I treat it like performing surgery on the house’s skin.
Attaching the Ledger Board: The Make-or-Break Step
The ledger board is the backbone. It must be level, solid, and anchored for life. Here is how we do it on every job.
First, hold your ledger board (a pressure-treated 2×8 or 2×10) against the house wall exactly where the roof will be. Use a long level to make sure it’s perfectly horizontal. Have a helper brace it with temporary blocks screwed into the siding.
Now, find the studs behind your wall. Use a stud finder and mark each one clearly along the top of the ledger. You must bolt into the house’s wooden studs, not just the siding or sheathing.
Next, drill pilot holes through the ledger board at each stud mark. The hole should be slightly smaller than your lag bolt. I use 1/2-inch diameter lag bolts that are at least 6 inches long for a 2×8 ledger.
Secure the board by driving a lag bolt with a washer at each stud location. Space them no more than 24 inches apart. Tighten them down until the washer just starts to compress the wood.
I learned this the hard way on an early job. We used heavy-duty screws instead of lag bolts. A wind storm a year later lifted the entire porch roof edge. Nails or screws alone cannot resist the constant upward pull of wind on a roof; only through-bolts like lags provide the necessary strength.
Flashing and Sealing: Building a Waterproof Collar
Bolting the board on is only half the battle. Now you must seal it. Think of proper flashing like dressing for a cold, rainy day. You layer up: a base layer, a waterproof shell, and an overcoat to keep everything tucked in.
Start by applying a strip of ice and water shield membrane directly onto the house sheathing, right above the ledger board. This self-adhering rubberized asphalt is your base layer. It seals around the bolt heads and any small gaps.
Next, install metal step flashing. This is your waterproof shell. Slide one L-shaped piece under each course of your existing house siding or shingles. Then, weave the new porch roof shingles over the top leg of the flashing. Each shingle gets its own piece of step flashing, layered like fish scales to shed water down and away from the wall.
Finally, add the counterflashing. This is your overcoat. It’s a final metal cap that gets embedded into the wall’s mortar or siding and bent down to cover the top edge of the step flashing. It locks everything in place.
I often see DIYers just caulk the gap between the ledger and the house. That is like taping your raincoat sleeve shut instead of properly buttoning it. Caulk dries and cracks. A layered flashing system creates a durable, mechanical barrier that moves with your house and lasts for decades.
Frame and Slope the New Roof Correctly
With the ledger secure, you can build the roof frame. The goal is a structure that is strong, straight, and sloped to shed every drop of water.
Setting the Pitch for Proper Drainage
Roof slope, or pitch, is non-negotiable. For a porch roof with asphalt shingles, you need at least a 1/4-inch drop for every foot of horizontal run. Less than that, and water will pool and eventually leak.
Here is the simple math. If your porch is 8 feet wide from the house to the outer beam, you need a 2-inch total drop (8 ft x 1/4 inch = 2 inches). Set your outer support beam 2 inches lower than the top of your ledger board.
Check it with a long level and a tape measure. Place the level on the ledger, extend it out, and measure down to where the beam will be. Too little slope is the most common framing mistake I fix; it turns your new roof into a shallow pond.
This is a gentle tilt, like a shed roof. In snowy areas, you need a much steeper pitch so heavy snow slides off. For a simple porch cover, the 1/4-inch per foot rule is your minimum.
Rafter Layout and Connection
Rafters are the ribs of your roof. They must fit snugly and be anchored well.
Start by cutting a birdsmouth notch at the top of each rafter. This is a two-cut notch that lets the rafter sit flat on the ledger board. Mark and cut it so the rafter has full bearing on the ledger. A sloppy notch weakens the connection.
Secure each rafter to the ledger with a metal hurricane tie. Nail the tie to the ledger first, then set the rafter in and nail the tie to the rafter. These metal connectors are code in most places because they prevent the roof from lifting or twisting in high winds or an earthquake. Don’t skip them.
Attach the other end of the rafter to your exterior beam with another hurricane tie or by toenailing it securely. Space your rafters 16 or 24 inches apart, center to center, matching your house’s existing rafter spacing if possible.
My crew has a foolproof tip for a straight roof. Before nailing everything down, we snap a bright chalk line along the ends of the rafters at the beam; this shows instantly if any are out of alignment and prevents a wavy, amateur-looking roof edge.
If you are building a gable-ended porch roof, you will frame short end walls. Attach a vertical stud wall at each end, tying it into your ledger and your outer beam. Sheathe it just like a house wall before adding roof sheathing and shingles over the entire structure.
Install Roofing Materials and Finish the Edges
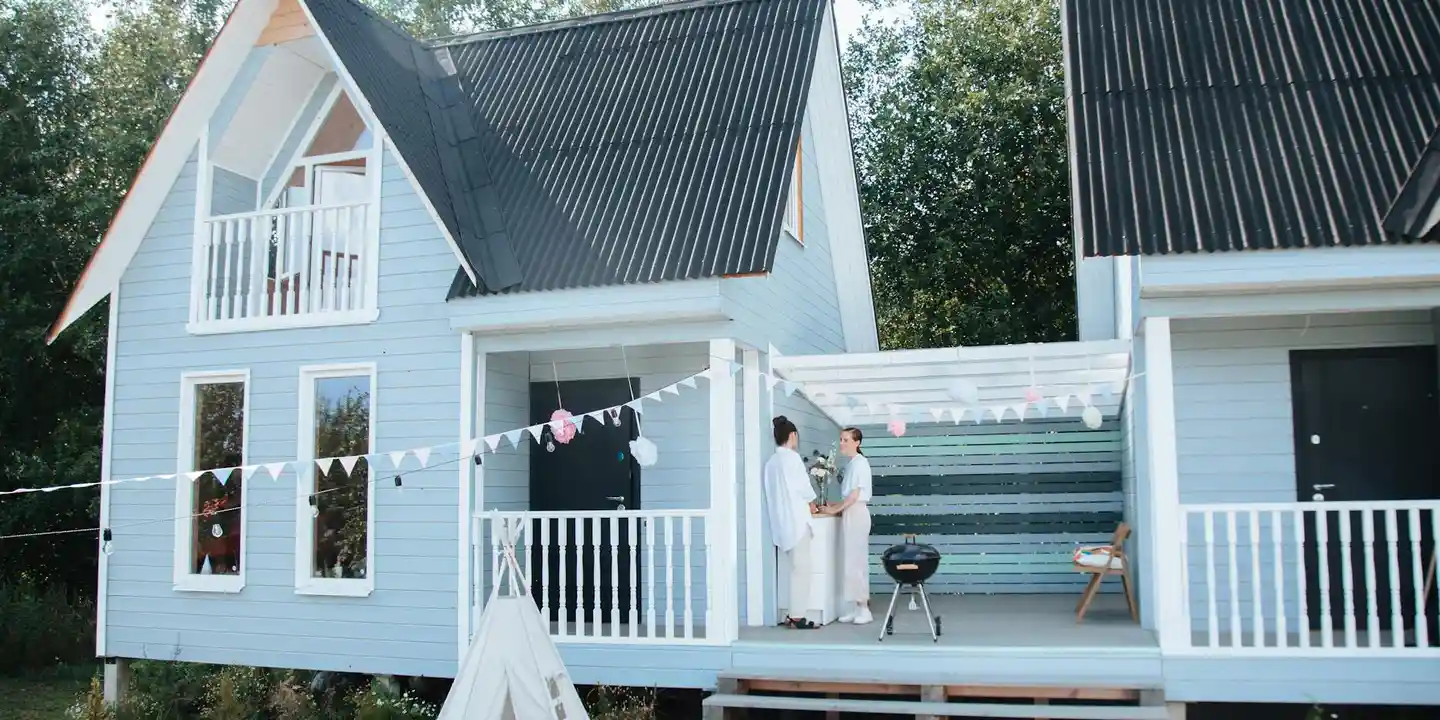
Once your rafters and ledger are solid, the real craft begins. Think of it like dressing the roof in layers. You start with the bones, then add protective gear, and finally the outer shell. The order you install these layers is non-negotiable for a dry, long-lasting roof.
First, you nail down the roof sheathing, usually plywood or OSB, to create a solid deck. Next, install your roofing felt underlayment over the entire deck. This is your primary moisture barrier if water gets past the shingles. Then, install your metal drip edge along all the eaves before you do anything else. Finally, you layer on the shingles and cap it all off with the fascia and soffit trim. This sequence locks water out from every angle.
For a seamless look, the new roof’s fascia and soffit need to marry up to your house’s existing trim. This often means carefully measuring and cutting your new fascia board to align with the old one’s height and depth. I’ve matched twenty-year-old trim by taking a sample to a paint shop for a custom color match. It’s that attention to detail that makes an addition look original.
Never forget the gutters. A patio roof dumps a lot of water in one spot. You need a gutter and downspout system to catch that runoff and direct it away from your patio slab and your home’s foundation. A complete roof system manages water from the ridge all the way to the ground.
Shingling the New Addition
Shingling a new section is straightforward if you follow the pattern. Your goal is to make the new roof look like it grew there. If you’re tying into an existing shingle roof, try to align your new shingle courses with the old ones.
Start by snapping a chalk line along the eave for your starter strip. This first row is just shingles with the tabs cut off, or a manufactured starter strip. It seals the first course of full shingles. Always use a starter strip; skipping it is a guaranteed invitation for wind to get under your shingles and rip them off.
Then, work your way up the roof. Stagger the joints between shingles from one course to the next. Use roofing nails, not screws, and place them exactly as the shingle manufacturer instructs. Hitting the nail line too high or too low can void the warranty and weaken the seal, making it crucial to install shingles properly.
Finishing with Fascia, Soffit, and Drip Edge
This trim work is the suit and tie of the roofing world. It finishes the job and keeps everything tidy. Install your metal drip edge first, over the underlayment at the eaves and under it on the rakes. Then, nail your fascia board to the rafter ends. Finally, attach the ventilated soffit panels to the underside of the overhang.
Here’s a mistake I see on half the inspections I do for add-ons. On an outside corner, where two fascia boards meet, the drip edge metal needs to be cut and folded, or mitered, to form a tight corner. Most roofers just bend one piece around the corner, leaving a ugly gap that drips water right onto your fascia board, leading to rot. A pro takes the two minutes to make a proper mitered joint. It’s a small sign of a big difference in workmanship.
Avoid These Common Roof Attachment Mistakes
Over the years, I’ve been called to fix more patio roofs than I can count. The same few errors come up every time. Learning from other people’s expensive mistakes is the smartest DIY move you can make, especially when deciding between DIY repair and hiring a professional.
Your local building code isn’t a suggestion. It’s the collective wisdom on what keeps a structure standing and safe. Following it protects you if you ever need to make an insurance claim. If any part of this process feels beyond your skill, especially the structural connections, call a professional. Get three detailed quotes to understand the scope and price.
Mistakes That Lead to Immediate Leaks
Some errors announce themselves with a drip on your head the first time it rains. The biggest culprits are bad flashing, missing drip edge, and shingles that hang too far over the edge or not far enough.
Flashing is the metal that seals the joint where the new roof meets the house. If it’s just caulked or tucked behind the siding, it will fail. It must be integrated under the existing house siding and wall wrap. A shingle overhang of about 3/4 inch past the drip edge is perfect. Any more and they can sag and break; any less and water runs right behind your gutter. Proper flashing installation is crucial for a reliable seal.
I once repaired a beautiful cedar patio cover that was leaking at the house. The homeowner had used lag screws to attach the ledger board, which was good. The problem? He screwed it only into the vinyl siding and sheathing. Those screws never bit into a single wall stud or the rim joist. The first big storm started pulling the whole thing away from the house. We had to take it down and start over, anchoring properly into the home’s frame.
Mistakes That Compromise Structure and Safety
These are the silent mistakes. They might not leak for years, but they threaten the entire structure. Using undersized 2×4 rafters when code requires 2x6s is a classic. So is ignoring local snow load requirements or hoping a few toenails will hold rafters to the ledger board.
Modern building codes require rated metal connectors, like hurricane ties, to secure rafters to ledgers and beams. Nails alone can work loose over time. In snowy areas, a patio roof needs a steeper pitch and heavier rafters to carry the weight. Guessing here can lead to a collapse.
This is the point where honest DIYers call for backup. A licensed contractor will pull a permit, have the engineering knowledge, and carry insurance. If you’re unsure about spans, loads, or connectors, get those multiple quotes. Tell them you want to see how they plan to attach the ledger and secure the rafters. Their answers will separate the craftsmen from the hackers.
Common Questions
How often should I check the attachment point for problems?
Inspect the flashing and sealant at the house connection at least twice a year, in spring and fall. Look for cracks, rust spots, or any new gaps where the ledger board meets the wall.
Is there a single material that gives me the most leak protection?
For the critical ledger board junction, a continuous ice and water shield membrane is your best insurance. This peel-and-stick underlayment seals around bolt heads and protects the sheathing from any water that gets behind the flashings.
What’s the clear sign this job is beyond my skill level?
If you cannot confidently locate and secure the ledger board directly into the home’s structural wall studs, stop. This is a load-bearing connection; guessing here risks major structural damage or collapse, so call a licensed contractor immediately.
Locking In Your Patio Roof’s Future
I always tell homeowners that a successful attachment comes down to two things: a perfectly secured ledger board and meticulous flashing. Get these fundamentals right, and your new structure will be a durable, worry-free extension of your home.
Owning a roof means committing to its care with regular inspections and a safety-first mindset. Keep building your understanding of roof care through trusted guides and maintenance tips for all types of roofs. When you perform repairs, prioritize roof repair safety practices to prevent falls and injuries. Use proper ladder setup and PPE.
Ray Huffington
Ray is an experienced roofer. He has worked as a general contractor in the roofing industry for over 15 years now. He has installed and repaired all kinds of roofs, from small houses to large mansion, and from basic shingles to cement and metal roofs and even solar roof panels. He has seen homeowners struggle with roofing questions and always has experience based proven advice to help those in need. If you need roof pros, Ray's your guide.