
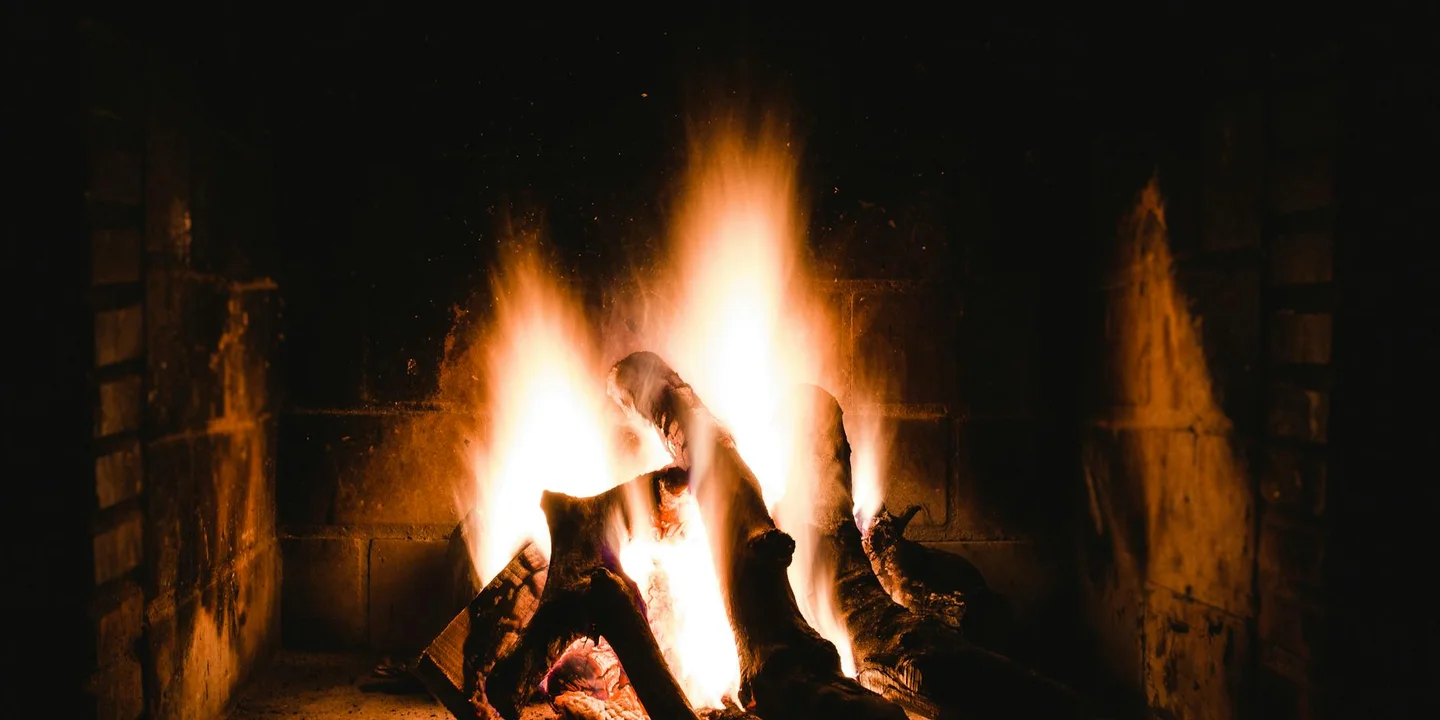
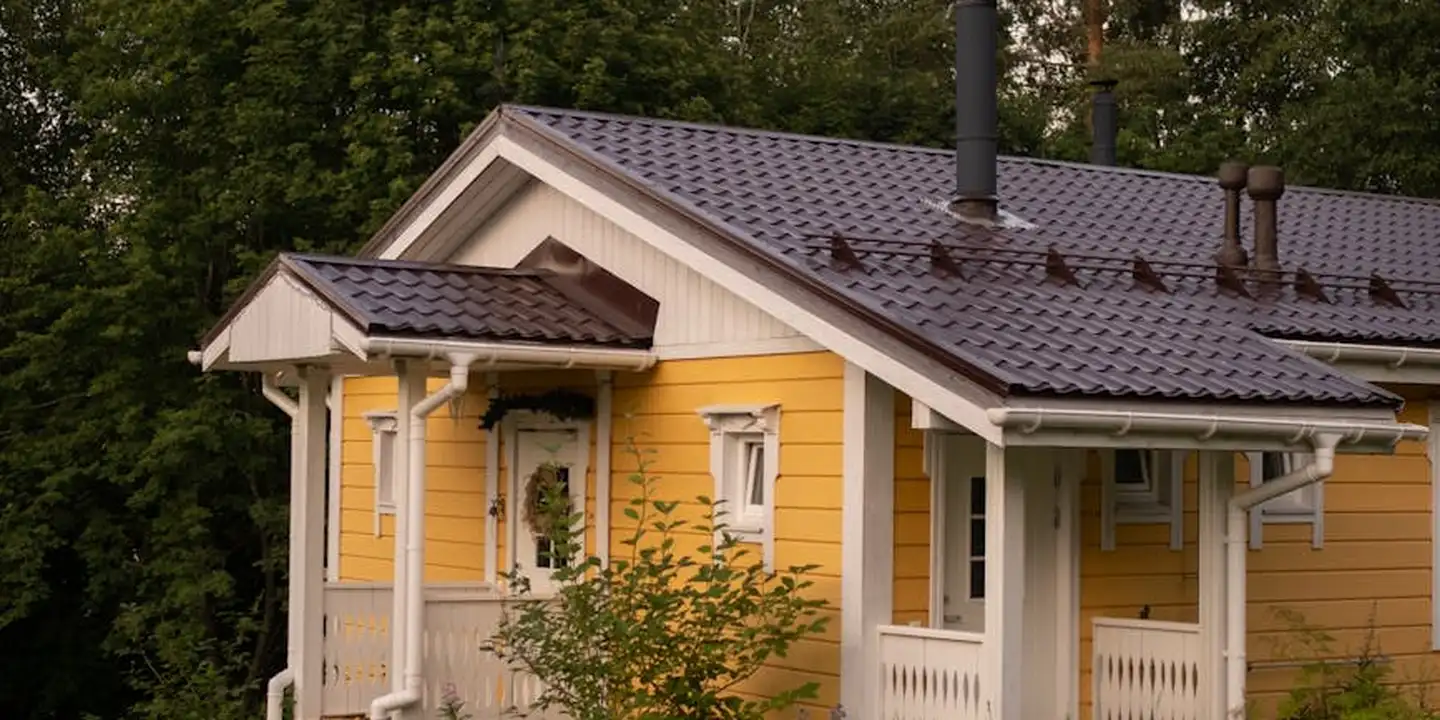
How Do You Rebuild and Repair a Chimney? A Roofer’s Guide to Masonry, Flue Liners, and Crowns
Noticed crumbling bricks or a leaky fireplace? In my years on the roof, I’ve learned these are urgent signs your chimney needs work. Left alone, they lead to expensive structural damage and safety risks.
I’ll walk you through the proven methods for three critical jobs: masonry repair, flue liner restoration, and crown rebuilding.
Spotting Trouble: How to Tell if Your Chimney Needs Work
Your chimney needs regular check ups, just like your roof. You can spot most problems with a simple visual check.
Start outside with a good pair of binoculars. Look at the bricks and the mortar joints between them.
What to Look for on the Exterior
Mortar should be solid and intact. If it looks like it’s dissolving, crumbling, or falling out, that’s called spalling. Spalling mortar lets water in, which freezes and makes the problem worse.
Look at the bricks or stones themselves. Are any cracked, chipped, or completely missing? A single cracked brick might be minor. Several in a row signal a bigger issue.
Check for a white, chalky stain on the surface. This is efflorescence. It’s a mineral deposit left behind when water seeps through the masonry and evaporates. Efflorescence itself isn’t damage, but it’s a clear billboard announcing you have a moisture problem.
Now, look at the whole structure. Does the chimney look straight? Stand back and sight up the corners. A lean, even a slight one, means the chimney is pulling away from the house. This is a serious stability issue.
Don’t Forget the Interior Inspection
Your fireplace tells its own story. Open the damper and use a strong flashlight.
Do you see bits of brick, tile, or mortar in the firebox? That’s debris falling from somewhere above. It’s a sure sign of deterioration inside the flue or smoke chamber.
Look for water stains on the fireplace walls or a puddle in the firebox after a rainstorm. This means your chimney crown or flashing is failing.
Pay attention to smells. A strong, smoky odor in your home when the fireplace isn’t in use often points to a draft problem caused by a cracked flue liner. If you can see daylight through any crack in the firebox or smoke chamber, you have an immediate fire hazard.
The Brick and Mortar Reality: Lifespan and When to Rebuild vs. Repair
A well built masonry chimney with proper maintenance should last 50 to 100 years. But time, weather, and use take their toll. Knowing when to patch it up or start over saves you money and keeps your home safe. Regular maintenance of chimney components—such as the flue, crown, cap, dampers, bricks, and mortar joints—helps catch issues before they become costly problems. Routine inspections guide when to patch, repair, or replace parts to keep the system safe and efficient.
The Integrity Report: Simple Repair or Major Rebuild?
Most chimney issues start small and can be fixed. We call this repointing or tuckpointing, where we grind out the bad mortar and put in new. We can also replace individual damaged bricks.
Can a cracked chimney be repaired? Yes, but it depends entirely on the crack. A hairline crack in a single brick or the mortar joint is a repair job. A wide, vertical crack running several feet up the chimney structure is a different story.
Here are the red flags that mean you’re likely looking at a partial or full rebuild:
- Multiple, widespread cracks in the bricks themselves (not just the mortar).
- A pronounced lean where the chimney is clearly separating from the house.
- Fire damaged or shattered clay flue tiles you can see from below.
- Severe, deep frost damage that has spalled entire faces off the bricks.
In these cases, patching is just a temporary bandage. The structure is compromised. Rebuilding the affected section or the entire chimney is the only permanent, safe solution.
The Three Battlegrounds of Chimney Repair
Chimney problems generally happen in one of three places. Your repair plan will focus here:
- The Masonry: The bricks and mortar you see. Repairs here fix weatherproofing and structure.
- The Crown: The concrete slab on top. A good crown slants water away from the flue. A cracked one pours water inside.
- The Flue Liner: The clay tile or metal pipe inside. This is your exhaust vent and a critical fire barrier.
Let’s look at the best methods to fix each one.
Stopping the Leak: Fixing the Crown, Flashing, and Critical Junctions
Most chimney leaks start in two places. Think of them like the weak spots in a raincoat. The first is the chimney crown, which is the slab on top. The second is the flashing, which is the metal sealing the joint where the chimney meets the roof. The first step to fixing a leaky chimney is to inspect these areas closely.
Your Chimney’s Hat: The Crown
The crown is your chimney’s hat. Its job is simple: shed water away from the brickwork and the flue liner inside. When it fails, water pours right down into the chimney chase, soaking the bricks and mortar.
Crowns fail because they’re often built flat or with weak mortar that cracks, letting water pool and seep in. A proper crown is made of thick, reinforced concrete and sloped to drain water off.
How to Restore a Concrete Chimney Crown
This is a job you can do if you’re comfortable with basic masonry. You’re building a small, sloped concrete patio on top of your chimney.
- Remove the old crown. Chip away the damaged material completely with a hammer and chisel. Get down to solid, clean brick. Wear safety glasses and gloves.
- Build a form. Use wood to create a mold that sits on top of the chimney. This form must create two key features: a minimum 1/4-inch per foot slope away from the flue liner and a 2-inch overhang (drip edge) on all sides. The overhang makes water drip off away from the brick face.
- Mix and pour. Use a strong concrete mix, not mortar. Some crews add a fortifier or acrylic bonding agent to the mix for extra durability. Pour it into the form, making sure it’s consolidated with no air pockets.
- Finish and seal. Trowel the surface smooth. Once it’s fully cured, apply a high-quality, breathable waterproof sealant designed for masonry. This sealant is the final shield, repelling water while allowing trapped moisture to escape.
The Critical Seal: Flashing and Ice & Water Shield
Flashing repair is where I tell most homeowners to call a professional roofer. It’s not just about bending metal. It’s about creating a perfect, layered seal where three different materials meet: roof, chimney, and the waterproof underlayment beneath.
Proper flashing is a two-part system: step flashing integrated with the roof shingles, and a counter-flashing sealed into the chimney mortar. If you see one continuous piece of metal wrapped around the base, it’s a common shortcut that will leak.
The real pro detail happens underneath the metal. On any chimney penetration, code and best practice require a layer of self-adhering waterproof membrane (ice and water shield) to be installed first, before any metal flashing goes on.
This membrane sticks directly to the roof deck and wraps up the chimney base. The metal step flashing is then woven over it and under the shingles. This creates a secondary, watertight barrier so that if any water gets past the metal, it hits the membrane and is routed back onto the roof. Proper chimney flashing installation is crucial to preventing leaks. Getting this sequence and integration wrong is the number one cause of persistent chimney leaks I’m called to fix.
Fixing the Face: Masonry Repair from Tuckpointing to Stucco
Your brick chimney’s face takes the worst weather has to offer. When mortar cracks or bricks chip, water gets in. That leads to big problems inside your home. The most common fix I do is tuckpointing, which is repairing the mortar joints. Sometimes, you need to replace whole bricks. For a totally new look, some homeowners ask about stucco.
How do you repair or replace damaged bricks and mortar joints? Start with a close inspection. Run your hand over the joints. If the mortar is soft and crumbles easily, it needs repointing. If a brick is cracked all the way through or has chunks missing, it likely needs replacing. Always tackle mortar repair before bricks fail completely; it’s far cheaper and prevents structural damage.
The Tuckpointing Process, Step by Step
Repointing, or tuckpointing, is a job you can do yourself with patience. On my crew, we call it giving the chimney a “face lift.” Here’s how we do it.
- Grind Out the Old Mortar. Use a grinder with a diamond blade to cut out the old, failed mortar. Go about 3/4 of an inch deep. This creates a clean, keyed surface for the new mortar to grip. Wear a mask and goggles. The dust is intense.
- Dampen the Joints. Before you add new mortar, mist the open joints with water. A dry brick will suck the moisture out of your fresh mortar too fast, causing it to crack and fail. Think of it like wetting a sponge before painting it.
- Apply the New Mortar. Use a pre-mixed type N mortar for most chimneys. Press it into the joints with a pointing trowel or a hawk. Pack it in firmly, making sure no air pockets are left behind. I mix small batches so it doesn’t dry out before I use it.
- Tool the Joint. Once the mortar is thumbprint firm, shape it with a jointing tool. This compacts the mortar and gives it the finished concave profile. Proper tooling seals the surface, making the joint more resistant to rain and frost.
When to Replace a Brick Entirely
Tuckpointing won’t save a bad brick. Look for deep cracks, spalling (where the face flakes off), or bricks that are loose. A single damaged brick is like a hole in your boot; it lets all the water in.
Replacing a brick is more involved. You must carefully chisel out the old brick without damaging the ones around it. Once it’s out, clean the cavity, wet it, butter the new brick with mortar, and slide it into place. Then, repoint the joints around it. Getting the mortar color to match the old work is the trickiest part, so test your mix on a scrap piece first. On a job last spring, we had to custom-tint the mortar with pigments to blend a repair on a historic home.
Can You Stucco Over a Brick Chimney?
I get this question a lot. Yes, you can stucco over brick, but it’s not a simple cover-up. It’s a full resurfacing project. This is often done when the brick is sound but cosmetically ugly, or when constant repointing is no longer worth it.
Let’s weigh the pros and cons.
- Pros: It creates a seamless, modern look. A well-applied stucco layer is very durable and sheds water effectively. It can be a cost-effective alternative to a full brick rebuild if the structure is solid.
- Cons: It’s permanent. You cannot easily revert to brick later. If not done correctly, moisture can get trapped between the stucco and brick, causing hidden rot. It requires meticulous preparation.
If you decide to stucco, preparation is everything. Here is the right way to do it.
- Clean the brick thoroughly with a pressure washer and let it dry for at least 48 hours.
- Apply a cementitious bonding agent to the entire surface. This glue is what makes the stucco stick. I’ve seen jobs fail because this step was skipped.
- Install metal lath (mesh) over the chimney and secure it with masonry nails. This gives the stucco something to grip onto.
- Apply the stucco in three coats: a scratch coat, a brown coat, and a final finish coat. Each coat needs days to cure properly. Rushing the coats is the surest way to get cracks and eventual failure.
The Heart of the System: Flue Liner Inspection, Repair, and Relining
Think of the flue liner as the chimney’s exhaust pipe. It directs dangerous gases outside and keeps intense heat away from your home’s structure. A compromised liner is a direct safety hazard. Cracks can let heat reach flammable framing, and carbon monoxide can leak into your living spaces. That’s why proper chimney flue liner installation matters. In the next steps, we’ll cover how to choose and install the right liner for your chimney.
Your flue liner is the single most important safety component of your entire chimney system.
Installing or Repairing a Flue Liner: A Step-by-Step Look
This is skilled, messy work. For a new chimney or a full reline, here is what a quality crew will do.
- Inspect and Measure: A camera survey determines the condition and exact dimensions of the existing flue.
- Complete Clean-Out: Every bit of old soot, debris, and loose mortar is removed.
- Select the Liner: Based on the appliance (wood stove, furnace, etc.) and flue size, the correct liner type and size is chosen.
- Dry Fit & Prep: The new liner sections are test-fitted from the top down to the appliance connection. All necessary adapters and parts are gathered.
- Permanent Installation: The liner is lowered and locked together. For metal liners, insulation is poured or wrapped around it to improve draft and safety. The top is sealed with a proper storm-proof cap, and the bottom is securely connected to the appliance.
Clay Tile vs. Stainless Steel: Choosing Your Liner
You have two main choices, each with a different job.
- Clay Tile Liners: These are the traditional, masonry liners built right into the chimney. They are durable and heat-resistant for standard fireplaces and furnaces. Their major weakness is cracking from house settlement or intense fire heat, and individual tiles cannot be repaired once cracked.
- Stainless Steel Liners: These are flexible or rigid metal pipes inserted into an existing chimney. They are the solution for a damaged clay flue or for modern high-efficiency appliances. Rigid liners are for straight shots; flexible liners navigate bends. They resist corrosion and last for decades.
Choose clay for new masonry chimney construction. Choose a properly rated stainless steel liner to repair an old chimney or vent a gas or wood stove.
The “Re-Line” Process: Fixing the Unfixable
When clay tiles are cracked, the only safe fix is to install a new liner inside the old one. This is called relining.
A proper reline starts and ends with a camera inspection to confirm the problem and verify the new liner fits perfectly. After the old flue is swept completely clean, the new stainless steel liner is fed down from the roof. We pack insulation around it to fill the gap between the new metal and old clay. This improves thermal performance and protects the chimney structure. Finally, a new locking top plate and chimney cap seal the system from weather.
I have opened up too many chimney chases to find wood charred from a leaking flue. Cracked clay liners are not a “wait and see” item; they are a “fix it now” priority for your family’s safety. They cannot be patched. Relining is the permanent, code-compliant solution.
The Big Job: Rebuilding a Chimney from the Roofline Up
When homeowners see major cracks or a pronounced lean, the big question is often, “What is the process for rebuilding a masonry chimney from the roofline up?” A full rebuild is a serious project, but it’s the only reliable fix for deep structural failure. I’ve done a dozen of these over the years, and the process always follows a disciplined sequence.
You cannot shortcut safety or proper technique here. The goal is to create a new, stable chimney that will last for decades, not just a cosmetic patch. Let’s walk through the real-world steps my crew follows.
The Rebuild Sequence: A Step-by-Step Guide
1. Safety and Containment First
Before a single brick is touched, the work area is secured. We install roof-edge protection and set up debris chutes to guide old bricks and mortar straight into a dumpster on the ground. A heavy-duty tarp is often used to shield the roof and landscaping. This protects your property and keeps the worksite clean and safe for everyone below.
2. Demolition Down to a Sound Base
We carefully dismantle the chimney, course by course, until we reach solid, stable masonry. Sometimes this means going all the way down to the roofline; other times, we find a good section partway down. The key is to stop where the brick and mortar are still fully intact and show no signs of movement or crumbling. This solid base is our new starting point.
3. Rebuilding the Courses
This is the craftsmanship phase. Using new brick and a proper Type N or Type S mortar mix, we rebuild the chimney one layer at a time. Each brick must be leveled, plumbed, and buttered with mortar correctly. We constantly check for plumb and level, because a chimney that’s off by a quarter-inch at the base will be several inches off by the top. This step is slow and methodical, but rushing it guarantees problems.
4. Integrating the New Flashing
The most critical waterproofing detail happens here. As we rebuild, we install new step flashing along the roof-chimney junction and a new counter-flashing set into the mortar joints. These metal layers interlock to shed water away from the roof deck. This is not an add-on; it’s built into the chimney as it goes up. A rebuilt chimney with old, reused flashing is asking for a leak.
What About a Crooked Chimney?
People often ask, “How do you straighten a crooked chimney?” The honest answer is you usually don’t. A noticeable lean is a sign of foundation failure or severe mortar erosion throughout the structure. Trying to push it back or brace it is a temporary fix at best. The only permanent, safe solution is to demolish the leaning section and rebuild it correctly from a stable point. Think of it like a wall in your house bowing out-you wouldn’t just push it back and hope, you’d rebuild it.
Choosing Materials for a Lasting Rebuild
The materials you choose during a rebuild determine its future. For the brick, we match the existing style and color if possible, but never sacrifice durability for an exact match. The mortar is even more important. We always use a modern mortar mix designed for your local climate, not the soft, lime-based historic mortar that likely caused the original failure. Using the wrong mortar is the fastest way to need another rebuild in a few years. We’ll dive deeper into specific brick and mortar choices next, but for a rebuild, investing in code-compliant, weather-resistant materials is non-negotiable.
Getting It Done: Safety, Cost, Timeline, and Lasting Care
Hazard & Safety Assessment: Why This is Pro-Only Work
I need to be clear from the start. Chimney work is not a DIY project. The risks are too high. You’re dealing with significant height, unstable footing on a roof slope, and a heavy masonry structure. One slip is all it takes.
This combination of fall risk and structural complexity makes hiring a certified, insured mason or chimney specialist the only safe choice. A proper crew approaches your roof with a level of planning and protection most homeowners have never seen.
The Safety Gear a Professional Crew Uses
What separates a pro from a handyman on a ladder? The right equipment. When my crew shows up for a chimney job, we don’t just climb up. We set up a controlled work zone.
- Roof Jacks and Guardrails: We install temporary wooden platforms (roof jacks) and toe boards along the roof edge. These create a stable, flat surface to work from and a physical barrier against a fall.
- Full-Body Harnesses: Each worker wears a harness tied off to a certified roof anchor. This is your last line of defense if everything else fails.
- Scaffolding or a Lifted Platform: For tall chimneys or full rebuilds, we often erect scaffolding. This gives us stable access to all sides of the chimney without balancing on the roof itself.
You likely don’t own this gear. Renting it is expensive and complex. Proper setup of this safety equipment is a skilled trade in itself, and it’s factored into a professional’s quote for good reason.
Understanding the Cost Factors
Chimney repair costs are not a mystery. They depend on a few clear factors. Being aware of these helps you understand a contractor’s estimate.
- Project Scope: A small patch job is one price. Replacing the entire crown is another. A full rebuild is a major investment.
- Materials: Clay flue liners, specific brick types, stainless steel caps, and high-grade mortar all have different costs.
- Height and Accessibility: A chimney on a steep, two-story roof costs more to access safely than one on a low, single-story home.
While prices vary by region, here are realistic ranges to set expectations:
- Tuckpointing (Repointing): $500 – $2,500. This fixes deteriorated mortar joints. The cost depends on how many sides and how high up the damage goes.
- Flue Liner Replacement: $2,500 – $7,000+. This is a major job involving specialized materials and precise installation to ensure safe venting.
- Full Masonry Rebuild: $7,000 – $15,000+. This is for chimneys with widespread structural failure. You’re paying for complete disassembly and reconstruction.
Realistic Project Timelines
Good chimney work can’t be rushed. Mortar needs time to cure properly. Here’s what a typical schedule looks like.
A tuckpointing or crown repair job for a standard chimney often takes a skilled two-person crew 1 to 2 full days. This includes safety setup, careful mortar removal, cleaning, and repointing, as well as assessing whether to use a sealer or replace the crown entirely.
Relining a flue or performing a partial rebuild usually spans 3 to 5 days. A full masonry rebuild is a week or more of work. Weather is the biggest variable. Mortar cannot be applied in freezing temperatures or during heavy rain, so schedules can shift.
Essential Maintenance for a Long-Lasting Repair
The work isn’t done when the crew leaves. Your chimney needs basic care to protect the investment you just made.
Schedule an annual inspection by a certified professional. They can spot minor cracks in the crown or mortar before they become major water entries.
Ask your mason about a waterproofing sealant for the brick. This is not a paint or dampproofing coat. A quality, breathable sealant allows moisture vapor to escape from the brick while shedding liquid water. It’s a worthwhile upgrade.
Keep the chimney crown clear. After the leaves fall or a big storm, check from the ground with binoculars. Remove any piles of debris or small tree branches from the crown. Stagnant moisture there is a prime cause of deterioration.
Common Questions
What’s one sign I should never ignore?
Any sign of water inside your fireplace after rain or a persistent, unexplained burning smell. These are urgent indicators of a failed crown, flashing, or a cracked flue liner that demands immediate professional inspection.
What materials last the longest for a rebuild?
For masonry, use a modern Type N or S mortar mix suited for your climate, not a soft historic mix. For the liner, a properly insulated stainless steel system often offers the best long-term durability and safety for an existing chimney.
How do I protect my investment after repairs?
Schedule an annual professional inspection to catch minor issues early. Keep the chimney crown clear of debris and consider applying a breathable, masonry-grade waterproofing sealant as recommended by your mason.
Take Charge of Your Chimney’s Care
From my crew’s experience, the single most important rule is to inspect your chimney at least once a year and act on small cracks or wear immediately. Proactive care with quality materials and a skilled mason is what turns a costly rebuild into a manageable repair, especially when combined with professional testing and repair.
Your home’s safety is your responsibility, so make routine checks and safety-first repairs a non-negotiable part of homeownership. Prioritize roof repair safety practices to prevent accidents and injuries. Commit to learning more about roof care and maintenance-it’s the best way to protect your investment and ensure peace of mind for years to come.
Ray Huffington
Ray is an experienced roofer. He has worked as a general contractor in the roofing industry for over 15 years now. He has installed and repaired all kinds of roofs, from small houses to large mansion, and from basic shingles to cement and metal roofs and even solar roof panels. He has seen homeowners struggle with roofing questions and always has experience based proven advice to help those in need. If you need roof pros, Ray's your guide.