
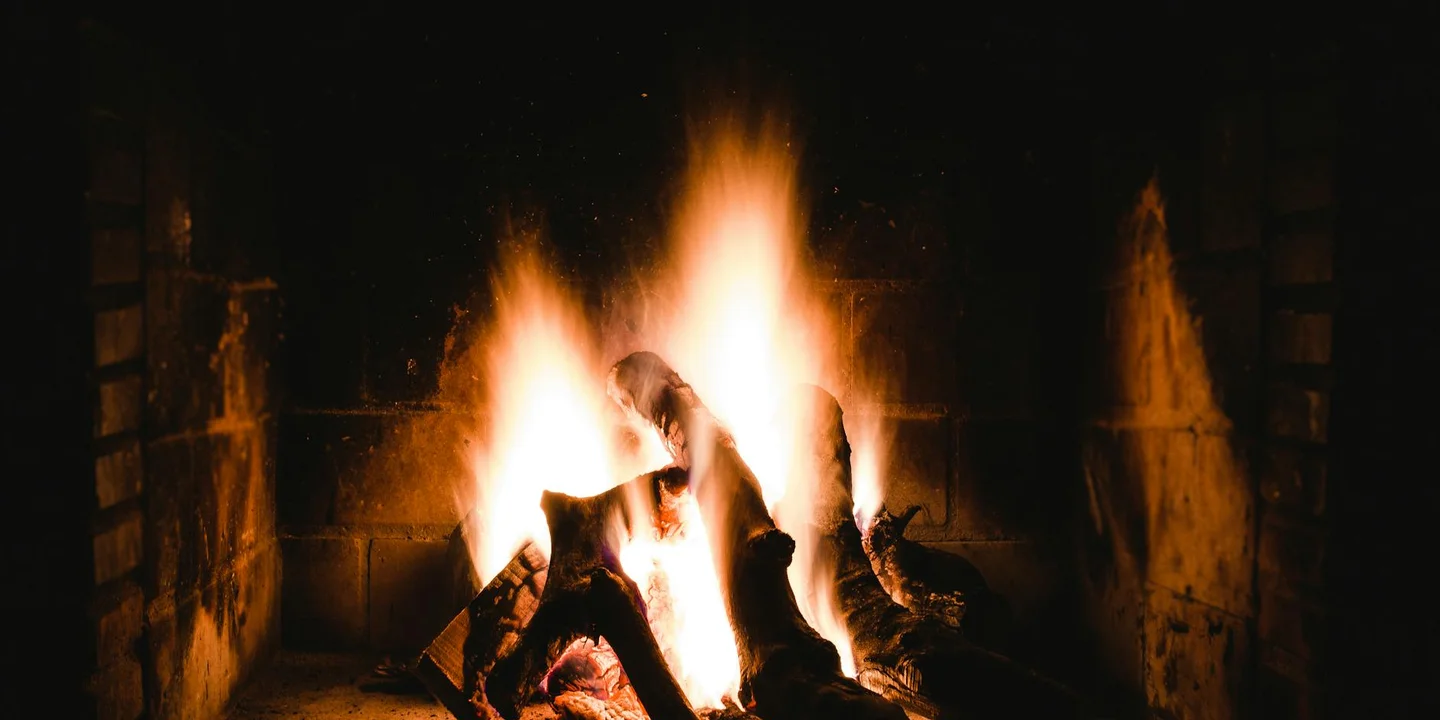
How Long Does a Chimney Inspection Take? A Veteran Roofer’s Breakdown
Staring at your chimney and worried about what a pro might find-or how long they’ll be poking around up there? I’ve fielded this question on countless job sites. Let me give you the straight answer on timing and what a full inspection really entails.
I’ll explain the three levels of inspection and how long each takes, walk you through the professional testing process from my tool bag to your roof, and outline the most common repairs we recommend to keep your home safe.
Key Takeaways: What Every Homeowner Needs to Know First
Plan for an inspection to take between 30 minutes and 4 hours, sometimes more. The time depends on what we’re looking at. A basic look from the ground or roof might take half an hour. A full check with tools and a camera inside the flue can take two to three hours. If there’s a known problem or a complex chimney, it can take a full morning or afternoon.
A professional uses more than just their eyes. The core of a pro inspection involves three tools: a bright light for visual checks, a moisture meter to find hidden dampness, and a specialized camera to scan the entire flue liner you can’t see. This combo finds problems a simple glance will always miss.
Chimney work is not a do-it-yourself project. Accessing a chimney safely requires roof work, which is inherently dangerous, and repairs involve fire-critical components that must meet strict building codes. A mistake here can lead to a house fire or a bad fall. This is one area where hiring a certified pro is non-negotiable.
Your chimney is a primary leak point on your roof. Think of your roof shingles like a raincoat. The chimney is a pipe sticking right through that coat. The seal around that pipe is the most likely place to fail and let water into your home. We find more leaks at chimneys than almost anywhere else. That seal should be properly waterproofed and regularly inspected for cracks. When that seal fails, it’s often the culprit behind leaks around the chimney.
Scheduling an inspection every year or two is cheap prevention. A small, $200 inspection can identify a $200 flashing repair, preventing a $2,000 repair for rotten roof decking and a soaked interior ceiling down the road. It’s the most cost-effective roof maintenance you can do.
Why Your Chimney is Your Roof’s Biggest Weakness
Your roof is designed to shed water away. A chimney punches a hole right through that system. It’s a natural leak point. Water running down your roof hits this brick obstacle, gets diverted around it, and is constantly testing the seals. It’s not a matter of *if* water will try to get in, but *when* the defenses will weaken enough to let it.
The critical junction is where the chimney meets the roof, and the hero (or villain) of this story is the flashing. Flashing is the metal-usually aluminum or steel-that wraps the base of the chimney and gets woven under the shingles. It’s a custom-fitted water diverter. When it rusts, pulls loose, or wasn’t installed correctly in the first place, water flows right behind it and into your attic. I’ve seen more failed flashing jobs than I can count.
Old mortar is like cracked concrete. The mortar between your bricks is constantly exposed to freeze-thaw cycles. Over 15 or 20 years, it crumbles. Once it develops hairline cracks, water gets in, sits there, freezes, and expands. This process quickly turns a small crack into a major gap, letting water pour into the chimney’s interior chase and down into your walls. The damage accelerates fast once it starts.
Your chimney’s health dictates your roof’s lifespan and your home’s safety. A leaking chimney doesn’t just stain your ceiling. It rots the wooden roof decking (sheathing) around it, compromises the roof structure, and creates perfect conditions for toxic mold in your attic. A damaged flue liner or heavy creosote buildup inside can directly lead to a chimney fire. It’s all connected, and that’s why addressing chimney problems is critical for your overall home safety.
I worked on a colonial home last fall where the owner complained of a musty smell. They hadn’t looked at the chimney in a decade. When we got into the attic, the sheathing and rafters for a four-foot area around the chimney base were black, soft, and crumbling. The repair bill tripled because we had to replace structural wood, not just the flashing. That all started with a half-inch gap in the mortar they never saw. A simple inspection five years earlier would have saved them thousands. Diagnosing and fixing a leaky chimney early can prevent this kind of damage.
The Three Official Levels of Chimney Inspection Explained

In this business, we don’t just “look at the chimney.” We follow a clear system. The National Fire Protection Association (NFPA) Standard 211 sets the rules for three distinct inspection levels. Knowing which one you need saves time, money, and worry.
A home inspector will check your chimney, but that’s a generalist’s look, not a specialist’s diagnosis. They note visible cracks or missing caps from the ground. A certified chimney professional digs into the details you can’t see, which is where real hazards hide.
Level 1 Inspection: The Routine Check-Up
Think of this as your chimney’s annual physical. It’s the standard inspection performed during routine cleaning or when your system is accessible and hasn’t changed.
- It examines all readily accessible parts of the chimney inside and out.
- The technician checks the basic soundness of the masonry, flue liner, and mortar joints.
- They verify that your appliance (like your furnace or water heater) is properly connected.
- They look for obstructions or any obvious buildup of combustible creosote.
I recommend this yearly if you use your fireplace or furnace regularly. It’s straightforward and forms the foundation of safe operation.
Level 2 Inspection: The “Something Changed” Evaluation
This is a more thorough look required by code in specific situations. If your home is being sold, if you’ve had a major storm or chimney fire, or if you’re switching fuel types (like going from gas to wood), you need a Level 2.
A Level 2 inspection includes everything in Level 1, plus two critical upgrades.
- The technician will inspect accessible attics, basements, and crawl spaces to check the chimney’s concealed sections.
- The core of a Level 2 is a video scan of the entire flue interior. A specialized camera goes up the chimney, giving us a clear view of every crack, gap, or flaw in the liner that you’d never see from below.
On a job last fall, the video scan for a real estate transaction found a broken clay flue tile hidden six feet up. The Level 1 visual from the fireplace looked perfect. That scan prevented a major safety issue for the new homeowners.
Level 3 Inspection: The Structural Investigation
This is the most comprehensive level. We only perform it when a serious hazard is suspected from a Level 1 or Level 2 inspection. It involves investigating concealed areas of the chimney structure.
- A Level 3 inspection is necessary when we believe there is hidden damage inside a wall or behind a masonry surface.
- This level may require the removal of parts of the chimney structure, like an interior wall or crown, to access and evaluate the hazard.
- It’s the step we take before major repairs to fully understand the problem’s extent.
You don’t start here. You end up here if the evidence points to a deep-seated problem. The goal is to diagnose the issue completely so the repair plan is right the first time.
How Long Does a Chimney Inspection Take? A Realistic Timeline
In my twenty years on roofs, I’ve timed countless chimney inspections. The short answer is it varies, but I can give you realistic ranges based on the three standard levels.
Level 1 is the most common inspection for a routinely used chimney, and it typically takes 30 to 60 minutes. I visually check the readily accessible parts from the roof and ground. It’s a quick health check.
Level 2 inspections are more involved, often required for home sales, and they take 1 to 2 hours. I use a specialized camera to scan the entire flue lining and check attics or crawl spaces. I once spent nearly two hours on a Level 2 because the access panel was nailed shut.
A Level 3 inspection is the most comprehensive, usually called for after suspected damage, and it can take half a day or more. This may involve removing chimney walls or parts of the building structure to see hidden areas. It’s a major undertaking.
Those times are benchmarks. Real-world factors always change the schedule. On a job last spring, a tall chimney on a steep roof added an extra hour just for setup and safe access. Here are the main variables that affect how long your inspection will take:
- Chimney Height and Construction: A tall, masonry chimney simply has more surface area to examine than a short metal pipe.
- Roof Pitch and Condition: Steep or slippery roofs require slower, more deliberate movement for safety.
- Overall Accessibility: Difficult ladder placements or locked attic hatches eat up time fast.
- Need for Cleaning: If the flue is packed with creosote, I often must clean it first to see the lining, which adds 30 minutes to an hour.
So, how long does a chimney inspection take? For a straightforward Level 1, budget an hour. For a Level 2, plan for a two-hour window. If a Level 3 is needed, clear your morning or afternoon.
Remember, the inspection time is just for the evaluation; any complex repairs found will add significant time later. Finding cracked flue tiles or major mortar deterioration means the job scope changes from inspection to repair, which could take days.
My practical advice is to always block out a morning or afternoon for the professional’s visit. Giving us enough time prevents a rushed job and ensures we don’t miss a critical, safety-related detail.
Inside the Pro’s Process: What Testing and Repair Actually Includes
The Inspection Phase: Tools and Techniques
When I inspect a chimney, I use specific tools to leave no stone unturned. My kit always has a few key items.
- High-powered flashlights to see deep into dark flues.
- Moisture meters to find hidden dampness in bricks and mortar.
- Telescoping mirrors for checking tight angles inside the structure.
- Specialized cameras made for navigating sooty, narrow chimneys.
Can a sewer camera be used to inspect chimneys? It can in emergencies, but it’s a poor substitute. I’ve seen homeowners try it. Professional industrial chimney cameras are built to handle heat and are far more durable for a clear diagnosis.
Checking the chimney’s function is a big part of the job. How do you check if a chimney is working? We test for proper draft and look for physical barriers. I check for creosote buildup, which is a flammable, tar-like residue. I scan for cracks in the flue lining and blockages like bird nests. To test the draft, I often light a small piece of paper at the fireplace opening. If the smoke rises quickly and steadily up the flue, the draft is good. If it hesitates or blows back into the room, we have a problem.
The inspection covers both inside and out. From the roof, I closely examine the metal flashing where the chimney meets the shingles. I check the concrete crown on top for cracks and the mortar joints between bricks for weathering. Inside, I look at the fireplace surround and the chimney interior for water stains or damage that points to a leak.
The Repair Phase: Common Fixes from Cap to Foundation
Repairs depend on what we find, but some jobs come up again and again. Here are the most common fixes.
- Flashing resealing or replacement: This metal seal between the chimney and roof is the most common leak source.
- Crown repair: The concrete slab on top needs to be smooth and sloped to shed water.
- Repointing (tuckpointing): We scrape out cracked, old mortar from between bricks and put in new, durable mortar.
- Flue relining: This involves installing a new, safe metal liner inside the existing clay flue tiles.
Do roofers fix chimneys? Yes, for the exterior parts that tie into the roof system. I regularly repair flashing and repoint masonry. For the interior flue or liner, I usually recommend and work with a dedicated chimney sweep. It’s a team effort to get it done right.
On every chimney repair, I add a layer of ice and water shield around the base. This self-adhesive membrane is like a waterproof gasket under the shingles and flashing. It seals the roof deck from any water that gets past the first line of defense. It’s especially crucial for chimney leak repair and waterproofing.
A typical flashing repair has clear steps. First, I gently lift and secure the shingles around the chimney. Next, I remove the old, failed flashing. I cut and bend new, heavy-gauge metal to fit the chimney’s sides perfectly. After nailing it in place, I seal all the seams and edges with a high-grade roofing sealant. The final, critical step is to properly layer the shingles back over the flashing’s edges. If this integration isn’t seamless, water will drive right under the shingles. I’ve fixed too many leaks from jobs where this step was rushed.
Can You Inspect Your Own Chimney? The Hard Truth About DIY
You can give your chimney a basic once-over from the ground. I tell homeowners that’s okay. But the moment you think about getting on the roof, the answer changes to a firm no. A proper inspection needs a close look at the cap, flashing, and mortar up high, and that’s not a DIY job.
From a safe spot on your lawn, you can safely check two main things. Keep your feet on solid ground.
- Interior fireplace condition: Open the damper and use a flashlight. Look for cracks in the firebrick or thick, glazed soot called creosote.
- Visible mortar from the ground: Use a pair of binoculars. Scan for white, powdery residue or chunks missing between the bricks.
Contrast that with going onto the roof. Your roof’s pitch might be steeper than it looks. One wrong step on a granular surface can lead to a life-changing fall. I’ve repaired roofs where a homeowner’s well-intentioned check cracked the shingles and bent the chimney flashing. You can cause expensive damage trying to save money.
So, can you inspect your own chimney? For a superficial look, yes. For anything meaningful, no. My rule after 20 years is simple: if the check requires a ladder, call a professional. They have the tools and training to do it safely and thoroughly.
People often ask if fire departments inspect chimneys. They might check for clear code violations if there’s a complaint. Fire departments are not a substitute for a scheduled chimney sweep and inspection. Their role is emergency compliance, not routine maintenance for your home.
Gearing Up and Staying Safe: Why This is Pro Territory
Let me be direct. Climbing onto your roof to poke at your chimney is one of the most dangerous DIY tasks you could consider. What looks simple from the ground is a different world up on the pitch.
My crew never sets foot on a roof without a full safety system. This isn’t just about being careful.
- Roof harnesses and fall arrest systems are non-negotiable. They are physically tied to a secure anchor point before any work begins. A simple slip can be fatal.
- We use commercial-grade, sturdy ladders that extend at least three feet above the roof line for a safe transition.
- Roof jacks and planks create a stable, level work platform on sloped surfaces. You cannot safely hold tools and inspect flashing while also balancing on shingles.
The chimney itself hides specific dangers you might not see.
Roofing around a chimney is often uneven. Shingles create a tripping hazard, and the change in plane near the chimney base is tricky to navigate. I’ve seen too many decks with soft, rotten wood hiding right where the chimney meets the roof, a disaster waiting for someone to step on it.
Then there are the external threats. Overhead power lines or service drops often run near the chimney. A metal ladder or long inspection camera pole can easily bridge a deadly gap if you’re not hyper-aware of your surroundings. Even beyond these physical hazards, it’s important to be vigilant about chimney fire dangers and take proper safety measures.
Proper chimney repair is a hybrid skill. It demands knowledge of two distinct trades. A master roofer knows how to integrate flashing with the roof membrane to create a watertight seal. A master mason understands brick, mortar, crown integrity, and flue liners.
Fixing the flashing but ignoring cracked mortar is a half-repair that will fail. Rebuilding the crown but botching the roof seal invites a major leak. You need someone who can see the whole picture.
This is why I advocate for hiring a certified specialist. For anything more than a basic visual check from your yard with binoculars, call a pro. Look for a Chimney Safety Institute of America (CSIA) certified technician. This certification means they’ve been tested on the latest safety codes, proper inspection procedures, and repair standards. They have the combined roof and chimney knowledge to diagnose the real problem and fix it correctly the first time, keeping everyone safe in the process.
When to Schedule an Inspection and What It Will Cost
Don’t wait for water stains on your ceiling to think about your chimney. Timing your inspection prevents small, affordable fixes from turning into massive, expensive headaches. I tell my clients to mark their calendar for these key moments.
Schedule a professional chimney inspection in these four situations.
- Before Buying a Home: This is non-negotiable. I’ve opened up chase covers in attics for new homeowners to find crumbling mortar and cracked flue tiles the basic home inspection missed. Knowing the true condition is vital for your budget.
- After a Major Storm: High winds can loosen caps or crack masonry. Hail impact can damage the crown. A post-storm check ensures your chimney is still sealed tight against the next rain.
- For an Annual Check-Up: Think of it like an oil change for your roof. A yearly visual from a pro catches minor wear in the flashing or early mortar deterioration you might not see from the ground.
- If You See Warning Signs: This includes any interior water leak near the chimney, visible cracks in the brick or stone, or pieces of mortar (spalling) on the ground. Your chimney is telling you it needs help.
Understanding Chimney Inspection and Repair Costs
Costs can vary, but having a ballpark figure helps you budget. Think of the inspection fee as an investment in a full diagnosis. The repair quote is the prescription.
A standard Level 2 inspection typically costs between $150 and $500. This covers the interior, exterior, and accessible attic or crawlspace areas. A Level 2 inspection with a video scan of the flue will be on the higher end of that range, but it’s worth it for the detailed view.
Common repair costs follow the inspection. These are national averages; your local rate may differ.
- Repointing (Tuckpointing): Scraping out damaged mortar and replacing it. This often costs $500 to $2,500, depending on how much surface area needs work.
- Replacing Chimney Flashing: The metal seal where the chimney meets the roof. Proper replacement involves integrating new metal under the shingles. Budget $300 to $1,500.
- Installing or Replacing a Chimney Cap: A critical defense against water and animals. A quality, professionally installed cap usually runs $200 to $600.
What Influences Your Final Price
When you get a quote, these are the main factors the roofer or chimney sweep is considering.
Chimney height and accessibility are the biggest price drivers. A tall, steep-roof chimney requires more safety setup and time than a short one on a low-pitch roof. The repair scope matters too. Replacing one section of flashing is far less labor than a full masonry rebuild.
Local labor and material rates will always affect the bottom line. Finally, the professional’s specialty plays a role. A dedicated chimney service might charge more for a complex flue repair than a general roofing company, but they bring specific expertise to that task.
Getting a Fair Quote and a Useful Report
Always get at least two or three written estimates. This isn’t just about price. It lets you compare how each professional assesses the problem and plans to fix it.
Insist on a detailed written report from the inspection, not just a verbal summary. A good report includes photos of any issues, a clear description of the problems, and a prioritized repair recommendation. This document is your roadmap and your proof of condition.
Ask if the inspector is also providing the repair quote. Some companies only do inspections, which can be more impartial. Others inspect and repair, which can be convenient. Just understand the relationship.
The Real Cost of Skipping an Inspection
I’ve been on too many jobs where a $300 inspection could have prevented $10,000 in damage. Water from a failed chimney seal doesn’t just drip into your fireplace.
It runs down the inside of the chimney chase, soaking the wooden roof decking and framing. It pools in your attic, leading to rot and mold. It ruins ceilings and walls. The math is simple.
Paying for a professional chimney inspection is always cheaper than repairing the water-damaged roof decking and interior walls it was meant to protect. You’re not just buying a service. You’re buying peace of mind and protecting the biggest investment most of us will ever make.
Quick Answers
1. How do I know which level of chimney inspection I actually need?
Start with a Level 2. It’s the standard for a thorough evaluation, includes a video scan of the flue, and is required for home sales or after any major change to your system. A Level 1 is only for routine check-ups on a known, unchanged chimney.
2. What should I expect the professional to do during the inspection?
They’ll examine your chimney from the ground, the roof, and inside your home, using specialized tools like moisture meters and cameras. You should receive a clear report with photos and a prioritized repair list, not just a verbal summary.
3>My inspection found issues. Should the same person do the repairs?
It depends on the repair. A qualified roofer should handle flashing and external masonry. For internal flue liners or heavy creosote, a dedicated CSIA-certified chimney specialist is best. Always get a detailed, written scope of work for any repair quote. For chimney rebuilding or substantial masonry repairs, use a specialist with chimney expertise to oversee the project. If a new flue liner or crown restoration is needed, the same team can coordinate these elements for a safe, durable result.
Your Roof’s Health Starts with Chimney Care
From my time on countless roofs, I tell every homeowner the same thing: book a professional chimney inspection each year. This routine check is your best defense against unexpected repairs and keeps your entire roof system working safely.
You are the first line of defense for your home’s safety and longevity. Make a habit of learning about roof maintenance, and you’ll be ready to make smart, lasting choices for your property.
Ray Huffington
Ray is an experienced roofer. He has worked as a general contractor in the roofing industry for over 15 years now. He has installed and repaired all kinds of roofs, from small houses to large mansion, and from basic shingles to cement and metal roofs and even solar roof panels. He has seen homeowners struggle with roofing questions and always has experience based proven advice to help those in need. If you need roof pros, Ray's your guide.