
Is Your Roof Structurally Ready for Solar Panels? A Roofer’s Prep Guide
You’re excited to cut your energy bills with solar power, but have you considered what your roof needs to make that happen?
Most homeowners I talk to are concerned about hidden costs or whether their roof can even hold the panels. I’ve worked on jobs where we found major issues only after the solar crew arrived, leading to expensive delays.
To save you that headache, here’s my straightforward plan: assessing your roof’s material and current health, confirming your home’s framing can carry the load, and detailing the common repairs required before any installer arrives.
Is Your Roof Strong Enough for Solar Panels? The Integrity Check
I’ve been on hundreds of roofs over the years, and the first question I ask is about strength. Solar panels add weight and foot traffic, so your roof must be sound. That also means checking the roof’s capacity to safely carry solar panels. Start with a simple visual check from the ground. Use binoculars to scan your roofline for any dips or sags. Look for dark streaks from algae or missing granules on shingles. These are early warnings.
Next, head to your attic. Do this on a bright day. Turn off the lights and look up at the roof deck. Any pinpricks of daylight or dark water stains mean you have leaks that must be fixed before solar installation. Feel the decking with your hand if you can reach it. It should feel solid, not soft or spongy.
| Roof Type | Typical Lifespan |
|---|---|
| Asphalt Shingles | 20 to 30 years |
| Metal Roofing | 40 to 70 years |
| Clay or Concrete Tile | 50 years or more |
| Flat or Low-Slope Roof | 10 to 20 years |
Compare your roof’s age to this report on roof shingle lifespan. If it’s near the end of its life, solar is a bad idea. I once advised a client to replace their 25-year-old asphalt roof first. They saved themselves a double installation cost later.
Watch for red flags. Cracked or curled shingles across the roof are a sign of aging. Widespread granule loss in your gutters means the shingles are wearing out. If the roof deck feels spongy underfoot, that’s a critical failure point requiring immediate replacement. These issues won’t fix themselves and will only worsen with solar panels on top.
So, can you have solar panels on your roof? The answer depends entirely on its current condition. A roof with minor issues can be repaired, but one with red flags needs a full replacement. Don’t gamble with your home’s protection, especially when considering solar panels on your roof.
If you’re considering solar for your garage, check it separately. Garage roofs are often simpler but can have unique issues like poor drainage or lighter framing. Inspect it with the same ground and attic checks.
What to Look for in Your Attic and on Your Roofline
Your attic tells the real story of your roof’s health. Look at the roof rafters and decking from the inside. Use a flashlight to check for dark, damp spots or white, fuzzy mold. These are signs of moisture intrusion and rot. Tap on the wood with a screwdriver handle. It should sound firm, not hollow or crumbly.
Check for proper ventilation. Are the soffit vents blocked by insulation? Is there a ridge vent along the peak? Poor airflow traps heat and moisture, which slowly rots the wood from the inside. Structural strength starts from the inside out, so a dry, well-ventilated attic is non-negotiable for a solar-ready roof.

On the roofline, from the outside, look for uneven planes or sagging between rafters. This can indicate structural weakness. Also, inspect for insect damage, like small holes or sawdust piles near the eaves, which compromise the wood’s integrity.
How to Prepare Your Roof for Solar Panel Installation: A Step-by-Step Guide
Proper prep work makes the solar install smooth and leak-free. Here’s the sequence my crew follows on every job.
- Clear the Surface: Remove all debris, moss, and loose nails. A clean roof allows for a proper inspection and secure panel mounting.
- Replace Compromised Shingles: Swap out any cracked, curled, or missing shingles with exact matches. This maintains the weatherproof layer.
- Verify Flashing Condition: Inspect the metal flashing around chimneys, vents, and walls. Rust, gaps, or loose sections must be repaired or replaced.
- The Leak Point Analysis: Focus on critical junctions like valleys, skylights, and plumbing vents. We apply a high-grade ice and water shield membrane in these areas for a waterproof seal. Think of it like adding a raincoat under your shingles at the weakest points.
- Schedule a Professional Inspection: Before the solar crew arrives, have a licensed roofer do a final check. They can certify the roof’s readiness and spot hidden issues.
- Understand DIY Risks: Can you install solar panels yourself? The preparation alone requires specialized roofing knowledge to prevent leaks that could damage your home and void warranties. Most homeowners find the risk too high.
A professional inspection is not a suggestion. It’s a necessity. I’ve been called to fix leaks from solar installs where the prep was skipped, and it always costs more than an initial inspection would have.
Critical Pre-Installation Repairs You Can’t Skip
Not all repairs are equal. Minor fixes, like replacing a few shingles or sealing a vent flash, are affordable and quick. You might handle some yourself with guidance. Major issues, like replacing rotted decking or fixing structural sag, require skilled labor and significant investment.
Skipping necessary repairs to save money now will almost certainly void both your existing roof warranty and your new solar panel warranty. Manufacturers and installers will deny claims if leaks stem from pre-existing conditions. On a job last fall, we had to replace an entire section of decking the homeowner ignored. The delay cost them more than the initial repair quote. This is especially true for roofs with solar panels, where proper installation and maintenance are critical.
Compare the effort. Patching a few shingles is like sewing a button. Replacing decking is like rebuilding a wall. Do the math and invest in a solid foundation for your solar investment.
Understanding Roof Structure: Can It Hold the Weight of Solar Panels?
Think of your roof like a garage floor. Adding solar panels is similar to parking a car on it, but the weight is spread out over a larger area. Your roof must handle two main types of weight: the dead load and the live load.
The dead load is the constant weight of the panels, racking, and mounting hardware. A typical residential solar array adds about 3 to 5 pounds per square foot. The live load is the temporary weight from snow, wind uplift, or a worker during maintenance. In snowy regions, this combined load is the real test.
Your roof’s rafters or trusses are the bones that carry this load, and they must be strong enough.
I’ve reinforced dozens of roofs for solar. Structural reinforcements are needed when the existing framing is undersized, the home is older, or you’re in a heavy snow zone. This usually means sistering new lumber to the existing rafters or adding support braces from below. A solid framing approach matters, and following roof structure building framing best practices helps ensure long-term safety and performance. The next steps will outline those framing best practices in more detail.
Many homeowners ask if a solar roof can power a house. The answer ties directly to structure. A larger system that can power more of your home requires more panels, which means more weight. Your roof’s capacity dictates the maximum safe system size.
For any home built before the 1990s or with a unique design, hiring a structural engineer for an assessment is a smart, non-negotiable step.
How Roof Pitch and Orientation Affect Mounting and Performance
Roof pitch changes everything. A low-slope roof needs special mounts to angle the panels correctly for sun exposure. A low-slope roof requires different hardware to securely clamp everything down compared to a steep roof.
You can estimate your roof’s pitch by measuring the vertical rise over a 12-inch horizontal run. Most mounting systems are designed for pitches between 15 and 40 degrees.
For energy production, a south-facing roof slope is the gold standard in the northern hemisphere, capturing the most sunlight throughout the day.
East or west-facing roofs still work well, but you might need a few extra panels to match the output of a south-facing setup. I always advise checking the sun’s path over your property before finalizing the panel layout.
Solar Panels on Different Roof Types: Asphalt, Metal, Tile, and Flat
Each roof material has its own rules for a safe solar install. Getting this wrong is the fastest way to cause leaks.
For common asphalt shingle roofs, installers use lag bolts driven directly into the roof rafters. The preparation involves lifting shingles to place corrosion-resistant flashing under them, then sealing the bolt penetrations. It’s a reliable method when done right. However, it’s just one of many roof installation methods used in the industry.
Metal roofs, like standing seam, often use clamps that grip the seam without drilling. For corrugated metal, they may use screws with hefty rubber washers. The leak point is always the fastener seal.
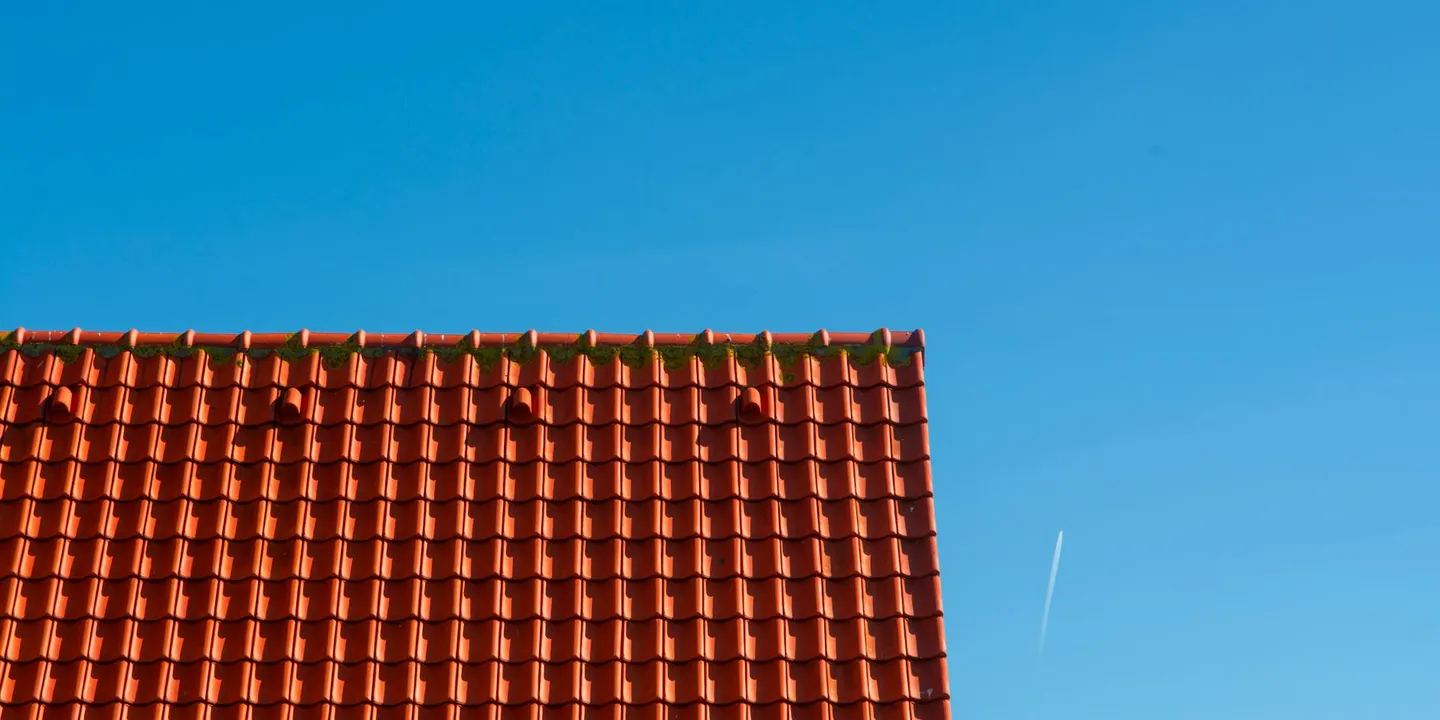
On tile or slate roofs, you never drill through the tile itself. Specialized mounting systems use hooks that slide under the tiles or replace specific tiles with custom bracketed ones.
Flat roofs present a choice. A ballasted system uses weighted blocks to hold the panels down, with no roof penetrations. A penetrated system uses mounts screwed into the roof deck. Ballasted is simpler but adds significant dead load; you must ensure the roof can hold it. Both methods must never block drainage paths.
Can a roofer install solar panels? A skilled roofer can handle the mounts and critical flashing work. But for the electrical wiring and system design, you need a certified solar technician. The best jobs happen when both crews coordinate, ensuring the roof’s waterproofing is integrated perfectly with the racking system.
Special Considerations for Tile, Slate, and Standing Seam Metal
These premium materials demand extra care. The wrong tool can cause costly damage in seconds.
For clay or concrete tile roofs, installers use tile hooks, tile lifters, and a diamond blade grinder to cut tiles for brackets. For slate, they need slate rippers and copper nails for any replacement work. Standing seam metal requires specific seam clamps that match the profile of your roof.
Always coordinate with a roofer who specializes in your roof material. They know how to maintain its weathertight seal and protect your manufacturer’s warranty during the solar installation.
On one historic slate job, we worked side-by-side with the solar crew. The roofer handled all the tile removal and reinstallation, while the solar team attached the rails to our custom brackets. This teamwork prevented broken tiles and guaranteed no leaks. It was a critical part of the process when installing solar panels on tile or slate roofs.
Rules of the Game: Building Codes, Permits, and Safety for Solar Installations

Before a single panel goes up, there’s homework to do. This isn’t just about finding a sunny spot. It’s about following rules that keep your home safe and legal.
Every city and county has its own building codes. Your solar installer needs to know them. These codes dictate how the system must be anchored and wired. They also include fire setback rules.
Fire setbacks require a clear, unobstructed path for firefighters to walk on your roof, which directly impacts where panels can be placed. I’ve seen installations get redrawn because this critical safety rule was an afterthought.
You’ll also hear installers talk about “wind uplift” ratings. Think of it like this. A strong wind doesn’t just blow over a panel. It tries to suck it up and off the roof, like a kite. The mounting hardware must resist this upward force.
Your roof’s structure and the chosen mounts must have a combined rating that meets or exceeds your local wind speed requirements. If the rating is wrong, your investment could literally blow away in a storm.
Safety during the install is non-negotiable. A professional crew will use proper fall protection harnesses anchored to secure points. They will have a detailed plan for managing tools and materials on the roof to prevent slips and drops.
Electrical safety is the other half. The system must be completely de-energized before any wiring work begins. This is not a DIY weekend project.
Hire a licensed, insured professional who handles the permit process for you. They know the codes, they carry the right insurance, and they are responsible for the work. It’s the only way to manage these complexities correctly.
Permits, Inspections, and Protecting Your Roof Warranty
Your installer will typically pull the permits. To do that, they need specific documents. You can expect them to provide:
- A detailed site plan showing your property and roof.
- Engineering drawings of the racking system, proving it meets wind and snow load requirements.
- An electrical diagram of the full system.
- The specifications for all the major equipment (panels, inverter).
Once installed, a city inspector will visit to check the work against these plans. Do not skip this step.
Now, let’s talk about your roof’s warranty. Most shingle manufacturers have strict rules about penetrations.
Drilling mounts through your roof incorrectly is the fastest way to void the manufacturer’s material warranty. The installer must use flashing kits designed to integrate with your specific roofing material and create a watertight seal.
Before work starts, ask your roofer or check your warranty paperwork. Some manufacturers require their certified roofers to install any flashing, or they may approve specific solar mounting products. Get this in writing from your solar company to keep your coverage intact.
After the Panels Are Up: Roof Inspection and Ongoing Maintenance
The job isn’t done when the installers drive away. You need to do a final walk-through, either with them or immediately after. Use this simple checklist.
- Flashing and Sealant: Look at every point where a mount penetrates the roof. The metal flashing should lay flat against the shingles. The sealant should be a clean, continuous bead with no gaps.
- Shingle Condition: Check the area where the crew worked. Are any shingles cracked, creased, or missing granules? This is a sign of careless foot traffic.
- Conduit and Wiring: All conduit runs should be securely fastened. Nothing should be loose or rubbing against the roof surface.
For ongoing care, your job is mostly about monitoring. Keep the lower roof edges and valleys clear of leaves and pine needles, as you normally would.
Schedule a visual inspection once a year, ideally in the spring. You can often see potential issues from the ground with binoculars. Look for any shifting panels, loose wiring, or debris buildup under the array.
Here’s a benefit many don’t consider. The panels act like a shield. They protect the section of roof they cover from UV rays, hail, and heavy rain. This can actually extend the life of the underlying shingles.
Remember, the rest of your roof is still exposed. You must maintain your gutters, trim overhanging branches, and check for moss or algae growth on the uncovered sections. The roof still needs care.
How to Spot Installation Problems Before They Cause Leaks
Catching a small issue early saves a big repair later. From the ground, watch for these red flags.
- Conduit or cables that are dangling, loose, or not properly secured to the roof or racking.
- On tile roofs, look for cracked or broken tiles directly around the mounting feet.
- Visible gaps or wrinkles in the flashing metal. You should not see any roof felt or decking peeking through.
- Stains or streaks on the ceiling inside your home, directly below or near the panel array.
- Panels that look uneven, sagging, or are not perfectly aligned in their rows.
If you spot a problem, you need to call the right professional. For anything involving the roof membrane, flashing, or seals, call your solar installer first. They warrant their penetration work.
If you have a general roof leak away from the mounts, or need an assessment of your overall roof health, that’s a call for a licensed roofer. A good roofer can tell you if a leak is related to the solar install or a separate roof issue.
Common Questions
How do I know if my attic inspection revealed a deal-breaker for solar?
Structural sag in the rafters or widespread rot in the decking are critical red flags. You must have a professional roofer or structural engineer assess and repair these issues before any solar installation proceeds.
My roof pitch isn’t ideal. Can I still mount panels securely?
Yes, panels can be mounted securely on most pitches with the correct hardware. Your solar installer will select mounts and flashing kits specifically engineered for your roof’s angle to ensure a watertight seal.
Will installing solar panels void my existing roof warranty?
It can, if penetrations are made incorrectly. Always check your warranty terms and ensure your installer uses approved flashing methods, getting any required manufacturer approvals in writing before work begins.
Your Roof Comes First
Everything starts with a strong, weathertight roof that can handle the weight and the decades-long commitment. A proper inspection by a qualified roofing professional is your essential first step, not an afterthought.
You are the steward of your home’s first line of defense. Make safety, regular maintenance, and building code compliance the non-negotiable foundation of every project you undertake on your roof.
Ray Huffington
Ray is an experienced roofer. He has worked as a general contractor in the roofing industry for over 15 years now. He has installed and repaired all kinds of roofs, from small houses to large mansion, and from basic shingles to cement and metal roofs and even solar roof panels. He has seen homeowners struggle with roofing questions and always has experience based proven advice to help those in need. If you need roof pros, Ray's your guide.