
How Do You Install Spray Foam Insulation on Your Roof and in Your Attic?
Why does one house feel drafty while the next one stays perfectly comfortable year-round? The answer often lies right above your head, in the attic and under the shingles. From my years on roofing crews, I’ve seen how the right insulation can transform a home’s efficiency.
Putting in spray foam insulation yourself is a big project with real risks if done wrong. But with clear steps and the right safety mindset, you can tackle it. I’ll help you avoid the common mistakes I’ve fixed on other jobs.
First, I’ll outline the non-negotiable safety gear and setup for working with foam chemicals. Next, we’ll go through how to properly prepare your attic space and roof deck for adhesion. Finally, I’ll explain the spraying technique that ensures a consistent, code-compliant seal based on my hands-on experience.
What is Spray Foam Insulation, Really?
Forget the image of pink fluffy rolls in the attic. Spray foam is a liquid plastic that expands into a solid, airtight seal. Think of it like a winter coat you spray directly onto your house’s frame.
There are two main types, and the difference is critical.
- Open-Cell Foam: This is the spongy one. It’s lighter and less expensive. It’s fantastic for sound dampening and interior spaces, like your attic ceiling.
- Closed-Cell Foam: This is the rigid one. It’s much denser, provides a moisture barrier, and adds structural strength. This is what you use on the underside of your roof deck.
Its real superpower isn’t just insulation, it’s being an air barrier. Traditional insulation like fiberglass batts only slows heat transfer. Spray foam fills every single crack, gap, and nail hole, stopping the air movement that causes most energy loss and ice dams. When paired with proper attic ventilation, it becomes part of a complete ice dam prevention strategy.
The term “spray foam for shingles” can be confusing. We’re not spraying foam on top of shingles. In modern systems, a crew sprays closed-cell foam directly onto the clean, bare wood of your roof deck from inside the attic. It creates a seamless, insulated shell. Then, new shingles are installed on top of the roof sheathing as normal. It’s a premium insulation upgrade for a shingle roof.
There is also “spray foam roofing,” a system common on flat commercial roofs but used on homes too. Here, the foam itself is the roofing membrane. It’s sprayed over the old roof, then coated with a protective elastomeric coating. This creates a durable, monolithic, and seamless membrane that’s a legitimate roofing system, not just insulation.
Is Spray Foam a Roofing Miracle or a Mess?
I’ve seen amazing results and absolute disasters. The answer to whether foam roofs are any good isn’t simple. It depends entirely on the job, the climate, and the installer’s skill. To choose wisely, you should weigh the pros and cons of different roofing materials and styles. A quick look at those tradeoffs can help you decide what fits your project.
Let’s break it down.
The Pros (When Done Right):
- Superior Air Sealing: Nothing else comes close. It eliminates drafts and stops conditioned air from escaping.
- High R-Value Per Inch: Closed-cell foam packs a huge insulation punch into a thin layer, great for tight spaces.
- Conforms to Anything: Odd angles, wires, pipes, and irregular framing are no problem. It seals everything perfectly.
- Can Strengthen the Structure: Closed-cell foam bonds to the wood, adding racking strength to your roof assembly.
The Cons (The Reality Check):
- High Upfront Cost: It’s one of the most expensive insulation options. You’re paying for the material and highly specialized labor.
- Professional Installation is Non-Negotiable: This is not a DIY project. The chemicals are hazardous, the mixing ratios are precise, and application technique is everything. A bad spray job is a nightmare to fix.
- It Can Hide Future Problems: If a roof leak happens, the foam can hide the water’s path, making it hard to find the source until serious damage is done.
- Complicates Future Roof Repairs: Need to replace a piece of sheathing? You’ll be cutting through a layer of hardened foam. It adds a step (and cost) for any future roofer.
Spray foam’s performance is 100% tied to correct installation. A perfect application in the right climate is a game-changer for comfort and efficiency. A rushed, thin, or improperly mixed application can lead to off-gassing, poor performance, and trapped moisture that rots your roof from the inside. Do your homework on the installer, not just the product.
The Big Question: Can You (Should You) DIY This?
I’ll give you the same direct answer I’d give a friend asking for a favor on a Saturday: absolutely not for the roof. Spraying foam directly onto your roof deck is not a DIY project.
I strongly advise you to hire a licensed, certified professional to spray foam insulation on your roof rafters or deck. This is the only safe, code-compliant path for that specific job.
Adding insulation between the floor joists in your attic is a different story. That job is sometimes within a very handy homeowner’s reach if they’re comfortable working in a tight, hot space. But applying foam to the roof structure itself is a hard line.
Why This is a Professional-Only Job
This isn’t about protecting a trade secret. It’s about protecting you, your home, and the crew I’ve managed. Here are the hard facts from jobs I’ve seen go wrong.
- Chemical and Respiratory Hazards: The two-part chemicals that mix to create spray foam are serious. They release potent fumes during application that require a supplied-air respirator. The kits you can buy at a hardware store don’t provide that level of protection. I’ve had crew members get sick from a poorly sealed mask.
- Precision Mixing is Everything: The two liquid components must be mixed at an exact 1:1 ratio, at a specific temperature, to expand and cure properly. Off by a little, and the foam can shrink, stay tacky, or worse, not adhere at all. The pro equipment calibrates this automatically. Guesswork here ruins the insulation and your money.
- Specialized, Expensive Equipment: The professional rigs use heated hoses and high-pressure pumps to manage the material consistency. The consumer-grade kits use disposable cans and are notoriously difficult to control. You’ll get an inconsistent, lumpy mess that performs poorly.
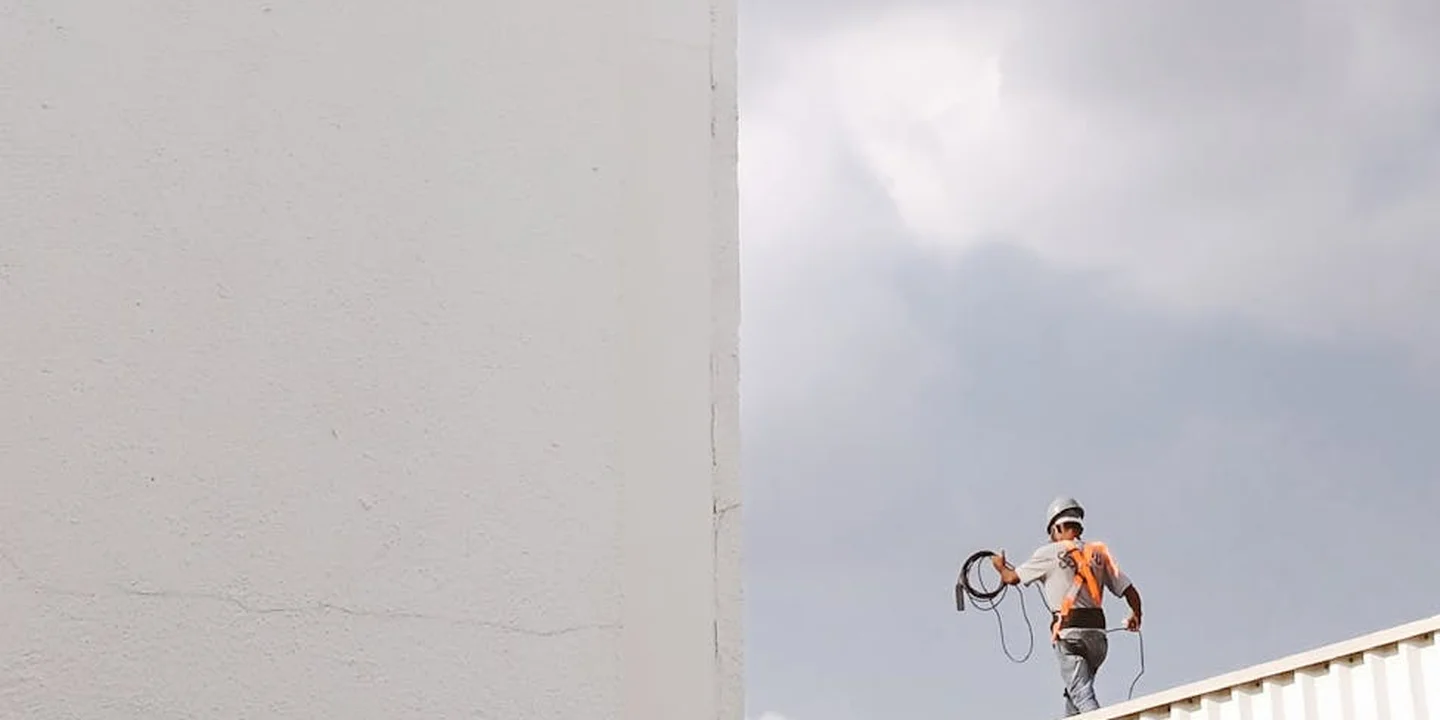
- Extreme Fall Risk: Applying this evenly overhead, often on a sloped surface in a cramped attic, is a balancing act. You’re holding a heavy spray gun, trying to watch your application thickness, and not fall through the ceiling joists. It’s an accident waiting to happen.
The bottom line is clear: insulating your attic floor can be a DIY project, but spraying foam directly onto your roof deck should never be. The risks to your health, the effectiveness of the insulation, and the structure of your roof are too high. Hire a pro who has the training, insurance, and right tools to do it once, and do it right.
Gearing Up: Safety and Prep You Can’t Skip
Installing spray foam is not like laying batt insulation. The chemicals are serious business. I learned this the hard way on an early job, getting a headache that lasted hours from not respecting the fumes. Now, I treat the prep work as the most critical part of the job. It’s way more demanding than even spraying Roof Maxx on shingles.
The Non-Negotiable Safety Kit
You are working with a two-part chemical mix that creates fumes and sticky, expanding foam. Your skin and lungs are not fans. Here is the gear my crew and I never work without:
- A proper respirator: A basic dust mask is useless. You need a half-mask or full-face respirator with organic vapor cartridges (OV cartridges) specifically rated for isocyanates. This is your most important piece of equipment.
- Full coveralls: The overspray is incredibly sticky and will ruin any clothing. Disposable, Tyvek-style coveralls are cheap insurance.
- Chemical-resistant gloves: Nitrile gloves are a good choice. The raw chemicals can irritate skin, and cured foam is a nightmare to scrub off.
- Eye protection: Goggles that seal to your face are mandatory. Safety glasses can let in airborne mist from the spray gun.
Treat your safety gear as your first layer of defense; skipping it to save time or money is a dangerous mistake.
Transforming Your Attic into a Work Zone
Think of the spray foam application like painting, but much messier and permanent. What you don’t cover will get covered in foam specks.
First, clear the attic completely. Remove all stored boxes, holiday decorations, and belongings. You need clear access to every rafter bay and eave.
Next, protect everything below. Seal the attic access hatch with plastic sheeting and tape. Cover any ceiling fixtures or openings from above with plastic. If you have HVAC ductwork or an air handler in the attic, they must be completely wrapped in plastic. Foam overspray on ducts is a major fire hazard and will ruin the equipment.
Electrical safety is key. Turn off power to any attic lighting or outlets at the circuit breaker. Cover electrical boxes and fixtures with plastic bags and tape them securely. We once had to carefully chip foam off a junction box for an hour because a helper got sloppy with the sheeting.
Mapping Your Escape Routes (For Air and Pipes)
Before you spray a single drop, you must identify every roof penetration. These are the spots where things stick up through your roof deck.
- Plumbing vent stacks
- Bathroom or kitchen exhaust vents
- Chimneys
- Electrical mast entries
Your goal is to spray the foam up to these penetrations, not over them. You need to maintain a clear air gap around chimneys and flues as required by code. For pipes and vents, you will spray right up to them, creating a tight seal. The trick is to plan your spraying pattern so you can neatly work around these obstacles without burying them. Mark them with a bit of tape if it helps you remember. A little forethought here prevents a huge headache later when you need to find a vent pipe buried under three inches of rigid foam.
How the Pros Install Foam on the Roof Deck
When my crew installs spray foam, we treat it like a precise recipe. Skip a step, and the whole batch can fail. Here is our exact process, broken down from decades on the job.
-
Surface prep is non-negotiable. You must have a clean, dry roof deck. Any dirt or moisture gets sealed in forever, leading to rot. We sweep away all debris and check for dampness with a moisture meter. I once had to send a helper back up three times to dry a persistent shadowed area. Think of it like applying a bandage; the skin needs to be clean first. Rotted decking hides serious dangers and can fail under weight once the roof is sealed. Addressing rot now protects the structure and your safety.
-
Start spraying in the farthest corner. This lets you work backward without walking on fresh foam. Hold the spray gun about 18 inches away. Use slow, steady passes, overlapping each one by half.
Maintain a consistent thickness. We use a depth gauge every few feet. Watch for “holidays,” which are thin, shiny spots where the foam didn’t expand fully. Hit them with another light pass right away. A uniform layer is what seals the heat in.
-
The cure tells you everything. Good foam will get warm and firm up in minutes. It should have a uniform texture and color.
If it stays soft, tacky, or smells strong after an hour, the mix was wrong. A bad cure usually means the chemical ratio was off or the deck was too cold. In winter, we use heated hoses. If you see shrinking or gaps pulling away from the wood, that foam has to come out. It won’t insulate or protect your roof.
The Attic Connection: Vents, Airflow, and Big Decisions
You’re thinking about foam insulation. I get it. But before you pick up a spray gun, you need to understand your attic. It’s not just empty space. It’s a system for managing heat and moisture. Getting this wrong can hurt your roof from the inside out.
Can Insulation Touch the Roof? The Straight Answer
This is the number one question I hear. The old rule was simple: keep insulation off the roof deck to preserve airflow. With modern materials, the answer is more about your overall strategy. You can let insulation touch the roof, but only if you seal it completely and correctly. A partial job creates a hidden moisture trap.
As for insulating the underside of your roof deck, yes, you can. This is called a “cathedralized” or “hot roof” assembly. This method turns your attic into conditioned space, but it changes everything about how your roof manages moisture. It’s a permanent, all-or-nothing decision.
Vented Attic vs. Unvented “Hot Roof”: Picking Your Path
You have two main roads here. Your choice dictates your entire project.
The Vented Attic (Traditional)
- Air flows in from soffit vents, up through the attic, and out through ridge or gable vents.
- This airflow carries away heat in summer and moisture in winter.
- Insulation goes on the attic floor, keeping your living space warm but the attic itself closer to outside temperatures.
The Unvented “Hot Roof” Assembly
- You spray closed-cell foam directly onto the underside of the roof deck.
- You seal off all attic vents permanently.
- The attic becomes part of your home’s insulated envelope. Its temperature and humidity are controlled by your home’s HVAC.
Choosing the vented path is often safer for existing homes. Choosing the hot roof path requires perfect installation and is often best for new construction or major renovations. I’ve fixed too many roofs where someone sprayed foam in a vented attic without sealing it off. That mistake is a recipe for rot.
The Moisture Trap and Efficiency Promise
Why does this matter so much? Warm, moist air from your house always tries to move into cooler spaces. In a cold climate, that moist air hits a cold roof deck and condenses into water. In a traditional attic, ventilation blows that moisture away. However, in metal roofs used for garages or other spaces, additional condensation prevention measures are necessary.
In a hot roof assembly, the foam itself must act as a perfect air and vapor barrier. If there’s a gap, a thin spot, or poor adhesion, moisture gets in and can’t get out. Trapped moisture will rot your roof deck long before you ever see a leak from the outside. Done right, however, a hot roof is incredibly efficient. You’re eliminating a major source of heat loss and gain, and sealing countless air leaks.
Attic Floor vs. Roof Deck: A Garage Example
Let’s say you’re insulating a garage with an attic space above. Your goal helps you choose.
Insulating the Attic Floor
- You keep the garage cold but the space above it more temperate.
- It’s cheaper and simpler. You maintain ventilation above the insulation.
- This is the right choice if you only use the garage for storage and cars.
Insulating the Roof Deck (Creating a Hot Roof)
- You bring the entire garage, including the attic space, into the conditioned zone.
- It’s more expensive and technically demanding.
- This is the best choice if you plan to use the attic for a workshop, office, or living space, as it controls the temperature of the entire structure.
What Will This Cost, and Is It Worth It?
Let’s talk numbers. I always tell homeowners to get a few detailed quotes, but I can give you a solid starting point from what I’ve seen on jobs.
For open-cell spray foam applied to the attic floor, you’re typically looking at $1.00 to $1.50 per board foot. For a closed attic, that usually translates to a total project cost between $1,500 and $3,000.
Spraying foam directly to the roof deck (the underside of your roof) is a more involved job. The material itself is pricier. Expect costs in the range of $1.50 to $3.00 per board foot for closed-cell foam. For a whole roof deck, this can mean a project costing $8,000 to $15,000 or more, which is significantly higher than the cost for installing a metal roof.
Comparing the Long-Term Value
This is the big question. Spray foam costs more upfront than batts or blown-in fiberglass. But you’re not just buying insulation you’re buying a complete air barrier. Consider how spray foam stacks up against fiberglass insulation. We’ll compare air sealing, R-value, and long-term costs.
A well-sealed attic with spray foam can slash your heating and cooling bills by 20% to 40% compared to a poorly insulated, drafty attic. Over 10 or 15 years, those savings add up fast and can cover a big chunk of the initial investment.
Think of it this way: traditional insulation is like a thick sweater. Spray foam is that sweater with a windproof and waterproof shell over it. One just slows down heat loss; the other stops the air movement that causes most of it. For roof types like metal, gambrel, flat, or rafter-style roofs, the insulation approach can vary to fit the structure, ensuring you get the best performance. Choosing the right method now saves energy later.
What Changes the Final Price?
Your quote will move up or down based on a few key things:
- Roof Complexity: A simple gable roof with easy access is the baseline. Lots of valleys, dormers, low slopes, or tight spaces add significant time and labor.
- Foam Type and Thickness: Closed-cell foam is more expensive per inch than open-cell. Needing a higher R-value means applying more inches of foam, which increases material costs directly.
- Prep Work Needed: If your attic is full of old insulation that needs removal, or if electrical wiring needs to be addressed for safety, that’s an added cost.
- Regional Labor Rates: Installation costs in a major metropolitan area are almost always higher than in a rural region. Always get local quotes.
Caring for Your Foam Insulation Over Time
Think of closed-cell spray foam as a durable seal for your attic. Once it’s up, you can mostly forget about it. But just like you’d check your car’s brakes after a long trip, giving your foam a look now and then is smart maintenance.
Good spray foam should last as long as your roof’s framing. I’ve seen 25-year-old foam jobs that are still performing perfectly because they were done right the first time. The key to long life is a professional installation that seals every gap on the first pass.
How to Perform a Simple Foam Inspection
You don’t need any special tools for a basic check. Once a year, and always after a major storm, grab a bright flashlight and look at the foam from inside your attic.
Look for these three things:
- Gaps or Cracks: Foam should be a continuous, unbroken layer. Check where different surfaces meet, like where the roof deck meets a wall or around plumbing vents. A thin hairline crack might not be urgent, but a visible gap is.
- Shrinkage: Poorly mixed or low-quality foam can pull away from the wood. This looks like the foam has shriveled back, leaving an air space. Imagine a glue stick that’s dried up and pulled away from the tube.
- Discoloration or Odor: Foam should be a consistent color (usually yellow or light tan). Dark stains or a persistent chemical smell can indicate a moisture problem or an improper cure.
Any physical damage, like punctures or sections torn away, is a direct path for air and moisture and needs immediate attention.
When to Call a Professional for Repairs
You cannot fix spray foam insulation yourself.
The chemicals require trained technicians with proper safety gear and spray equipment. If your inspection finds a problem, call a certified foam installer. A pro will assess the damage, prepare the area, and spray new foam to seamlessly patch the hole. Attempting a DIY fix with canned foam from a hardware store will not create a proper air seal and can trap moisture against the old foam.
Also, remember that foam changes future roof work. If a roofer needs to replace decking, they’ll have to cut through the foam. It’s a messier, more labor-intensive job. Always tell any roofing contractor you have spray foam before they start an inspection.
A Final Note on Longevity and Value
A quality foam installation is a one-time investment. When it’s applied correctly to a clean, dry deck, it becomes a permanent part of your home’s thermal and air barrier. This durability is why it’s so critical to vet your installer thoroughly; a cheap job now leads to expensive problems later.
Your role as a homeowner is simple: be observant. A quick visual check from the attic side every so often ensures your investment keeps working silently for decades, protecting your roof structure and keeping your home comfortable.
Quick Answers
When should I choose spray foam over traditional attic insulation?
Choose spray foam when your main goal is stopping air leaks and drafts, not just adding R-value. It’s the right choice for sealing irregular spaces, conditioning an attic you plan to use, or solving persistent ice dam problems where air sealing is the real fix.
How can I tell if an existing foam roof job was done poorly?
Look for visible gaps, shrinkage pulling away from the wood, or inconsistent texture. A strong chemical smell long after installation and any signs of moisture or dark stains on the foam are major red flags that require a professional inspection immediately.
Can I add spray foam to just part of my attic or roof?
No. This is an all-or-nothing system. Partially spraying a roof deck in a vented attic traps moisture, and mixing insulation types on the attic floor compromises the air seal. You must commit to one complete strategy-either a sealed hot roof or a fully vented attic with insulation only on the floor.
Securing Your Home’s Thermal Envelope
Installing spray foam correctly creates a continuous barrier that manages temperature and moisture from the shingles down. This upfront care translates into lower utility costs and a roof that resists common wear for decades.
You hold the key to your property’s longevity through vigilant upkeep and educated choices. Understanding residential roof life expectancy factors helps you plan smarter maintenance and budgeting. Continuous learning about roof care, from materials to maintenance, ensures your insulation and entire roofing system perform as intended.
Ray Huffington
Ray is an experienced roofer. He has worked as a general contractor in the roofing industry for over 15 years now. He has installed and repaired all kinds of roofs, from small houses to large mansion, and from basic shingles to cement and metal roofs and even solar roof panels. He has seen homeowners struggle with roofing questions and always has experience based proven advice to help those in need. If you need roof pros, Ray's your guide.