
How Do I Prevent and Remove Ice Dams and Icicles from My Roof?
Have you ever looked at the icicles on your house and wondered if they’re a sign of trouble? Ice dams aren’t just a winter decoration; they trap water on your roof that can seep into your attic and walls. I’ll break down why ice dams form, share my go-to methods for stopping them before they start, and show you how to remove ice safely without damaging your shingles.
Key Takeaways: Quick Facts on Ice Dams
Ice dams are a symptom, not the main problem. Your goal is to treat the cause.
- An ice dam is a clear signal that heat is escaping from your house and warming your attic. It means your energy dollars are literally melting your roof.
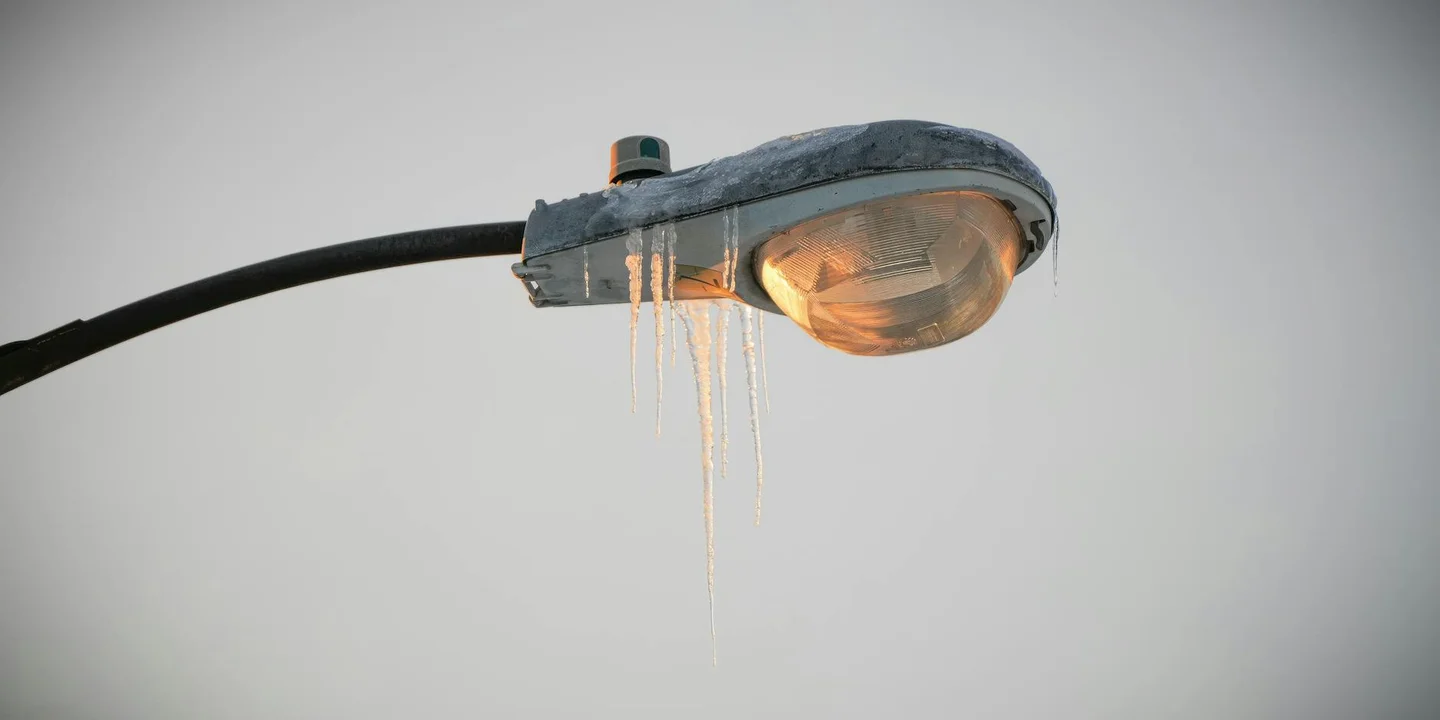
- Icicles are warning signs. A thick, cone-shaped icicle that is actively dripping is a flashing red light, not a winter decoration.
- Removing ice requires careful methods. Rushing with a hammer or axe will damage your shingles and void warranties.
- Long term prevention always comes back to two things: proper attic insulation and balanced ventilation. This fixes the root cause.
- Yes, icicles on your roof are bad. They show that snow is melting and refreezing, which is the first step toward dam formation.
This guide covers what to do right now and what to fix for next winter.
How to Spot an Ice Dam or Dangerous Icicles
You spot an ice dam by looking for the right clues. After a heavy snow, I tell homeowners to wait a day, then look.
Here is how you identify an ice dam.
- A thick, solid ridge of ice along the roof’s edge (the eave), often extending a foot or two up.
- Icicles clustered in one specific area, not evenly spaced along the gutter.
- Water stains or damp spots on your interior ceilings or walls, especially near exterior walls.
- Snow melting on the main roof surface while the eaves stay covered in ice and snow.
You must differentiate between a little frost and a real problem. A thin, even layer of frost on the roof in the morning is usually just condensation. A heavy, uneven ice buildup at the eaves is trouble.
Are icicles on roof bad? They are a symptom of the melting and refreezing cycle that creates dams. A few small icicles after a sunny day might be normal. Large, growing icicles in shaded areas point to constant attic heat loss.
Use this simple checklist after a snowfall:
- Look at your roof from the ground. Use binoculars if you have them.
- Check for uneven snow melt. Is one section bare while others are white?
- Inspect the eaves and gutters for solid ice buildup.
- Look inside your attic for signs of moisture or dripping.
How often should you check? Make it part of your routine. Check once a week during cold snaps and always after a major snowfall. A quick two minute visual scan from your yard can save you a huge repair bill.
The Attic Connection: Heat, Moisture, and Your Roof’s Health
Think of your attic like a hat for your house. If your head is too warm, the hat gets hot. That’s exactly what happens.
Heat from your living space rises into the attic. A warm attic melts the snow on the roof. The water runs down until it hits the cold overhang at the eaves, where it refreezes into ice. This cycle builds the dam.
This attic heat loss directly hits your energy bill. You are paying to heat the outdoors and damage your roof.
Insulation is your main defense. Its R-value measures resistance to heat flow. Older homes often have insulation that is too thin, compressed, or missing over exterior walls. I’ve seen countless attics where the insulation stops a foot short of the eaves, creating a perfect warm spot for melting.
But insulation alone isn’t enough. Air leakage is the silent culprit. Gaps around light fixtures, plumbing stacks, and the attic access door let warm, moist air pour in. This air carries moisture that reduces the insulation’s effectiveness and raises the temperature.
That’s where ventilation comes in. A well vented attic lets that moisture and excess heat escape. Without it, you get a hot, damp attic. The moisture soaks the insulation, making it useless, and the cycle gets worse. Proper intake (soffit vents) and exhaust (ridge or gable vents) work together like lungs for your roof, keeping it cold and dry.
Why Your Attic is the Key to Ice Dam Formation
Most people think ice dams are a roof problem. In my experience, they’re almost always an attic problem. The process starts inside your house, long before the first snowflake falls. Proper insulation and ventilation are crucial, especially in regions with heavy snow.
Ice dams form because of three things working together: excessive attic heat, poor ventilation, and a layer of snow on your roof. Preventing ice dams can save you costly repairs and interior damage. Simple prevention steps—like improving attic insulation, ensuring proper ventilation, and timely snow removal—make a big difference.
The Three Pillars of an Ice Dam
Picture your attic on a cold winter day. If it’s poorly insulated, heat from your living space rises into it. Your attic gets warm, like a poorly insulated oven. This heat warms the roof deck from underneath.
Snow on top of the roof melts from this bottom-up heat. The water runs down the roof slope until it hits the cold overhang. Your roof overhang isn’t warmed by the attic, so it stays freezing. The water refreezes there, creating a dam of ice.
More melting water backs up behind this dam. Eventually, it has nowhere to go but under your shingles.
- Excessive Attic Heat: This is the engine. Poor or missing insulation lets your home’s warmth escape into the attic space.
- Inadequate Ventilation: A balanced system of intake (soffit) and exhaust (ridge) vents is crucial. Without it, that trapped heat has no way to escape. Good ventilation keeps the roof deck cold and uniform in temperature.
- Snow Load: The fuel. A thick blanket of snow acts as an insulator itself, trapping even more heat against the roof and accelerating the melt cycle.
Proper attic insulation and ventilation work as a team to keep your entire roof deck at a consistently cold temperature, preventing the uneven melting that starts the dam.
Some homeowners ask if special roofing materials can stop this. A product called ice and water shield is a self-adhering membrane we install at the eaves. It acts as a last line of defense. Proper ice water shield installation coverage along the eaves and roof edges protects the roof from water intrusion. When installed correctly, this added protection buys time against leaks. If water gets under the shingles, this barrier protects the wood decking beneath. It’s a great backup, but it doesn’t stop the dam from forming. Fix the attic first.
Potential Damage: More Than Just a Drip
Never ignore icicles or a small ice dam. They are the visible symptom of a bigger issue. The damage happens out of sight and can be extensive.
- Roof Deck Rot: Standing water behind the dam soaks into the plywood or OSB sheathing. This wood rots, losing its structural strength.
- Shingle Damage: The freeze-thaw cycle forces shingles up. Granules are lost, and shingles become brittle and crack.
- Gutter Destruction: The weight of solid ice can rip gutters and downspouts right off your fascia board.
- Interior Water Leaks & Mold: This is the worst outcome. Water works its way up under the shingles, under the decking, and into your attic. It soaks insulation, stains ceilings and walls, and creates perfect conditions for mold growth.
Ignoring those picturesque icicles can lead to repairs costing thousands, from re-sheathing a roof to remediating black mold in your walls.
Safe Methods for Ice Dam Removal: DIY vs. Pro
You have an ice dam right now. What can you actually do about it? Safety is your number one priority. Every winter, people get hurt trying to deal with ice on their roof. It’s especially crucial to take preventative measures, such as proper ventilation and insulation, to avoid future issues.
A Step-by-Step Guide for Safe DIY Removal
If your roof is single-story and you can stay safely on the ground, you can manage small dams. Your best tool is a long-handled roof rake.
- Work from the ground. Never get on a ladder or roof that is icy.
- Use the roof rake to carefully pull snow down from the lower 3-4 feet of your roof. This creates a gap.
- Stop when you hit the shingles. Don’t scrape or scratch them.
- This cold, clear gap allows the sun and air to reach the ice dam directly, helping it melt from above without more water feeding it from above.
I need to be very clear about what NOT to do. Never use an axe, pick, shovel, or hammer to “break up” an ice dam. You will punch holes in your shingles, cut through your roof membrane, and destroy your gutters. I’ve been called to fix this exact mistake too many times.
Temporary Emergency Fixes
If you see water starting to seep inside, you need a temporary channel to relieve the pressure behind the dam.
- Calcium Chloride “Socks”: Fill a long nylon stocking or sock with calcium chloride ice melt (never use rock salt, it damages roofing). Lay it vertically across the ice dam, perpendicular to the gutter. It will melt a channel through the ice for water to drain.
- Heated Cables: These are electric cables you string in a zig-zag pattern in your gutters and up the roof edge. They don’t prevent dams, but they melt channels to keep water moving. Think of them as a temporary relief valve for a bad situation. They are not a permanent fix for an attic problem.
When to Call a Professional Roofer
Some jobs are not for homeowners. Call a pro if:
- Your roof is steep or more than one story high.
- The ice dam is massive (more than a foot tall or thick).
- You already see water stains on your interior ceilings or walls.
- You are uncomfortable or unsure about the safe approach.
A professional crew has the right equipment, like steamers, to remove ice without damaging your roof. More importantly, they can assess if the dam has already caused leaks that need immediate repair. They can also advise on safe ways to remove snow and ice from a metal roof and prevent buildup.
Your Action Plan for Existing Icicles
You look out your window and see icicles hanging. What’s your first move?
- Assess the situation. Are they small and sporadic, or a solid row along the entire gutter? A solid row is a sure sign of a developing ice dam behind them.
- Address the source, not the symptom. Safely use your roof rake to clear snow from the lower portion of the roof, as described above. Do not just knock the icicles off. This does nothing to stop the dam growing behind them.
- Monitor indoors. Check your attic for any signs of moisture, dark stains on the wood, or dripping. Check the ceilings and walls in the rooms below that roof edge.
Removing icicles might seem helpful, but it’s like wiping a runny nose without treating the cold. Focus on removing the snow load that’s feeding the problem. Make a note to have your attic insulation and ventilation evaluated when the weather warms up. That’s the only real, long-term solution.
Building a Dam-Proof Roof: Prevention Strategies
The best way to prevent ice dams is to stop your roof from getting warm. Heat from your house melts the snow, and the water refreezes at the cold eaves. True prevention fixes the attic temperature, not just the ice on the edges. Ice dam prevention roofs use proper insulation and balanced ventilation to keep the roof deck cold. That way meltwater doesn’t refreeze along the eaves. I’ve been on hundreds of callbacks where the solution started in the attic, not on the ladder.
Long-Term Fixes: Insulation, Ventilation, and Sealing
These are the permanent solutions that tackle the root cause. Think of them as putting a proper winter coat on your house.
First, upgrade your attic insulation. More insulation on the attic floor keeps heat inside your living space. Aim for at least R-38, which is about 10-14 inches of fiberglass batt. On a job last winter, we added blown-in cellulose to an older home, and the owner reported his first dam-free season.
Second, ensure balanced ventilation. You need intake vents at the soffits (under the eaves) and exhaust vents at the ridge (top). This combination creates a steady flow of cold air under the roof deck, keeping it the same temperature as the outdoors. If you only have gable vents or a turbine, you might need to add soffit vents for the system to work right.
Third, seal every air leak. Check where wires, pipes, and light fixtures penetrate the attic floor. Use caulk or spray foam to seal these gaps; it’s like plugging holes in a boat. I often find the worst leaks around chimney chases and attic hatches.
Using the Right Roofing Materials
When it’s time for a new roof, specify an ice and water shield. This is a self-adhering membrane installed under the shingles along the eaves and in valleys. It sticks tightly to the deck and seals around nails, creating a watertight backup if ice dams do form. In my crew, we always extend it at least 3 feet up from the edge in cold climates. That same principle applies to the rest of the shingle installation. When you install roof shingles, aim for a continuous, watertight seal at every seam.
Safe Snow Clearing Techniques
If you have a heavy snow load, you can remove it proactively from the ground. Always use a long-handled roof rake and keep both feet firmly on the ground. Never climb onto a snowy or icy roof. Start at the edge and pull snow down, leaving a couple inches to avoid scraping the shingles. I rake my own roof after every major storm to prevent buildup. This is especially important for flat roofs that can be more vulnerable.
Homeowner’s Winter Roof Maintenance Routine
A simple, yearly routine is your best defense. Doing these tasks consistently can easily add 5-10 years to your roof’s life by preventing the repeated freeze-thaw cycles that cause damage. I give this same checklist to all my neighbors.
Fall (Before the First Frost):
- Clean all gutters and downspouts thoroughly. Clogged gutters are the number one starter for ice dams.
- Inspect the attic for any compressed insulation, rodent damage, or blocked vents. Bring a flashlight and look for light leaking in around penetrations.
- Trim back any tree branches that are touching or hanging over the roof.
Pre-Winter Attic Check:
- Verify that soffit vents are not blocked by insulation. You should see daylight through them from inside the attic.
- Feel for drafts around the attic access door and seal it with weatherstripping.
During Winter (After Each Snowfall):
- Use your roof rake from the ground to remove snow from the lower 3-4 feet of the roof edge. This breaks the cycle before ice can form.
- Keep an eye out for large icicles or visible ice bands, which are early warning signs.
Common Questions
How can I clear snow from my roof safely to prevent ice dams?
Use a long-handled roof rake from the ground to remove snow from the lower 3-4 feet of your roof. Never climb onto a snowy or icy roof, and avoid scraping the shingles to prevent damage. For roof snow removal safety, remember to follow basic practices and know your limits. If conditions are risky, consider professional help.
What are heated cables, and how do they help with ice dams?
Heated cables are a temporary relief tool, not a fix. They melt channels in existing ice to let water drain but do not address the attic heat loss causing the dam.
When should I call a professional for ice dam removal?
Call a pro if your roof is steep or high, the dam is massive, or you see interior water stains. They have safe, effective methods like steam removal and can spot hidden damage.
Your Blueprint for a Winter-Safe Roof
Stop ice dams where they start by sealing attic heat leaks. I always recommend a professional energy audit to pinpoint the fixes that will work best for your home.
Owning a roof means maintaining it safely year after year. Keep learning about proper care for your specific roof type to ensure it lasts. Remember to follow safe roof repair practices when handling any maintenance tasks.
Ray Huffington
Ray is an experienced roofer. He has worked as a general contractor in the roofing industry for over 15 years now. He has installed and repaired all kinds of roofs, from small houses to large mansion, and from basic shingles to cement and metal roofs and even solar roof panels. He has seen homeowners struggle with roofing questions and always has experience based proven advice to help those in need. If you need roof pros, Ray's your guide.