
What Is the Standard Spacing for Roof Crossbars, Studs, and Trusses?
Have you ever worried that your roof might not be built to last? Getting the spacing right in your roof’s frame prevents sagging, leaks, and costly repairs down the line.
I’ll explain the common 16-inch and 24-inch on-center rules, how spacing changes for different materials, and why following building codes protects your home and your family.
Why Roof Framing Spacing Isn’t Just a Builder’s Problem
Think of your roof’s frame as its skeleton. The spacing of the crossbars, studs, and trusses is like the density of your bones. Wider spacing means fewer bones to carry the weight.
That weight isn’t just the shingles. It’s two feet of wet snow, a 70 mph wind trying to lift everything, and the simple, constant pull of gravity over decades. Proper spacing is what lets your roof handle all that without complaint.
You don’t need to be an engineer to see the effects of a weak frame. You might notice a subtle dip or sag along your roofline. Inside, you could find mysterious cracks spreading from the corners of your ceilings. If you have finished attic space, the floor might feel oddly bouncy underfoot. These are all clues your roof’s supporting frame is working too hard.
Spacing also decides what you can do with your roof down the road. Some premium roofing materials, like certain metal panels or slate tiles, require specific framing support that wider spacing can’t provide. If you plan to add thick insulation later, the gaps between your rafters dictate how much will fit. Following roof structure building framing best practices now helps future upgrades and maintenance. With the right spacing, you’ll have secure attachment points for insulation, vents, and any retrofit options.
The Attic Connection: How Your Frame Affects Temperature and Energy Bills
Your attic’s comfort starts with its framing. The empty cavities between each rafter or truss are called “bays.” These bays are designed to hold standard-sized batts of insulation, like fiberglass or mineral wool.
Standard batts are made to fit snugly between framing spaced 16 or 24 inches apart. If your home has unusual, wider spacing, you end with gaps. You either have to custom-cut insulation, which is tedious, or live with empty spaces where heat rushes out.
This leads to “thermal bridging.” It’s a fancy term for a simple problem: wood is not a good insulator. Even with insulation in the bays, heat travels straight through the wood rafters themselves. Wider spacing means less wood, which is good, but fewer bays to hold the insulation that does the real work.
Proper roof ventilation also depends on this spacing. The 1-inch air channel from your soffit vents up to the ridge vent needs a clear path. That path is created by the consistent spacing of the framing and by baffles you install in each bay. Messy, inconsistent spacing can block that crucial airflow, leading to a hot attic in summer and ice dams in winter. This is essential to roof ventilation. A clear path lets air move from soffit to ridge, keeping the attic cooler in summer and reducing ice dam risk in winter.
How Far Apart Are Roof Trusses? The Modern Backbone
For most homes built in the last 40 years, the standard spacing for roof trusses is 24 inches on center. That means from the center of one truss to the center of the next is two full feet.
This became the norm for good reason. Trusses are engineered and built in a factory. Building them 24 inches apart is efficient with materials. It allows for long, clear spans across your house without needing interior load-bearing walls. For a crew, it means the heavy lifting is predictable and fast. They go up in one piece, spaced with precision.
You might see wider spacing, like 4 or even 8 feet, in a simple garage or shed roof. But for the main house, 24 inches on center is the default. If your home uses stick framing with traditional rafters, the older standard is 16 inches on center.
What to Check If Your Home Has Trusses
If you go into your attic to check, safety comes first. Only step on the ceiling joists or the bottom chord of the trusses. The drywall or plaster ceiling between them will not hold your weight.
To measure, use a tape measure. Find the center of one vertical 2×4 web member, and measure to the center of the next one. Do this in a few spots to confirm the spacing is consistent.
This is the most critical rule: never, ever cut, notch, or modify any part of a truss. Those web members are in a precise balance of tension and compression. Cutting one is like cutting a vital tendon. It compromises the entire structure. If you need to run wires or pipes, you must drill small holes only in the center of the wide, flat chords, following the truss manufacturer’s guidelines.
Look for trouble signs. Check the metal connector plates for any that are pulling away or look rusted. Look for cracks or splits in the lumber, especially at the joints. Stand at one end of the attic and look down the line of the bottom chord. Does it have a straight, clean line, or is there a visible sag or dip? Any of these are signs to call a structural engineer or qualified contractor.
How Far Apart Are Roof Rafters and Beams? The Traditional Frame

Let’s talk about rafters first. In a traditional stick-built roof, rafters are the sloped boards you see running from the peak down to the eaves. Think of rafters as the skeleton of your roof, the individual bones that give it shape, as opposed to pre-assembled trusses which are like a single, complex bone structure. I’ve framed plenty of homes this way with my crew, and it’s a method that allows for more attic space and customization.
So, how far apart are they? The standard spacing for roof rafters is almost always 16 inches on center. That means from the center of one rafter to the center of the next is 16 inches. This spacing became the go-to because it works well with standard 4×8 sheets of plywood for your roof deck.
Now, you might hear “roof beams” and get confused. Roof “beams” typically refer to the bigger, primary support members, like a ridge beam running along the peak or purlins that cross over the rafters. These have their own spacing rules, which we’ll get to, but they’re not what we mean when we’re talking about standard rafter spacing.
When Rafter Spacing Might Be 12 or 24 Inches
Sixteen inches is the rule of thumb, but it’s not the only rule. Sometimes, we need to put rafters closer together. You’ll see 12-inch on center spacing when the roof has to carry a lot more weight. This includes homes with heavy roofing like slate or clay tile, or houses built in places that get dumped on with snow every winter. I once worked on a cabin in the mountains where we used 12-inch spacing just for the peace of mind against those snow loads.
On the other hand, spacing them farther apart can save on lumber. Twenty-four-inch rafter spacing is acceptable in many cases, but only if the lumber is strong enough (like engineered I-joists) and the roof sheathing is designed for it. You can’t just decide to do this on an existing home without checking the math.
The Critical Role of Roof Sheathing
The space between your rafters and the board that covers them are a team. The thickness of your plywood or OSB roof decking is directly tied to how far apart your rafters or trusses are spaced. If the supports are farther apart, the sheathing needs to be thicker to avoid sagging or flexing.
Here’s a simple way to remember it. With 24-inch rafter spacing, you usually need 1/2-inch or thicker sheathing, while 16-inch spacing can safely use 7/16-inch material. Always check your local building code, but that’s the general relationship I’ve followed for years in residential installations.
How Far Apart Are Purlins, Battens, and Crossbars? The Support Layer
Once the main structure is up, we often add another layer. This is where terms like purlins, battens, and crossbars come in. Purlins are horizontal boards or metal members that run perpendicular over rafters or trusses, mainly to support metal roofing panels. Battens are similar but are used under tile or slate roofs. “Crossbars” is a common catch-all term homeowners use that can refer to either purlins or battens. These components are part of the roof’s structural system, tying together overhangs, eaves, and the trusses that carry the load. They help ensure proper alignment and durability. Getting these right is key for a long lasting roof.
Standard Spacing for Roof Purlins on a Metal Roof
So, how far apart are purlins on a metal roof? The common range is between 12 and 24 inches on center, but there is no single standard number. This spacing is not up for guesswork.
Purlins spacing is heavily determined by the specific metal panel manufacturer’s specifications, and following them is mandatory for warranty compliance. I’ve seen jobs fail inspection because the crew spaced purlins at 24 inches when the panel instructions called for 18. The metal needs a solid, correctly spaced base to lock onto properly.
To visualize it, purlins attach across your rafters or trusses. They provide the nailer or fastener line for the metal panels, creating a flat, even surface for installation. In roof purlins installation, layout matters for a clean edge. This sets up the next steps on positioning and securing the purlins.
Standard Spacing for Roof Battens for Tile or Slate
For tile or slate roofs, we use battens. How far apart are roof battens? The spacing is based on the tile type, typically falling between 10 and 14 inches on center. It’s a more precise measurement than with purlins.
Battens provide the stepping surface for each tile, so they must be spaced precisely so that the tiles overlap correctly and lock water out. If the battens are too far apart, the tiles won’t sit right and could leak. We always lay out a few tiles first to double check our batten spacing before nailing everything down.
How Far Apart Are Studs in Your Walls? The Vertical Support
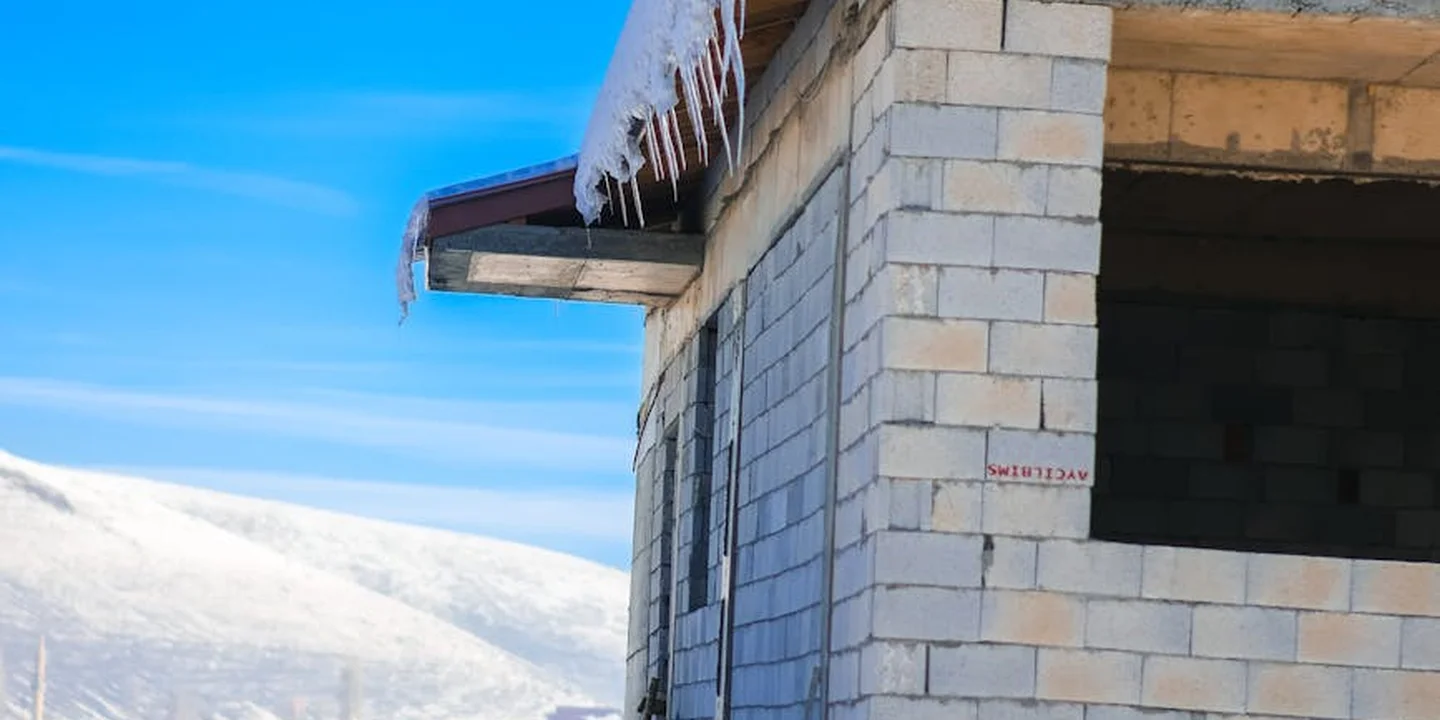
Let’s start from the ground up, literally. Your roof doesn’t float. Every pound of shingles, snow, and wind pressure gets passed down. Wall studs are the home’s vertical bones, and at the very top of those walls sits the “top plate.” This horizontal board is what your roof rafters or trusses sit on. The studs are the pillars that hold that plate, and your entire roof, in place.
I get this question a lot. The answer is straightforward. In nearly all load-bearing exterior walls in modern homes, the studs are placed 16 inches on center. This means you measure from the center of one stud to the center of the next, and it will be 16 inches.
You might find 24-inch spacing in some non-load-bearing interior walls, but you should never assume. For anything holding up your roof, 16 inches is the rule.
Why Your Wall Studs Matter to Your Roof
Think of your roof’s weight traveling down a chain. The shingles sit on the decking. The decking is nailed to the rafters or trusses. Those rafters or trusses rest on the wall’s top plate. And that top plate is nailed directly to the wall studs. If one link is weak or spaced wrong, the whole system is compromised.
This isn’t just theory. It affects your projects. Want to hang a heavy ceiling fan, a new porch light on the eave, or mount a TV on a vaulted ceiling? You must anchor into a stud. Hanging heavy items from drywall or soffit material alone is a sure way to cause damage and create a safety hazard. A simple stud finder is your best friend here.
The Rule Book: Building Codes, Permits, and Your Roof’s Spine
Here’s the most critical lesson I’ve learned. “Standard” spacing is a good starting point, but your local building code is the final boss. Codes dictate the minimums for your specific area, and they change based on your roof’s worst enemies: snow load, wind speed, and earthquake risk.
A house in Florida has codes built for hurricane-force winds. A cabin in Colorado is framed for feet of heavy snow. The standard 16 or 24 inches might not be enough there. A structural engineer’s stamp on the plans or the local inspector’s approval is what makes it right.
If you are planning any work that changes the roof’s structure, you must pull a permit and have the plans reviewed. This isn’t bureaucracy. It’s a system that keeps buildings from falling down. I’ve seen too many DIY porch enclosures or attic remodels that cut critical framing and put the whole house at risk.
Let’s talk about wind. Your roof isn’t just heavy. It acts like an airplane wing in a storm, trying to lift off. This is “wind uplift.” The only thing stopping it is the pattern and strength of the nails and clips holding the roof to the walls. Proper fastening at the code-specified spacing is your roof’s only real defense against being peeled off in a storm. This is why roofers use specific nails in a specific pattern. It’s engineered, not random.
How to Be a Smart Homeowner: Inspection and Verification
You can be an informed homeowner without being an expert. Start in your attic. Wear a good headlamp, step only on the framing or laid-down boards, and watch for nails.
Look up. Do you see big wooden members that run in a simple “A” shape from the outer walls to a peak? Those are rafters. Or, do you see a complex web of smaller 2x4s forming triangles that span the entire width of the house? Those are trusses. Trusses are engineered units. You should never cut or alter any part of a truss.
To measure spacing, take your tape measure and place the end at the center of one rafter or truss chord. Stretch it to the center of the next one. That’s your “on center” spacing. Note it down.
Your best resource might be paperwork. If you have the original house plans, look for a framing plan or details. No plans? A friendly call to your local building department can sometimes help. You can ask if they have records for your house or if an inspector can provide general guidance during another permit inspection.
When to Call a Structural Engineer or Professional Roofer
Know your limits. Some signs scream for a professional eye immediately.
- You see a noticeable sag or dip in your roof line from the outside.
- In the attic, you spot dark stains, mold, or soft, crumbling wood on the rafters or trusses. Water is a frame’s enemy.
- Any rafter or truss chord has a visible crack or split, especially if it’s horizontal.
- You are planning to switch from asphalt shingles to a much heavier material like slate, clay tile, or a living roof.
Modifying the bones of your roof is never a do-it-yourself project. The stakes are your home’s safety and your family’s security. A structural engineer can assess the load and prescribe a solution. A professional roofing contractor knows how to execute that plan safely and to code. Their expertise is your peace of mind, especially when it comes to roof repair safety practices.
Common Questions
How do I check the spacing in my existing attic?
Use a tape measure from the center of one rafter or truss to the center of the next. Only step on the ceiling joists or truss bottom chords for safety, and check several spots to confirm it’s consistent.
Can I install heavier roofing, like metal or slate, on my current frame?
Maybe not. Heavier materials often require closer rafter or truss spacing. You must have a structural engineer or qualified contractor assess your framing’s capacity before making any change.
What’s the biggest warning sign my roof framing is failing?
A visible sag in your roofline or horizontal cracks in the attic lumber are red flags. If you see either, stop any DIY work and call a structural engineer immediately.
Your Blueprint for a Weather-Tight Roof
Always build or check your roof frame using the standard spacing codes for your area. Beyond spacing, the roof construction methods you choose—such as rafters or trusses—also influence durability. This is why understanding the full construction approach matters. This one step is the best way to guarantee your roof stays strong and leak-free for decades. I have seen firsthand how correct spacing prevents costly sagging and weather damage.
Make roof care a regular habit by inspecting your home and learning about maintenance for all roof types. To catch issues early, follow a roof damage inspection guide for a clear, step-by-step checklist. Your attention to detail keeps your family safe and protects your investment in the long run.
Ray is an experienced roofer. He has worked as a general contractor in the roofing industry for over 15 years now. He has installed and repaired all kinds of roofs, from small houses to large mansion, and from basic shingles to cement and metal roofs and even solar roof panels. He has seen homeowners struggle with roofing questions and always has experience based proven advice to help those in need. If you need roof pros, Ray's your guide.