
How Do You Seal and Repair Leaks on Mobile Home, Camper, and Trailer Roofs?
Found a mysterious wet spot on your ceiling or heard a drip in the night? Let’s talk about fixing that leak before it turns into a bigger, more expensive problem.
I’ve patched countless roofs on wheels and wheels on roofs. This guide will show you my hands-on method. We’ll find the leak’s true source. We’ll choose the right sealant for your material. We’ll apply a durable, weatherproof repair.
Finding the Leak: How Water Sneaks In
Finding a leak is detective work. You rarely see water dripping straight down. Water runs along a frame rail, follows a wire, or travels inside a wall before it shows up on your ceiling.
Always start your investigation from the inside. Look for dark stains, rings of discoloration, or soft, spongy spots on your ceiling and along the tops of walls. Mold or a musty smell in a cabinet or closet is a major clue.
The most common failure points are where two different materials meet. On mobile homes and RVs, these critical junctions are roof seams, vents, air conditioner gaskets, skylights, and where the siding meets the roof edge.
Once you have an interior stain, you need to trace it to the source outside. The best method is a controlled water test.
- Have a partner go on the roof with a garden hose.
- You stay inside with a flashlight near the suspected area.
- Start spraying low on the roof, near the suspected leak point. Spray each section for a good 2-3 minutes.
- Work your way up the roof slowly. Water takes time to travel.
- The moment you see a drip inside, yell to stop. You’ve found the general area.
Remember, the leak’s origin is often several feet away from where the water finally drips. Patience is your best tool here.
Where to Look First: The Usual Suspects
Before you even get the hose, check these high-failure areas. Save time by inspecting them first.
- Roof Vents & Plumbing Stacks: The rubber boot or plastic housing cracks over time. The sealant around the base dries out and shrinks.
- Air Conditioner Gaskets: The weight and vibration of the unit crush the sealing gasket. This is a top leak source.
- Side Seams (Lap Seams): Where two sheets of metal or rubber meet along the length of the roof. Movement causes the old sealant to fail.
- Front and Rear Caps: The curved metal piece at the front and back. The sealant where it meets the main roof gets baked by the sun and cracks.
- Around Any Penetration: Satellite dishes, old TV antenna mounts, solar panel brackets. Any screw or bolt hole is a potential leak path.
Tools for the Leak Hunt
You don’t need fancy gear to find a leak. You just need a method and these basics.
- A good, bright flashlight for looking in dim corners inside.
- A sturdy ladder. Use leg levelers if on soft ground.
- A garden hose with a spray nozzle that can produce a soft, soaking shower.
- A notepad and marker to circle suspicious spots on the roof once you find them.
Safety is not optional, especially on a curved or slick metal roof. Wear shoes with solid rubber soles, have a spotter for the ladder, and never work on a wet or windy day. If the roof pitch feels too steep, call a pro. It’s not worth the risk. For roof walking safety, use fall protection and secured anchor points when height is involved. Plan each step and keep three points of contact.
Gearing Up: Picking Your Weapons (Tools & Materials)
Now you know where the leak is. Climbing up with the wrong stuff will just waste your time and money. Think of this as gathering your crew and materials before the job starts.
Your choice of sealant is the most important decision. Using butyl tape on a large cracked area is like using a band-aid on a deep cut. It won’t hold.
For folks asking about “cool sealing,” that usually refers to a reflective elastomeric coating for metal roofs. These white or silver coatings seal small holes and reflect sunlight, which can lower interior temperatures. They are a great option for larger metal roof sections, not just for spot repairs.
The Sealant Showdown: What Goes Where
Match the product to the problem. Here’s your quick guide.
- Butyl Tape or Reinforced Sealing Tape (like Eternabond): This is your go-to for seams and straight-line cracks. It’s a thick, sticky tape with a mesh core. You press it on. Ideal for sealing the long side seams on a metal roof or patching a split in an RV rubber roof.
- Liquid Rubber or Elastomeric Coating: This is paint-on protection. Use it for sealing large, weathered areas, coating entire roof sections, or sealing around complex shapes where tape won’t conform easily. It bridges small gaps and creates a seamless, waterproof membrane.
- Self-Leveling Sealant: Made for flat or low-slope rubber (EPDM) roofs. You pour it along a seam or lap joint. It flows like syrup into the gap and cures into a flexible, waterproof seal. Don’t use this on a steep slope.
- High-Quality Roofing Cement (Mastic): A thick, paste-like sealant. Best for bedding down fixtures (like the base of a vent) before you screw them in, or for sealing irregular gaps. Often used under a patch of mesh tape for extra strength.
Your Essential Repair Toolkit
The sealant is only as good as the surface it sticks to. Prep work is 80% of a lasting repair. This is your non-negotiable toolkit.
- Surface Prep: Wire brush, sandpaper (80-grit), putty knife, and utility knife. You must remove all old, cracked sealant, rust, and debris.
- Cleaning: Denatured alcohol and clean rags. After scraping, you must degrease the area. Water and soap leave a film. Alcohol evaporates clean.
- Application: A stiff bristle brush and a short-nap roller for liquid coatings. Gloves. A caulk gun for cartridges of sealant.
- Safety: Safety glasses and knee pads. Roof surfaces are rough and dirty.
If you skip the cleaning with alcohol, your new sealant will likely peel off within a year. I’ve seen it happen on dozens of callback jobs. Do the prep right the first time.
The Repair Process: Step-by-Step Fixes
Here is where we get our hands dirty. You can think of most leaks in these roofs as falling into one of two categories: a failed seam or a hole. The fix is different for each. Follow these steps in order to identify and patch leaks in flat roofs.
Step 1: The Golden Rule of Preparation
I once helped a friend who had a leak he’d “fixed” three times. Every time, the new sealant just peeled off. The problem was underneath. We spent an hour cleaning the area, and the final fix held for years. That hour saved him money and frustration.
This step is 90% of the job. Skip it, and your repair will fail.
- Remove the Old Sealant: Use a plastic putty knife or a special sealant remover tool. You don’t need to gouge the roof. Just scrape away all the old, cracked, or peeling material.
- Scrub the Area: Use a dedicated RV roof cleaner or a mix of mild soap and water. A stiff brush is your best friend here. Scrub away all dirt, oxidation, and grime. Rinse completely.
- The Final Wipe: This is the secret. Once the area is dry, wipe it down with a clean rag soaked in denatured alcohol or mineral spirits. This removes invisible oils and residue so the new sealant can get a perfect grip.
A sealant will only stick to a surface that is clean, dry, and warm. Work on a sunny, dry day when the roof material is above 50°F. Think of it like trying to stick a bandage on a muddy, wet arm—it just slides right off. Also, know the roof cement sealant dry time, which varies with temperature and humidity. Plan accordingly so it cures before rain or foot traffic.
Step 2: Sealing a Leaking Seam or Joint
This answers “how to caulk a camper roof.” The long seams where two roof sheets meet are common leak spots. You have two main options: butyl tape or self-leveling lap sealant.
- For a Vertical Seam (like a side wall joint): Butyl tape is king. Take a length of tape, peel off the backing, and press it firmly into the seam. Use a plastic roller or the back of a spoon to really work it in. It should ooze out slightly on both sides.
- For a Horizontal Lap Seam or Edge: Use self-leveling lap sealant. Cut the nozzle at a 45-degree angle to make a bead about the width of a pencil.
- Apply the Bead: Run a smooth, continuous bead of sealant over the seam. Don’t go back and try to smooth it with your finger. The product is designed to flow and level itself out as it cures.
- Pro Tip for Wide Gaps: If the gap is wider than 1/4 inch, stuff it with a foam “backer rod” first. This gives the sealant something to sit on, prevents it from sinking, and creates a better seal.
Step 3: Patching a Hole or Puncture
This is your answer for “how to fix a hole in a trailer roof.” The method depends entirely on the size of the damage. There are also several types of holes to consider—punctures, tears, and holes around vents or seams—each needing its own repair approach. In the next steps, we’ll explore roof holes by type and how to repair each one.
The Small Hole Fix (Under 1 Inch)
A screw puncture or a tiny crack needs a reinforced patch. Just sealant can flex and pull out.
- Clean the area following Step 1.
- Apply a healthy dollop of roof sealant (like Dicor Lap Sealant) over the hole.
- Press a piece of polyester fabric mesh (like drywall tape) into the wet sealant. Make sure the mesh extends at least an inch beyond the hole on all sides.
- Immediately cover the mesh with another layer of sealant, smoothing it out to fully embed the fabric. You’re making a fiberglass-reinforced patch right on the spot.
The Larger Hole or Split Repair
For anything bigger-a branch tear, a split seam, or damage around a vent-reinforced repair tape is your best friend. Brands like Eternabond are famous for this.
Applying this tape wrong is easy. Doing it right is forever. Do not stretch the tape as you apply it. Stretching creates tension, and when it relaxes, it will lift the edges and leak.
- Clean the area impeccably (back to Step 1).
- Cut your tape piece. Make sure it covers the damage with at least 2-3 inches of overlap on all sides.
- Peel back 6-12 inches of the paper backing. Position the tape perfectly.
- As you slowly press it down, peel away more backing. Use a hard plastic roller, a wallpaper seam roller, or even a clean soup can. Apply firm, strong pressure over the entire surface. You want to see the texture of the roof through the tape.
- Seal the Edges: This is the pro move. Run a thin bead of lap sealant along all four edges of the tape. This locks it down and prevents water from creeping underneath. Your tape patch is now bulletproof.
Keeping It Dry: Maintenance and Knowing When to Call a Pro
Fixing a leak is one thing. Keeping new ones from starting is smarter. A little routine care saves a lot of emergency repairs.
Your Roof Care Schedule
Think of your roof like the tires on your rig. You check them regularly. Your roof needs the same attention.
- Twice a Year: In spring and fall, get on a ladder (safely) and do a visual walk-around. Look for cracked sealant, lifted tape, or debris buildup.
- After a Storm or Long Trip: Check for new damage from branches or hail.
- How Often to Reseal: Lap sealants need refreshing every 1 to 3 years, depending on sun exposure. Butyl tape and repair tape last longer but still need inspecting. In harsh, sunny climates, plan for the shorter end of that range.
Common DIY Mistakes That Cause More Leaks
I’ve seen these errors create bigger problems than the original leak.
- Sealing Over Dirt or Old Caulk: This is the number one failure. The new layer just forms a shell that eventually pops off, trapping moisture underneath.
- Using Silicone or Hardware Store Caulk: These are not made for RV roofs. They don’t bond well to EPDM or TPO and will peel off in a sheet. Always use products labeled for RV or mobile home roofs.
- Not Sealing the Edges of Repair Tape: That tape is strong, but water is sneaky. It will find the unsealed edge and get underneath. Always lock it down with lap sealant.
- Working in Cold or Damp Weather: Sealants need warmth to cure and bond properly. Applying it when it’s cold out is like trying to spread cold butter-it won’t stick right.
When This Job Is For a Professional
Knowing when to call someone is a sign of a smart DIYer. Your safety and your home’s integrity come first.
Call a professional mobile home or RV roofer if you see:
- Soft spots or widespread sponginess when you walk on the roof. This indicates major wood rot underneath.
- Leaks that are clearly coming from inside a wall or ceiling, far from any visible seam. This points to a complex structural leak.
- Damage around the roof air conditioner that requires re-flashing the unit.
- If you are at all uncomfortable with heights or working on a ladder. No repair is worth a fall.
Cost-wise, understand the band-aid vs. surgery difference. A professional resealing might cost a few hundred dollars. Patching a single hole is cheap. But if you’re looking at dozens of failed seams, rotten wood, and a roof that’s more patch than original, a full roof replacement (costing several thousand) is the only lasting fix. Patching rotten structure is just throwing money away.
Safety First: The Non-Negotiables
This isn’t just a suggestion box. Roof work is dangerous, and these lightweight roofs have their own rules. I start every job with this checklist, and you should too.
Your safety depends on a few non-negotiable rules before you even climb up.
The Absolute Musts
- Proper ladder use is your first line of defense. Set the base on firm, level ground one foot out for every four feet up. I always have my ground buddy hold it steady.
- Wear soft-soled, rubber-soled shoes for maximum grip. Think of them like all-weather tires for your feet on slippery surfaces.
- Use a fall restraint system for any work off the ground. A simple rope around your waist can injure you. Anchor to a solid point on the home’s frame.
- Never work alone. Have a buddy on the ground. They can spot you, hand up tools, and call for help if you slip.
- Always look for overhead power lines before moving ladders or materials. Assume every line is live and dangerous.
Specific Hazard Assessments
Mobile home roofs have lightweight construction you can’t trust. The decking is often thin. Walking between the roof rafters can cause a soft spot or a puncture. I learned to step only over the framing I could trace from inside. After that, I read up on how mobile home roofs are built and repaired.
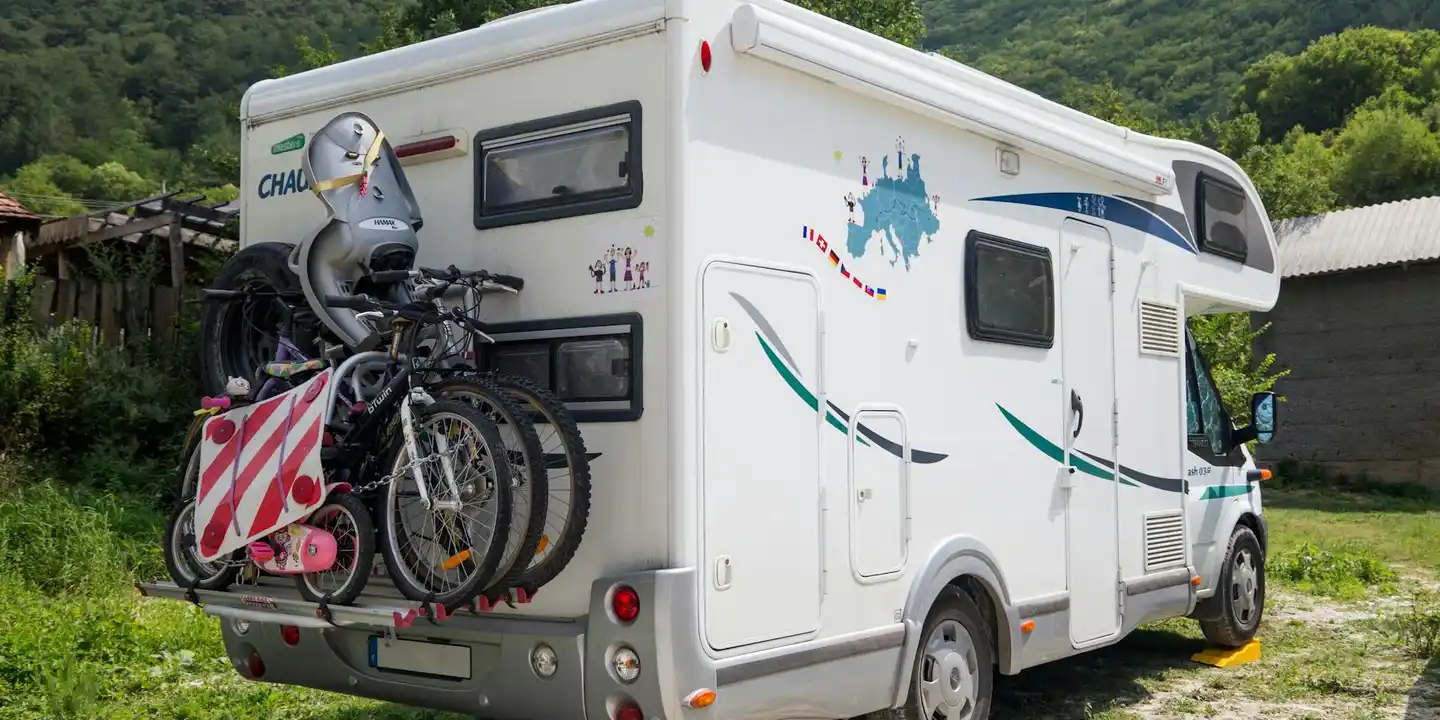
Camper and trailer roofs are curved and become slick instantly. That rounded shape throws off your balance. A little morning dew makes rubber or fiberglass as slippery as ice. Move slowly and plan every step.
Integrated Safety FAQ
What if the repair will only take a minute? Most falls happen on quick jobs. Gravity does not care how long you plan to be up there. Use your full safety gear every single time.
How can I tell where it’s safe to walk on a mobile home roof? Tap lightly with your hand first. You’ll hear a hollow sound between supports and a solid sound over rafters or walls. Always walk on the solid parts. Even when walking on solid areas, avoid putting too much weight as it can lead to damage to the roofing material.
Is a harness really necessary for a low, single-wide roof? Yes. A fall from even six feet can cause a serious injury. I’ve seen it happen. Use the harness and tie-off point.
Quick Answers
How often should I check and re-seal my roof?
Inspect all seams, vents, and patches every six months. Plan to re-apply lap sealant every 1-3 years, as UV exposure is its biggest enemy.
What’s the biggest mistake people make with DIY sealant?
Using the wrong product, like standard silicone caulk, which won’t adhere and will peel. The other critical error is skipping the final clean with denatured alcohol before applying anything new.
When is a leak definitely a job for a professional?
When you find soft, spongy decking (indicating rot) or the leak’s origin is hidden inside a wall. Always call a pro if you’re uncomfortable with heights or the roof’s pitch-your safety isn’t negotiable.
Your Blueprint for a Lasting Roof Repair
The most valuable lesson from any roof job is this: a small fix today prevents a big problem tomorrow. Always match your sealant to your roof material for a repair that holds up season after season, especially during winter roof repairs.
You are the first line of defense for your roof—work safely from a stable ladder or platform, and never compromise on quality materials. Keep learning by checking our guides on roof safety practices and maintenance for everything from mobile homes to traditional houses.
Ray Huffington
Ray is an experienced roofer. He has worked as a general contractor in the roofing industry for over 15 years now. He has installed and repaired all kinds of roofs, from small houses to large mansion, and from basic shingles to cement and metal roofs and even solar roof panels. He has seen homeowners struggle with roofing questions and always has experience based proven advice to help those in need. If you need roof pros, Ray's your guide.