
How Long Should Your Roofing Nails Be?
I was on a job years ago, watching a brand new section of shingles flap wildly in a sudden storm. The problem wasn’t the wind, it was the nails. They were too short, and the whole crew spent the next day fixing what should have been done right the first time.
Choosing the wrong nail length is a common mistake that leads to leaks, blow-offs, and costly callbacks. Using the correct nail length is the single most important factor in making sure your roof stays put for decades. In this article, I’ll explain the simple rules we use on every job.
You will learn the proper nail length for asphalt shingles, wood shakes, and metal roofing, how shingle thickness changes what you need, and my best practices for driving them right.
Key Takeaways: Nail Length Rules Every Roofer Knows
Before you pick up a nail gun, remember these four rules we follow on every crew.
- The ¾-inch rule is the law. Every roofing nail must bite into the solid wood deck, not just the underlayment, by at least three-quarters of an inch.
- Longer is not better. A nail that’s too long can poke through the roof deck into your attic, damaging wiring or insulation and creating a leak path.
- Total thickness decides everything. Your nail length is the sum of your underlayment, your roofing material, and that mandatory ¾-inch grip.
- The bundle wrap is your bible. Shingle and metal panel manufacturers print their required fastener type and length right on the packaging. Ignoring this voids warranties.
The Simple Rule: How Far Should Roofing Nails Penetrate?
How far should roofing nails penetrate the sheathing? The answer never changes, no matter the material.
A roofing nail must sink a minimum of 3/4 inch into the solid wood roof deck, also called the sheathing.
Think of it like a seatbelt. The metal tongue needs to click securely into the buckle to hold. A nail that doesn’t reach deep enough into the wood is just sitting there, offering no real grip when the wind blows.
So, how long do roofing nails need to be? You use a simple “add it up” method we use on site.
Grab your tape measure. First, check the thickness of your synthetic underlayment or felt paper. Next, measure the thickness of your shingle or metal panel at its butt edge. Now, add those two numbers together. Finally, add that mandatory 3/4 inch for deck penetration.
That final number is your minimum nail length. I always round up to the nearest common nail size for a bit of safety margin.
The RoofMason Material Verdict: Nail Needs from Asphalt to Slate
Heavier, more durable roofs demand stronger, longer fasteners. It’s that simple. Considering roof construction types and their material systems helps explain why fastener choices differ. That context makes the material breakdown below more meaningful. Here’s how the common materials break down.
| Material | Typical Profile & Weight | Best For & Durability | RoofMason Nail Verdict |
|---|---|---|---|
| 3-Tab Asphalt Shingles | Lightweight, single layer. Class A fire rating, basic hail resistance. | The budget-friendly choice for simple suburban roofs with standard slopes. Good “bang for buck” for 15-20 year roofs. | 1-inch to 1 ¼-inch ring-shank nails are standard. The short length works because the shingles are thin. Using a 1 ½-inch nail here often means it pokes through the attic. |
| Architectural Asphalt Shingles | Medium weight, multi-layer laminate. Better Class A fire rating, improved impact resistance. | The most common upgrade. Adds curb appeal and longevity (25-30 years) for a moderate cost. Handles most weather well. | You’ll typically need 1 ¼-inch to 1 ½-inch nails. The thicker shingle mat demands more length to reach the wood. Always check the bundle wrap, as some premium brands require specific, longer fasteners. |
| Standing Seam Metal Roofing | Heavy, interlocking panels. Non-combustible, excellent hail and wind resistance. | Long-term investment (40+ years) for coastal, high-wind, or snowy areas. The durable, specialized choice. | Forget common nails. These systems use long (often 2-inch plus), specialized screws or cleats with sealing washers. The fastener attaches the panel to the deck or battens and is completely hidden by the next seam. |
The pattern is clear: as you move up in material quality and weight, your fastener game must level up too. Trying to secure a thick architectural shingle with a short nail, or worse, attaching a metal panel with a standard roofing nail, is a shortcut to failure. The roof won’t hold.
Nail Length for Common Roofing Materials: A Material-by-Material Guide
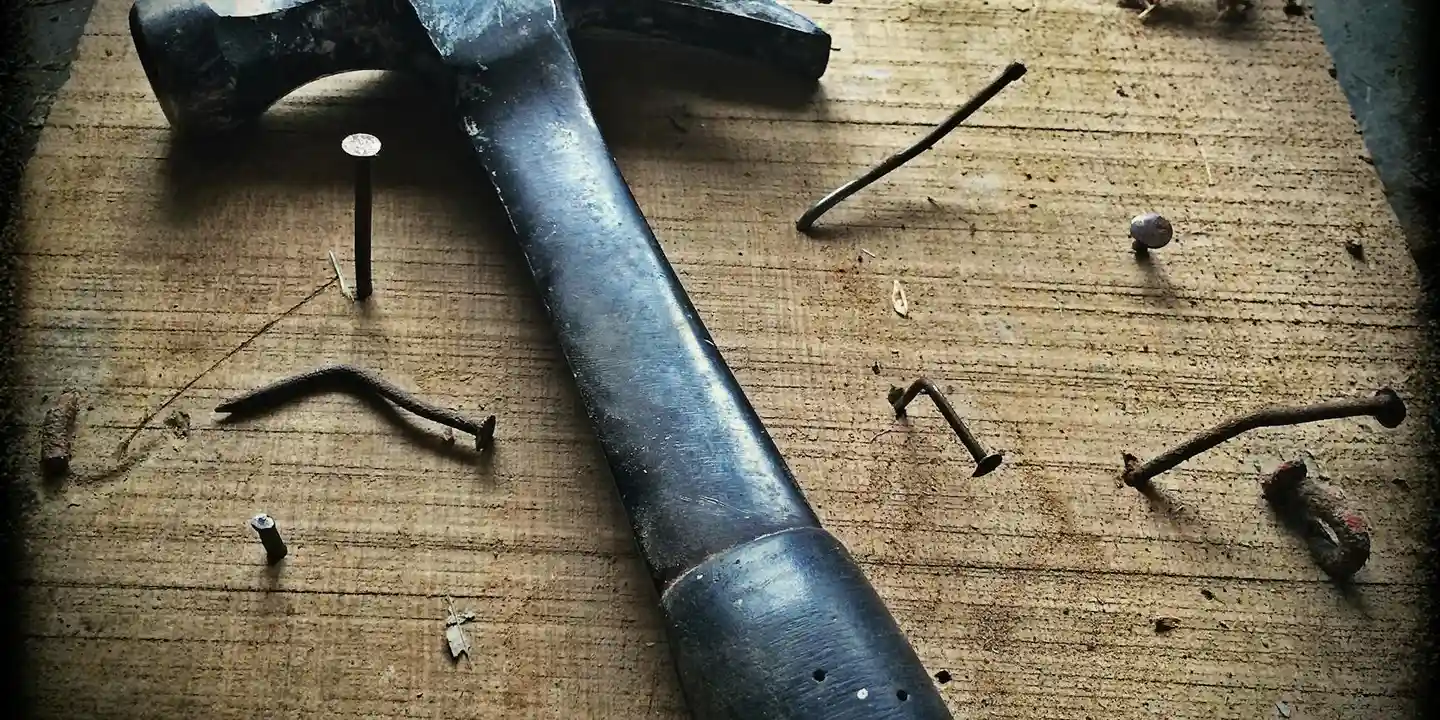
What is the proper roofing nail length for asphalt shingles?
For standard three-tab shingles, you typically use a 1 to 1-1/4 inch nail. The thicker architectural or dimensional shingles need a 1-1/4 to 1-1/2 inch nail.
The reason is simple physics. The nail must go through the shingle itself, then the underlayment beneath it, and still have enough length to sink at least 3/4 of an inch into the roof deck (the plywood or OSB). That 3/4-inch bite is what gives the shingle its grip against the wind. If the nail is too short, it won’t get that critical bite and your shingles become vulnerable to uplift.
Always check your local building code. In high-wind or hurricane-prone regions, codes often mandate a longer nail, sometimes 1-3/4 inches, to ensure that deeper penetration.
What is the proper roofing nail length for wood shingles and shakes?
Wood roofs need more thought. First, know the difference: shingles are sawn and relatively thin, while shakes are hand-split and much thicker. Your nail length must account for that extra material.
For cedar shingles, a 1-1/2 to 2 inch nail is common. For the heavier shakes, you’re looking at 2 to 3 inch nails. The key is the nail must be long enough to pass through the wood and securely penetrate the solid wood sheathing or furring strip beneath. Using a nail that’s too short is the fastest way to have a wood roof fail, as the shakes can simply work themselves loose over time. If you’re installing shingles on a hip roof, the same nail-length rule still applies. It helps ensure a durable, wind-resistant roof.
Material matters as much as length here. You must use hot-dipped galvanized nails. The tannic acid in cedar will corrode standard steel nails in just a few years, staining your roof and weakening the fastener.
Nailing Down Underlayment and Sheathing
This is where DIYers often grab the wrong box. Underlayment (the water-resistant barrier under your shingles) and roof sheathing (the deck you walk on) are fastened with completely different nails.
For underlayment, whether it’s synthetic felt or traditional #15 asphalt paper, you use cap nails. These are short, about 1 inch long, with a large plastic washer. The cap seals the hole and holds the material flat. These are for holding paper in place, not for structural strength.
Attaching the plywood or OSB sheathing to the roof rafters is a structural job. For that, you need common nails or decking nails, typically 2-1/2 to 3 inches long. They have a much thicker shank to prevent pull-out. I’ve seen too many projects where someone tried to deck a roof with 1-1/4 inch roofing nails. It simply doesn’t work. Confusing sheathing nails with roofing nails is a very common and serious error.
Can Roofing Nails Be Too Long? Common Mistakes and Safety Fixes
Can roofing nails be too long? Absolutely, yes. Longer is not always better. A nail that is too long creates several hazards.
First, it can pierce through the roof deck and into your attic space. This risks puncturing electrical wiring, which is a fire hazard. It can also snag insulation or, in a worst-case scenario, protrude enough to injure someone working in the attic. An over-long nail that blows completely through the wood actually has less holding power, as it lacks the wood fibers around its tip to grip.
I was on a repair crew years ago for a leak that baffled the homeowner. We traced it to a punctured PVC plumbing vent pipe in the attic. The roofer had used 2-inch nails on a thin deck, and a dozen of them were acting like a tiny showerhead every time it rained. The fix was a major headache.
My safety tip is simple. If you’re unsure of your deck thickness, go into the attic with a tape measure. Measure the plywood from the underside. Add the thickness of your new shingle and underlayment. That tells you the minimum nail length you need. Then add your 3/4 inch for bite. Choose the closest standard size to that total.
Specialty Materials: Metal, Slate, and Tile
Heavier, premium materials have their own rulebook. Don’t assume standard roofing nails will work.
For metal roofing, focus on fastener type, not just length. You use screws with neoprene washers, not nails. The length just needs to provide about 1 inch of penetration into the structural purlin or roof deck. The washer is what creates the watertight seal, unlike nails which often require additional sealant to prevent leaks.
Slate roofing is unforgiving. It requires long, stout nails, usually 2 to 3 inch copper or stainless steel. The nail must go through the thick slate tile, the underlayment, and deep into solid wood decking. Because slate can crack, installers often pre-drill holes to guide the nail and prevent pressure breaks. This is expert-level work.
Tile roofs, whether clay or concrete, use nails mostly for the underlayment and base flashings (typically 1-1/4 to 1-3/4 inch). The heavy tiles themselves are usually secured with copper wire or special clips, not nailed directly. Driving a nail through a brittle tile will almost certainly crack it. The fastening system here is about weight and interlock, not just nail hold.
Code, Wind, and Warranties: The Details You Can’t Afford to Miss
Choosing the right nail length is about more than just getting shingles to stick today. It’s a critical step in long-term roof care that ensures your home stays protected through storms and seasons. I focus on code compliance because I’ve seen too many roofs fail early when shortcuts were taken, ultimately reducing their lifespan.
How does nail length affect wind resistance?
Wind doesn’t just blow over your roof. It creates uplift, a force that tries to peel shingles off like a banana. A shorter nail has less shaft buried in the roof deck, so it can pull out much easier under pressure. Think of it like trying to hold down a tarp in a storm with thumbtacks instead of staples.
Building codes in high-wind zones, like coastal areas, reflect this reality. Many local codes mandate longer nails and a specific nailing pattern to meet higher wind uplift ratings. On a job in Texas hurricane country, we always used 1.5-inch nails with six nails per shingle, not the standard four. That extra grip is what code officials look for.
Should nail length vary for different roof slopes?
For nail length, the answer is usually no. A 1.25-inch nail should penetrate the deck the same way on a low slope or a steep one. The real difference often comes in the nailing pattern or sometimes the nail type, not the length itself.
Steeper slopes can face more direct wind force. Because of this, building codes might require more nails per shingle or specify their placement. Always check your local building code for slope-specific rules, as they directly tie into wind resistance. The basic principle stays the same: enough nail in the wood to resist pulling.
The Warranty Trap: Why Manufacturer Specs Are Law
Here is the most important warning I can give you. Using the wrong nail type or length is one of the fastest ways to void your shingle manufacturer’s warranty. I’ve been on inspection calls where a 20-year warranty was denied because the crew used nails that were an eighth of an inch too short.
You must always check the manufacturer’s installation instructions. Find the spec sheet on the shingle bundle wrapper or the company’s website, and treat it as the final law for your project. This requirement overrides any general rule of thumb or what a contractor might typically use. Additionally, local roof shingle layers regulations may govern the maximum number of layers and required underlayment, so review those rules as you finalize your plan.
Proper nailing is a non-negotiable part of protecting your investment. Keep it simple: measure your materials, add up the layers, and follow both the local building code and the manufacturer’s guide to the letter. This is how you build a roof that lasts.
Common Questions
How can I tell if my existing roof has the wrong nails?
Check for popped nail heads or shingles that feel loose-these are clear signs of insufficient grip. For a definitive answer, a professional can perform a pull test on a sample nail to see if it meets the ¾-inch penetration rule.
What’s the real risk if my contractor uses nails that are slightly too short?
You risk immediate warranty denial and a roof that will fail prematurely in high winds. It’s a hidden defect; always verify the nail box on-site and demand a receipt photo to confirm the correct length was used.
What’s your one-minute checklist before I start nailing?
Measure total material thickness, add ¾ inch, and round up to the nearest common nail size. Then, stop and double-check the manufacturer’s requirement printed on the bundle wrap-that’s your final authority.
Locking in Your Roof’s Lifespan with the Right Nails
Always use the nail length specified for your roofing material to create a durable, weather-tight seal. I tell every homeowner that this one choice prevents most common failures I see, from loose shingles to hidden leaks. That same careful planning also applies to figuring out the shingles needed to cover the roof. Getting the quantity right prevents shortages and waste.
Treat your roof as the critical shield it is by committing to safety-first inspections and ongoing learning. Our resources on Roof Care and All Types of Roof Guide provide the straightforward maintenance advice you need for long-term protection.
Ray Huffington
Ray is an experienced roofer. He has worked as a general contractor in the roofing industry for over 15 years now. He has installed and repaired all kinds of roofs, from small houses to large mansion, and from basic shingles to cement and metal roofs and even solar roof panels. He has seen homeowners struggle with roofing questions and always has experience based proven advice to help those in need. If you need roof pros, Ray's your guide.