
How Do You Install OSB Roof Sheathing Correctly? A Pro’s Guide to Best Practices
What’s the one step in roofing that, if done wrong, guarantees problems down the line, no matter how good your shingles are?
It’s the sheathing. A poorly installed OSB deck can lead to sagging, leaks, and even structural issues. I’ve been called to repair too many roofs where the real failure started right here.
In this guide, I’ll walk you through the non-negotiable best practices I’ve learned over the years.
- Laying out and spacing panels to prevent weak spots.
- Choosing the right fasteners and nailing them with the correct pattern.
- Managing moisture and gapping to stop swelling and buckling.
OSB as Roof Sheathing: The Roofer’s Perspective
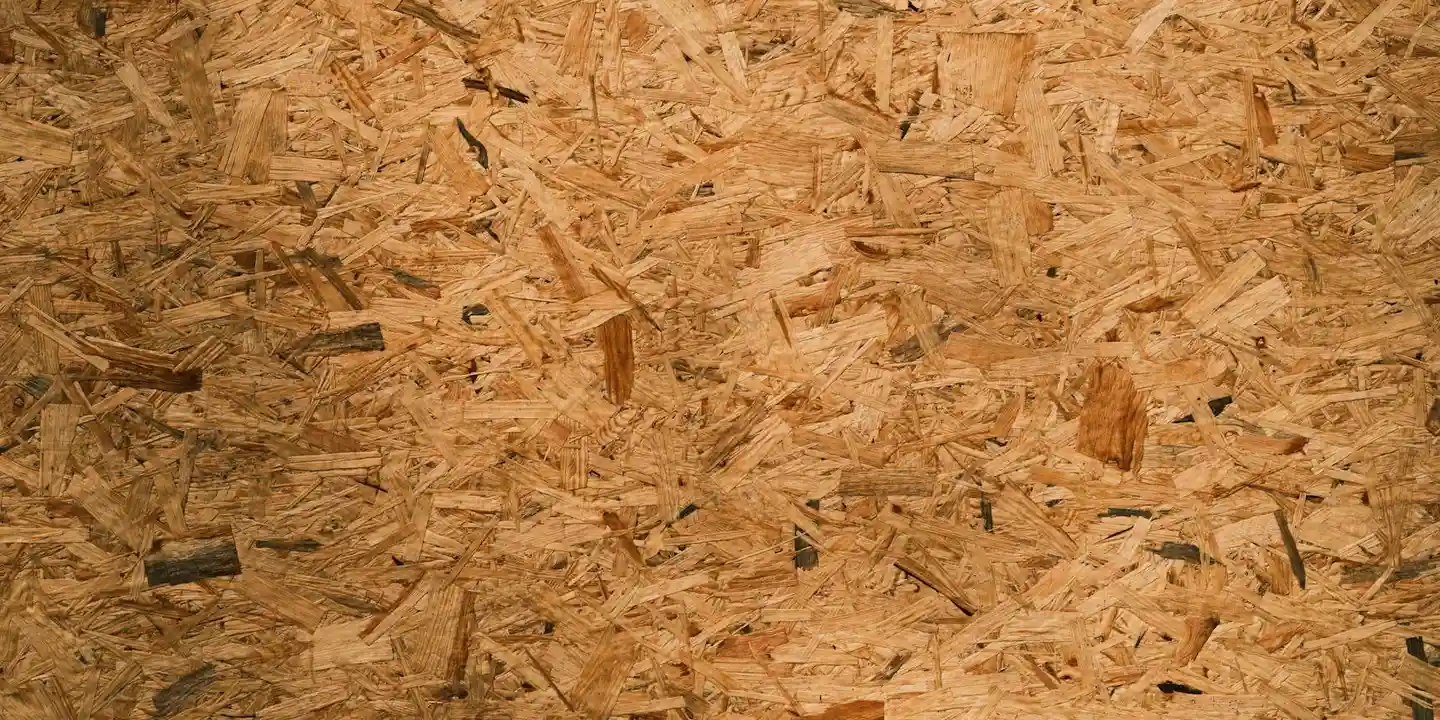
Let’s start with the basics. OSB stands for oriented strand board. Imagine taking wood strands, like large flakes of wood, mixing them with a strong glue, and pressing them into a solid sheet.
Its main job is simple: to create a flat, solid, and nail-able surface for your shingles, metal, or other roofing materials. Without it, your roof has no foundation. On many roofs, this base is part of built-up roof layers—a multi-layer system that adds durability and waterproofing. Understanding how built-up roof layers come together helps explain why this foundation matters.
In my years on crews, we’ve used tons of it. Here’s the honest breakdown every homeowner should know.
Pros:
- Cost: It’s typically less expensive than plywood, which is a big factor on a whole-roof job.
- Stability: It’s engineered to be very consistent. You won’t find weak spots or knotholes like you sometimes can in plywood.
- Availability: It’s the standard sheathing you’ll find at any lumberyard for roofing.
Cons:
- Moisture Sensitivity: This is the big one. If OSB gets wet and stays wet, the edges can swell like a sponge. It must be covered with roofing felt or synthetic underlayment and the final roof covering as quickly as possible after installation.
- Weight: It can be heavier than some plywood grades, which is something to consider for DIY handling.
How does it stack up to plywood? Think of plywood like a stack of veneers glued together. OSB is more like a tangled web of strands. In practice, plywood might have a slight edge in holding a nail right at the very edge of a panel. For most roofs, with proper nailing patterns, OSB performs just as well. The cost savings and consistency are why it became so popular on job sites.
Before the First Panel Goes Up: Storage, Handling, and Planning
How you treat the OSB before it’s on the roof matters just as much as the installation. I’ve seen new panels ruined before they were even unpacked.
Store OSB perfectly flat, off the ground on a level platform, and keep it completely covered with a tarp. Even one good rain on an uncovered stack can swell the edges, making the panels unusable and wasting your money.
Figuring out how much you need is straightforward. Measure your roof’s total square footage (length x width of each plane, then add them up). A standard 4’x8′ OSB panel covers 32 square feet. Divide your total roof area by 32 to get the panel count. That total can be converted into roofing squares to simplify material estimates. It also helps you estimate the gable area for a more accurate shingles plan.
Always add at least 10% to your final count for waste from cuts, mistakes, and odd-shaped roof sections. Running out halfway through is a massive headache.
Now, the common question: can you use 7/16″ OSB for a roof? The answer is sometimes, but you must be careful.
7/16″ OSB is acceptable for lighter-duty applications, like a shed or a porch roof, where the rafters or trusses are spaced very close together, typically 16 inches on center or less. It’s thinner and more flexible.
For a main house roof, you will almost always need to upgrade. 1/2″ or, more commonly, 5/8″ thick OSB is the standard for residential roofs. The extra thickness provides the necessary stiffness and nail-holding power, especially if your trusses are spaced 24 inches apart.
Your local building code has the final say. It specifies the exact thickness and grade required based on snow loads, rafter spacing, and other factors. Never guess on this. Checking your local code or consulting with a building inspector is a non-negotiable step for a safe, lasting roof, especially to prevent issues related to snow load.
The Installation Sequence: Layout, Spacing, and Fastening
Let’s get you set up right. Before you lift the first panel, stop and look at your setup. I’ve watched crew members get lazy with safety, and it only takes one slip. You must use proper fall protection, like a full-body harness tied off to a secured anchor, and always work from a stable, clear footing. This isn’t just a rule, it’s how you go home at night.
Now, grab that OSB panel. Always run the long dimension of the panel across the rafters or roof trusses. This orientation is key. It’s like laying a plank across a ditch, the shorter the span, the less it sags. This gives your roof its solid feel.
Here is a small step that prevents big problems. Leave a consistent 1/8-inch gap at every joint where panel edges and ends meet. OSB breathes with humidity, and without this space to expand, it will buckle and create a wavy roof deck. My crew’s old trick? Keep a common 8d nail in your pouch. Use it as a perfect spacer between panels as you position them, then pull it out before you nail.
Nailing holds it all together. For OSB, I always use ring-shank nails, as their grip is superior to smooth shanks and they resist backing out over decades. For standard 7/16-inch thick sheathing, an 8d nail is the right length. Follow this simple schedule. Space nails every 6 inches along the panel edges and every 12 inches in the field, which is the interior area of the panel.
Lay your panels with a pattern. Stagger the end joints from one row to the next, just like you would when laying a brick wall. This simple technique spreads the seams out, so you never have a straight line of weakness running across your roof. Start your second row with a half-sheet or offset the joints by at least two feet.
Navigating Roof Penetrations and Critical Junctions
Pay attention here. I can tell you from repairing hundreds of roofs, most leaks trace back to how we handle penetrations and junctions. This is where water tests your work every time it rains. Proactive flat roof repair maintenance helps prevent leaks before they start. Regular upkeep keeps water out and extends the roof’s life.
Cutting the OSB needs a careful hand. For a chimney, measure the framed opening and transfer it to your panel. Cut the opening about a half-inch larger all around than the masonry to allow for proper metal flashing and expansion. Use a circular saw and cut from the backside of the OSB to prevent ugly splintering on the top surface. For round plumbing vents, a hole saw gets a clean cut. With skylights, follow the exact rough-opening size on the manufacturer’s paperwork.
Never sheath over a bad frame. The roof must be properly framed with headers and cripple studs around any opening before you install a single sheet of OSB. I once had to tear off brand-new sheathing because the framers missed a header. The sheathing had already started to sag. That opening needs to be as strong as the rest of the roof. Following roof structure building framing best practices helps ensure openings stay reinforced. The next steps cover those framing basics.
Your first line of defense isn’t the shingle. Before any synthetic or felt underlayment goes down, install a self-adhering ice and water shield membrane in all valleys, along the entire eave edge, and around every single penetration. This sticky membrane seals around nail holes and seals out driven rain. It is the best money you will spend to keep your attic dry.
The Protective Layer: Underlayment and Weather Considerations

Your OSB deck is strong, but it is not waterproof. It needs a protective layer immediately. This underlayment is your roof’s first line of defense against rain during installation and a critical backup barrier for decades.
For OSB, synthetic underlayment is now the standard over traditional felt paper. Felt works, but it can tear when wet and may wrinkle as it dries. Synthetic is more like a tough, woven tarp. It lays flatter, resists tears better, and won’t absorb water. On a steep roof I worked last fall, the synthetic stayed put and dry during a sudden shower, while the felt on the neighbor’s job site became a slippery, ragged mess. This is part of the broader comparison of synthetic vs traditional underlayment. In practice, many crews favor synthetic for durability and water resistance, while traditional felt can be a cost-effective option in some projects.
Rolling it out correctly is a simple, physical job. Start at the bottom edge of the roof, the eave. Unroll it horizontally. Overlap the next row up by at least 6 inches. For side seams, overlap by 4 inches. This creates a shingle effect that guides water down and off. Secure it with plastic-cap nails or staples. Place them every 12 to 18 inches along the edges and in the field. A tight, well-fastened underlayment won’t billow up in the wind.
Your number one weather rule is this: never install OSB if rain is forecast within the next two days. OSB acts like a sponge. The edges swell when wet, and that swelling permanently weakens the panel. If your sheathing gets wet before you can cover it, you must dry it. Pull in fans and point them at the underside of the deck from inside the attic. Let air circulate above it if you can. Do not cover damp OSB with underlayment. You will trap that moisture and start rotting the wood from the inside.
This underlayment step is where you set up your roof’s breathing system. When you fasten the first row at the eave, do not let it cover the soffit vents. You must leave that intake open. Air needs to flow in from the soffit vents, up under the roof deck, and out through the ridge vent at the top. A ventilated roof assembly pulls out summer heat and winter moisture, which keeps your OSB stable and prevents mold. I’ve fixed too many roofs where the underlayment was slapped right over the vent slots, cooking the attic and warping the deck.
Common Mistakes That Weaken the Roof Deck
Installing roof sheathing seems simple, but small errors create big problems later. These are the mistakes my crew and I have learned to watch for on every job, especially when it comes to residential roof sheathing installation.
- Forgetting the expansion gap: OSB needs room to breathe with changes in humidity. Always leave a 1/8-inch space between panels. Butting them tight can cause them to push against each other and buckle.
- Under-driving or over-driving nails: A nail head left sticking up can puncture the underlayment and shingles. A nail driven too deep crushes the OSB fibers, reducing its holding power. Set your nail gun so the head sits flush with the surface, not below it.
- Poor panel alignment: Every panel edge must land centered on a roof rafter. If a seam falls between rafters, that unsupported joint becomes a flexing weak spot. It can sag under the weight of snow or a roofer.
- Blocking ventilation paths: This goes beyond the underlayment. Stashing bundles of shingles over the soffit or letting off-cut debris pile up can block those critical air intakes. Keep the eaves clear.
Never use a panel that looks damaged. If the edges are swollen or it has a dark, damp spot, reject it. Swollen OSB has lost its structural bite. Nails will not hold firmly, and it is more likely to deteriorate faster than the rest of the deck.
Leaving OSB exposed to sun and rain for weeks is one of the worst things you can do. I was called to a home where the deck was left bare for a month. The panels swelled so much they looked like pillows. We had to tear off and replace the entire section. The rule is simple: sheath it, then cover it with underlayment within days.
Code Compliance and Final Checks
Getting the OSB panels up is one thing. Making sure they are installed right is another. Your work is governed by two key guides, the International Residential Code (IRC) and the manufacturer’s specifications for your specific OSB. Think of it like a recipe and the ingredients, you need to follow both for the best result. I never start a job without both documents in my truck, because missing a detail in either one can fail an inspection.
Before any underlayment or shingles go on, you will likely need a framing and sheathing inspection. This is a standard step in most towns. I have seen crews have to stop work and wait because they called the inspector too early. Schedule this inspection only after every panel is fastened and all edges are supported, so you pass on the first try, especially before installing your roof underlayment.
Your roof needs to resist wind trying to pull it off. This is called wind uplift. Proper nailing is what gives your sheathing this strength. If nails are too far apart, the wind can get underneath and pry the board up. Follow the IRC nail spacing chart for your area, it directly determines how well your roof will hold up in a storm.
My final check is a slow walk across the entire deck. I feel for soft, spongy spots with my boots. I look for any nail heads that are not flush, called “proud” nails. I check for gaps wider than an eighth of an inch between panels. On an old crew, we missed a small soft spot that later sagged. Walk the deck yourself before the inspector arrives, fixing any issues you find saves time and money later.
Common Questions
How should OSB panels be handled and stored before installation?
Store them flat, off the ground on a level platform, and keep them completely covered with a tarp. Never let the panels get wet, as swollen edges are permanently weakened and must be replaced.
How do you ensure proper ventilation for the roof assembly when using OSB sheathing?
When installing underlayment, never block the soffit vents at the eave-this intake is critical. Proper airflow from the soffit to the ridge vent pulls out heat and moisture, which keeps your OSB stable and prevents mold.
What’s the final code and quality check before covering the sheathing?
Walk the entire deck before your inspection to feel for soft spots and check for un-flush nails. Ensure every panel edge is supported by a rafter and that all fastening meets the IRC’s wind-uplift requirements for your area.
Your Roof’s Strong Start: Sheathing Done Right
Get the OSB installation right from the beginning, and your entire roof system gains years of reliable service. Focus on precise nailing and consistent panel spacing-these are the non-negotiable habits that create a durable, weather-tight deck.
Treat your roof sheathing as the critical foundation it is, and commit to regular, safety-first inspections. A focused roof damage inspection guide can help you identify early warning signs and plan timely maintenance. Continue your education with our All Types of Roof Guide for practical steps on long-term Roof Care and maintenance that keeps every layer secure.
Ray Huffington
Ray is an experienced roofer. He has worked as a general contractor in the roofing industry for over 15 years now. He has installed and repaired all kinds of roofs, from small houses to large mansion, and from basic shingles to cement and metal roofs and even solar roof panels. He has seen homeowners struggle with roofing questions and always has experience based proven advice to help those in need. If you need roof pros, Ray's your guide.