
How Do You Maintain a Safe Chimney for Your Pellet Stove or Grill?
After twenty years of climbing ladders and inspecting vents, I’ve learned one truth: a poorly maintained chimney is a accident waiting to happen. If you’re heating your home or cooking with a pellet appliance, your chimney is your first line of defense against fire and fumes. You’re probably asking if your setup meets code and what it really takes to keep it clean.
I’ll explain the core installation requirements, outline non-negotiable safety checks, share my hands-on cleaning routine, and give you a seasonal maintenance plan.
Do Pellet Stoves Need a Chimney? The Roofing Pro’s Take
Yes, all pellet stoves need proper venting. But no, they don’t always need a traditional brick chimney.
Here’s the key difference from a roofer’s view. A “chimney” is usually a masonry structure. A pellet stove “vent” is typically a metal pipe. That makes the metal-roof install critical; following best practices for installing chimney stove pipe on a metal roof helps prevent leaks. For your roof’s health, it’s the penetration and flashing that matter most, not the name. Any hole punched through your roof is a future leak if it’s not done right.
When you ask “do pellet stoves need a chimney” or “do I need a chimney for a pellet stove,” you’re really asking about a safe exit for smoke. The answer is a dedicated vent system. I treat every pipe coming through the roof the same way — from wood stoves to pellet stoves. It needs a perfect seal.
Pellet Stove Vent Requirements: Getting It Right From the Roof Down
Proper venting is non-negotiable. A mistake here risks your safety and your roof’s structure. I’ve fixed leaks from poorly installed vents that ruined attic sheathing. Good roof ventilation matters for the overall health of your roof. It helps prevent moisture buildup and heat damage.
Can You Vent a Pellet Stove Horizontally Through a Wall?
You can vent through a wall. This is horizontal venting. But going straight up through the roof vertical venting is often better. Vertical venting creates a more reliable draft, which is simpler and safer for your stove’s operation. Horizontal runs need precise slopes to drain condensation and can be trickier to draft well.
Roof terminations are straightforward. A vertical pipe with a cap is easier to flash correctly than a wall exit that needs siding details. Your local building code will decide the final choice. Always check it first.
Sizing the Vent Pipe and Flue
The appliance manual is the law. Use the exact pipe size it specifies. A wrong size is a major fire risk and will hurt performance. Guessing on pipe size can lead to dangerous creosote buildup and poor stove draft.
This size directly decides your roof flashing kit. A 4-inch pipe needs a 4-inch flashing boot. Mismatching here is a guaranteed water entry point. I always match the kit to the pipe before I even go on the roof.
Critical Clearances: Pipe to Combustibles
The pipe gets hot. It must have space from anything that can burn. For standard insulated pellet vent, clearance is often 1 inch. This one-inch air gap must be kept through the entire roof structure framing, sheathing, and insulation.
I’ve seen installers let insulation touch the pipe. That’s a code violation and a fire starter. When the pipe goes through the roof, the flashing must not compromise this clearance. We sometimes use metal spacers to ensure proper spacing and avoid any leaks, especially when dealing with chimney flashing on metal roofs.
Is an Insulated Chimney Liner or Pipe Needed?
For a vertical run through a cold attic, yes. Insulated pipe is almost always required. Warm, moist exhaust hits a cold pipe and condenses into water. This condensation can drip back, cause rust, and lead to hidden moisture damage in your attic.
Insulated pipe keeps the gases warm. This maintains a strong draft out the roof and stops condensation. It costs more, but it protects your roof from slow, expensive rot. On my jobs, we always use it for attic penetrations.
Safety First: Protecting Your Home from the Flue Up
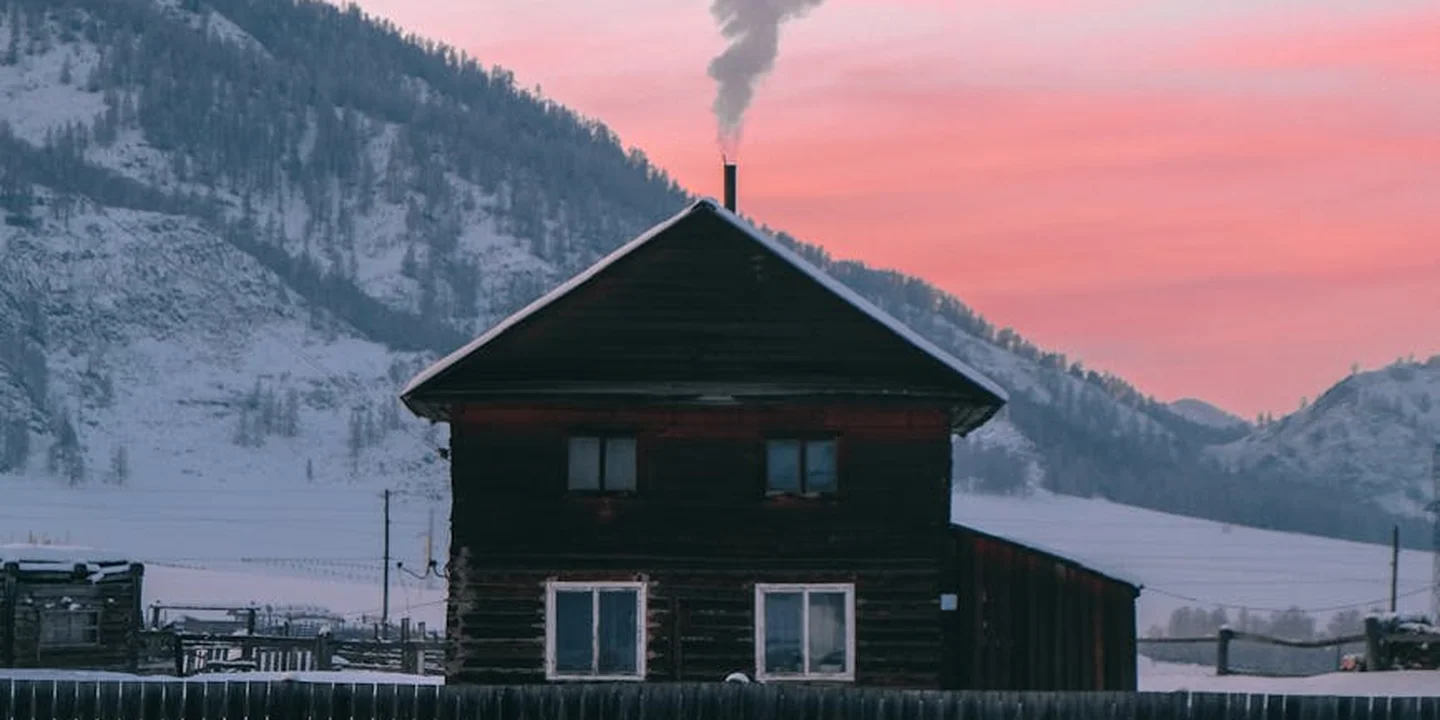
We often think of stove safety as just preventing house fires. I see it differently. A proper installation protects the entire building envelope. It stops water from sneaking in through the roof and prevents structural rot before it starts.
Can a Pellet Stove Cause a Chimney Fire?
Yes, it can. I hear the myth all the time that pellet stoves are completely clean and safe from chimney fires. That’s not my experience, and neither is it. While you won’t get the thick, tarry creosote of a wood stove, a fine powder of soot and fly ash builds up inside the vent pipe. If that layer gets thick enough, a high-temperature burn or backdraft can ignite it, leading to a confined, intense fire inside your metal chimney. This risk is the main reason you cannot ignore cleaning, which we’ll cover next.
The Roof Termination: Your First Line of Defense
Where the pipe punches through your roof is critical. A correct termination stops problems before they begin. Here’s what I look for on every job:
- Height: The pipe must extend at least 2 feet above the roof surface at its penetration point, and be at least 2 feet higher than any part of the roof within 10 feet. This prevents wind turbulence from pushing exhaust back in.
- Clearance: It needs space from roof peaks, windows, and soffits as listed in your stove’s manual and local code, usually 1 to 3 feet.
- Hardware: A proper, listed rain cap keeps out water and animals. A storm collar, which is a metal ring that fits snugly over the pipe, must be sealed to the pipe with high-temperature silicone to block water from running down the pipe itself.
A good cap and collar system prevents downdrafts that can fill your home with smoke and stops rain from flooding your stove’s interior.
Flashing: The Waterproof Seal
This is where my roofing hat goes on. The metal flashing is what seals the hole in your roof deck. Tar or caulk is a temporary patch, not a solution. I see failed caulk jobs leak around screw holes within a single season.
For a shingle roof, the right way is to integrate step flashing. Each L-shaped metal piece is woven under a shingle and over the one below, creating a staircase effect that sheds water. Over that, a pre-fabricated roof vent boot or a custom-fitted metal collar is installed and sealed around the pipe. If your installer just smeared a glob of sealant around the pipe base, you have a future leak waiting to happen. This is one of the top three leak points I am called to repair.
Interior Safety Must-Haves: Clearance and Alarms
Safety starts inside. Your stove’s manual spells out exact distances needed from walls and floors. Never guess. Use the listed floor protector. These clearances prevent framing members from overheating over time, which is a slow-motion fire hazard.
My non-negotiable rule? You must have working smoke and carbon monoxide detectors in the room with the stove and in nearby sleeping areas. Test them monthly. Pellet stoves can produce CO if something is malfunctioning or the vent is blocked. These alarms are your last-ditch early warning system.
How and When to Clean Your Pellet Stove System
Think of cleaning as routine medicine for your stove. It keeps it safe, burning efficiently, and saves you money on fuel and major repairs down the line.
Do Pellet Stove Chimneys Need Cleaning?
Yes, absolutely. The vent system is not “maintenance-free.” Ignoring it is how you get poor performance, shutdowns, and that chimney fire risk we discussed. Plan to clean the interior vent pipe at least once per burning season, and have a professional inspect and clean the entire system annually. If you use the stove heavily, increase that frequency.
The Homeowner’s Cleaning Routine (Burn Pot and Ash)
This is your weekly and daily task. It’s simple if you stay on top of it.
- Let the stove cool completely.
- Use an ash vacuum (never a household vacuum, the fine dust will ruin it) to remove ash from the burn pot and ash pan.
- Once a week, scrape the burn pot clean of clinkers (hardened slag) with a small, stiff brush or a putty knife designed for the job.
- Wipe down the glass door with a damp cloth when cool, using a stove glass cleaner if needed.
Keeping the burn pot clean ensures a consistent, hot fire and prevents annoying shutdowns.
Deep Cleaning the Vent Pipe
This is where it gets tricky for homeowners. The process involves brushing the entire length of pipe, usually from the roof down.
You disconnect the pipe inside, attach specialty brushes to flexible rods, and work them down from the roof termination. It’s messy. Because this requires working on a ladder and the roof, I consider this a pro-only task for most people. The risk of a fall is high. If you feel any heavy, rock-like buildup in the pipe, that’s your sign to call a certified chimney sweep immediately.
Exterior Cleaning and Inspection
While you’re cleaning gutters in the spring and fall, take two extra minutes. Look up at your stove’s roof termination. Do you see any rust on the cap or pipe? Is the silicone seal on the storm collar cracked? Are the flashing shingles lying flat with no gaps?
For the stove itself, just use a damp cloth to wipe down the exterior. Avoid abrasive cleaners that can scratch the finish. This biannual visual check from the ground can help you spot a small flashing issue before it becomes a major ceiling leak.
Seasonal Maintenance and Troubleshooting Guide
Think of this as your proactive log. A little work each season stops big problems during the first cold snap. Your roof and your stove need to work as a team.
Pre-Season Startup Checklist
Never just fire up the stove after a long break. A proper startup finds small issues before they become roof leaks or house fires. Do this a few weeks before you need the heat.
- Schedule a Professional Inspection: This is non-negotiable. Have a certified pellet stove technician do the annual check. They measure draft, inspect the interior vent liner for corrosion, and verify the combustion blower works right. I see too many DIY attempts miss critical wear.
- Conduct a Test Run: After the pro gives the all-clear, run the stove for an hour. Watch for steady, clean exhaust from the roof cap. Listen for unusual noises in the vent pipe.
- Verify All Gaskets and Seals: Check the door gasket on the stove itself. A worn seal there hurts efficiency but won’t cause a roof leak. The critical seal is where the vent pipe passes through the roof. From inside your attic, look for daylight around the pipe or signs of water staining on the insulation nearby.
- Check the Roof Termination: From the ground with binoculars, look at the roof cap. Make sure the rain cap opens and closes freely. Look for rust, cracks in the storm collar, or degraded roof flashing. This is what keeps your attic dry.
Off-Season Shutdown and Storage
When winter ends, don’t just turn it off. A proper shutdown prevents pests and corrosion, protecting your roof penetration for next year.
- Give the Stove a Final Thorough Clean: Vacuum out the burn pot and ash pan. Wipe down the interior. A clean start next fall is easier and safer.
- Run the Auger Empty: Follow your manual to clear any leftover pellets from the feed system. This prevents clogging from sawdust or degraded fuel.
- Unplug the Unit: Simple, but often forgotten. It prevents any accidental electrical cycles during storms.
- Protect the Roof Cap: You can cover the exterior roof cap to prevent birds or squirrels from nesting, but use a vented cover. A tight, non-vented cover traps moisture inside the pipe all summer, which leads to rust. A simple wire mesh cage often works best.
Common Problems and What They Mean for Your Roof
Stove troubles are often roof vent troubles. If your stove acts up, your roof is trying to tell you something.
Smoke in the room? This is a serious venting issue. The draft is failing, pulling exhaust back into the house. Likely a venting/draft issue-check for blockages at the roof cap. A bird’s nest in the cap is a common culprit. The next step is checking for an interior vent pipe collapse or severe creosote buildup.
Poor performance or frequent shutdowns? The stove isn’t burning hot and clean. Could be a dirty system or an improperly sized/sloped vent pipe affecting draft. If the horizontal run before it goes up is too long or doesn’t have enough rise, it can’t establish a strong draft. This strains the stove and can lead to rapid soot buildup in the pipe.
On a job last year, a customer had constant error codes. The stove was clean. We went on the roof and found the previous installer used a standard chimney cap, not a pellet vent cap. It was restricting the exhaust flow just enough to cause problems. The right cap fixed it immediately. Understanding chimney cap purposes and requirements helps explain why the fix worked and what to watch for in the future. We’ll cover those cap purposes and requirements in the next steps.
Common Questions
1. Can a pellet stove vent cause my roof to leak?
Yes, if the flashing is installed incorrectly. Inspect the sealant around the roof boot annually and after major storms for cracks or gaps in the flashing.
2. When replacing my roof, what should I tell my roofer about the stove vent?
Tell them it’s a Class L or PL vent for a pellet appliance. They must use a compatible flashing boot and maintain the required clearance to combustibles through the roof deck.
3. How do I prevent ice dams from forming around the chimney penetration?
Ensure your attic insulation and ventilation are adequate to keep the roof deck cold. A heated vent pipe should not be the sole source of snow melt on your roof.
Keeping Your Roof and Chimney Working in Harmony
The most critical thing you can do is treat your pellet vent as a vital roof penetration. A properly installed and maintained chimney protects your entire roofing system from the inside out.
Your roof is a long-term investment that requires a responsible, safety-first approach. I encourage you to use resources like our guides on Roof Care and All Types of Roof Guide for ongoing learning about protecting your home.
Ray Huffington
Ray is an experienced roofer. He has worked as a general contractor in the roofing industry for over 15 years now. He has installed and repaired all kinds of roofs, from small houses to large mansion, and from basic shingles to cement and metal roofs and even solar roof panels. He has seen homeowners struggle with roofing questions and always has experience based proven advice to help those in need. If you need roof pros, Ray's your guide.