
How Do You Coordinate Gutter Replacement with a New Roof Installation?
Should you replace your gutters before, during, or after your new roof goes on? Getting this timing wrong can lead to leaks, ice dams, and costly callbacks.
I’ll walk you through the smart order of operations I use on my jobs.
You’ll learn how to plan with your contractor for a tight, water-shedding seal.
I’ll give you the simple checks to confirm everything is working as one system.
Key Takeaways: Your Coordination Blueprint
Think of this as your game plan. Get this part right, and the rest flows smoothly.
- Always install the new roof first, then the gutters. This is the non-negotiable rule of the job.
- Gutters are a separate system; they are rarely included in a standard roof replacement contract. You will likely hire two different crews.
- The drip edge is the critical link; its installation must be planned with the gutter team. It’s the handshake between your roof and your gutters.
- Direct communication between your roofing and gutter contractors is non-negotiable for success. Don’t relay messages yourself. Make them talk.
- Choosing compatible materials prevents galvanic corrosion and ensures longevity. Mixing the wrong metals can cause your gutters to rust out prematurely.
Step 1: Nail the Schedule – Why Roof Always Comes First
I see this question all the time. Homeowners want to know the smartest way to schedule to avoid living in a construction zone for weeks.
The golden rule is simple: the new roof installation must be 100% complete and the site cleaned before the gutter crew even shows up.
Let me tell you what happens if you try to install beautiful new gutters first. The roofing crew arrives for the tear-off. Old shingles, nails, and debris rain down from the roof. Those pristine gutters get dented, filled with grit, and likely torn right off the fascia board. You’ve just wasted that money.
So, can you replace gutters before a roof? My answer is a firm no. It’s like painting the trim before you’ve finished building the house walls.
Here’s a real-world timeline that works. The roofing crew finishes their final inspection and cleans up every nail. The next day, or the day after that, your gutter installer arrives. This tight, back-to-back schedule minimizes the time your home is without water management and keeps the project moving. It complements a well-planned roof installation timeline.
The Only Exception: When Gutters Must Be Removed for Roof Work
This confuses people. They ask, “Are gutters removed when replacing a roof?” Sometimes, yes, but only for access.
If the old gutters are in the way, sagging badly, or attached to rotten fascia the roofers need to repair, they will carefully take them down. This is a temporary removal so they can do their job properly.
The roofing crew should remove them safely, store them if they are to be reused, and protect the area. This is not the installation of your new system. It’s a necessary step in the roof replacement process. Your new gutters go up only after the new roof is fully installed.
Step 2: Understand the System – Gutters vs. Roof: A Vital Partnership

Let’s clear up a common confusion right away. Your roof and your gutters are two distinct systems that must work as one team.
While gutters attach to the roof’s edge, they are a separate system with their own installation requirements and specialists. Think of it like a relay race: the roof shingles pass the water baton to the drip edge, which passes it to the gutters. Regular maintenance matters, including clean gutters and effective gutter guards. This helps prevent clogs and water damage by keeping the flow uninterrupted.
This separation matters for your contracts and warranties. A roofing company’s warranty covers the roof assembly. A gutter company’s warranty covers the gutters and seams. If a roofer installs gutters as a side job and they fail, your roof warranty won’t cover that leak. Using specialists for each part is the safer bet.
The Attic Connection: How Water Management Drives Home Health
Good water management does more than keep your basement dry. It protects your entire house from the top down.
Proper drainage directs thousands of gallons of water away from your foundation and soffits every year, which is the first defense against attic moisture and ice dams. When gutters fail, water spills over and soaks the ground near your foundation. It can also seep up into your roof’s eaves and soffits.
That soggy wood is a problem. In winter, warm air from your attic melts snow on the roof. When that water hits the cold, soaked eaves, it refreezes, creating an ice dam that pushes water back up under your brand-new shingles. This cycle rots wood, destroys insulation, and drives up your heating bill.
I’ve seen perfect roof installations ruined in a single season by gutters that dumped water right at the home’s corner. The system only works if every piece is aligned.
Are Roof Gutters Necessary? The Non-Negotiable Answer
For almost every home, the answer is yes. A roof without gutters is like a car without brakes on a hill; it might roll okay for a bit, but you’re headed for a major crash. Gutters matter, especially on homes with complex roofs and sharp angles where runoff meets obstacles. Properly installed gutters guide water away and protect foundations.
Gutters are necessary to manage massive roof runoff and protect your home’s siding, foundation, and landscaping from destructive erosion. In my 20 years, I’ve only seen a handful of homes that could legitimately skip them, like some with massive overhangs in very dry climates or certain modern designs with built-in drainage channels. For most homes, professional roofing gutter services for residential properties ensure proper sizing, installation, and maintenance. A quick consult with a local roofer can tailor gutter systems to your roof and climate.
For the other 99% of us, they are a non-negotiable part of a healthy home.
Step 3: The Contractor Huddle – Your Pre-Work Coordination Checklist
You are the project manager. Your most important job is to get the roof crew and the gutter crew talking, even if it’s through you. Never assume they’ll figure it out.
What should you discuss with contractors to ensure they coordinate effectively? Start with a simple, shared timeline and clear handoff points. Get specific answers on paper. This isn’t just about convenience, it’s about worker safety and building code compliance. A loose gutter left on the ground is a trip hazard. An incorrectly installed drip edge violates building codes and voids warranties.
Here is your mandatory conversation checklist. Bring it to every meeting.
Questions for Your Roofer
- Will you remove the old gutters, or is that my gutter contractor’s job? This is the biggest logistical question. Most roofers will remove them to access the fascia and drip edge, but they often treat it as debris, not a careful dismantling.
- What is your plan for protecting the fascia board during tear-off? The fascia is the wood board the gutters mount to. Roofers use pry bars near it. Ask how they’ll avoid damaging it, as dents and gouges make for a poor gutter mounting surface.
- Exact specifications for the drip edge: material, width, how far it will extend? The drip edge is the metal flashing that tucks under the last row of shingles and directs water into the gutter. Its overhang is critical. Get the exact measurement (e.g., “1.5-inch aluminum drip edge, extending 3/4-inch past the fascia”). Give this spec to your gutter installer.
- When is your absolute completion date so I can schedule the gutter crew? Get a firm “gutters-ready” date, not just a project start date. A one-day gap is ideal.
Questions for Your Gutter Installer
- How will you align the new gutters with the newly installed roof edge and drip edge? A pro will explain they’ll set the gutter’s back edge just under the drip edge’s curl. The front edge should be slightly lower so water flows toward the downspout. They need to know the drip edge specs you got from the roofer.
- What is your lead time, and can you commit to a date right after the roof is done? Gutter shops can be busy. Secure your spot on their schedule to match your roofing timeline. A written commitment prevents weeks of waiting.
- Do you need the roofer to leave specific fascia exposed or prepared? Sometimes installers want old gutter brackets fully removed or a clean, unpainted strip for sealing. Clarify this so the roof crew doesn’t leave a mess that costs you extra.
Step 4: The RoofMason Material Verdict – Matching Gutters to Your New Roof
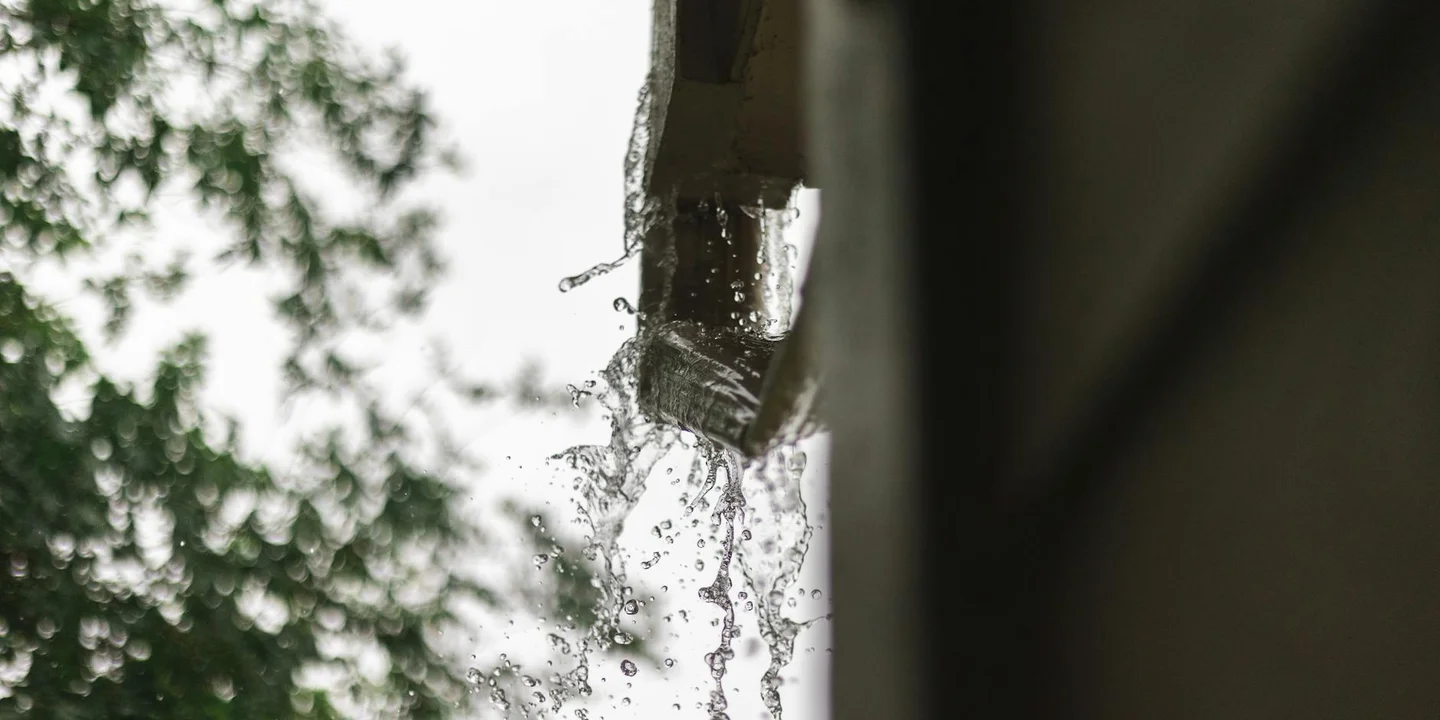
A top question I get is, “Which gutter material manages water best with my new roof?” The right choice stops problems before they start. It balances durability, your local weather, and long term value.
Think of your gutter system like a raincoat for your house’s foundation; the material needs to shed water reliably for years. I always check the roof type and fascia strength first. A slate roof deserves a different gutter than standard asphalt shingles.
Gutter Material Tiers: From Best Bang-for-Buck to Premium
Here’s my take from installing hundreds of systems. We’ll compare weight, weather fight, and cost.
- .032″ Aluminum: This is my most common pick. It’s lightweight, affordable, and resists rust. It works for most homes in most climates. The crew and I use it on 8 out of 10 jobs.
- Galvanized Steel: It’s stronger and handles heavy snow better. But it’s heavier and will rust eventually. In coastal areas, I’ve seen it corrode in under ten years.
- Copper: This is the premium, long lasting option. It won’t rust and develops a green patina. It pairs perfectly with high end roofs like slate or clay tile. The cost is much higher.
- Vinyl: Homeowners sometimes choose it for DIY. It’s the lightest and cheapest. Vinyl becomes brittle in freezing cold and can sag in high heat, leading to breaks. I don’t recommend it for a permanent, professional installation.
Weight matters. Heavy steel gutters need a very strong fascia board. On an old house last year, we had to reinforce the fascia before hanging steel. Aluminum is easier on your home’s structure. If you’re weighing aluminum vs vinyl gutters, durability and cost are key considerations. A smart choice balances weight, longevity, and price.
For sustainability, aluminum is a smart choice. It’s often made from recycled content and is fully recyclable at the end of its long life. It’s a responsible pick for water management.
Seamless vs. Sectional: A Leak-Prevention Guide
For a new roof installation, seamless aluminum gutters are the professional standard. A truck forms them on site to the exact length of your roof edge.
Seamless gutters have one seam only at the corners, which drastically cuts down on leak points.
Sectional gutters come in 10 foot pieces. Each connection is a sealed seam. Over time, seals fail. I’ve been called to repair more leaks on sectional systems than I can count. For a clean, reliable job, go seamless. If you’re weighing seamless vs sectional gutters, consider the pros and cons to decide what fits your home.
Step 5: Protecting the Goods – Navigating the Roof Tear-Off
People ask, “What steps protect new gutters during roof installation?” The best protection is a good schedule. New gutters should be installed after the new roof is on.
If your gutters are brand new, they simply should not be on the house during the roof tear off. Old shingles, tools, and ladders will damage them. I tell my clients this upfront, especially when advising on cleaning and maintenance practices for their gutters.
The focus shifts to protecting the fascia. This is the wooden board the gutters attach to. When the roof is off, your roofer can fully inspect it. Any soft wood or rot must be replaced. This prepares a solid base for your gutter installer.
Can a Roof Be Replaced Without Removing Gutters? The Real Story.
Can a roof be replaced without removing gutters? Some crews will try, but I rarely think it’s a good idea.
The risks are real. Gutters get bent by falling debris. The critical drip edge flashing might not tuck under properly. Worst of all, you miss the chance to see hidden rot on the fascia behind the gutter.
Removing the gutters is the best practice for a complete, high quality roof replacement. It lets every professional do their job right. You start fresh with a solid roof and a perfectly attached gutter system.
Step 6: The Critical Handshake – Installing Drip Edge and Gutters as One
This is where all your planning pays off. The single most common question I get from homeowners is: how does the drip edge interact with gutters, and how should they be installed together? Think of this as the final handshake between your new roof and your new gutter system — it has to be firm and precise. It’s essential to properly install the drip edge before attaching your gutters. If this connection fails, everything else you’ve coordinated is for nothing. Getting this right is the ultimate test of your efforts.
The Golden Rule of Alignment
Forget complicated technical terms. The rule is simple. The metal drip edge along your roof’s eave must extend down and slightly inward. It needs to reach about a quarter to a half inch into the top of the gutter channel itself. This ensures compliance with drip edge metal roofing code requirements.
The gutter is then hung from the wooden fascia board, positioned directly behind that protruding drip edge. This setup creates a perfect path. Water sheets off the shingles, runs along the drip edge, and drips cleanly into the waiting gutter below.
Here’s my favorite way to picture it: the drip edge is the roof’s outstretched hand, guiding water off the shingles. The gutter is the cup placed perfectly to catch every drop. If the hand isn’t over the cup, you get a mess.
Common Installation Failures (And How to Avoid Them)
I’ve seen every mistake in the book. Watch for these on your project to ensure your crew gets it right.
- Gutter Installed Too High. This is a classic error. If the gutter is hung so high that its back edge touches or tucks behind the drip edge, it creates a dam. Water and debris get trapped, leading to overflow and rot on your fascia. The fix is simple: lower the gutter hangers so the top of the gutter sits below the drip edge’s tip.
- Gutter Installed Too Low. The opposite problem. A large gap between the drip edge and the gutter channel lets wind whip rain right past the gutter. It splashes against your siding and foundation. The crew must measure and adjust the hangers to close this gap to that ideal 1/4 to 1/2 inch.
- Drip Edge Cut Too Short. Sometimes roofers cut the drip edge metal flush with the rake or corner. This leaves the very end of the gutter’s channel exposed. During a storm, wind driven rain can blow sideways right behind the gutter. A proper drip edge should always extend slightly past the gutter’s end cap, sealing that corner completely.
For the final article, include clear photos or diagrams here showing correct alignment versus each of these failures. A picture makes it undeniable.
Final Walkthrough: The Water Test
Never let a crew pack up their tools without doing this. Before they leave, grab your ladder and do a final walkthrough with them.
- Check that the gutter has a consistent, gentle slope toward the downspouts.
- Tug on a few gutter hangers to ensure they are securely fastened to the fascia, not just the roof decking.
- Look down each downspout to confirm it’s clear of debris from installation.
Then, perform the water test. Have someone run a garden hose on the roof near the eaves. Watch the water travel from the shingles, onto the drip edge, and drip directly into the gutter channel. Follow it along the gutter to the downspout and out the bottom. This live demonstration verifies your entire coordinated system is working as one unit.
Common Questions
What’s the biggest mistake when matching gutter and roof materials?
The biggest mistake is causing galvanic corrosion by mixing incompatible metals, like steel and copper. Always match your gutter metal to your roof’s flashing and drip edge material to prevent premature rust and failure.
How do I get my roofing and gutter contractors to actually talk to each other?
Set up a three-way call or site meeting before any work begins. Your key job is to hand off the roofer’s written drip-edge specs directly to the gutter installer to ensure perfect alignment.
If my gutters are new, how do I protect them during the roof replacement?
You don’t-schedule the roof installation first. If new gutters are already installed, insist the roofing contractor removes and stores them safely before tear-off to prevent certain damage from debris and ladders.
Securing a Lifetime of Dry Basements
My best advice is simple: always replace your gutters after the new roof is on. This single timing decision ensures a locked-in fit at the eaves that channels water away, not into your walls.
Think of your roof as a living system that needs your watchful eye and safe maintenance habits. I built this blog to be your go-to resource for trustworthy guides on every aspect of roof care, so use it to stay ahead of problems. In the next steps, we’ll cover essential roof repair safety practices to help you work more safely and confidently.
Ray Huffington
Ray is an experienced roofer. He has worked as a general contractor in the roofing industry for over 15 years now. He has installed and repaired all kinds of roofs, from small houses to large mansion, and from basic shingles to cement and metal roofs and even solar roof panels. He has seen homeowners struggle with roofing questions and always has experience based proven advice to help those in need. If you need roof pros, Ray's your guide.