
How Do You Repair or Replace Damaged and Missing Roof Shingles?
Noticed a few shingles cracked or gone after that last storm? Left unfixed, even small damage can lead to leaks and costly repairs. Let me share the straightforward steps I use on my jobs to handle it safely.
We’ll cover spotting problem areas, choosing matching shingles, and the hands-on repair process.
How to Spot Shingle Damage Before It Becomes a Disaster
Your first line of defense is a simple visual check. Start from the ground with a good pair of binoculars. Walk around your house and look up. You’re searching for anything that looks out of place in the pattern of your roof.
If you need a closer look, use a sturdy ladder placed on firm, level ground. Never step onto the roof itself for a casual inspection. It’s not worth the risk.
So, what exactly are you looking for? Here are the most common signs of a shingle in trouble:
- Curling: The shingle corners turn up or down, like a dried leaf.
- Cracking: Visible splits running across the shingle’s surface.
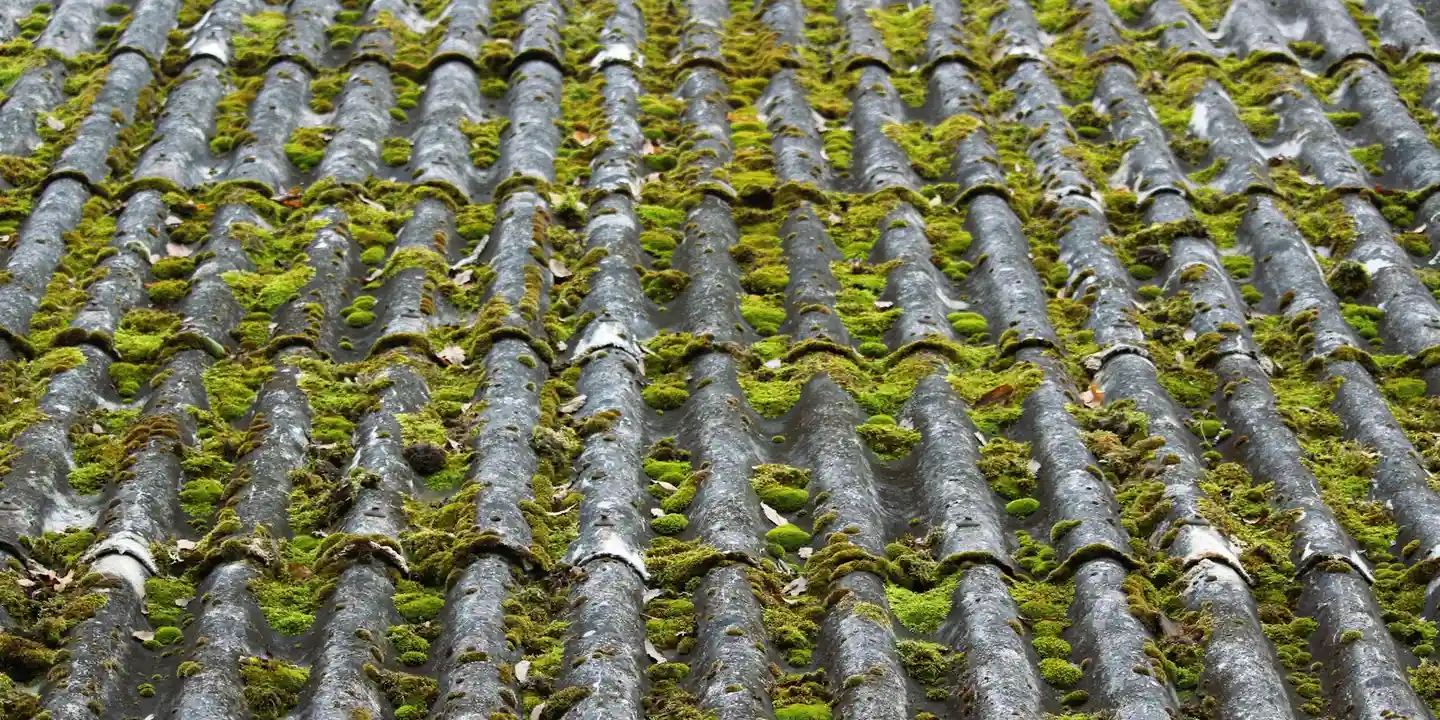
- Missing Granules: Bald spots where the colored ceramic coating has worn away. Check your gutters for an accumulation of these granules; they look like coarse, black sand.
- Lifted or Missing Shingles: One that’s peeled up or gone entirely, leaving the underlayment exposed.
To answer the common question, “How to identify damaged shingles?”, focus on changes in color, shape, and texture compared to the surrounding shingles. A damaged one will stand out.
Storm damage has its own telltale signs. Hail hits leave small, dark bruises or dents where the granules are knocked off. Wind doesn’t just lift shingles; it can create a permanent crease or “footprint” where it tried to tear them. After any major storm, a ground-level binocular scan is a smart habit.
For a shingle that looks slightly raised, try this safe test. From your ladder, apply gentle, upward hand pressure under the edge. If it lifts easily and feels flexible or cracked, its seal is broken. A properly sealed shingle will feel firmly attached.
Roof Integrity Check: Is a Simple Repair Enough or Is Replacement Inevitable?
Finding a few bad shingles doesn’t automatically mean a new roof. The deciding factor is the overall health of your roof system. Think of it like a crew. You can replace one tired worker, but if the whole crew is past retirement age, you need a new team.
Start with age. A typical asphalt shingle roof is designed to last 20 to 25 years. If your roof is within that range and otherwise looks good, a repair is likely the right call. If it’s pushing past 20, the clock is a major factor when considering roof replacement.
I tell homeowners that widespread granular loss is the single biggest red flag that a repair is just a temporary bandage. When most shingles are smooth and bald, they’ve lost their UV protection and are baking down to nothing.
Here are the other signs that signal a full replacement is inevitable:
- Spongy Decking: If you can press on the roof (safely from the attic) and it feels soft or bouncy, the wood deck beneath is rotten.
- Multiple Leaks: Water finding its way in several spots, especially away from roof features, points to systemic failure.
- Age Over 20 Years with Any Damage: The roof has done its job, and patching old, brittle material often causes more problems.
Contrast that with the perfect repair scenario: isolated damage on a roof that’s less than 10-15 years old. A tree branch scraped a section, a storm lifted three shingles, or a satellite installer cracked a few. These are fixable problems and not as complicated as they seem.
Let me use an analogy from my early days. A few damaged shingles on a sound roof are like a small paint chip on a solid car door. You sand and spot-paint it. Widespread granular loss and rot are like extensive rust holes in that same door. You can try to patch it, but you’re just waiting for the next hole to appear. You need a new door.
The Cost-Benefit Verdict: DIY Patch vs. Pro Replacement
Let’s talk real numbers and real situations. I’ve seen homeowners waste money on both sides-unnecessary pro calls and DIY patches that cause bigger leaks.
Here’s the breakdown for a standard asphalt shingle repair.
- DIY Repair (Materials Only): $20 – $50. This gets you a bundle of matching shingles (you often have to buy a whole bundle), a tube of roofing cement, and a box of galvanized roofing nails. The tools, if you don’t own them, are a one-time cost.
- Professional Spot Repair: $200 – $500. A pro charges for the truck roll, labor, expertise, and warranty on their work. This is for fixing a specific, isolated area of damage.
- Full Roof Replacement: $5,000 – $15,000+. This is the major investment when repair is no longer viable.
The smart DIY fix is a temporary, money-saving move for minor, accessible damage. Think about replacing three shingles torn off by a wind gust on a low-slope section of your roof. You buy a few years and prevent water intrusion for less than fifty bucks.
A DIY fix becomes a dangerous band-aid when the underlying problem is bigger. If you have widespread granule loss, multiple missing shingles, or visible sagging in the deck, patching is a waste. Water is already moving in places you can’t see, and you’re delaying the inevitable replacement while rot sets in.
Insurance is a key factor. For storm damage like hail or a fallen tree branch, filing a claim often makes sense. The insurance company will pay to restore your roof to pre-storm condition. If the damage is sudden, accidental, and covered, your insurer’s assessment should guide whether you get a repair or a full replacement. Don’t DIY storm damage before an adjuster sees it.
Gearing Up Safely: Your Tool List and Non-Negotiable Safety Rules
Listen closely. If your roof is steep (I’ll define that in a second) or more than a single story up, this job is pro-only. No debate. Your life isn’t worth the repair bill savings.
For a low-slope, single-story roof where you’ve decided to proceed, your safety list is non-negotiable.
- Footwear: Shoes with aggressive rubber soles. No sneakers, no boots with smooth bottoms.
- Harness & Anchor: A proper roof safety harness tied to a certified roof anchor. This isn’t optional gear for any pitch.
- Ladder: A sturdy extension ladder that extends 3 feet above your roof line, secured at the base.
- Roof Jacks & Plank: For any slope, these create a stable platform to work from. You nail the jacks into the roof and lay a plank across them.
You must assess the specific risks before you take the first step up.
Pitch is everything. If your roof rises more than 6 inches vertically for every 12 inches horizontally (a 6/12 pitch), it’s too steep for safe DIY work. Your footing becomes unreliable. To verify, perform a quick roof pitch calculation by measuring rise over run. That number will guide whether you can DIY safely or should hire a pro.
Look up for power lines. Know exactly where they are in relation to your ladder path and work area. A metal ladder contacting a line is fatal.
Your ladder must be on solid, level ground. Have someone foot it for you. Climb facing the ladder, keeping three points of contact (two hands, one foot, or two feet, one hand).
So, what tools do you actually need for the repair itself? The list is simple.
- A flat pry bar (for lifting and removing old nails).
- A roofing hammer or a standard hammer.
- 1 1/4 inch galvanized roofing nails.
- A caulk gun loaded with plastic roofing cement.
- A utility knife with sharp blades.
- A chalk line for keeping your cuts straight.
The number one safety precaution is respecting your limits and the roof’s height. The second is using fall protection. The third is working on a dry, calm day. Wind, rain, or even morning dew turn shingles into a slick, hazardous surface. If any of this gives you pause, that’s your gut telling you to call a pro—especially when working in wet conditions can be risky.
The Roofer’s Method: How to Remove and Install an Asphalt Shingle
This is the fix I use most often. It’s a three step process I’ve perfected over twenty years on roofs. Follow it closely for a repair that holds.
Step 1: Freeing and Removing the Damaged Shingle
Your first tool is a flat bar. Slide it under the bottom edge of the shingles directly above the damaged one. Gently lift their tabs. This is like unbuttoning a shirt to get to the layer underneath. It’s one of the essential tools for any DIY roof repair.
You will now see the nails. They hold the damaged shingle down from under the shingle above. Work your flat bar under each nail head and pry them straight up. Do not yank sideways. Once all nails are out, the damaged shingle should slide right out.
Lifting the tabs first is the professional secret to a clean removal without damaging the surrounding roof.
For the FAQ on how to remove a damaged asphalt shingle, remember this: access the nails from above, pry them vertically, and the shingle comes free.
Step 2: Fitting and Nailing the New Shingle
Take your replacement shingle and slide it into the open slot. Line it up perfectly with the shingles on either side. The cutouts should match. I always step back and sight down the row to check the alignment.
Now, nail it down. Use roofing nails and drive them into the thick, tar-strip area at the top of the shingle. This area will be covered by the tabs you lifted. Put one nail about an inch from each corner. Do not nail through the exposed, lower part of the shingle. This is especially important when installing shingles on a hip roof, as those areas tend to be more vulnerable to wind uplift.
Nailing into the tar strip is non negotiable; it seals the nail hole and keeps the shingle flat against the roof.
To answer how to install a new asphalt shingle, focus on two things: perfect alignment and nailing only in the hidden strip.
Step 3: Sealing it for Good
Get a tube of plastic roofing cement. Lift the tabs of the shingles above one more time. Put a dab of sealant, about the size of a quarter, under each corner of those tabs. Press the tabs down firmly onto the new shingle. Hold them for a few seconds. This step helps form a watertight seal as you install roof shingles.
Too much sealant is a mess and can prevent proper adhesion. Also, never be tempted to add a nail through the top layer to “hold it better.” That creates a new hole for water.
That dab of sealant is what reactivates the waterproof bond, making your repair as good as the original installation.
For how to seal and secure the new shingle, think minimal and precise: a small amount under the corners, then firm pressure.
Fixing a Gap: How to Replace a Missing Shingle Entirely
This is a different job. A missing shingle leaves a hole in your roof’s armor. You’re not repairing; you’re plugging a gap.
First, look at the exposed underlayment. Is it torn? Feel the wood deck underneath for soft spots. If the deck is solid, you can proceed. If it’s soft, that’s a bigger issue I’d call a pro for.
You have shingles above and below, but an empty space in between. Your new shingle might not fit perfectly. Often, you need to trim its top or bottom edge with a sharp utility knife so it slides in without force. Test the fit before nailing.
Nail it as described in Step 2. Then, seal it aggressively. Apply sealant under the tabs above, and also run a thin bead along the side seams where it meets the neighboring shingles. Wind loves to attack these exposed edges.
When a shingle is missing, wind uplift is your biggest enemy, so sealing every possible entry point is the most critical step.
How to replace a missing shingle? Inspect the deck, trim for fit, nail correctly, and seal every edge like your roof depends on it.
When Your Job is to Call a Pro: Recognizing the Limits of DIY
There’s pride in fixing things yourself. I get it. But a roof is not a leaky faucet. Knowing when to step back and make a phone call is the smartest repair you can ever make. It’s about safety and preventing a small problem from becoming a massive, expensive one.
Signs That Scream “Call a Roofer”
If you see any of these issues during your inspection, put the ladder away.
- Complex Flashing Issues: Flashing is the metal or rubber sealing around chimneys, vents, and walls. If it’s rusted, bent, or pulling away, the repair is rarely just nailing it back down. It requires precise bending, sealing, and integrating with the shingle layers. Get this wrong, and water runs straight behind your walls.
- Structural Soft Spots: When you walk on the roof (if you must), does any section feel spongy or bouncy? That’s a major red flag. It means the decking underneath the shingles is rotten. This isn’t a shingle problem. It’s a structural issue that needs the decking cut out and replaced before any new shingles go on.
- Extensive or Widespread Damage: A good rule of thumb from my crew: if damage spans more than three adjacent shingles or is scattered across multiple sections of the roof, a patch job won’t look right or last. Shingles fade with the sun, so new ones will always stand out. A pro can blend repairs better and assess if the underlying issue is bigger.
- High, Steep, or Complex Roofs: Your safety isn’t worth it. If your roof is two stories up, has a steep pitch you can’t walk on, or has lots of valleys and angles, the risk of a fall is too high. Professionals have the right training, harnesses, and equipment to work safely.
How to Choose a Roofer You Can Trust
Not all roofers are equal. Doing a little homework protects you from scams and shoddy work.
- Licenses and Insurance are Non-Negotiable: Always ask for proof of both liability insurance and workers’ compensation. If a worker gets hurt on your property and the company isn’t insured, you could be liable. A state-issued license shows a baseline of competency.
- Get Local References and See Past Work: Ask for 2-3 addresses of repair jobs they’ve done in the last year in your town. Drive by and look at them. A reputable roofer will be proud to show you. Online reviews are helpful, but a local, verifiable reference is gold.
- Beware of Storm Chasers and High-Pressure Sales: After bad weather, out-of-town crews often show up offering “free inspections” and deals that expire today. They often leave town right after the job, leaving you with no warranty support. Choose a established local company with a physical address.
A Professional Visit: Repair vs. Replacement Assessment
Knowing what will happen when the pro shows up sets the right expectations.
For a Repair Visit: The roofer will do a targeted inspection of the problem area you called about. They’ll lift surrounding shingles to check the decking and underlayment. They’ll bring matching shingles from their truck (they keep a stock of common colors) or order them. The job is usually done in a few hours. You get a detailed invoice for the repair work only.
For a Replacement Assessment: This is a full roof health check. The roofer will walk the entire roof, checking for loose granules, checking valleys, inspecting all flashing, and probing for soft wood. They’re determining if spot fixes make sense or if the roof system is failing overall. They’ll provide a written estimate for a full replacement, including options for materials and explaining the waste disposal and installation process.
FAQ: When should you call a professional roofer?
Call a pro immediately if you see water stains on your ceilings or walls inside the house. For exterior signs, make the call if the damage is near flashing or a roof valley, if you find any soft spots, or if more than about 10% of a single roof section is damaged. If you’re uncomfortable on a ladder or your roof is steep, your first call should always be to a professional.
Common Questions
I spotted damage. What’s the very first thing I should do?
First, document it with clear photos from the ground. Then, if the roof is safe and low-pitch, apply a temporary waterproof patch from underneath in the attic or use a peel-and-stick roof membrane over the hole from the outside to prevent interior water damage until a permanent fix is made.
Can I just nail down a lifted shingle instead of replacing it?
Never. Nailing through the exposed face of a shingle creates an unsealed hole for water to enter. The correct repair is to lift the tab above, remove the old nails, and properly re-seal the adhesive strip with roofing cement.
Do I need special techniques for different shingle types (architectural, wood, flat roof)?
Absolutely. Materials like wood shake, slate, clay tile, or flat roof membranes require specific tools, fasteners, and installation methods. For anything other than standard three-tab asphalt shingles, my advice is to call a professional who specializes in that material.
Securing Your Roof for Years to Come
From my experience, the most vital habit is to inspect your roof regularly and address any damage immediately. Replacing a few bad shingles right away stops water intrusion and protects your home’s structure from costly harm.
I always remind homeowners that safety comes first, and never risk a fall for a quick fix. Commit to ongoing learning about roof care through detailed guides for all types of roofs to maintain a durable and safe overhead shelter. It should also include roof repair safety practices to protect you and others. Always follow practical safety protocols before any climb or repair.
Ray Huffington
Ray is an experienced roofer. He has worked as a general contractor in the roofing industry for over 15 years now. He has installed and repaired all kinds of roofs, from small houses to large mansion, and from basic shingles to cement and metal roofs and even solar roof panels. He has seen homeowners struggle with roofing questions and always has experience based proven advice to help those in need. If you need roof pros, Ray's your guide.