
Can You Safely Inspect Your Own Roof, or Is It Time for a Pro?
How often do you look up at your roof and wonder what’s really going on up there? I get this question from homeowners all the time, and the answer isn’t always straightforward.
I’ll break down what you can realistically check yourself, the hidden dangers a DIY eye often misses, and the clear signals that mean you need a certified roofer on site.
The Smart Homeowner’s Starting Point: When DIY Roof Checks Work
You can handle many roof inspections yourself. Think of it like checking the oil in your car. It’s a routine look to catch small issues before they become big, expensive problems.
I always tell homeowners that DIY checks are perfect for seasonal maintenance. Do a visual sweep in the spring after winter storms and again in the fall to clear leaves before snow. This simple habit is your first line of defense against hidden leaks and decay.
The rule is simple. If you can walk safely on your porch or garage roof, you might be okay to check a similarly sloped house roof. If the thought of walking on your porch roof makes you nervous, your house roof is a job for the pros.
To judge your roof’s slope from the ground, use the 12-inch ruler method. Stand back from your house. For every 12 inches the roof goes up, how far does it go out? A low slope might be 3 inches up for 12 inches out. A steep roof might be 8 inches up or more. If it looks steep, it is. That rough rise-to-run ratio is the basis for roof pitch calculation. In the next steps, we’ll translate this into a precise pitch. Stay off.
Mark your calendar to check twice a year. Make a habit of looking up after any major storm, like heavy hail or wind, even if you just use binoculars from your driveway.
Your Safe DIY Inspection Walkthrough: A Roofer’s Step-by-Step
Never start with a ladder. Every inspection I do begins on the ground. This keeps you safe and lets you see the big picture.
Your first step is a Hazard & Safety Assessment. Ask yourself: Is the roof steep? Are power lines nearby? Is the decking underneath old or rotten? If you answer yes to any of these, your inspection is binoculars-only. For any ladder work, you need a stable ladder, a spotter to hold it, and shoes with solid grip. Never work alone in the rain or wind.
Gear Up and Look Up: The Ground-Level Assessment
You don’t need fancy tools. Grab a pair of binoculars, a notepad to sketch problem areas, a camera on your phone, and a garden hose.
Start by looking at your roof lines. Are they straight, or do you see a sag or dip? That can signal a structural issue. Scan for missing, cracked, or curling shingles. Look for dark streaks from algae or moss patches. Check for flashing around chimneys and vents. Is it bent, missing, or looks rusty? Use your hose to run water into gutters and downspouts to check for clogs.
Your goal from the ground is to create a map of what needs a closer look, all without leaving solid earth.
Close-Up Checks (If It’s Safe to Use a Ladder)
Only use a ladder if your roof has a low pitch and the weather is dry. Your mission is to reach the gutters and roof edge, not to walk on the shingles.
With your spotter holding the ladder, look in the gutters. Are they packed with granules that look like coarse black sand? That means your asphalt shingles are wearing out. Check for leaves and debris that block water flow. Feel the downspouts to ensure they are firmly attached and water flows freely out the bottom.
A clean gutter full of granules often tells you more about roof health than anything else.
Inspecting Roof Penetrations from the Ladder
From the ladder, you can get a good look at where things poke through the roof. This includes plumbing vents, chimney bases, and skylights.
Look at the metal flashing around them. It should look like a tight, waterproof seal. You’re checking for cracks, rust spots, or places where the metal has lifted away from the roof or the chimney bricks. Think of good flashing like a well-sealed rain boot. Bad flashing is like a boot with a hole or a cracked sole. Water gets right in. If you spot gaps or lifting, a chimney flashing repair guide can walk you through safe, effective fixes. A quick reference can keep you on the right track for a proper seal.
If you see black tar or globs of roof cement everywhere, that’s often a temporary fix that has failed. It needs professional attention.
Reading the Signs: A Roof Integrity and Damage Assessment Guide
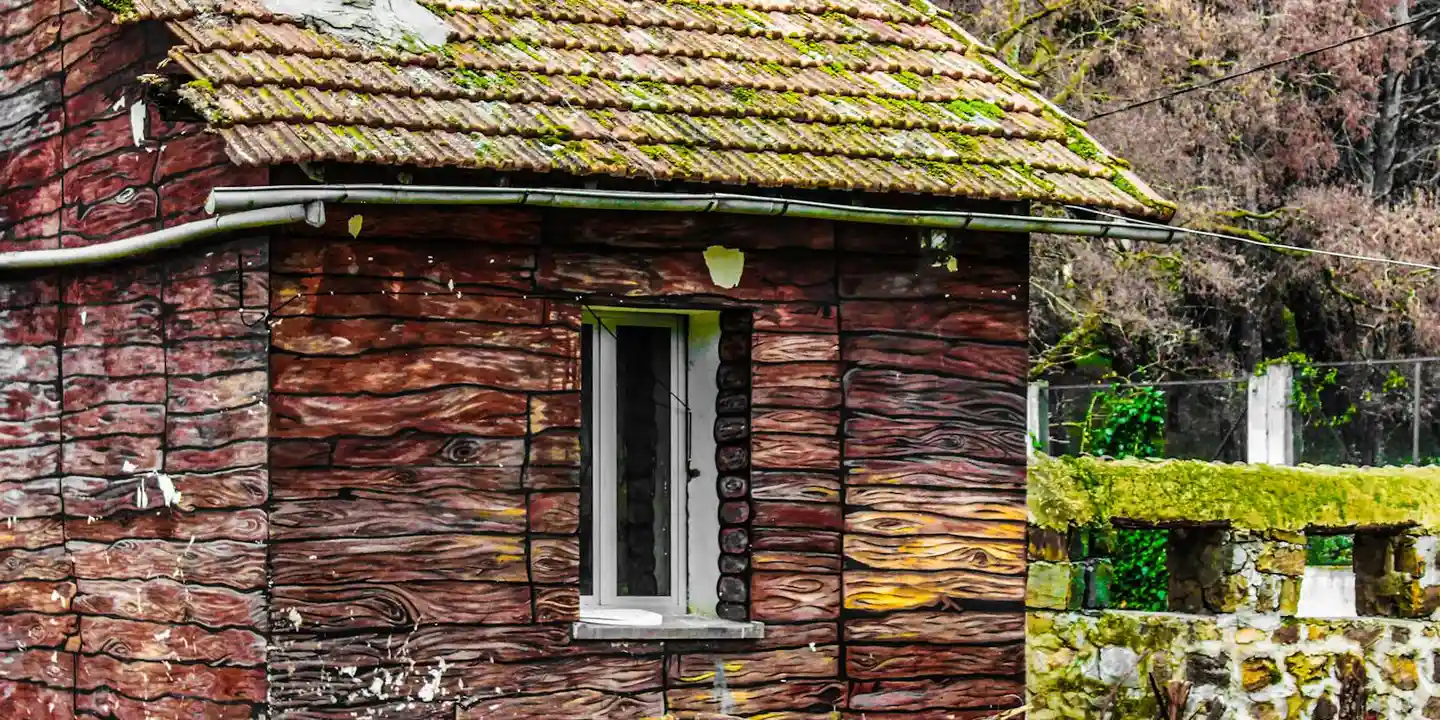
Think of your roof like an aging car. A regular visual check can tell you a lot, but some noises require a mechanic. This guide helps you move from “I see something” to “I know what this probably means.” Start by asking two questions: How old is your roof, and what do you see?
Your roof’s age is the single biggest clue to what wear is normal and what is a warning. A 20-year-old asphalt shingle roof with a few curled tabs is showing its age. The same curl on a 5-year-old roof is a defect.
Surface-Level Red Flags You Can See
Grab your binoculars or walk your property line. Look for these common issues.
A few missing or cracked shingles after a storm are often a simple, repairable fix. I’ve patched many like this. But if you see cracks across many shingles or tabs blowing off on calm days, the material is brittle. This is a red flag the roof is failing.
Curling shingles are a clear sign of age. They curl from heat and moisture loss. A few on an older roof are expected. Widespread curling means the roof is near the end of its typical 15-25 year lifespan. Such widespread curling can signal that roof age replacement should be considered. A professional assessment can help determine whether replacement is the best option for your home.
Moss and algae look bad, but are they urgent? Dark streaks (algae) are mostly cosmetic. Thick moss holds moisture against the roof. You can clean it, but its return signals constant shade and dampness. This shortens shingle life.
Check your gutters. Some granules in there is normal, especially on a new roof. If you see piles of granules that look like coarse black sand, or bald spots on your shingles, the protective layer is washing away. This is a repair job that needs a pro’s evaluation soon.
Signs of Water Intrusion and Structural Worry
Now, go inside. Your attic and ceilings tell the real story.
See a brownish stain on your ceiling or a dark patch on attic wood? That’s a leak’s calling card. The tricky part: water runs. The stain is often feet away from the actual hole. Finding the entry point from inside is detective work.
While in the attic, look up at the underside of the roof deck. Do the boards look straight? A sagging roof deck, where the wood dips between the rafters, is a major structural red flag. It means the decking is weak, often from long-term water rot. This is always a pro call, immediately.
After severe weather, look for specific damage. Hail leaves distinct, shiny dents on metal or soft bruises on asphalt. Wind doesn’t just lift shingles, it can fracture the sealing strips. If shingles are flapping, they may be re-sealable. If the seal is broken, they are vulnerable to the next gust.
The Limits of DIY: When It’s Time to Put the Binoculars Down
Knowing when to stop is a skill. Your safety and your home’s protection come first. If you check any of these boxes, pick up the phone, not the ladder.
Uncertainty is a completely valid reason to call a professional. If something looks “off” but you can’t name it, trust that feeling. I’ve been called to dozens of jobs that started with, “I just had a hunch.”
You Can See Damage But Don’t Know the Extent
This is the most common limbo. You see the problem, but not its roots.
- You have water stains in multiple rooms or across a wide attic area. This suggests more than one leak point or a major single failure.
- Shingle damage isn’t just on one slope. If both sides of your roof show widespread issues, it’s a system-wide problem.
- You suspect rotten wood. Maybe you pressed on a soft spot from the attic, or the roof feels spongy underfoot. Water damage inside the structure is almost always worse than the outside surface shows. You need a pro to assess the decking, rafters, and insulation.
The Roof is Too Steep, Too High, or Too Old
This is about safety and specialist knowledge.
If you hesitate walking on your own driveway slope, your roof is too steep. Two-story homes add dangerous height. Professionals use harnesses, proper shoes, and roof jacks. A fall changes your life.
Connect age to action. A 22-year-old asphalt roof with minor leaks isn’t a repair candidate, it’s a replacement candidate. A pro can evaluate its remaining useful life and tell you if patching is a band-aid or a smart holdover. They can spot code issues you’d never see, like outdated flashing methods.
What Happens During a Professional Roof Inspection? No Guesswork, Just Facts.
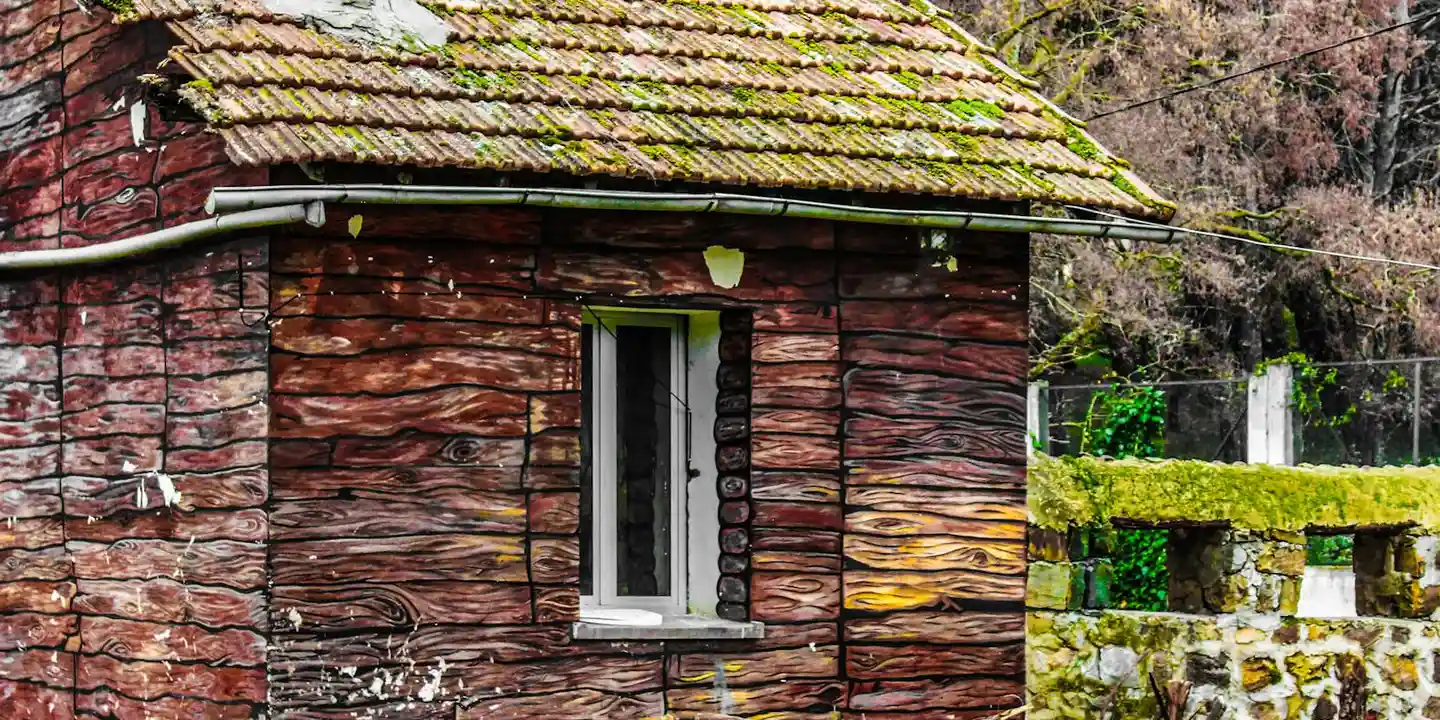
A DIY look from the ground is like checking a car’s paint job. A pro inspection is a full mechanic’s check under the hood and on the lift. We follow a strict, top-to-bottom process that leaves nothing to chance.
Where you might see a few missing shingles, we’re checking why they failed, what’s happening underneath, and what else is about to go. Our job is to connect the dots between what you see and the hidden problems you can’t.
The Comprehensive Three-Point Check
Every solid inspection I’ve done for 20 years follows this three-part system. It covers everything.
1. The Interior Attic Inspection
This is where the truth comes out. I’m not just looking for leaks. I’m reading the story of your roof from the inside.
- I look for daylight punching through the deck boards, which means gaps.
- I check for dark stains or damp wood, signs of past or active moisture.
- I feel for proper ventilation. A hot, stuffy attic cooks shingles from below and spikes your energy bill.
If the decking wood is soft or rotten, the entire roof structure is compromised, no matter how good the shingles look from outside. Hidden rot is one of the roof over rotted decking dangers that you can’t see from the ground. That’s why a professional inspection is essential before damage spreads.
2. The Exterior Material & Craftsmanship Inspection
Now we get on the roof. This is a hands-on exam, not a look from a ladder.
- I perform uplift tests on shingles and tiles to check for proper fastener adhesion. A loose shingle in the wind is a failure waiting to happen.
- I inspect sealant around vents and pipes. Brittle, cracked sealant is a direct pipeline for water.
- I examine the flashing details in valleys and around chimneys. Most leaks start here, not on the open field.
- I assess the overall wear of the materials. Are the granules washing off? Is the metal rusting?
3. The Drainage & Perimeter Inspection
Water must get off the roof and away from the house. Period.
- Gutters are checked for proper slope, blockages, and secure attachment. Overflowing gutters ruin siding and foundations.
- I look at the drip edge metal. Is it installed correctly to direct water into the gutters?
- Downspouts are checked for proper discharge away from the home’s foundation.
Ignoring the drainage system can undo the work of a perfect roof.
The Report and Recommendation: Your Roadmap
A nod and a handshake aren’t enough. You need a written report. A good one acts as your roadmap and your proof.
My reports always include clear, labeled photos of every issue I find. You should get a prioritized list, separating “fix now” safety items from “monitor” wear-and-tear. For any major repair or replacement, I provide a fair, detailed cost estimate in writing.
This report is your most powerful tool after a storm. Insurance companies often require a professional assessment to approve a claim. Walking in with my documented report, complete with photos and cause of damage, makes that process smooth.
Making the Informed Choice: Weighing DIY Vigilance Against Professional Expertise
So, do you do it yourself or call a pro? The smartest approach uses both. Think of it like your health. You check yourself for obvious changes, but you still see a doctor for an annual physical.
You should walk around your house every season and after big storms. Look for missing shingles, debris in gutters, or granules in the downspouts. This regular DIY vigilance helps you catch small problems before they become big, expensive ones.
Then, schedule a professional inspection every three to five years, or immediately if you buy a house or see signs of trouble. This hybrid model gives you control and peace of mind.
Cost vs. Value and Risk Analysis
Let’s talk numbers. A DIY inspection costs you time, maybe an hour twice a year. That’s it.
A professional inspection typically costs a few hundred dollars. Compare that to the cost of a new roof, which can be tens of thousands. That inspection fee is some of the cheapest insurance you can buy for your home, especially compared to insurance coverage for roof replacement.
The risk analysis is simple. Missing a small leak during your visual check can lead to rotted decking, mold in the attic, and damaged drywall. The repair bill jumps from a few hundred to several thousand. A pro is trained to find that leak when it’s still small.
How to Choose a Qualified Roofing Expert
Not all roof inspectors are equal. Here is my checklist for finding a good one.
- Ask for proof of licensing and insurance. Any legitimate pro has this ready. If they hesitate, walk away.
- Get references from recent local jobs and call them. Ask about the detail of the report and if they felt pressured.
- Choose a company that does inspections separately from their sales. Some roofers give “free inspections” that are just sales pitches for a new roof you may not need.
- They must provide a detailed written report with photos, not just a verbal estimate.
Be very wary of storm chasers who knock on your door after bad weather. They often use high-pressure tactics and their work is here today, gone tomorrow. For any major recommended repair, get assessments from two or three established local companies. The estimates should be in the same ballpark. If one is drastically lower, they are likely cutting corners you can’t see.
Quick Answers

How often should I really check my roof?
Do a visual ground-level check every spring and fall, and always after a major storm. Think of it as routine maintenance to catch small issues before they become expensive.
I see granules in my gutters. How bad is that?
Some granules are normal on a new roof, but piles of coarse black sand mean the shingles’ protective layer is washing away. Schedule a professional assessment soon to evaluate the remaining roof life.
Can a small leak really wait until my scheduled inspection?
No. Water intrusion is progressive and causes hidden damage to decking and insulation. If you see a stain, call a pro immediately to find the source before repair costs multiply.
Your Blueprint for Roof Care Decisions
In my experience, consistent DIY checks catch small issues before they become costly. However, when in doubt, bringing in a pro ensures the job is done right and keeps you safe.
Taking ownership means making safety your top priority in every maintenance task. I encourage you to use resources like our All Types of Roof Guide to stay informed and proactive.
Citations and Authoritative Sources
- How to Inspect a Roof: Top 5 Essential DIY Steps (2024)
- 5 Tips for a Roof Inspection | AHS
- DIY Roof Inspection Safety: Essential Steps to Secure Your Home
- Summer Roof Inspection Checklist for Homeowners | PACT
- Safety Tip for DIY Roof Inspection by Mike Ross
- Essential DIY Roof Inspection Checklist for Homeowners: Protect Your Home with Proactive Maintenance | The Heartland Builders
Ray Huffington
Ray is an experienced roofer. He has worked as a general contractor in the roofing industry for over 15 years now. He has installed and repaired all kinds of roofs, from small houses to large mansion, and from basic shingles to cement and metal roofs and even solar roof panels. He has seen homeowners struggle with roofing questions and always has experience based proven advice to help those in need. If you need roof pros, Ray's your guide.