
Flat Roof Maintenance: How to Prevent Leaks and Extend Lifespan
Does your flat roof have you worrying about the next big rain? In my years on the job, I’ve fixed leaks that started with missed maintenance.
Flat roofs need specific care to fight pooling water and wear. I’ll show you how to stop leaks and add years to your roof’s life.
Here, I cover my twice-yearly inspection checklist, cheap drainage tricks most homeowners miss, and when a patch job is enough versus a full repair.
First, Know What You’re Walking On: Flat Roof Types for Homes
People picture flat roofs on big warehouses. But walk down a residential street. You’ll see them on garages, porch additions, and modern-style homes. That low-slope surface over your mudroom needs care, too.
Your maintenance plan starts with knowing your roof’s material. It’s like the difference between caring for a rugged truck tire and a sleek bicycle tire. The wrong cleaner or patch can cause more harm than good.
Here’s a quick guide to the common types you’ll find on houses:
- EPDM (Rubber Membrane): This looks like a giant, black rubber pond liner. It’s flexible and glued or weighted down with smooth stones. You’ll see wide, sealed seams.
- TPO/PVC (Plastic Membranes): These are usually white or light gray, and feel like a thick, flexible plastic sheet. The goal is to reflect heat. Seams are often heat-welded.
- Modified Bitumen (“Torch-Down”): This looks like heavy-duty, mineral-surfaced roll roofing. If it was installed with a torch, you might see a subtle, toasted pattern. Other types have a peel-and-stick backing.
- Built-Up Roof (BUR or “Gravel Roof”): This is an old-school system of tar and fabric layers, topped with a layer of small, light-colored stones. If you see gravel, it’s likely this.
Why does this matter? A patch made for rubber won’t stick to plastic, and walking on gravel requires different care than walking on smooth rubber. Identifying your material is your first defense.
The Flat Roof Integrity & Lifespan Report
Every roof has a service life. Knowing yours helps you plan and budget. Here’s a realistic look at what to expect from common residential flat roof materials. Residential roof life expectancy depends on climate, installation quality, ventilation, and maintenance. Understanding these life expectancy factors helps you plan for upkeep and scheduling replacements.
| Material | Typical Lifespan |
|---|---|
| EPDM (Rubber) | 20 to 30 years |
| TPO/PVC (Plastic) | 20 to 25 years |
| Modified Bitumen | 15 to 20 years |
| Built-Up (Gravel) | 15 to 25 years |
These lifespans assume professional installation and consistent maintenance. Neglect can cut them in half.
Many homeowners ask me, “How do I know if my roof needs repairs or replacement?” The answer lies in the pattern of problems.
Red Flags That Scream “Replacement”
These are signs of systemic failure. Patching won’t solve the underlying issue.
- Widespread Blistering or Bubbling: This means moisture is trapped inside the roofing system, soaking the insulation underneath. It’s like a sponge in your roof.
- “Alligatoring” Cracks: The surface develops a network of deep, interconnected cracks that look like alligator skin. The material has lost its flexibility.
- A History of Failed Patches: If you’re constantly fixing new leaks in new spots, the entire membrane is likely at the end of its life.
- Soggy or Spongy Deck: If the roof feels soft or bouncy underfoot in large areas, the structural deck is compromised from long-term water intrusion.
Good Candidates for Repair
These are localized issues. Fix them promptly, and your roof can last for many more years.
- A Single Puncture or Tear: From a fallen branch or a careless service tech. Clean and patch it properly.
- Localized Seam Opening: A section of glued or welded seam comes loose. This can often be re-sealed.
- Failed Sealant at a Penetration: The caulking around a plumbing vent pipe, skylight curb, or edge metal has dried and cracked. This is the most common leak source I see.
Think of it this way: one bad shingle needs replacing. A roof covered in curled, cracked shingles needs a whole new roof. The same logic applies to your flat surface.
The Leak Point Analysis: Finding Trouble Before It Finds You
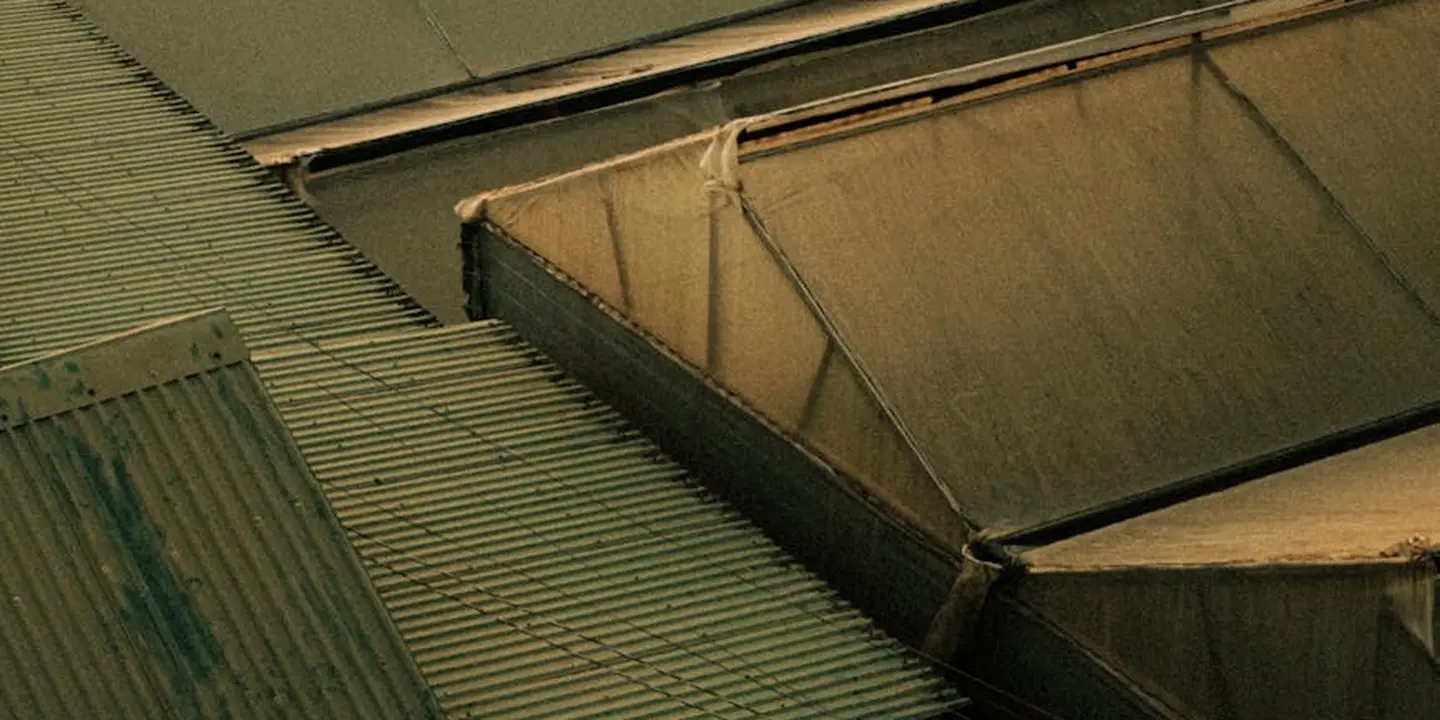
Flat roofs don’t leak in the middle of a clean, open field. They leak where different materials meet or where something pokes through. Your main job is to guard these critical junctions as part of flat roof maintenance.
Think of a flat roof system like a raincoat. The big sheet of membrane is the coat itself. But the seams, the zipper, and the cuffs are the weak spots. On your roof, these spots are where the roof meets a wall (called a parapet or headwall), around pipes and vents, at skylight curbs, and along the edges and seams of the roofing material itself.
Why These Spots Fail First
These junctions see the most stress. The roof membrane and the wall expand and contract at different rates when the temperature changes, which pulls at the connection. Foot traffic from maintenance often concentrates in these same areas. Sometimes, the original installation was just done too quickly.
Poorly installed flashing is the number one cause of leaks I’m called to fix, and catching it early saves thousands.
What “Good” and “Bad” Flashing Looks Like
Good flashing looks seamless and intentional. Base flashing (the part attached to the wall) should be solidly anchored and extend down over the roof membrane. There should be a continuous bead of appropriate sealant at the top edge. For pipe penetrations, a proper boot or flange should be snug and sealed both to the pipe and the roof.
Bad flashing is easy to spot. Look for gaps, cracks, or sections that have peeled away from the wall. Sealant that’s dried up, cracked, or missing is a red flag. If a pipe boot looks loose, wrinkled, or rusty, it’s already failing. On some flat roofs, especially in colder climates, a layer of ice and water shield membrane should extend up the wall beneath the flashing-this is a critical backup that’s often skipped.
Your Waterproofing Action Plan
- For Wall Junctions: Check that metal flashing is securely fastened. The sealant along the top edge should be pliable, not brittle. If it’s failing, clean the area thoroughly and apply a high-quality urethane or silicone roof sealant.
- For Pipe Penetrations: Ensure the rubber boot is not split or sun-damaged. The metal collar should be tight and sealed. For a quick fix, a product like peel-and-stick flashing tape can wrap a problem boot as a temporary shield.
- For Seams: On built-up or single-ply roofs, inspect the sealed seams for bubbles, cracks, or gaps. These can often be resealed by a professional with a hot air welder or fresh sealant.
A Homeowner’s Safe and Simple Flat Roof Inspection
Safety is not optional. If you go on the roof, use a proper fall-arrest harness tethered to a secure anchor point. Never work alone, and always be cautious of soft spots in the roof deck that could give way. Even when you are just walking on the roof for inspection.
You can catch 80% of problems with a careful inspection from the ground twice a year.
Step 1: The Ground-Level Check
Grab your binoculars. Look for these issues:
- Debris: Piles of leaves, branches, or dirt. These hold moisture and can block drainage.
- Ponding Water: Standing water 48 hours after a rain is a problem. It stresses the membrane and leads to decay.
- Visible Damage: Look for large blisters, obvious cracks, or sections of flashing that are bent or missing.
- Drainage: Make sure scuppers (wall drains) and roof drains are clearly visible and not clogged.
Step 2: The On-Roof Inspection (If Safe)
If you proceed onto the roof, here’s your checklist:
- Walk the Perimeter: Check all edge metal and flashing for integrity. Press gently on wall flashing to see if it’s loose.
- Check Every Penetration: Inspect each pipe, vent, and skylight. Feel the rubber boots for softness or cracks.
- Examine the Field: Look for alligatoring (small cracks), blisters (raised bubbles), or splits in the membrane.
- Test the Sealant: Gently poke a putty knife at sealant beads. They should be flexible, not hard and crumbly.
- Clear the Drains: Remove any debris from drain baskets. This is the single most helpful maintenance task you can do.
Your Maintenance Program and Schedule
Think of flat roof care like changing the oil in your car. A little regular attention prevents a major breakdown. A good program includes a thorough inspection in the spring (after winter storms) and in the late fall (before freezing weather).
Creating a simple, seasonal flat roof maintenance schedule is the best way to extend its life by years. Clear debris spring and fall. After any major storm, do a visual check from the ground. Plan for a professional inspection every 3-5 years to assess the overall condition.
Here’s a pro tip: Take flat roof maintenance pictures during each inspection. Use your phone to photograph the same drain, the same wall junction, and the same problem area each time. This creates a timeline that makes slow, developing damage obvious. It’s also powerful evidence if you need to make a warranty or insurance claim.
Your Seasonal Flat Roof Maintenance Log
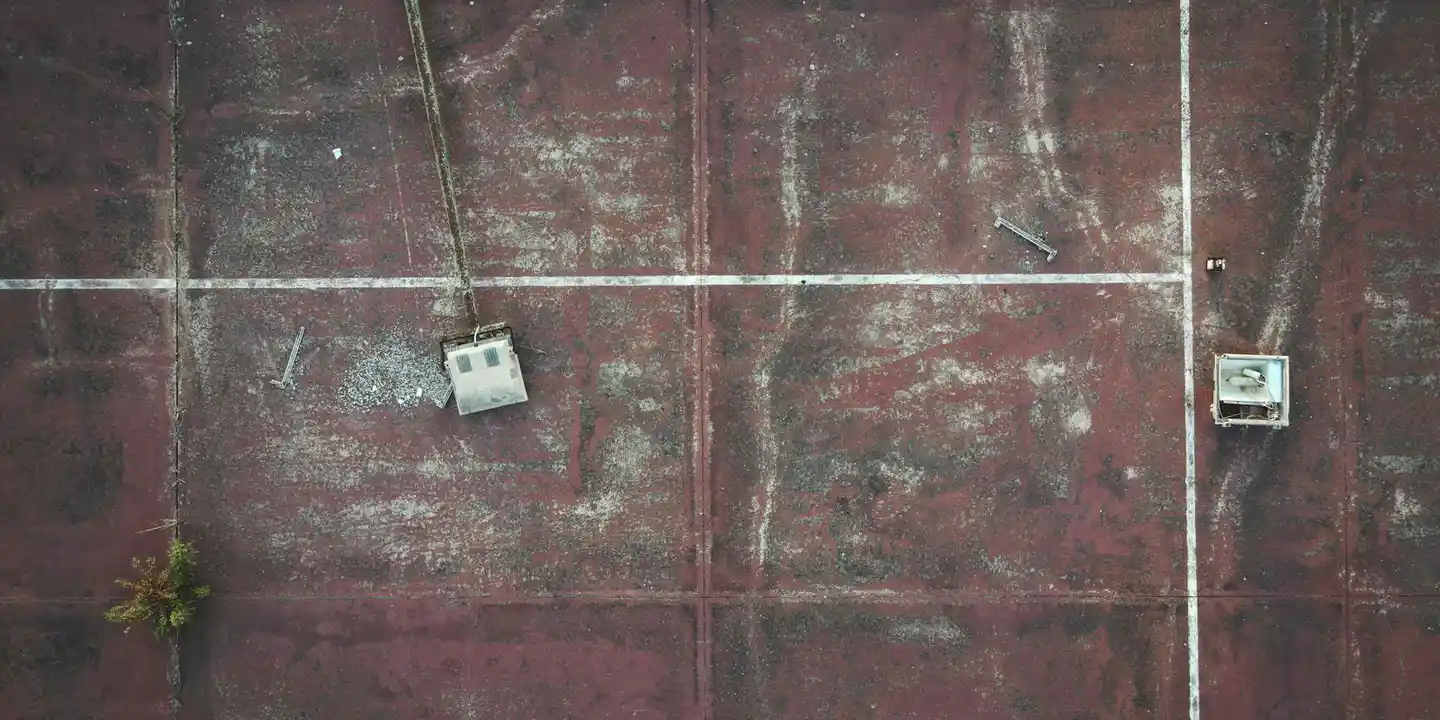
Think of your flat roof like a car. Regular checkups keep it running for years. Skip them, and small issues become big, expensive problems. A simple seasonal routine is the best defense you have.
This log is based on what I’ve seen work on hundreds of flat roofs, from commercial buildings to home additions.
Spring & Fall: The Big Clean-Up
These are your main inspection and cleaning seasons. The goal is to clear winter’s mess and prepare for summer sun or winter snow.
- Clear All Drains and Scuppers: This is your number one task. A clogged drain is a guaranteed leak waiting to happen. Remove leaves, pine needles, and sediment by hand.
- Do a gentle sweep to remove branches and debris. Use a soft-bristle push broom, not a metal shovel that can scratch the membrane.
- Trim back any overhanging tree branches. Leaves trap moisture and branches can puncture the roof during a storm.
- Look for any new wrinkles, blisters, or cuts in the membrane you might have missed from the ground.
Cleaning your roof’s drains twice a year is the single most effective thing you can do to prevent emergency leaks.
Summer: Sealant and Sun Check
Summer heat tests your roof’s seals and makes the membrane more flexible, which is perfect for inspection.
- Focus on penetrations. Check the sealant around pipe boots, vents, and HVAC units. Look for cracking, shrinking, or peeling.
- Look for ponding water 48 hours after a rain. A small puddle is normal, a large one that doesn’t drain points to a problem.
- Notice any algae or mildew? Don’t power wash it. I’ll cover safe cleaning methods in the next section.
Winter: The Debris and Snow Watch
In places like Yakima, snow is the main concern. The rule is simple: you must manage weight.
- After every snowfall, safely remove excess snow with a roof rake from the ground. Never get on a snowy or icy roof.
- Your goal is to prevent the snow from melting and re-freezing into a solid block of ice at the drains, which creates a dam and causes interior water damage.
- Keep an eye out for wind-blown debris that can block drains before the next storm.
Your Flat Roof Maintenance Checklist
Print this and stick it in your tool box. Go through it each season.
- [ ] All roof drains and scuppers are clear and flowing.
- [ ] Roof surface is free of sticks, leaves, and debris.
- [ ] Overhanging branches are trimmed back.
- [ ] Membrane has no visible punctures, tears, or large blisters.
- [ ] Sealant at all pipes, vents, and edges is intact and pliable.
- [ ] No significant ponding water (over 1/2″) remains after 2 days.
- [ ] For winter: Snow load is managed, drains are kept clear of ice.
Hands-On Care: How to Clean and Address Minor Issues
You don’t need to be a roofer to handle basic care. Knowing what you can safely do and what requires a pro saves money and prevents damage. Sometimes simple fixes are DIY-friendly, but bigger issues call for a pro. Knowing when to DIY or hire a professional helps you choose the best approach.
Safe Cleaning: No Power Washers Allowed
I’ve seen too many roofs ruined by a well-meaning homeowner with a pressure washer. It strips granules, forces water under seams, and destroys the surface. For those considering it, learning how to pressure wash a roof safely can prevent costly damage. Safe techniques and alternatives protect shingles and underlying structures.
For algae or mildew:
- Mix a solution of 1 part oxygen-based bleach (like OxiClean) to 4 parts warm water.
- Apply with a garden sprayer or soft brush. Let it sit for 15-20 minutes.
- Gently rinse with a low-pressure garden hose. The goal is to wash the cleaner off, not blast the roof.
For removing debris, always use a soft push broom or plastic shovel. Treat the membrane like the vinyl floor in your kitchen.
What You Can Fix vs. What Needs a Pro
This line is crucial. Crossing it can void warranties and create bigger leaks.
DIY Tasks (With the right kit):
- Re-caulking a Pipe Boot: If the old sealant is cracked, scrape it out completely. Clean the area with roofing solvent. Apply a generous bead of high-quality, self-leveling roof sealant made for your membrane type (EPDM, TPO, etc.).
- Patching a Small Puncture: For a nail hole or small tear (under 2 inches), a peel-and-stick patch kit works. Clean the area, cut a patch 3 inches larger than the hole, round the corners, and firmly press it on.
Call a Professional Roofer For:
- Any repair to a seam (where two sheets of membrane meet).
- Correcting ponding water. This often requires adjusting the roof slope or adding new drains.
- Repairing large blisters, alligatoring, or any damage over a few inches.
- If you see wet insulation inside, the leak source is complex and needs expert diagnosis.
Understanding Flat Roof Maintenance Cost
Budgeting is part of the plan. Costs vary by region, but here’s a realistic range.
A DIY patch kit or tube of sealant costs $20 to $50. Your investment is time.
A professional service call for inspection and minor repairs typically ranges from $300 to $800. This gets you an expert eye, proper materials, and work that won’t void your warranty.
Investing in a professional inspection every 2-3 years is far cheaper than an emergency leak repair or full roof replacement. They spot the small stuff you’ll miss, especially when compared to DIY inspections.
Finding “Flat Roof Maintenance Near Me”
When you need a pro, don’t just pick the first name in an ad. Here’s how to vet them:
- Ask specifically about flat roof experience. A shingle specialist is not the right fit.
- Check for a valid state license and insurance (liability and workers’ comp).
- Request local references for similar flat roof maintenance work, not just installations.
- Look for manufacturers’ certifications (like from Carlisle, Firestone, or GAF). This means they’re trained for specific systems.
- A good roofer will explain what they see, provide a clear scope of work, and won’t pressure you into unnecessary repairs.
Extending the Lifespan: Coatings, Repairs, and Smart Upgrades
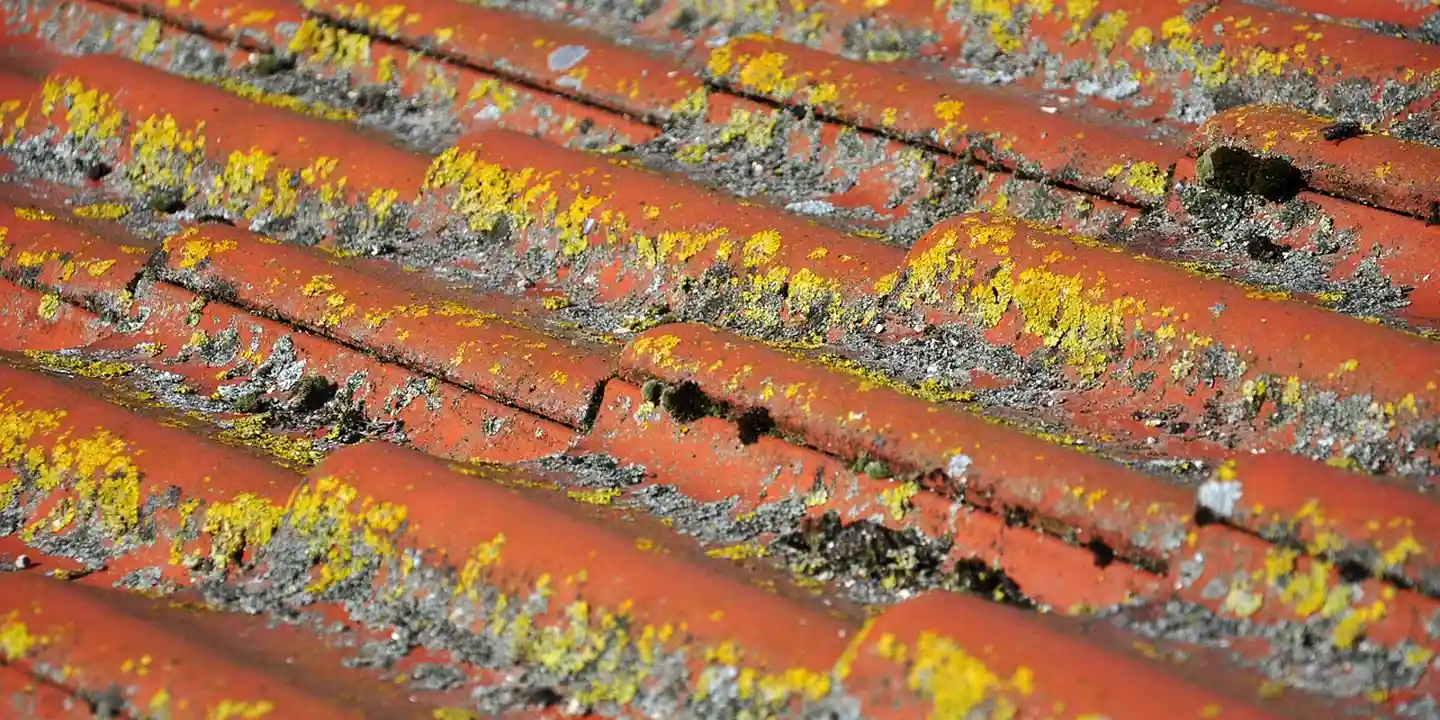
Demystifying Roof Coatings: Your Roof’s Raincoat
Think of a roof coating as a thick, seamless raincoat you paint over your existing flat roof. It’s not a new roof, but it can add years of life. The two main types you’ll hear about are elastomeric and silicone.
Elastomeric coatings are like a thick layer of flexible paint that stretches and contracts with temperature changes, which is perfect for climates with big swings between summer and winter. They’re usually white, which helps reflect the sun.
Silicone coatings are exceptionally water-resistant and tend to handle ponding water a bit better. They stay flexible in the cold but can attract dirt over time.
These coatings are a fantastic investment on a roof that is still fundamentally sound. When applied correctly, roof coatings do work and can extend a roof’s life. They’re most effective on a sound base with minor defects. We’ve saved clients thousands by coating a roof with minor surface cracks but a solid base. They are a complete waste of money on a roof that’s already failing from the inside out, like one with widespread soggy insulation or a rotting deck. You’re just trapping moisture and speeding up the decay.
Repair, Overlay, or Full Replacement? A Cost vs. Longevity Guide
Facing a leak doesn’t always mean a full re-roof. Your choice depends on the roof’s age and the damage’s extent.
- Spot Repair: This is for isolated damage-a small puncture, a failed seam. It’s the least expensive option upfront.
- Cost: Low.
- Longevity: Fixes the immediate problem but doesn’t stop other aged areas from failing soon. It’s a short-term solution on an old roof.
- Overlay (Recover): A new roofing membrane is installed directly over the old one. This requires the existing roof to be securely attached and mostly dry.
- Cost: Moderate. You save on tear-off costs.
- Longevity: A good mid-range option that can give you a fresh 10-20 year warranty. The big drawback is you can’t inspect or fix the deck underneath, and it adds weight.
- Full Replacement (Tear-Off): Everything is stripped down to the deck. This lets you inspect and repair the wood, upgrade insulation, and install a brand-new system.
- Cost: High. It’s the most labor and material intensive.
- Longevity: The gold standard. This resets the clock for 20-30+ years and is the only way to fix hidden structural issues.
On my jobs, if a roof is over halfway through its expected life and has more than a few issues, I steer clients away from a simple overlay. You often end up paying twice.
Boosting Efficiency: Insulation and Cool Roofs
Proper insulation does more than lower your heating bill. On a flat roof, it prevents “thermal shock” where the deck expands and contracts wildly with temperature, stressing the membrane. Upgrading insulation during a replacement is one of the smartest longevity upgrades you can make.
Reflective white or light-colored coatings, sometimes called “cool roofs,” directly lower surface temperature. I’ve seen roofs 40-50 degrees cooler on a summer day. This reduces thermal stress on the membrane and can cut cooling costs.
Many homeowners ask about federal energy tax credits for these upgrades. The rules change. As of now, some roof coatings that meet specific reflectivity standards can qualify. Always check the official IRS guidelines or consult your tax advisor for the current year’s qualifications before banking on a credit.
The #1 Mistake to Avoid: Sealing Over Ponding Water
This is a call I get too often. A homeowner sees a puddle, buys a bucket of roof sealant, and glops it over the wet area. It’s a disaster in the making.
That sealant traps the water against the roof membrane. Now you have standing water sealed in, which guarantees rot, mold, and a leak you can’t even see developing underneath. You can never waterproof the top of a puddle. The correct fix is always to address the drainage issue first-leveling the roof, adding crickets, or clearing drains-so the water can escape. Only then do you repair the dry roof surface.
Common Questions
How do I know if my maintenance spending is actually saving me money?
Track it. Compare the cost of your bi-annual inspections and minor repairs to the price of a single emergency leak repair or a full replacement. Consistent, small investments always win.
My climate gets intense sun/snow-should I adjust my maintenance schedule?
Yes. In hot, sunny climates, check sealants twice a year as heat degrades them faster. In snowy areas like Yakima, inspect and clear drains before freeze-up and monitor snow load constantly throughout winter.
What’s the one thing I should do right now if my roof seems fine?
Go outside and visually check every drain and scupper for debris. This five-minute task prevents the majority of leaks. It’s the simplest, most effective action you can take today.
Your Blueprint for a Leak-Free Flat Roof
The single most important thing you can do is inspect your flat roof every spring and fall. Catching a small puncture or ponding water early is the difference between a simple patch job and a full, costly replacement.
Owning this type of roof is a commitment to proactive, safe stewardship. Always use proper fall protection if you’re getting on the roof, and build your expertise over time with detailed guides on Roof Care for all types of roofs. As you move into repairs, following roof repair safety practices is essential to protect yourself and others.
Expert Resources and Citations
- 7 Ways To Fix Flat Roof Leaks (With Pictures)
- 10 Tips for Managing Roof Leaks Until You Can Get Professional Help
- Top 5 Reasons Why Your Flat Roof is Leaking | Blog
- How you can prevent a roof leak in commercial property | SERVPRO
- Flat Roof Leaking Through Ceiling: Quick Fixes & Prevention Tips
- Flat Roof Leak: Causes, Prevention, and Flat Roof Repair – True Blue Roofing & Siding
Ray Huffington
Ray is an experienced roofer. He has worked as a general contractor in the roofing industry for over 15 years now. He has installed and repaired all kinds of roofs, from small houses to large mansion, and from basic shingles to cement and metal roofs and even solar roof panels. He has seen homeowners struggle with roofing questions and always has experience based proven advice to help those in need. If you need roof pros, Ray's your guide.