
How Do You Ventilate a Cathedral Ceiling or Vaulted Roof?
You love the open feel of your cathedral ceiling, but does it trap heat or show mysterious moisture marks? I have repaired too many roofs where poor ventilation in these beautiful spaces caused hidden rot and ice dams. Ventilating a vaulted roof is a special job because there is no attic for air to move. You need a smart plan to keep your roof dry and durable. Here is what I will explain based on my crew’s experience:
- Why the physics of a cathedral ceiling makes ventilation essential
- Practical ventilation methods that fit the tight space
- Key installation details you must get right
The Cathedral Ceiling Conundrum: It’s Not an Attic
Most roofs have an attic. You can crawl in there. A cathedral or vaulted ceiling does not. The space between your living room ceiling and the roof deck is just a shallow cavity, often only a few inches deep.
Think of it like wearing a heavy winter coat right against your skin. Your body heat warms the coat. Any sweat gets trapped. Now, imagine that coat is your roof deck and your skin is the insulation. Without an air gap, there is nowhere for moisture to go.
Here is the simple physics. Warm air from your house holds moisture. It always tries to rise. It will push into that cold roof cavity. When that warm, damp air hits the cold underside of the roof deck, it turns to liquid. That is condensation.
The only solution is to build a permanent escape route for that air. You must create a clear, uninterrupted channel that starts at the soffit under your eaves and goes all the way up to the ridge at the peak.
Why Getting This Wrong Costs You Money and Your Roof
What happens if you don’t vent a vaulted ceiling? The problems start quietly, then get very expensive. First, think about summer. A traditional attic gets hot, but it is a buffer. In a cathedral ceiling, trapped heat has nowhere to go but down, right into your living space.
Your air conditioner will fight a losing battle against that radiant heat, sending your energy bills through the roof. That heat also destroys your insulation’s effectiveness, so you pay to heat and cool a less efficient house.
Moisture is the silent killer. I have opened up roofs where the plywood decking was black with rot. You could push a screwdriver straight through it. The condensation soaks the wood rafters and decking from the inside. Mold grows where you cannot see it. This slowly eats away at the roof’s structure.
The most common leak point is ice dams. Heat leaking from the house melts snow on the roof. The water runs down to the cold eaves and refreezes. An ice dam forms. Later meltwater backs up behind it, gets under the shingles, and soaks your roof deck and drywall. I see this every winter.
Your shingles suffer too. That trapped heat from summer bakes them from behind. This can cause premature curling, cracking, and granule loss. You will be replacing the roof years before you should. Understanding the roof shingles lifespan helps you gauge when to act and what maintenance matters. Small, consistent adjustments can extend that lifespan.
Ventilation Rules: What the Code Says and What Your Roof Needs
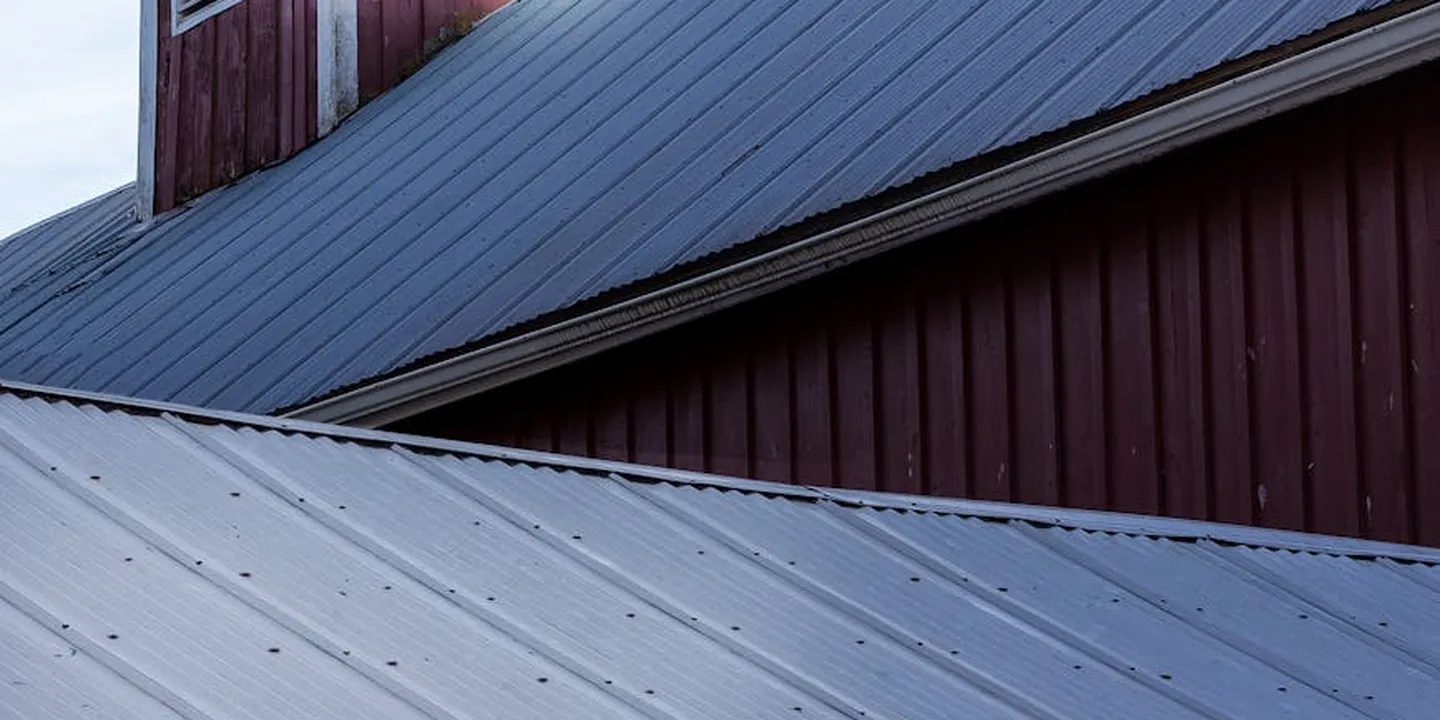
You have likely heard of the “1:300 rule.” This building code standard calls for 1 square foot of net free vent area for every 300 square feet of attic floor space.
With a cathedral ceiling, there is no attic floor. You apply this rule to the sloped roof plane itself. Think of your ceiling as the underside of the “attic.” For your cathedral ceiling ventilation calculation, measure the square footage of your ceiling (length x width) and use that as your guide.
The math is only half the story. The balance of the system is everything. You must have a 50/50 split between intake and exhaust.
Your soffit (intake) vent area must meet or exceed your ridge (exhaust) vent area, or the whole system stalls like a car with a blocked tailpipe.
Local codes always have the final say. Your climate zone changes the rules. For example, the question of ventilation cathedral ceilings or no in california depends on your specific zone; some high-performance building techniques may allow for unvented assemblies with specific insulation and sealing, but that’s a complex, code-prescribed alternative. For a retrofit on an existing home, adding ventilation is the standard path and often requires a permit. Your local building department will confirm the exact requirements for your area.
The Critical Ventilation System Trio
Making air flow through a thin, insulated space requires three parts working together. Miss one, and it fails.
1. Soffit Vents: The Unsung Hero of Air Intake
This is where fresh, cool air enters. You have two main types: continuous strip vents that run the length of the soffit, or individual circular vents spaced every few feet.
The most common problem I find is blockage from the inside, where insulation is shoved right against the roof deck, plugging the vent.
Here’s a quick check. From your attic or crawlspace, look up into a rafter bay toward the eaves. Can you see a speck of daylight? If not, the path is blocked.
2. Ventilation Baffles (Chutes): The Highway for Air
Baffles are your essential guides. They are plastic or foam channels you staple to the roof deck, between the rafters.
Their entire job is to create and protect a clear air channel, ensuring insulation doesn’t touch the deck and block the path from soffit to ridge. This is the answer to Where do you put baffles in a vaulted ceiling? You install cathedral ceiling ventilation baffles in every single rafter bay, from the soffit vent all the way up to the ridge.
Without them, your insulation smothers the airflow before it starts.
3. Ridge Vent: The Silent, Effective Exhaust
For cathedral ceilings, a continuous ridge vent is the best exhaust choice. It runs the entire peak of your roof.
Unlike box vents or turbines, which require holes cut in the deck, a ridge vent provides uniform exhaust along the entire ridge. Hot, moist air is drawn out evenly across the whole roof plane. This creates a consistent flow with the soffit vents, pulling cool air in low and releasing hot air up high. Compared with turbine vents, ridge vents provide continuous exhaust along the entire ridge. This difference helps explain why ridge systems can produce more uniform airflow across the roof.
A Roofer’s Step-by-Step Guide to Installing Cathedral Ceiling Ventilation
Retrofitting ventilation into a finished cathedral ceiling is a major project. It’s invasive, messy, and physically demanding. Be prepared for a significant amount of work inside and out.
This work involves confined spaces with insulation, potential fall hazards from a roof, and using power tools. If you are not experienced and comfortable with these risks, hire a professional. Your safety is not worth the gamble.
Step 1: The Interior Investigation and Prep
Do not start cutting from the outside. Your first job is to see what you’re working with from the inside.
Carefully remove a section of drywall or interior paneling from a low corner of the ceiling. Make the hole big enough to get your head and a light inside.
- Look at the insulation type and depth.
- Search for any dark stains, mold, or moisture on the wood.
- Check if any kind of baffle is already there (often, there is none).
Now find your “Critical Junctions.” Look where skylights, chimneys, or roof valleys meet the ceiling. You need to plan how your new air channel will route around these obstructions. Sketch it out.
Step 2: Installing Baffles in Every Single Rafter Bay
This is the tedious core of the job. For each rafter bay, you must fit a baffle.
- From inside, slide the baffle up between the rafters, against the roof deck.
- Staple it securely to the deck. It must extend all the way down to where the soffit vent will feed into it and all the way up to the ridge.
The top of your wall, where the roof rests (the top plate), is a major leak point for air. You must seal the end of each baffle here with a special foam block or canned spray foam. This forces all intake air to come from the soffit vent, not your living space.
As you work, be gentle with the insulation. Do not compress it. Compressed insulation loses most of its R-value.
Step 3: Ensuring Soffit Vents Are Open and Clear
From inside each bay, after the baffle is installed, look down toward the soffit. The path must be clear to the outside.
If you are adding new soffit vents, the work moves outside. This involves measuring and cutting precise holes in the soffit material (vinyl, aluminum, wood) and installing the vent covers. Every rafter bay needs a source of intake air. A continuous vent strip is the most effective way to achieve this. Proper soffit ventilation is a crucial part of roof ventilation and overall home maintenance. Keeping these vents clear and properly installed helps prevent moisture buildup and related roof problems.
Step 4: Installing the Ridge Vent (The Roofing Part)
This final step is pure roofing work and is where many homeowners should call a pro.
On the roof, the existing shingles and cap shingles along the ridge must be carefully removed. Then, using a specialized saw, a slot is cut along both sides of the roof ridge, typically 1 to 2 inches wide. This exposes the ridge board.
The continuous ridge vent is then nailed over this slot, and it is covered with a special shingle overlay designed to match your roof while letting air escape. This weatherproofing is critical.
Cutting into your roof deck and altering the ridge compromises your roof’s primary weather barrier. Doing it wrong leads to leaks. Many shingle manufacturers will void their warranty if this work is not done by a licensed roofer. It is often the smartest place to invest in professional help.
How to Tell if Your Existing Cathedral Ceiling Ventilation is Failing

I have walked into too many homes where the owners only noticed a problem when the damage was done. Your ceiling gives you clues long before a major repair is needed.
Start by looking up inside your living space. These are the signs you can spot from your couch.
- Peeling or bubbling paint on the ceiling. It looks like the paint is blistering from hidden moisture.
- Damp spots or yellow-brown stains that appear without a leak. This is often condensation soaking through.
- Excessive, heavy icicles along your eaves every winter. A few are fine, but a solid row signals trapped warm air melting snow from above.
Next, grab your binoculars and check the roof itself. The exterior tells its own story.
- Dark, streaky stains on the shingles. This is algae, and it feasts on the consistent moisture a stagnant attic provides.
- Shingles that are curling upward or have lost their gritty granules. This is usually from excess heat buildup weakening the material.
Try this simple winter check I use. After a good snow, watch your roof. Does the snow melt in random, fast-melting patches? That uneven melt is a direct sign of ventilation cathedral ceilings or no in winter, where escaping household heat warms the roof deck in spots. It shows your insulation is battling heat it shouldn’t have to handle.
Special Scenarios and Common Roadblocks
I have yet to see two cathedral ceilings that were identical. Here are the tricky fixes I get asked about most.
Retrofitting a home built with cathedral ceiling no ventilation is a major undertaking. We call this a “hot roof.” The original builder sealed the rafter bays completely. To fix it properly, you must open up the interior ceiling or remove the roofing to install ventilation channels. It is a huge, invasive project. Some opt for spraying closed-cell foam directly onto the underside of the roof deck. This seals the cavity but turns your roof into an unventilated assembly. It is a less ideal solution that requires expert installation to avoid moisture issues down the line.
What do you do when there’s no soffit? This happens with parapet walls or sleek modern designs. You cannot have intake vents where the design omits the overhang. Your solution is fascia vents or over-fascia vents. These are thin, continuous vents that install behind the gutter or on the face of the fascia board. They pull air in from the roof’s edge. Airflow is more limited with these, so correct sizing is non-negotiable.
This mistake can ruin a roof fast. Where should a bathroom fan vent on a vaulted ceiling? The rule is simple: never into the rafter cavity. Dumping moist air into that enclosed space is asking for mold and rot. The fan must be ducted in a short, straight, insulated line to a dedicated roof vent cap or out through a sidewall vent.
You may come across a cathedral ceiling ventilation kit for sale. These typically include a set of plastic baffles and fasteners. They can be useful pieces, but they are rarely a full solution. Every roof has rafters, wires, or braces in the way. A kit does not provide the custom layout or balanced intake and exhaust calculation your roof requires. I see them as a bag of parts, not a substitute for a proper ventilation plan.
When to Call a Professional Roofer (And What to Ask Them)
If you are not comfortable with drywall repair, roofing work, or working in confined attic spaces, hire a professional.
This job often means tearing out sections of your finished ceiling, working around electrical wiring, and carefully cutting into your roof deck. One wrong cut can lead to a major leak. Your safety and the integrity of your roof are worth the investment in a qualified pro.
Where the DIY Line Is Drawn
For a homeowner, the absolute limit is typically installing ventilation baffles from inside the attic, and only if the soffit and ridge vents are already open and functioning. This assumes you have attic access and enough space to move.
Even this “simple” task requires precision. Baffles must be sealed to the roof deck and not block the existing airflow. If your home lacks soffit vents or a ridge vent slot entirely, the job shifts from interior work to exterior roofing work. That’s when you put the tools down and make a call.
Key Questions for Your Contractor
Not all roofers have deep experience with cathedral ceilings. You need to find one who does. Ask pointed questions.
- “How will you ensure a continuous air channel around our skylight or other roof penetrations?” This tests their attention to detail. The answer should involve custom flashing or dedicated baffle routing.
- “Can you show me the net free area calculations for your ventilation plan?” A competent roofer should be able to explain the math, matching vent capacity to your attic’s square footage. If they brush this off, it’s a red flag.
- “Will you use ice and water shield along the new ridge vent slot?” Cutting the roof deck open at the peak is a critical step. They must use this self-sealing membrane under the ridge vent to prevent any chance of water intrusion.
- “What is your process for repairing the interior ceiling after the vents are installed?” Get specifics on drywall matching, texturing, and painting. Know if it’s included or a separate cost.
A Word on Community Advice
You might search online for terms like ventilation cathedral ceilings or no reddit to see what other homeowners have done. Forums are fantastic for gathering ideas and learning from others’ mistakes.
Use that research as a starting point for a smarter conversation with your contractor, not as a final guide. Building codes and best practices vary by region and roof design. Always verify what you read online with your local building code and the plan from your trusted professional. Even if you come across well-detailed guides like Roof Structure Building & Framing Best Practices, it’s essential to ensure they align with your specific local requirements and conditions.
Common Questions
1. Do I really need to ventilate my cathedral ceiling if I live in a dry climate?
Yes, you do. Condensation isn’t the only threat; trapped heat will drastically shorten your roof’s lifespan and spike your energy bills. Always check your local building code-it’s the final word, and it almost always requires a vented airspace for a standard assembly.
2. Can I just add more insulation instead of installing ventilation?
No. Adding insulation without an air channel does nothing to remove heat and moisture; it just traps them against the roof deck. The solution is always to create a clear airflow path first, then insulate properly around it.
3. Are pre-made cathedral ceiling ventilation kits a complete solution?
Not usually. They provide parts, like baffles, but not the critical balanced design or installation expertise your specific roof needs. Use a kit’s components as directed, but ensure your overall system plan includes correctly sized, balanced intake and exhaust vents.
Secure Your Roof’s Ventilation for the Long Haul
Focus on creating that sealed, continuous air channel from the soffit to the ridge vent. Proper roof ventilation is essential to move that air efficiently. Do this correctly, and you’ll add years to your roof while preventing mold and ice dams.
Treat your roof’s ventilation system as a vital component that needs regular, safe inspection. Building your knowledge on general roof care is the best way to protect your investment and ensure a healthy home. This is especially true for historic homes that require special attention to their ventilation systems.
Research and Related Sources
- r/buildingscience on Reddit: Venting vents in a vaulted ceiling
- Does a vaulted ceiling with air gap above insulation require ventilation? – Home Improvement Stack Exchange
- Unique Roof Ventilation Requirements for Vaulted Cathedral Ceilings – GutterBrush Gutter Guards
- Venting a vaulted ceiling to reduce humidity?
- AccuVent® Cathedral – AccuVent Brentwood Industries
- Do You Need A Ridge Vent For A Vaulted Roof?
Ray Huffington
Ray is an experienced roofer. He has worked as a general contractor in the roofing industry for over 15 years now. He has installed and repaired all kinds of roofs, from small houses to large mansion, and from basic shingles to cement and metal roofs and even solar roof panels. He has seen homeowners struggle with roofing questions and always has experience based proven advice to help those in need. If you need roof pros, Ray's your guide.