
How Do I Stay Safe on My Roof? Essential Gear and Habits
That first time you climb a ladder to look at a loose shingle, your gut tells you something important: a roof is not the same as your kitchen floor.
Your worry is right. Roof work is dangerous without the right preparation.
I’ll walk you through the non-negotiable safety gear you need, the simple setup habits that prevent slips, and why rushing the job costs more than time.
When Should You Even Consider a DIY Roof Repair?
Let’s be real. Most roof work is for professionals. I’ve seen too many close calls.
If you must do it yourself, the rules are strict. Your roof must have a very low slope, what we call a “walkable” pitch. Think of the gentle slope on a shed’s porch roof, not your main house. The only truly safe DIY tasks are those you can do from the ground or a very sturdy, properly positioned ladder. Even with these limits, roof walking safety matters. Plan ahead, wear non-slip footwear, and avoid working alone.
- Replacing a few shingles on a low, single-story porch roof.
- Clearing debris from gutters while securely positioned on a ladder.
- Applying sealant to a vent pipe base you can reach safely.
If any of these red flags are present, you call a pro immediately.
- Your roof has a steep pitch. If it looks steep from the ground, it’s a ski slope up close.
- The house is two stories or taller. A fall from that height changes your life.
- You notice soft, spongy areas when walking. That’s rotten decking, and it can collapse.
- The repair involves flashing around chimneys, walls, or in valleys. This is complex waterproofing.
- There is any moss or algae, as these make surfaces slippery like ice.
Weigh the risk against the reward. A single trip to the emergency room will cost ten times what a professional repair would. Your safety is the only tool you can’t replace.
Your Pre-Work Safety Checklist: Don’t Skip This Step
Rushing onto a roof gets people hurt. Follow this list every single time.
Start your inspection from the ground with binoculars. Look for warning signs you’ll face up close. Scan for missing or cracked shingles. Look for dark streaks of moss or algae, which signal a slippery surface. Notice any sagging lines in the roof. That could mean structural weakness.
Next, look up and around for overhead hazards. Are there power lines running near your work area? You need at least a 10-foot clearance. Are there dead or overhanging tree branches that could fall or snag your ladder? Clear them first.
Plan your work path like a map. Decide exactly where you will place your ladder for the safest climb. Once on the roof, where will you set your tools so they don’t slide off? More importantly, identify your quick exit route. If a storm rolls in or you feel unsure, how will you get down fast? Always know the path to safety.
Never, ever work on a roof alone. The buddy rule is non-negotiable. Your partner stays on the ground. Their job is to steady the ladder, watch for problems you can’t see, and call for help if you fall. I’ve had a crewmate slip on a wet patch. Because I was there, he only got a scare, not a broken back. It’s crucial, especially when you’re doing any emergency roof repair.
The Essential Roof Safety Gear List: What You Actually Need
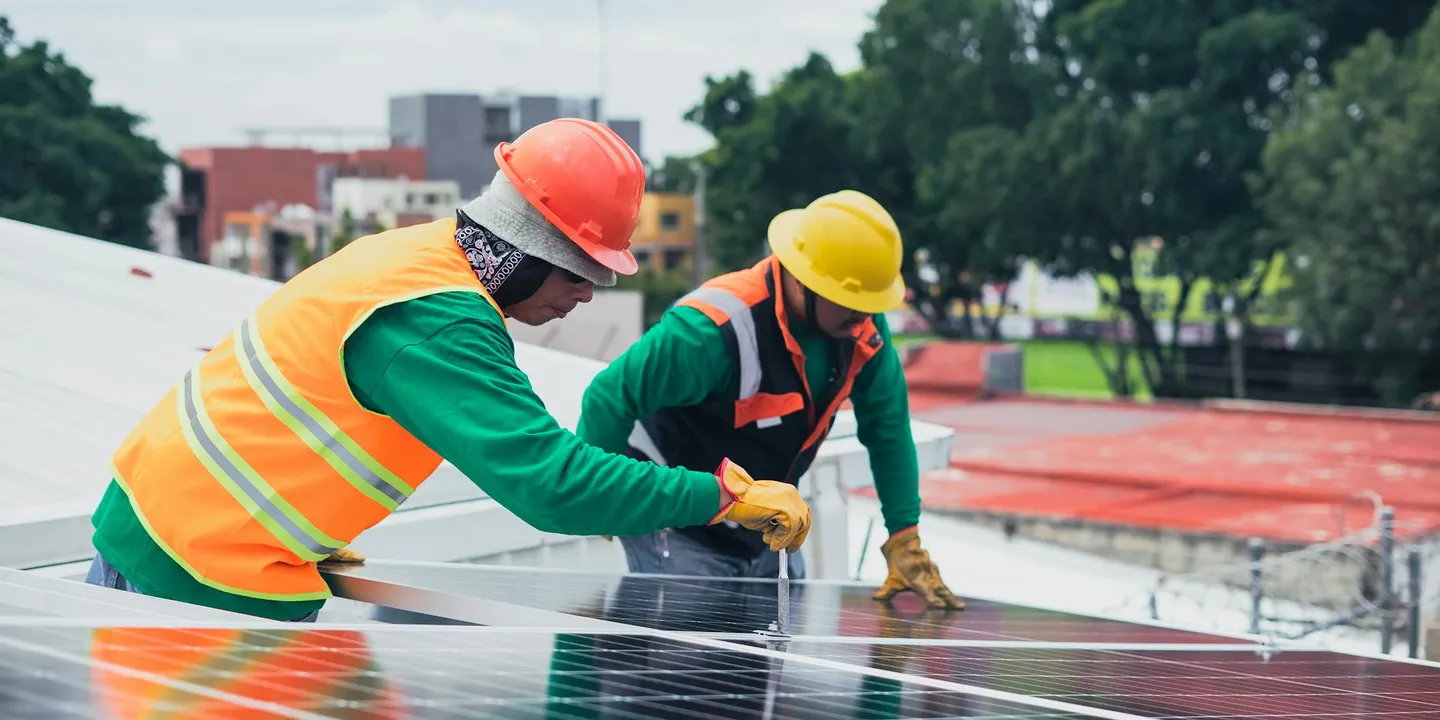
Think of roof safety gear as your personal toolkit for staying on the roof. It’s not just about having the items, it’s about using them as a connected system.
Fall Arrest System (The Lifesaver)
A harness, anchor, and lanyard work together like a seatbelt in a car. One piece alone is useless. The full-body harness spreads the force of a fall across your chest, thighs, and shoulders. The roof anchor is a permanent or temporary point you secure to the roof’s structure. The lanyard connects you to the anchor.
You must have all three components correctly connected for the system to save your life. A basic, reputable kit for a homeowner can cost between $200 and $400. You can find them at major hardware stores, industrial safety suppliers, or online. Look for kits marked for “roofing” or “construction” use. For larger projects, you’ll want to know where to buy roofing materials and shingles and how their costs stack up across sources. Comparing prices and reputable sources now can save you time and money later.
Footwear and Basic PPE
Your shoes are your first point of contact. I only wear shoes with soft, rubber soles that grip like a tennis shoe. Avoid hard boots or soles with deep treads that can catch on shingles. Pair them with durable work gloves to protect your hands from cuts and asphalt grit. Safety glasses keep debris out of your eyes, especially when prying up old materials. If you have a helper passing items up, a hard hat is a smart move.
Roof Accessories for Stability
For longer repairs, working on a steep slope is exhausting. That’s where roof jacks and planks come in. Roof jacks are metal brackets you nail to the roof. You then lay a sturdy plank across them to create a level platform to work from. It’s like building a small scaffold on your roof. Some pros use temporary guard rail systems that clamp onto the roof’s edge. For most do-it-yourself jobs, jacks and planks are the simpler, more affordable choice to create a safe zone.
Are Permanent Roof Safety Guard Rails Worth It?
Permanent rails are exactly what they sound like: a metal railing system bolted to the roof structure, meant to stay there for years. They’re common on flat commercial roofs where workers are frequently accessing HVAC units.
For a typical house, a temporary system or a personal fall arrest kit is almost always the better option. Permanent rails require drilling into the roof deck and flashing the penetrations correctly to avoid leaks. Installation isn’t a simple weekend project and professional installation costs can add significantly to a roofing bill.
They make sense if you have a flat or very low-slope roof you need to access weekly, like for a rooftop garden. For the once-a-year cleaning or repair job on a sloped roof, investing in a good quality harness system gives you flexible protection without altering your roof’s structure. It’s important to properly install roof anchors for any harness system to ensure your safety.
Ladder Safety: Your First and Most Dangerous Move
More accidents happen getting on and off the roof than while on it. This part is non-negotiable.
Use the 4-to-1 rule for ladder pitch. For every four feet of height to your gutter or roof edge, move the ladder’s base one foot away from the house. A ladder reaching 16 feet high needs its base 4 feet out. This gives you a safe, stable angle.
Always secure both the top and bottom of the ladder. At the top, use a ladder stabilizer that spans over the gutter to prevent side-to-side movement. At the bottom, have a helper hold it, or use stakes or heavy sandbags to keep it from kicking out.
Follow the three points of contact rule. When climbing up or down, always have two hands and one foot, or two feet and one hand, in contact with the ladder. This keeps you balanced.
I’ve seen too many close calls. Never carry tools, materials, or buckets in your hands while climbing. Use a tool belt, or tie a rope to a bucket and hoist it up once you’re safely positioned. Your hands are for holding the ladder.
Safe Practices Once You’re on the Roof
You have your gear on. The ladder is secure. Now the real work starts. How you move and work up here defines your entire day.
Forget walking. Think more like a careful shuffle. Move slowly and keep your weight centered over your feet, almost in a slight crouch. If you need to reach for something, move your feet to your hands. Leaning out is how people lose their balance.
Your workspace must stay clean. A stray nail or a coiled hose is a perfect trip hazard on an uneven surface. I make it a rule for my crew to clear debris as we go, never letting piles of old shingles or tools build up. It only takes a second to kick something out of the way, but a fall lasts forever.
Always work from the highest point down. This means starting at the ridge and working toward the eaves. This method gives you a stable platform above your work area and prevents you from damaging shingles you just installed. Never, ever step on the very edge of the roof (the eave) or the sloped edges at the gables (the rakes). These areas have less support and are failure points.
Treat every piece of material with respect. A bundle of architectural shingles can weigh 80 pounds. If you leave it unsecured on a slope, it becomes a deadly projectile for anyone below, including you if it knocks you off balance. Stow materials flat at the ridge or use a roof bracket to create a secure platform. Looking ahead, you may be tackling a hip roof. The next steps will show you how to install shingles on a hip roof safely and effectively.
Weather and Environmental Hazards You Can’t Ignore
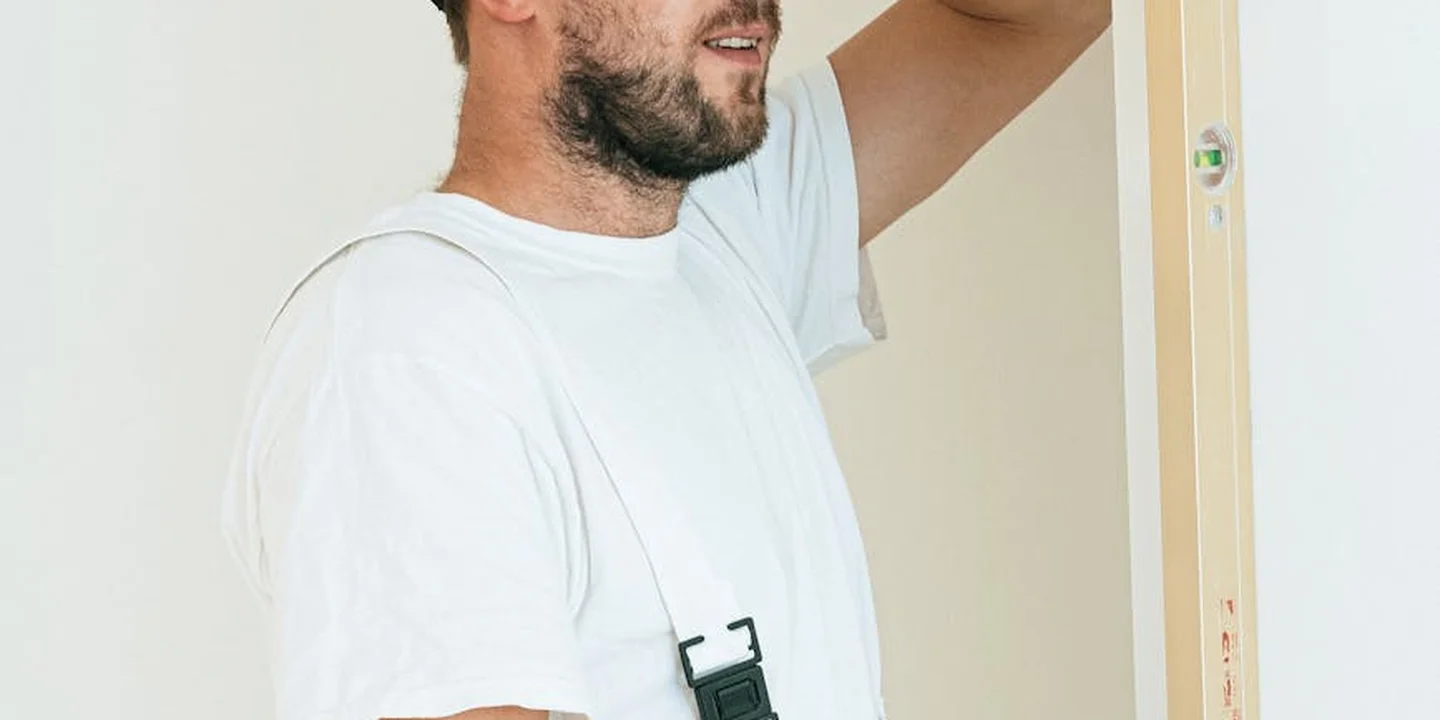
The roof doesn’t care about your schedule. It exposes you to everything. Your job is to know when to listen.
Wind is not just an inconvenience. A sudden gust can catch a sheet of plywood or alter your balance. My crews have a hard rule, we don’t work if sustained winds are over 15 mph. It’s not worth the risk. You can check a simple weather app, but feeling it push against you is the real test.
Water changes everything. Morning dew, a passing shower, or last night’s rain turns asphalt shingles slick. Treat a wet roof like an ice rink, because the traction is nearly identical. Wait for the sun to dry it thoroughly. If you feel your boots sliding during the day, that’s your cue to get down. It’s not getting better.
Heat exhaustion sneaks up on you. You’re focused on the repair, not on your body. Dehydration leads to dizziness and poor judgment, two things you cannot afford at height. Start early, take breaks in the shade, and drink more water than you think you need. Your safety glasses will fog, so have a cloth to wipe them clear.
Conditions can change fast. A clear sky can bring a pop-up storm. Every person on the job must agree on a “get down now” signal for lightning, a wind shift, or any sudden danger. There is no job so urgent it’s worth a life. Pack up and live to finish it tomorrow.
Knowing When to Stop and Call a Professional
The smartest piece of safety gear you own isn’t in your tool belt. It’s your phone, and the willingness to use it to call for help.
There is zero shame in making that call. On my crew, we called it “jobsite wisdom.” Knowing your limits isn’t a weakness, it’s how you avoid becoming a statistic.
Calling a pro when you’re in over your head is the most important safety decision you can make.
Clear Signs It’s Time to Step Back
Don’t push through doubt or unexpected problems. Your gut feeling is a warning system. Here are the specific moments to abort your DIY mission.
- You feel unsure or hesitant. If you’re on the ladder wondering “how does this part go back together?” that’s your signal. Confusion at ground level turns into danger on the roof.
- You discover soft wood or rot. Poking a screwdriver into a roof deck and meeting no resistance is a major red flag. This means the structure is compromised, and walking on it is a serious fall hazard.
- The weather changes. A forecast calling for wind, rain, or even high heat is a full stop. A damp roof is slippery, wind can catch materials, and heatstroke is a real risk. Pack up.
- The repair is more complex than you planned. You went up to replace three shingles, but now you see a whole section of damaged decking and rusted flashing. A small repair can reveal a much bigger job, and that’s not the time for improvisation.
How to Spot a Safety-Conscious Pro
Once you decide to call someone, you need a contractor who treats safety as seriously as you now do. Here is what to look for.
- They use their own fall protection. A reputable crew shows up with harnesses, anchors, and guardrails. If they climb up with no gear, send them away. Their safety protocol protects them and your property.
- They carry valid insurance and licensing. Always ask for proof of both liability and workers’ compensation insurance. This protects you if an accident happens on your property.
- Their worksite is organized. Look for secured ladders, clear debris management, and designated tool areas. A messy site is a tripping and falling hazard.
- They communicate clearly about risks. A good pro will walk you through their safety plan and point out any homeowner precautions, like keeping pets inside or moving cars.
- They have solid references. Ask how they handle site safety. Past clients will tell you if the crew was careful and respectful of their home.
Hiring a professional isn’t a failure, it’s applying the right tool for the job, and for complex or risky repairs, that tool is an expert crew.
Common Questions
1. Is the cost of permanent roof safety guard rails justified for a typical home?
Rarely. The installation and flashing work is complex and costly, and they’re designed for frequent access on flat roofs. For most homeowners, a quality temporary fall arrest system is a far more practical and flexible investment for occasional repairs or maintenance.
2. Where is the best place to buy reliable roof safety gear?
Start at industrial safety suppliers or major hardware store websites for certified kits. Crucially, don’t just buy it-learn to use it. Many suppliers offer videos, or you can hire a safety consultant for a one-time setup lesson on your specific roof. It’s especially important if you’re planning any DIY roof work.
3. Can I install temporary roof safety guard rails myself?
Only if the system is designed for DIY and you follow its instructions to the letter. Many clamp-on systems require precise placement on a sound roof edge. If you’re unsure about your roof’s condition or the install steps, hire a professional roofer to set it up correctly-your safety isn’t the place for guesswork.
Wrapping Up With Your Boots on the Ground
Remember, the best safety gear is only as good as the safe habits you use with it. Make your pre-work safety check as routine as putting on your harness, every single time.
Taking responsibility for safety protects everyone on the job and your roof’s long-term health. Committing to these practices is the first step in a smarter approach to roof care, maintenance, and repair for any system.
Deep Dive: Further Reading
- Comprehensive Guide to Essential Safety Equipment for Roofing Professionals – Brian Dawson Roofing & Construction
- Top Roofing Safety Equipment: Essential Gear for Fall Protection and Worker Safety – USA Roofers Directory
- Roof Safety Equipment: What You Need to Know to Keep Your Workers Safe – Safety Rail Company
Ray Huffington
Ray is an experienced roofer. He has worked as a general contractor in the roofing industry for over 15 years now. He has installed and repaired all kinds of roofs, from small houses to large mansion, and from basic shingles to cement and metal roofs and even solar roof panels. He has seen homeowners struggle with roofing questions and always has experience based proven advice to help those in need. If you need roof pros, Ray's your guide.