
What Are the Key Steps for Installing Roof Felt and Ensuring Shingle Compatibility?
Have you ever peeled back a damaged shingle and found soggy, rotten decking underneath? I have, on too many call-back jobs where the roof felt was installed wrong or didn’t match the shingles. Your immediate worry is probably, “Will my new roof leak if the felt isn’t done right?” The short answer is yes, and it’s a costly fix.
I’ll walk you through selecting the right felt weight for your climate and shingle type.
You’ll learn my crew’s method for laying felt that stays flat and seals tight.
Finally, I’ll show you how to check for material compatibility so nothing corrodes or fails prematurely.
More Than Just a Blanket: The Real Job of Roof Felt
Think of your shingles as your main winter coat. They take the brunt of the weather. Roof felt is the rain jacket you wear underneath. Its real job isn’t to cushion shingles. It’s to stop the water that gets past your first layer.
Roof felt is your critical secondary water barrier, designed to protect the wooden deck of your roof from any moisture that sneaks past damaged or wind-lifted shingles. This is the direct answer to “What is the purpose of roof felt underlayment?” It’s your backup plan.
I’ve seen it save decks on jobs where a storm blew shingles off before we could finish. It also fights wind-driven rain that can be forced up under shingles during a hurricane or severe storm. Most importantly, it keeps the roof deck dry during the weeks or months between tear-off and the final shingle installation.
Picking Your Team: A Roofer’s Guide to Underlayment Types
You have three main choices today. Picking the right one depends on your roof’s slope, your local weather, and your budget. This answers the common question, “What are the different types of roof underlayment and how do they differ?” Understanding those options helps you compare choices more clearly. In the next step, we’ll break down the main roof underlayment types and what each one brings to performance and cost.
Here’s a simple breakdown to compare them.
| Type | Best For | Watch Out For |
|---|---|---|
| Asphalt Felt (#15/#30) | Meeting minimum code, budgets, dry climates. | Can wrinkle if wet, tears easily, shorter lifespan. |
| Synthetic | Durability, safety, most modern shingle roofs. | Must check manufacturer compatibility for metal roofs. |
| Rubberized Asphalt | Ice dams, critical leak zones (eaves, valleys). | Cost, can be overkill for entire roof in mild climates. |
The “weight” like #15 or #30 refers to its thickness and durability per 100 square feet, not just how heavy the roll feels. For most situations, #30 is the better choice over #15 because it’s thicker, more tear-resistant, and provides a longer temporary exposure rating. Steeper roofs and wetter climates always demand a tougher underlayment.
The Classic: Asphalt-Saturated Felt (#15 & #30)
This is the old standby, made from organic or fiberglass mat saturated with asphalt. Most roofers know how to handle it. The problem is its weakness to water. If it gets rained on before the shingles go on, it can wrinkle and even trap moisture against the deck. It also tears easily underfoot.
While #30 felt often meets the minimum building code, I rarely recommend it as the best long-term choice for a homeowner today. It’s a bit like using cloth diapers when modern disposables exist. It works, but there are more reliable options.
The Modern Workhorse: Synthetic Underlayment
This is what my crews use on probably 80% of jobs now. It’s a woven polypropylene or polyester sheet. The benefits are clear. It’s incredibly tear-resistant. It stays stable when wet, so no wrinkles. It’s often slip-resistant, making the roof safer for workers. Best of all, it can be exposed to sun and weather for months without degrading.
Always check the shingle manufacturer’s specifications for compatibility, as some require or recommend specific synthetic underlayments. For example, asking “can I use GAF FeltBuster under a metal roof?” is the right question. The answer depends on the metal roof system, not the underlayment brand. You must follow the metal roof manufacturer’s instructions to the letter.
The Heavy-Duty Protector: Rubberized Asphalt
Don’t call this “felt.” It’s a different beast. Rubberized asphalt (often called ice and water shield) is a self-adhering, waterproof membrane. Felt and synthetics are water-resistant. This stuff is a water barrier.
Its use is non-negotiable in high-risk leak zones: the first three feet up from the eaves, in all valleys, and around every penetration like chimneys, vents, and skylights. In regions with ice dams, building codes often require it on the entire lower section of the roof. It seals around nails and forms a gasket-like bond to the deck.
The Installation Playbook: Laying Felt Right, From Eave to Ridge
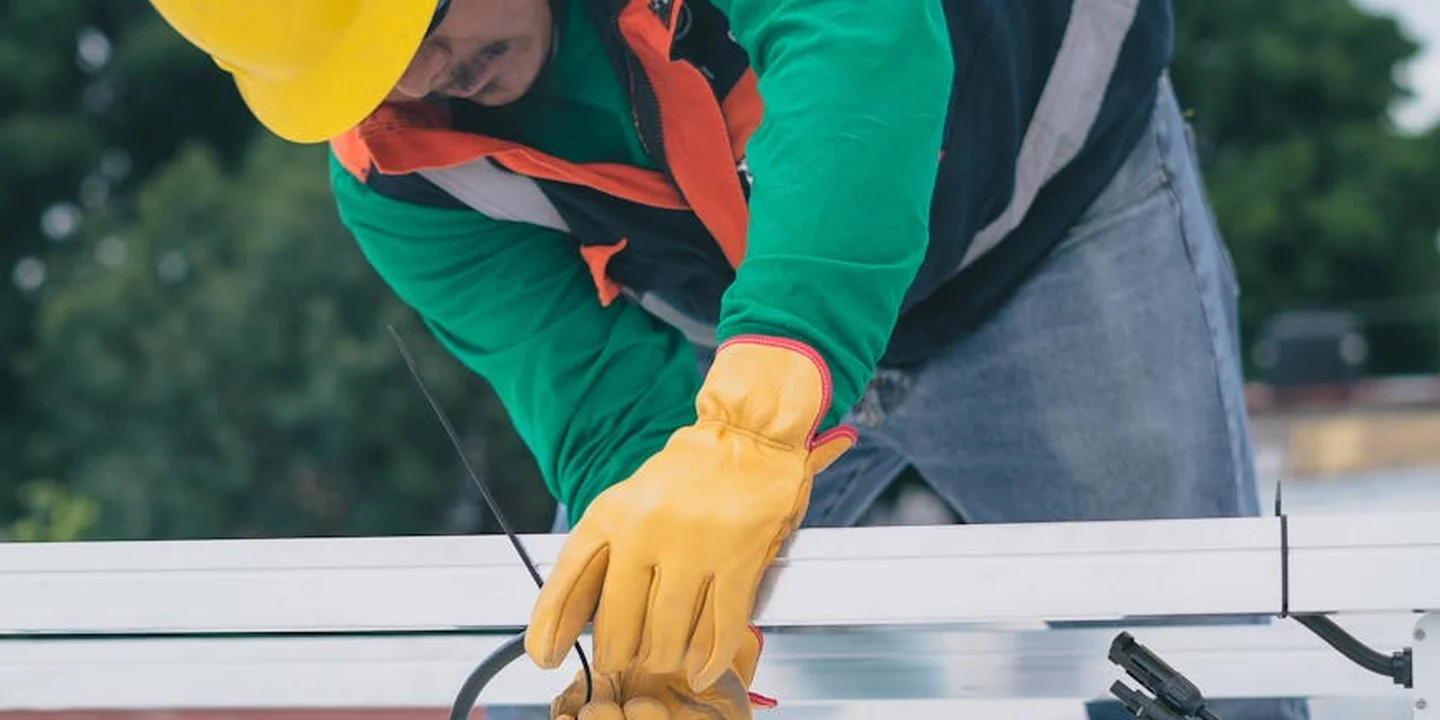
What are the key steps for properly installing roof felt? Let’s walk through it like I’m training a new crew member. First, safety isn’t a suggestion. Secure your ladder at the correct angle, use roof jacks on steep slopes, and if the pitch makes you nervous, wear a harness. A safe job is the only job worth doing.
Step 1: Prep the Deck and Install Drip Edge
You cannot put a good roof over a bad deck. Your plywood or OSB deck must be clean, dry, and solid. Sweep off all old granules, nails, and debris. Pound down any protruding nails. If you find soft, rotted, or delaminated wood, replace it now. This is your foundation.
Next, install the metal drip edge along the eaves. This step happens before any underlayment goes down. The drip edge’s main job is to direct water off the roof and into the gutters, not trap it against the fascia board. By installing it first, any water that gets under the shingles or underlayment will hit the drip edge and be kicked clear.
Step 2: Roll, Align, and Secure the First Course
Start your first roll at the eave. Let it overhang the drip edge by about 1/4 to 3/8 of an inch. This small overhang ensures water drips free. Keep the roll straight. A crooked first course throws off the entire roof.
What are the best practices for securing roof felt? I see two main choices: galvanized roofing nails with plastic caps (called “plates”) or corrosion-resistant staples. I prefer cap nails because the wide plastic head seals the hole better and is less likely to tear the felt. Whether you use nails or staples, space them about 12 to 18 inches apart along the edges and in the field. Avoid over-driving them. You want the fastener head flush, not buried, to prevent tearing the felt or creating a dimple that holds water.
Step 3: The Overlap Rule and Rolling Out the Field
The universal rule is a minimum 2-inch side lap (where rolls meet vertically) and a 4-inch head lap (where horizontal rows overlap). How much overlap is required, and why is this important? Think of your roof felt like shingles on a house. Water flows downhill. If you only overlap your felt by an inch, a strong wind-driven rain can easily push moisture up and under the seam. The 4-inch head lap creates a long, shingled path that water cannot climb. This is your secondary water barrier.
To keep the felt flat and prevent sagging, pull each roll taut as you unroll it, especially between rafters. Don’t just lay it down loosely. A sagging pocket can hold water and wear out faster.
Step 4: Sealing the Top at the Ridge and Hips
When you reach the ridge or a hip, you have two good options. You can bring the underlayment from one side over the peak by at least 6 inches. Then, bring the underlayment from the opposite side up to overlap it. Alternatively, you can install a dedicated cap piece of underlayment over the peak. The goal is the same: ensure there is no exposed seam at the very top where wind and weather are most severe.
Conquering the Critical Junctions: Where Leaks Start
Installing felt on the open field of the roof is straightforward. The real test of a quality installation is at the junctions. Good field work can be completely undone by sloppy detail work around valleys, walls, and penetrations. This is where leaks almost always begin.
Valleys: The Roof’s Riverbed
A valley is where two roof slopes meet, forming a channel that collects and funnels more water than any other part of the roof. You must reinforce it. For an open valley (where metal lining is exposed), you typically lay a specialized, self-adhering rubberized asphalt membrane directly down the center. This membrane should extend at least 12 inches up each slope from the valley center. For a closed valley (covered by shingles), you still use this heavy-duty membrane under the shingles. Never use standard #15 or #30 felt alone in a valley; it simply won’t hold up to the concentrated water flow.
Walls, Chimneys, and Skylights: Integrating with Flashing
The core concept here is layering. Roof felt integrates with metal flashing to create a shingled, overlapping system that sheds water outward. How should roof felt be installed around roof penetrations like pipes and vents? You cut a slit or an “X” in the felt to fit it around the obstruction. Then, you seal the cut edges to the pipe’s base with roofing cement or a compatible sealant. The key step comes next: the metal base flashing (or a rubber boot for pipes) gets installed over the felt. The felt is the first layer of defense, and the flashing is the second, directing water over the top of it.
For a sidewall, step flashing is woven between each course of shingles. The roof felt should be installed under the step flashing. This way, any water that gets behind the step flashing hits the felt and is directed back onto the shingles below. My rule from decades of repair calls: never rely on caulk or sealant alone where the roof meets a wall or chimney. It will crack and fail. Proper material layering is the only permanent solution.
Will My Shingles and Warranty Play Nice? The Compatibility Check
Picking the right underlayment isn’t just about staying dry today. It’s about protecting your investment for decades. Get this wrong, and you could be left with a leaky roof and a worthless warranty.
Matching Underlayment to Your Roofing Material
Think of your roof system like a team. Every layer has to work together. The wrong underlayment can cause friction and failure.
For modern asphalt or architectural shingles, synthetic underlayment is my go-to choice. It’s stronger, smoother to walk on, and resists tearing much better than old-school felt. You can easily see the difference between synthetic and traditional underlayment.
Metal roofs are a different animal. They need a compatible underlayment, often a breathable synthetic, to handle condensation without trapping moisture against the metal, especially in attics or garages.
Heavy materials like clay tile, concrete tile, or natural slate demand a heavy-duty foundation. You often need a sturdier #30 felt or a specialized high-temp membrane to support the weight and last as long as the tiles.
How do you ensure compatibility? You don’t guess. You check the playbook the manufacturer wrote.
The Warranty Fine Print You Must Read
Here’s the hard truth. Using an underlayment not approved by your shingle maker can completely void your warranty. I’ve seen it happen.
The manufacturer’s warranty is a contract. If you don’t install their product according to their rules, they are not obligated to honor it. This includes the underlayment beneath it.
Verifying compatibility is simple but critical: grab the installation instructions or the warranty document that came with your shingles. Look for a section titled “Approved Underlayments” or “Compatible Substrates.” It will list specific brands and product names.
If you lost the paperwork, go to the manufacturer’s website. Search for your shingle line’s technical specifications. It’s all there. Do this before you buy a single roll of felt.
Climate and Code: The Local Rules of the Game
Your local weather and laws are the final bosses in this game. You must play by their rules.
In cold climates, ice dams are a constant threat. You need a self-adhering, rubberized asphalt membrane (ice and water shield) in the eaves and valleys, not just standard felt. It seals around nails.
If you live in a high-wind zone like I do, flimsy underlayment is a liability. You need a high-tensile synthetic, fastened securely with plastic cap nails or staples at the code-specified spacing. It acts as a critical secondary water barrier if shingles blow off.
Local building codes are not suggestions, they are the law. They will dictate the minimum underlayment type, how much ice and water shield you need, and exactly how to fasten it. Your town’s building department has this info.
The golden rule? Follow the stricter instruction. If the shingle manufacturer says one thing and your local code says another, you go with the tougher standard. This covers your bases for both warranty and safety.
When Not to DIY and What to Never Do
Honesty is part of good advice. Roofing is dangerous work. Knowing when to call a pro isn’t a sign of weakness, it’s a sign of smart planning.
Know Your Limits: Steep Pitch, Complex Roofs, and Bad Weather
If your roof is steep, stay off it. There’s no shame in that. A steep pitch turns a simple job into a fall hazard in seconds.
Complex roofs with multiple valleys, dormers, or skylights are puzzle boxes for water. One wrong cut in the underlayment can channel water right into your home. These details are best left to experienced crews who know how to handle complex features like dormers, skylights, and towers.
Never start stripping a roof if rain is in the forecast. An exposed wood deck is a sponge. Installing underlayment on wet plywood traps that moisture, leading to rot and mold from the inside out. If the weather turns, get the old roof covered with a tarp and wait – especially when it comes to roof repairs or installation in wet conditions.
Common Rookie Mistakes That Cause Leaks
I’ve fixed leaks caused by every one of these errors. Avoid them and you’re miles ahead.
- Insufficient Overlap: Horizontal seams must overlap at least 2 inches. Vertical (end) seams must overlap at least 4 inches. Less than that, and wind-driven rain will find its way in.
- Wrinkling and Bridging: A wrinkle or a roll that doesn’t lie flat (bridges a dip) creates a pocket. Water pools there, finds a nail hole, and you get a leak.
- Wrong Fasteners: Using plain nails or the wrong staple size. They can back out or rust. Use galvanized roofing nails or staples long enough to fully penetrate the deck.
- Ignoring Overlap Specs on Synthetics: This is huge. Synthetic underlayments have a printed grid. You must overlap to that specific line, not just guess. The adhesive strip needs to seal to the printed area below.
- Installing Over Debris or a Wet Deck: Always sweep the deck clean. Feel for damp wood. Your underlayment needs a clean, dry surface to perform.
A Quick Note on Off-Label Uses (Like Flooring or Garden Beds)
I get asked about using leftover felt for other projects. My advice is always the same: don’t.
Roofing underlayment is engineered for one job, roofing. It may contain chemicals or asphalt designed for outdoor exposure, not for your indoor air or garden soil. When you consider the environmental footprint of roofing materials, the choice of underlayment can influence long-term sustainability. Some options offer lower emissions and easier end-of-life disposal, helping reduce the overall footprint of your project.
For a moisture barrier under a floor, use a proper vapor retarder. For a weed barrier, use landscape fabric. It’s safer for your home and your health to use the right tool for the job.
Common Questions
How do I confirm my chosen underlayment won’t void my shingle warranty?
Check the shingle manufacturer’s installation instructions or warranty document for an “approved underlayments” list. If it’s not listed, call their technical support before proceeding-never assume it’s compatible.
What’s the single biggest mistake you see DIYers make with felt?
Insufficient overlap at the seams. It creates a direct path for water; always maintain a minimum 4-inch horizontal and 2-inch vertical overlap, following the printed guidelines on synthetic products.
My area has high humidity/ice dams. Does that change which underlayment I use?
Yes, absolutely. In high-humidity areas, use a breathable synthetic; in ice dam zones, install rubberized asphalt membrane (ice and water shield) at the eaves and valleys as your primary underlayment.
Your Blueprint for a Lasting Roof
From my time on the crew, I know that meticulous felt installation and verified shingle compatibility are the non-negotiable foundations of a sound roof. Focus on these two elements during your project, and you build in decades of dependable protection from the very first nail.
Think of your roof as a living system that thrives on your attentive, safe maintenance and a willingness to learn. Regularly consult detailed guides on roof care for all material types, and let safety guide every decision you make about your home’s overhead shield.
Ray Huffington
Ray is an experienced roofer. He has worked as a general contractor in the roofing industry for over 15 years now. He has installed and repaired all kinds of roofs, from small houses to large mansion, and from basic shingles to cement and metal roofs and even solar roof panels. He has seen homeowners struggle with roofing questions and always has experience based proven advice to help those in need. If you need roof pros, Ray's your guide.