
How Do You Build a Lean-To Roof Structure for a Shed or Addition?
Want to add a simple, covered space to your property? A lean-to roof is a smart choice, but I’ve seen too many fail because of a few common mistakes.
You’re likely wondering how to get the slope right and attach it securely without causing leaks. I’ve built these for decades, and I’ll break down the process into clear, manageable steps.
In this guide, I’ll focus on the core practices that ensure a durable, code-compliant roof.
- Calculating the minimum slope for reliable water runoff.
- Framing and anchoring the rafters to your main structure.
- Sealing the critical joint where the new roof meets the old wall.
Key Takeaways: What You Must Know Before You Start
Building a lean-to roof is more than nailing boards together. Getting these fundamentals right is the difference between a lasting structure and a costly mistake.
- Connecting to your house wall is the single hardest part. This joint is the most likely spot for a leak. Sealing it properly requires specific flashing techniques most DIYers haven’t done before.
- Your two biggest enemies are gravity and water. If your structure fails, it will sag or collapse. If your waterproofing fails, you’ll get rot and damage to your main house.
- This is not a “no-permit” project. Nearly every town requires a permit for a permanent roof structure attached to a dwelling. They need to check your plans for safety.
- The lumber size is not a guess. The span of your roof (how far it reaches out) directly dictates the size and spacing of your rafters. Using wood that’s too small is dangerous.
- Your slope matters. A proper pitch is needed to shed water effectively. Too shallow, and you’ll have constant pooling and leaks.
Is a DIY Lean-To Roof Right for Your Project? A Reality Check
Before you buy your first 2×4, let’s see if a lean-to is the right tool for the job and if you’re the right person to build it.
Think of a lean-to as a single-slope roof that leans against a higher wall. Compare it to a classic gable roof (the triangle shape). A gable roof is more complex to frame but sheds water off two sides and can span wider buildings. A lean-to is simpler but pushes all the water and snow load to one side.
The pros are clear. Lean-to roofs use a simpler framing system with common rafters all cut the same length and angle. They are cost-effective, use less material, and are ideal for sheds or additions under 12 feet wide. These advantages make them a popular choice for many small-scale projects.
But they have clear limits. All drainage goes to one side, so your gutters and ground grading must handle that concentrated flow. The span is limited by the strength of your rafters.
Which leads to the common question: how long can a lean to roof be? The answer depends entirely on the size and spacing of your rafters. A 2×6 rafter can safely span about 10 feet if spaced 16 inches apart. A 2×8 can span roughly 13 feet. These are general rules your local building code will make specific. Exceeding these spans without proper support (like a mid-span beam) is asking for a sagging roof.
You should hire a professional if any of these are true for your project:
- You are attaching it directly to your house. The flashing detail is critical.
- The span is over 10 feet and you are unsure how to size beams or rafters.
- Your local building department has complex engineering requirements.
- The roof will hold significant snow load. Safety isn’t a place to cut corners.
I’ve been called to fix DIY lean-to roofs where someone used fence posts for supports or tried to flash the house connection with just caulk. Those repairs always cost more than hiring a pro from the start would have. Know your limits.
Hazard & Safety Assessment: This Isn’t a Ground-Level Job
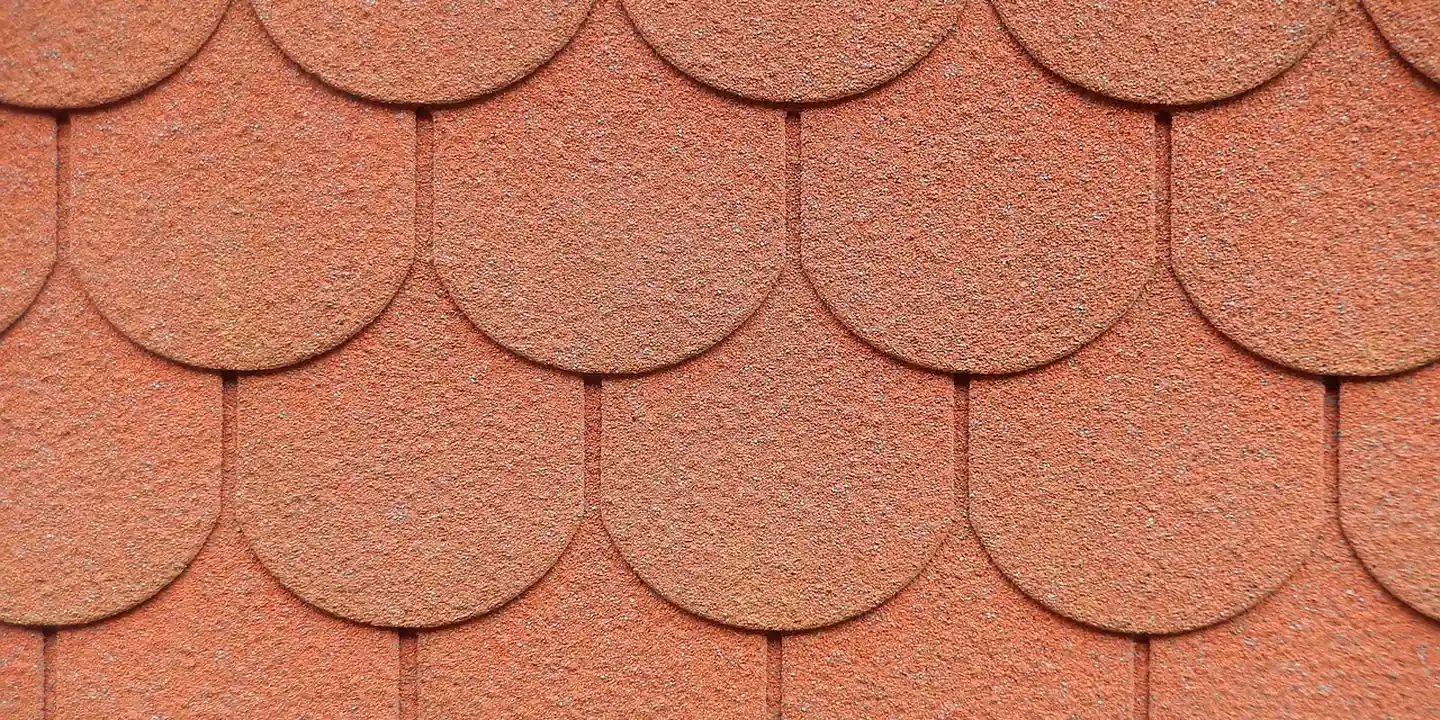
Listen carefully. This is not a suggestion. Every year, people are seriously injured or killed falling from low-height roofs like sheds. Your risk is real from the moment you step off the ladder – especially if you don’t follow roof walking safety guidelines.
Treat working on any roof, no matter how small, with the same deadly serious respect as working on your two-story house.
Your gear list is non-negotiable. I have turned crews away from job sites for missing a single item.
- Fall-arrest harnesses anchored to a secure point. This is your last line of defense.
- Roof jacks and planks to create a stable work platform. Never trust just the shingles or sheathing.
- A sturdy, type-1A commercial-grade ladder, set on solid ground and extended 3 feet above the roof edge.
- Eye protection. Sawdust, metal filings, and old roofing grit will blind you.
The risks are layered. The height itself is the obvious one. The pitch, or steepness, changes everything. A 4/12 pitch is walkable. A 6/12 requires careful footing. Anything steeper and you need anchors and planks. Look up for power lines before you ever raise a metal ladder or long piece of trim.
Handling long rafters or sheets of plywood alone is a recipe for a muscle pull, a dropped board, or a loss of balance that sends you over the edge. You need a second person. Not someone to hand you a coffee, but a competent helper who understands the tasks and the dangers.
Keep your work area clean. Scattered nails, cut-offs, and coiled hoses are tripping hazards. A clean site is a safe site. It’s the first thing I check with my crew every morning.
Planning and Code Compliance: Your Legal and Structural Blueprint
How do you determine the pitch of a lean-to roof? You start with a map and the weather report. The pitch is the roof’s slope, written as a ratio like 4/12 (4 inches of rise for every 12 inches of run). Knowing how to calculate roof pitch is essential for installing shingles correctly.
Your local building department dictates the minimum pitch based on your area’s snow load and rainfall. In snowy regions, you need a steeper pitch, like a 6/12 or more, so heavy snow can slide off. In rainy areas, a lower pitch like 2/12 or 3/12 might be acceptable, but only with specific waterproofing methods. Call your local building office. This is your first step.
Speaking of the building office, you likely need a permit. Skipping it is a terrible gamble. If you have a fire or collapse and insurance finds unpermitted work, they can deny your claim entirely. An inspector can also issue a stop-work order, forcing you to tear apart finished work so they can see the framing.
The code book isn’t just red tape. It’s decades of lessons learned from failures. Key points they will check include:
- Rafter sizing and spacing (e.g., 2×6 vs. 2×8 rafters, 16 inches vs. 24 inches on center). This is pure physics for holding weight.
- Fastener types and quantities. Using the wrong nails in your hurricane ties is a common fail point.
- Wind uplift requirements. Your roof needs to be tied down to the wall and the wall to the foundation, especially in high-wind zones.
Your material choice is also a code decision. Metal roofing can often go on a lower pitch than asphalt shingles. Shingles typically need at least a 2/12 or 3/12 pitch to properly shed water. The inspector will expect the right underlayment for your chosen material and pitch. Think of it like this: codes tell you the right boot for the hike. You wouldn’t wear slick dress shoes up a muddy trail.
Materials and Tools: Getting Your Crew and Supplies Ready
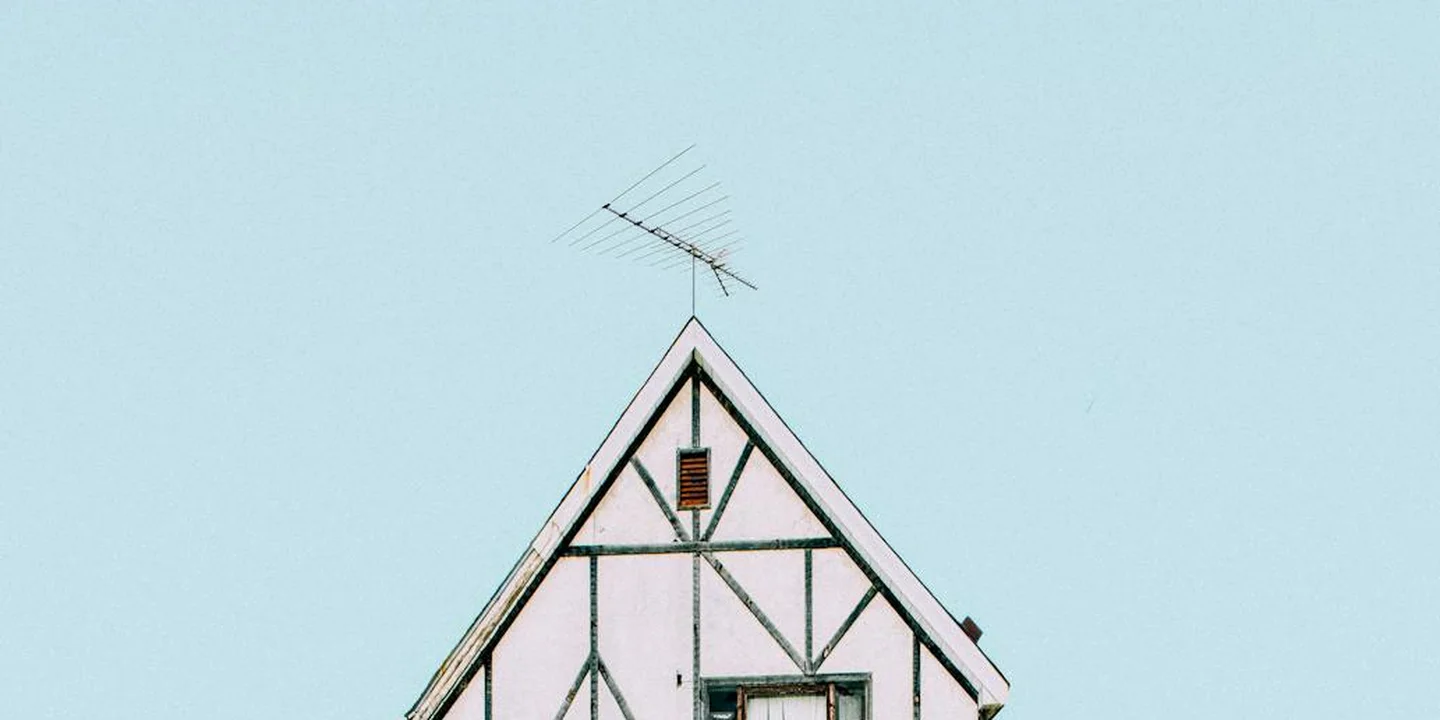
Gathering the right stuff before you start is half the battle. I’ve seen jobs stall for days because someone forgot joist hangers.
What materials are needed for the roof framing? Here is your shopping list, broken into the bones and the skin.
For the structural frame:
- Ledger Board: This is the backbone that attaches to your house. Use pressure-treated lumber that matches your rafter width (like a 2×6 or 2×8).
- Rafters: These are the angled beams. Kiln-dried spruce or pine is standard. You’ll need enough for your spacing.
- Joist Hangers: Metal brackets to secure the rafters to the ledger. Don’t skip these.
- Beam or Top Plate: The horizontal piece on the outer wall that supports the rafter ends. A double 2x beam is common for small sheds.
- Fasteners: Structural screws or lag bolts for the ledger, and galvanized nails or screws for everything else.
For the roof skin:
- Sheathing: 1/2″ or 5/8″ plywood or OSB panels. This is your roof’s solid deck.
- Underlayment: This is your critical water barrier. I’ll compare types below.
- Drip Edge: Metal flashing for the roof edges to direct water away.
- Roofing Material: Your final layer-asphalt shingles, metal panels, or rolled roofing.
- Flashing: Especially headwall flashing (step flashing or a continuous metal strip) for where the new roof meets the house.
Now for your tool belt. You can build this with basic hand tools, but power tools will save your back and a lot of time.
Essential hand tools:
- Tape measure
- 4-foot level
- Speed square or framing square
- Circular saw or handsaw
- Hammer
- Wrench set for lag bolts
- Chalk line
Nice-to-have power tools:
- Power drill/driver
- Impact driver for lag bolts
- Pneumatic nail gun for sheathing and roofing
- Compound miter saw for precise rafter cuts
Let’s talk material choices quickly. For lumber, use pressure-treated wood anywhere it touches masonry or is close to the ground. Use standard kiln-dried for the rafters. For underlayment, I switched to synthetic years ago; it’s tougher, slides less on the deck, and won’t rot like old-tar felt can on a low slope. Felt works if it’s all you have, but synthetic is worth the extra few dollars.
Step-by-Step: How to Build and Attach a Lean-To Roof
This process goes from the house outward. Take your time on step one. A wobbly start here means leaks and headaches later.
Step 1: Installing the Ledger Board – The Critical Foundation
How do you attach the ledger board to the existing structure? You bolt it into the house’s wall studs, not the siding.
First, locate it for proper pitch and clearance. Use your level to mark a line that gives you at least a 1/4-inch drop per foot of roof run for drainage. Before you drill, use a stud finder to locate the solid wood framing in your wall-this is non-negotiable. You must hit those studs.
Here’s how we waterproof it. Slide a strip of ice and water shield membrane or metal step flashing up behind the siding where the ledger will go. This creates a seal behind the board. Then, hold the ledger in place, pre-drill holes through it and into the wall studs, and secure it with 1/2-inch lag bolts every 16 inches.
I once had to fix a lean-to that was lagged only into vinyl siding; the first stiff wind pulled it halfway off. Never rely on screws into siding or brick alone. If you’re attaching to brick, you need masonry anchors into the block behind.
Step 2: Framing the Roof – Rafter Layout, Cuts, and Installation
What is the proper spacing for rafters? For a shed, 24 inches on center is common. For a heavier roof or in snowy areas, go with 16 inches on center.
How do you cut and install the rafters? You’ll make two cuts: a birdsmouth notch where it sits on the ledger or wall plate, and a plumb cut at the top. Cut one rafter perfectly to use as a template; this ensures every other rafter is identical and saves you hours of measuring. The birdsmouth should not cut deeper than one-third the rafter’s depth.
Mark your rafter locations on the ledger and the outer beam. Slip each rafter into a joist hanger on the ledger and nail it securely. At the outer end, toe-nail the rafter to the top plate or beam. Use a temporary brace to hold everything square as you go.
Step 3: Sheathing, Underlayment, and Waterproofing
How do you install the roof sheathing and underlayment? Start with the sheathing. Stagger the panel seams like bricks so no four corners meet. Nail them down every 6 inches along the edges and every 12 inches in the field.
The underlayment is your safety net if water gets past the shingles. Roll it out horizontally, starting at the bottom edge. Overlap each row by at least 2 inches. Install drip edge metal along all the eaves and rakes before the underlayment goes over it at the eaves and under it at the rakes.
How do you ensure proper drainage and waterproofing? The most critical spot is the headwall-where your new roof meets the house. You must integrate step flashing or a continuous metal counter-flashing here, weaving it with the house siding or sealing it tightly. This detail catches water running down the wall and directs it onto the roof surface.
Step 4: Installing the Final Roof Covering
What type of roofing material is best for a lean-to roof? It depends on slope and your skill. Asphalt shingles need at least a 2/12 pitch. Metal roofing can go as low as 1/12. Rolled roofing is the easiest for very low slopes but doesn’t last as long. For very low slopes, roof pitch limits which materials perform well. We’ll note how pitch affects material choice for low-slope roofs.
For a DIYer on a typical shed slope, I often recommend metal panels. They are lightweight, shed water well, and install quickly with screws. Asphalt shingles are familiar but trickier to seal on a low slope. Rolled roofing is a budget option but requires careful sealing at the seams.
My installation tip is to always start with a starter strip for shingles or a drip edge for metal. Follow the fastener placement exactly-too high or too many can cause leaks. Seal all penetrations with roofing cement. Manufacturer warranties are void if you don’t follow their instructions to the letter, so keep that booklet handy.
Lean-To Roof Care and Maintenance for the Long Haul
Building it right is only half the job. The other half is keeping it right. A lean-to roof is simple, but that doesn’t mean it’s maintenance-free. A little regular attention stops small issues from turning into expensive, wet problems inside your shed or addition.
I treat my own shop’s lean-to roof like an old truck. I don’t wait for it to break down on the highway. I pop the hood and look around every so often. That habit has saved me thousands.
Your Twice-a-Year Checkup: 10 Minutes Well Spent
Schedule a quick look in the spring and fall. Grab a pair of binoculars and walk the perimeter. You’re looking for three main things.
- Check the Flashings: The metal where your lean-to meets the main wall is the most critical spot. Look for gaps, rust spots, or sections that have pulled away. This is your primary water seal.
- Clear All Debris: Leaves, pine needles, and dirt love to pile up on low-slope roofs. They hold moisture against the roofing material and clog gutters. A stiff-bristle broom works fine for clearing them off.
- Look for Sagging or Bowing: Stand back and look down the roofline. Does it look perfectly straight? Any dip or curve in the rafters or sheathing is a red flag that needs immediate investigation.
A visual inspection twice a year is your cheapest form of insurance. It lets you catch problems while they’re still small and dry.
Spotting and Fixing Common Lean-To Troubles
Lean-to roofs have their own typical aches and pains. Knowing what to look for means you can often fix it yourself.
Ponding Water
This is water that sits for more than 48 hours after a rain. On a low-slope lean-to, it’s common. Over time, it degrades shingles and can find a tiny hole to seep through.
If you see a persistent puddle, first check for debris blocking drainage. If the roof is clear, the slope itself might be insufficient. Adding a tapered insulation board under new roofing is a pro job, but for now, just note it and watch for leaks.
Fastener Pops
Nails or screws can back out over years of heat and cold cycles. You’ll see a small bump or a shiny nail head where there shouldn’t be one. On a metal roof, you might hear popping sounds on a hot day.
For asphalt shingles, carefully tap the nail back down and seal over it with a dab of roofing cement. For metal or rubber roofs, you can often tighten the screw or replace it with a slightly longer one that has a fresh rubber washer.
Sealant Failure
That black tar or gray silicone caulk doesn’t last forever. At flashings, vents, or where two materials meet, check for cracking, shrinking, or peeling.
Scrape out the old, brittle sealant completely. Clean the area with rubbing alcohol and apply a fresh bead of a high-quality, UV-resistant sealant made for roofing. Don’t use standard window caulk, it won’t last a season.
When It’s Time to Call a Professional
Know your limits. Some fixes are straightforward. Others put you and your roof at risk.
Call a pro if you see any of the following:
- Any structural sagging. This indicates a possible rafter failure or foundation issue.
- Widespread leaks or water stains on the interior ceiling. Finding the exact entry point can be like finding a needle in a haystack.
- Major flashing repairs, especially high up where the lean-to ties into your house. One misstep here can cause a leak into your main structure.
- When re-roofing is needed. Installing new underlayment and shingles or metal panels on a low slope requires specific techniques to prevent leaks.
I tell my clients this: if your feet should be on the ground, call a crew. If a repair involves more than a tube of sealant and a hammer, get an estimate. A pro roofer can often spot a developing issue you might miss, saving you from a full replacement down the line.
Common Questions
What’s the best roofing material if my lean-to has a very low slope?
For slopes under 2/12, use metal roofing or a specialized rolled membrane. Avoid standard asphalt shingles here, as they need more pitch to properly shed water and prevent leaks.
How do I prevent water from pooling on my low-pitch lean-to roof?
Ensure your slope is at least 1/4-inch per foot of run and keep all gutters and the roof surface completely clear of debris. If ponding persists, the underlying structure may lack adequate slope, which requires a professional assessment.
What’s the single most important maintenance task for a lean-to?
Inspect and maintain the headwall flashing—the metal where the new roof meets the house—twice a year. This joint is the most common leak source, so re-seal any gaps immediately with UV-resistant roofing sealant.
Your Lean-To Roof: Built for the Long Run
Get the slope and flashing right from the start, and you will avoid most common leaks. I have seen these simple steps keep additions dry for twenty years.
You own the long-term health of your roof through safe, regular checks. Keep learning with sources like our Roof Damage Inspection Guide, followed by the proper care and maintenance for all types of roofs.
Ray Huffington
Ray is an experienced roofer. He has worked as a general contractor in the roofing industry for over 15 years now. He has installed and repaired all kinds of roofs, from small houses to large mansion, and from basic shingles to cement and metal roofs and even solar roof panels. He has seen homeowners struggle with roofing questions and always has experience based proven advice to help those in need. If you need roof pros, Ray's your guide.