
What Does Chimney Creosote Look Like? Your Practical Guide to Causes and Removal
Have you ever looked up your chimney and seen a dark, sticky coating? I’ve cleaned hundreds of chimneys, and that substance is creosote-it’s the leading cause of chimney fires. Knowing how to identify it, what creates it, and how to clean it is essential for safety.
I’ll show you exactly what creosote looks like at different stages, explain the common causes behind its buildup, and walk you through effective removal methods.
Key Takeaways: Your Chimney Creosote Cheat Sheet
- Creosote builds in three stages: light soot (low risk), tar-like flakes (moderate risk), and a glazed coating (high risk).
- Stage 3 creosote is a major fire hazard and often requires a professional with the right tools for safe removal.
- The primary cause is cool, smoldering fires from burning wet wood or having poor chimney airflow.
- Creosote builds up in all chimneys. Do not assume your metal chimney is immune.
- Burning it out is extremely dangerous and not a removal method. It can ignite a severe chimney fire.
- Chimney health ties directly to your roof. Heavy creosote can corrode flashing and lead to leaks that damage your home’s structure.
What Does Chimney Creosote Look Like? (The 3-Stage Guide)
Creosote is not static. It changes form as it accumulates, becoming more dense and hazardous. Think of it like layers of grime on a grill. It starts as loose ash, cooks into sticky residue, and can bake into a rock-hard shell. Your goal is to stop it before it reaches that final stage.
Stage 1: Light, Fluffy Soot
This stage looks like powdery, black or gray dust, similar to charcoal ash. It feels dry and crumbly. I find this in chimneys after well-burning, hot fires. You can usually remove it with a standard chimney brush. This is the most common type and what a routine chimney sweeping is meant to clean.
Stage 2: Tar-like and Flaky
Here, creosote hardens. It appears shiny and black, with a texture like burnt tar or flaking paint. It forms from repeated, low-temperature fires. You cannot simply brush it away. Removing Stage 2 creosote requires more aggressive scraping, and it signals that your firewood may be too wet or your damper is too closed.
Stage 3: Glazed and Crystalline (The Big Problem)
This is the serious one. It looks like a thick, glossy, and hardened layer coating the flue. Imagine a sheet of black ice or a dark candy shell inside your chimney. Stage 3 creosote is highly flammable and a leading cause of destructive chimney fires. It is very difficult to remove without professional-grade chemicals or mechanical scrapers, especially on stainless steel chimney flue liners. If you suspect this, do not attempt a DIY fix.
What Causes Creosote to Build Up in Your Chimney?
To prevent creosote from returning, you must tackle the source. Creosote forms when smoke from your fire cools down inside the chimney liner, causing unburned carbon particles to stick to the walls. Think of it like steam from a hot shower condensing on a cold bathroom mirror. A cool chimney turns smoke into a sticky, flammable deposit.
Burning Unseasoned or Wet Firewood
This is the most common cause I see. Wet wood forces the fire’s heat to boil off water instead of burning cleanly. The resulting smoke is much cooler, which causes creosote to condense rapidly on your chimney walls. This is exactly how creosote buildup begins, especially if rain water seeps inside your chimney.
Here is my simple test for seasoned wood:
- Sound: Bang two pieces together. Dry wood makes a sharp “clack,” not a dull thud.
- Cracks: Look for cracks radiating from the center of the log ends.
- Weight: Seasoned wood feels surprisingly light for its size.
Restricted Airflow and Smoldering Fires
Closing the damper or air inlet too much to slow a fire down is a mistake. It starves the fire of oxygen. A smoldering fire produces a thick, cool, and inefficient smoke packed with the particles that become creosote. This is poor ventilation in its most basic form.
My advice is to always aim for a hot, bright fire. Use smaller pieces of dry kindling to get a strong base of heat before adding larger logs. A vigorous fire creates less smoke and far less creosote.
Chimney System Issues
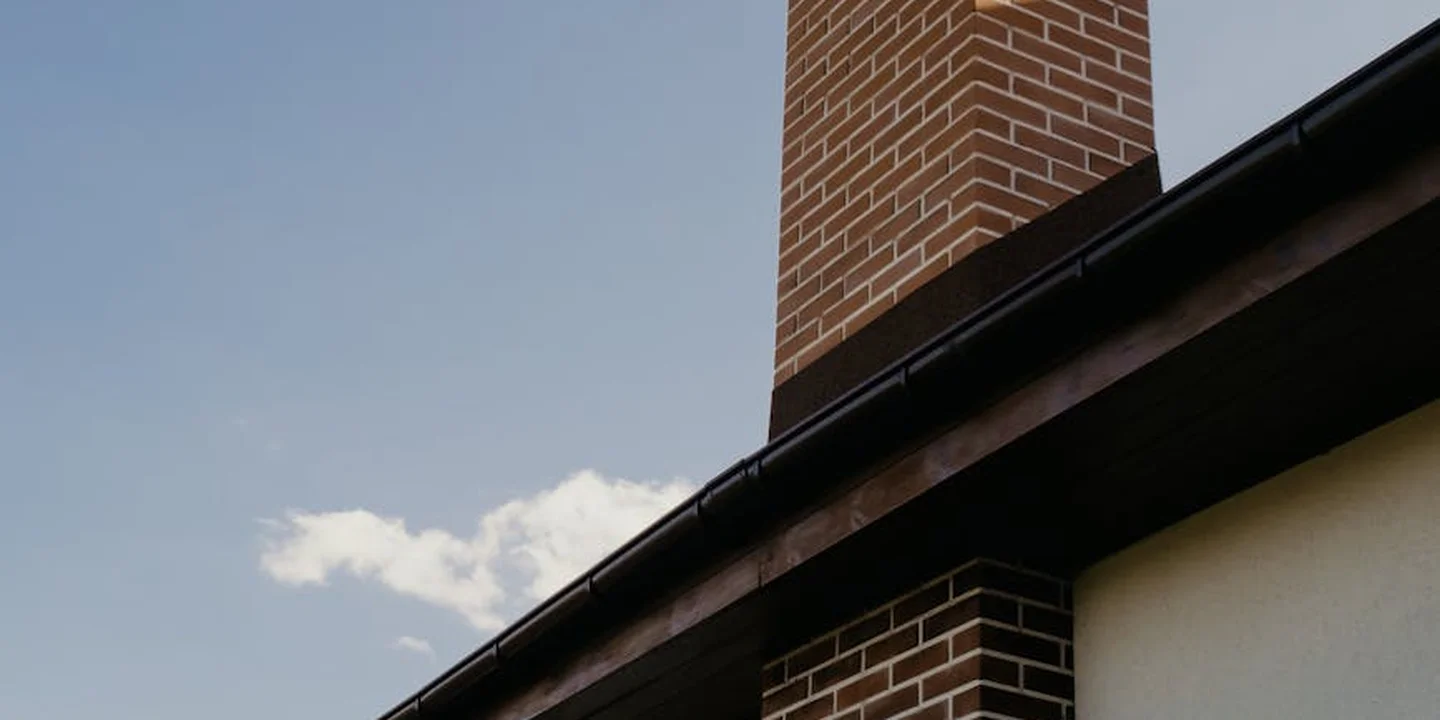
Sometimes the chimney itself is working against you. An oversized flue allows hot smoke to expand and cool down too quickly. Exterior chimney walls, especially on the north side of a house, stay cold and act like a magnet for condensing creosote. That’s where chimney flue components materials come into play—liners, caps, and dampers influence heat flow. Material choices for the flue can alter condensation and creosote buildup.
You might wonder, does creosote build up in metal chimneys? Absolutely. Uninsulated metal chimneys can chill fast, accelerating creosote formation. Even a chimney constantly shaded by trees can remain too cool, making the problem worse.
How Do You Remove Creosote? Methods by Stage and Safety
Removal depends entirely on how bad the buildup is. Your first decision is whether this is a DIY job or a time to call a certified professional. Let me be clear: this is roof-adjacent work. If you are not confident on a ladder or your roof, do not attempt it.
The Pro-Only Reality of Stage 3 Removal
Stage 3 glaze is like rock-hard tar. It requires professional tools and training. Pros use rotary loop systems with chains or special brushes, chemical treatments to break down the glaze, or even soda blasting for severe cases.
I need to address a dangerous myth I hear too often. Can you burn creosote out of a chimney? No. Trying to “burn it off” can ignite an uncontrollable chimney fire that can crack your flue liner and set your house on fire. It is never worth the risk.
When my crew tackles a Stage 3 job, safety is non-negotiable. We use full-body harnesses tied to roof anchors, just like any high-elevation roof work. We also wear proper respirators to avoid breathing in harmful soot.
DIY Removal for Stage 1 and Some Stage 2
If your creosote is flaky or crumbly, you can likely handle it yourself with care and the right tools.
Tools and Safety Prep
Gather your gear before you start. You will need a stiff chimney brush sized exactly for your flue, fiberglass extension rods, heavy drop cloths, safety goggles, and durable leather gloves.
Ladder safety is paramount, just like when inspecting your roof. Place it on firm, level ground and always have a spotter with you. Inside, seal your fireplace opening completely with plastic sheeting and tape to keep soot from invading your home, especially when performing zero-clearance fireplace maintenance.
The Step-by-Step Cleaning Process
Follow these steps carefully to clean creosote out of your chimney.
- Inspect First: Use a bright flashlight to look up the flue and assess the buildup. Confirm it’s Stage 1 or early Stage 2.
- Brush from the Top: From the roof, assemble your brush and rods. Push the brush down the chimney using a steady, up-and-down scrubbing motion.
- Alternative Bottom-Up Method: If roof access is unsafe, you can often brush from the fireplace up, using a weight and rope system to guide the brush.
- Clean Up Thoroughly: Once done, carefully remove the drop cloths, dispose of the debris, and vacuum the fireplace area. Inspect again to ensure it’s clean.
Yes, proper chimney sweeping does remove creosote, but only when the buildup is in these early, manageable stages. If you see any glossy, tar-like deposits, stop and call a professional.
How to Stop Creosote Buildup for Good: A Roof-Care Mindset
Think of your chimney not as a separate appliance, but as a critical part of your roof’s ecosystem. The same mindset you use for cleaning gutters or inspecting shingles applies here. Regular maintenance of chimney components—cap, crown, flue, dampers, and masonry joints—helps protect against leaks and blockages. Keeping these elements in good repair ensures safer, more efficient operation.
Consistent chimney care directly protects the expensive flashing where the chimney meets your roof, preventing the most common type of leak I get called to fix. A neglected chimney leads to problems that drip down, literally, onto the roof structure itself. On metal roofs, the chimney flashing is a common leak point due to temperature cycling and expansion, so chimney flashing is essential.
Fuel and Fire Management
This is your daily defense. Burning the right wood the right way changes everything inside your flue.
Only burn seasoned hardwood like oak or maple. It should be split, stacked, and dried for at least 6-12 months. You can hear the difference. Dry wood makes a sharp “clink” when knocked together. Soggy wood just goes “thud.”
Build hotter, brighter fires. A smoldering, oxygen-starved fire is a creosote factory. Aim for a vigorous fire with visible flames, and avoid closing the damper down too far to let it “coast” all night. A little more heat up the chimney now saves a lot of scraping later.
Those chemical creosote logs? Use them occasionally if you like, but understand their limit. They can help turn tarry stage three deposits into a brittle, easier-to-remove ash. They are not a substitute for a mechanical brushing. Think of them like a detergent, not a replacement for the scrub brush.
Annual Inspection and Cleaning
Just like you should walk your roof’s perimeter each spring to check for damaged shingles, your chimney needs a yearly checkup. Schedule this with a certified chimney sweep every year, ideally before you start burning for the season.
Why certified? Because a good pro does more than just sweep. They inspect the entire system. This is what I expect from a thorough sweep my crew and I trust:
- A video scan of the flue liner to check for cracks or deterioration.
- An assessment of the chimney cap and the concrete crown at the top.
- A close look at the exterior masonry for crumbling mortar.
- Most importantly for your roof, a careful inspection of the chimney flashing-the metal seals that keep water from entering where the chimney meets the shingles.
This last point is where roof and chimney care collide. A sweep can spot early rust or separation in the flashing that a homeowner might miss from the ground.
Critical Chimney Upgrades
Sometimes, proper maintenance means making a smart upgrade. Two investments can dramatically reduce your creosote battles.
First, install a quality, properly sized chimney cap. A good cap does three things: it keeps rain out (which cools the flue and encourages condensation), it keeps animals and leaves out, and it stops sparks. It’s a simple helmet for your chimney. A properly installed cap also helps prevent leaks and drafts around the chimney. This small upgrade sets the stage for the rest of the installation steps.
Second, if you have a metal liner, ask your sweep about insulation. A cold flue liner causes warm, moist smoke to condense on its surface immediately. Wrapping the liner in insulation keeps it warmer, so smoke travels all the way out before it can deposit its cargo. Insulating a liner tackles the root cause of glazed creosote by fixing the temperature problem.
Every bit of care you put into the chimney protects the roof. A clean, efficient chimney creates less corrosive condensate that can eat at masonry and flashing. A solid, watertight chimney crown directs rain away from the roof-chimney joint. It’s all connected. When I’m on a roof, a well-maintained chimney always tells me the homeowner understands that sealing and waterproofing chimneys is crucial to prevent leaks.
Common Questions
How often should I have my chimney cleaned to protect my roof?
Schedule a professional chimney sweep annually, ideally before burning season. Cleaning frequency can vary based on usage and appliance type. Homes with heavy use may require more frequent cleanings. This prevents heavy creosote buildup that can corrode flashing and lead to costly roof leaks at the chimney junction.
Does the roofing material around my chimney affect creosote buildup?
No, but the chimney’s condition does. Damaged masonry or cracked crowns from neglect can let in moisture, cooling the flue and accelerating creosote formation. Always ensure the chimney structure and its flashing to your roof are sound.
I’m handy. Can I inspect my chimney from the roof like I do my shingles?
You can do a visual check of the exterior for cracks or damaged caps, but assessing the flue interior requires a professional camera. If you’re not experienced on a roof, leave it to the pros-your safety is more important.
Final Thoughts on Chimney Safety
The most important lesson is that preventing creosote is easier and safer than removing it. A routine, professional chimney sweep is a small investment that protects your entire home from a devastating fire.
Your roof system’s health depends on your commitment to its care. Schedule that annual inspection, and keep learning about proper maintenance for every component, from the shingles down to the flue liner.
Ray Huffington
Ray is an experienced roofer. He has worked as a general contractor in the roofing industry for over 15 years now. He has installed and repaired all kinds of roofs, from small houses to large mansion, and from basic shingles to cement and metal roofs and even solar roof panels. He has seen homeowners struggle with roofing questions and always has experience based proven advice to help those in need. If you need roof pros, Ray's your guide.