
How to Tell When Your Charcoal Chimney Starter Coals Are Ready for Grilling
Have you ever dumped your chimney starter coals too soon, only to struggle with low heat and uneven cooking? I’ve been there on busy cookouts, and getting this step wrong can ruin your grill session. Knowing the exact signs takes the guesswork out of grilling and ensures perfect heat every time.
I will show you the key visual and auditory cues that signal readiness.
You will learn how to test the coals safely and effectively.
I will explain why timing matters for both temperature and flavor.
The Simple Grill Check: Your Quick Read on Heat and Flame
Think of your charcoal chimney like a small, contained furnace. You are looking for a specific, consistent burn. Ignore the tall flames at the start.
Wait for the fire to settle down. You want to see a quiet, intense heat. Here is your visual checklist.
- The top coals will be mostly covered in a layer of light gray or white ash.
- Look between the briquettes. You should see a strong, deep red glow underneath that ash.
- The tall, licking flames will be gone, replaced by a faint, shimmering heat haze.
Your coals are ready when about 80 to 90 percent of the top surface is ashed over with a consistent red glow beneath.
This usually takes 15 to 25 minutes with a standard chimney and newspaper starter. Time varies with the amount of charcoal and airflow. The goal is complete ignition, not just surface fire. This skill of reading fuel and heat is directly related to safety on the roof, where understanding combustion and venting is critical. Proper precautions can prevent chimney fires.
From Backyard to Roofline: Why Your Chimney’s Condition Matters More
A grill chimney that fails just means a late dinner. Your home’s masonry chimney failing can lead to house fires, major water leaks, and dangerous carbon monoxide intrusion. Understanding chimney fire dangers and common causes helps you take quick safety steps. Recognizing emergency response signs ensures you can act fast.
The principles are similar. You check your grill for a full, clean burn. You check your roof chimney to ensure it can safely contain fire and shed water. A “weather-ready” chimney is your home’s first line of defense.
From the ground or safely from a ladder, inspect these four critical areas. Your brick chimney is a system, and each part must work.
- Crown: This is the cement slope on top. Look for cracks or chips. A cracked crown lets water pour down into the chimney structure.
- Flashing: This is the metal (usually aluminum or steel) that seals the gap between the chimney bricks and the roof shingles. Look for rust, gaps, or lifted seals. Failed flashing is the most common cause of chimney-related roof leaks I repair.
- Mortar Joints: Look at the mortar between the bricks. Is it crumbling, cracked, or missing? This is called spalling. It lets water into the chimney and weakens the entire structure.
- Cap: The metal cage or cover at the very top. It keeps out rain, animals, and sparks. Make sure it is securely attached and not rusted through.
Just as un-ashed coals create bad smoke, a chimney with cracked mortar or broken flashing creates hidden problems. Both checks require a careful, knowing eye. Spotting the issue early is everything.
How to Inspect Your Roof Chimney Like a Pro
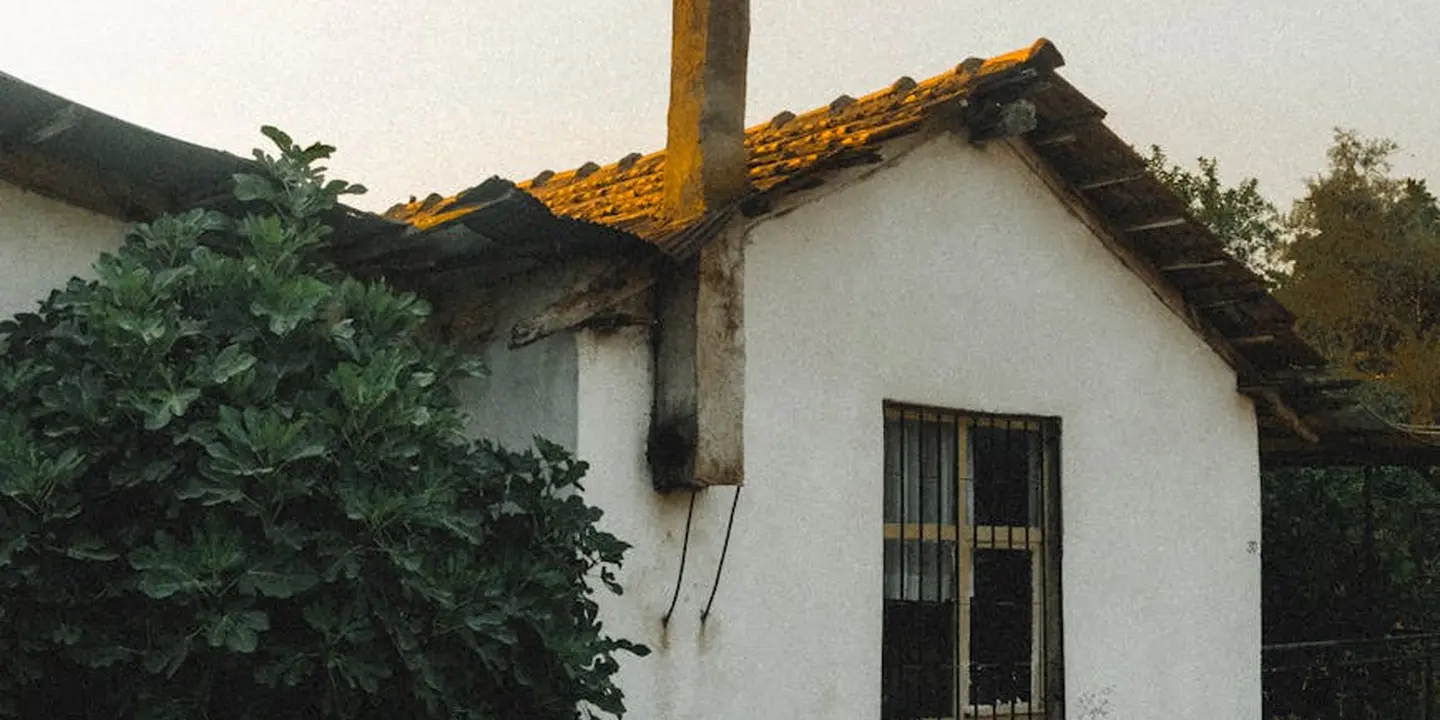
Think of your chimney as the tallest, hardest-working part of your roof. It takes a beating from weather. A simple check twice a year can stop a small problem from becoming a major leak. Here is how I do it.
The Ground-Up Visual Check
Never climb on your roof for a casual look. Start from the ground with your own two eyes. You will be surprised what you can see.
First, look at the whole structure. Does it look straight? A slight lean is a major red flag. Look at the very top. Is the chimney cap (the metal cover) in place and intact? Is it clogged with leaves or animal nests?
Use a good pair of binoculars to spot cracks in the bricks or stones, and to check the condition of the mortar lines between them. Missing mortar looks like dark gaps or lines. From this safe distance, you can plan your next move.
The Critical Touchpoints: Flashing and Mortar
This is where most chimney leaks start. The flashing is the metal seal that connects your chimney to the roof shingles. It keeps water from running down the bricks and into your house. Proper chimney flashing installation is crucial to prevent leaks.
With your binoculars, look at this metal trim. Is it rusted? Is it bent upwards or pulling away from the chimney? Can you see a visible gap? Any of these mean the seal is broken.
Now, zoom in on the bricks and mortar. Look for white, powdery stains on the bricks. This is called efflorescence. It is a sign that water is moving through the masonry and leaving mineral deposits behind. Also, look for spalling. This is when the brick surface itself is flaking or crumbling away. Both are clear cries for help from your chimney.
Crumbling mortar and spalling bricks are not just cosmetic; they are direct pathways for water to soak into the chimney structure and into your home.
Knowing When It’s a DIY Job and When to Call a Crew
Some tasks are safe and smart for a homeowner. Others are not. Be honest about your skill level and your tolerance for risk.
Simple maintenance you can do includes clearing leaves and debris from the chimney cap area (from a ladder, with proper safety). You can also keep gutters and roof valleys near the chimney base clear of sticks and granules. Understanding the cap’s purposes and requirements can help you choose the right design and ensure it meets safety standards. This knowledge also informs how you inspect and maintain the cap to prevent blockages and water damage.
You should call a professional roofer or mason for:
- Any visible damage to the chimney flashing.
- Large cracks in the bricks or widespread mortar decay.
- Any repair that requires you to be on the roof for more than a simple visual check.
Roof work is dangerous, and improper chimney repair is a guaranteed leak. A pro ensures the job is done safely and to code, protecting your home’s value and your family’s safety.
The Attic Connection: Ventilation, Moisture, and Your Chimney
Your chimney is not an isolated tower. It is integrated with your roof and attic system. Problems at the chimney often show up inside the attic first.
A leaky flashing or cracked mortar lets water into the attic space around the chimney chase (the framed box around the chimney in the attic). I have seen this many times. You will see water stains on the attic sheathing or insulation, or even a drip line down the chimney framing.
This unwanted moisture reduces your insulation’s effectiveness (its R-value) and creates the perfect environment for mold and wood rot. It is a hidden problem that raises energy bills and threatens your home’s structure.
A sound, well-sealed chimney supports your roof’s overall health. It prevents thermal bridging (where heat escapes through the masonry) and stops moisture from wrecking your attic ventilation system. Keeping your chimney in good shape is a key part of a durable, efficient home.
Safety First: Heat, Flammables, and Common Mistakes
You wouldn’t set a hot charcoal chimney on a wooden deck. You know it needs a non-flammable surface like concrete or pavers. Your roof needs the same kind of respect.
Think of your chimney like a grill on your house. The heat and sparks it produces demand a clear, safe zone. Overhanging tree limbs are like having a paper towel roll next to your grill. They can catch. Trimming them back is a simple, critical fix.
Debris on your chimney cap or in your gutters near the chimney is like having dry leaves under your grill. It’s just waiting for a single ember to land. Keeping that area clean isn’t just about looks. It’s a fundamental safety step.
Why a “Good Look” From the Ground Isn’t Enough
With a charcoal chimney, you wait until the coals on top are ashy-gray. That’s your visual cue. For a house chimney, a clean-looking exterior brick or chase is a false cue. It tells you nothing about what’s inside.
The real danger, creosote, builds up inside the flue liner. You can’t see it from your yard. This glazed, tar-like residue is highly flammable. I’ve seen flue liners that looked perfect from the top but were coated in a half-inch of this stuff. A single hot fire could ignite it.
Assuming your chimney is safe because it looks fine is the most common and dangerous mistake a homeowner can make. Even small issues can escalate into serious safety risks, including fires or carbon monoxide. Chimney problems affect home safety and should be checked regularly.
Non-Negotiable: The Professional Sweep & Inspection
You don’t try to rebuild your car’s engine without training. Don’t try to inspect or clean your chimney yourself. A certified chimney sweep does more than just shovel out ash.
They use specialized cameras to scan the entire flue liner for cracks, gaps, and creosote buildup. They check the mortar on the crown. They ensure the cap is intact and properly fitted to keep rain and animals out. This is an annual job, like changing your smoke detector batteries.
Schedule this inspection before you light your first fire of the season, every season. It gives you time to address any repairs in the warmer months. Finding a cracked tile in July is a manageable repair. Finding it in December is an emergency.
The Peace of Mind in Proactive Care
That yearly inspection is your biggest safeguard. It transforms a hidden risk into a known, managed part of your home. Catching a small crack in the flue liner early can prevent a house fire. Spotting crumbling mortar on the chimney crown early stops water from getting in and rotting your roof deck.
This proactive habit protects your biggest investment. It lets you enjoy your fireplace with confidence, knowing the system venting that heat through your roof is sound, clean, and safe.
Common Questions
How often should I really inspect my roof chimney?
Inspect it thoroughly at least twice a year-in spring and fall. Always give it a visual check from the ground after any major storm with high winds or hail.
What’s the most common cause of a chimney leak?
Failed or damaged flashing is the culprit in most leaks I repair. If the metal seal between the chimney and roof shingles is compromised, water will find its way in, especially over metal roofs.
Is a crumbling brick chimney something I can fix myself?
Minor surface cleaning is fine, but any repair involving the flashing, bricks, or mortar should be handled by a pro. Improper masonry or sealing work will guarantee a leak and can weaken the structure.
Your Roof’s Annual Safety Inspection
From my decades in the trade, I know that consistent, gentle care always beats a panic-driven repair. Make a simple ground-level visual check each spring and fall your non-negotiable habit, just like waiting for full ash coverage on your coals.
Your roof is a critical safety system, not just an aesthetic cover. Commit to learning about its specific materials and needs, and always hire licensed, insured professionals who follow local codes and safety practices for any work beyond your comfort zone.
Ray Huffington
Ray is an experienced roofer. He has worked as a general contractor in the roofing industry for over 15 years now. He has installed and repaired all kinds of roofs, from small houses to large mansion, and from basic shingles to cement and metal roofs and even solar roof panels. He has seen homeowners struggle with roofing questions and always has experience based proven advice to help those in need. If you need roof pros, Ray's your guide.