
How Do You Prevent Rain and Water from Getting Inside Your Chimney?
Have you ever heard a drip echo down your chimney after a heavy rain? That sound is a warning. Water inside your chimney can quickly cause rust, mold, and rot to your roof structure and fireplace.
I’ll explain how a quality chimney cap works, why flashing is your first line of defense, and what to check during your yearly maintenance.
Key Takeaways: What Stops Chimney Leaks
Your chimney has four main defense points against water. They must work together.
- Cap: The metal cover over the flue opening. It keeps rain, animals, and debris out.
- Crown: The sloped concrete “top” of the chimney. It sheds water away from the flue and the masonry below.
- Flashing: The metal sealing where the chimney meets your roof. It directs roof water around the chimney.
- Waterproofing: A breathable sealant applied to the brick or stone. It repels water while letting moisture inside the masonry escape.
Preventing a small leak now costs a fraction of repairing the rot and damage it causes later. A tiny, hairline crack in the crown might seem harmless. Over a year, it can funnel gallons of water into your chimney’s structure. That water freezes, thaws, and expands, making the crack bigger every season.
Your best tool is your own eyes. Make a habit of looking at your chimney from the ground with binoculars every spring and fall. Look for cracks, rust, or missing pieces. Catching problems early changes everything.
How Chimneys Work When It Rains: The Critical Junctions
People often ask how rain doesn’t just pour straight down the pipe. A well-built chimney is a system, not just a stack of bricks. It uses layered defenses, just like your roof uses underlayment, shingles, and flashing.
The top and the sides are where nearly all leaks start. That’s where different materials meet and where water is directed. Think of your chimney poking through your roof like your arm through a sleeve. The seal at the shoulder (flashing) and what’s on your hand (cap and crown) keep you dry.
A chimney without a proper cap is like leaving a window open during a storm. It’s a direct invitation for water. The system relies on smart design: slopes to shed water, overhangs to block it, and tight seals to divert it. Installing a cap chimney is a practical next step to seal the top. It helps prevent leaks and drafts, boosting overall performance.
The Physics of a Dry Chimney: Slope and Overhang
The crown’s job is simple: get water off itself. A good crown slopes downward, away from the flue liner in the center, like a miniature paved hill. This slope pushes rainwater to the edges where it drips harmlessly onto the roof. When that slope flattens or cracks, water pools. Pooled water finds every tiny imperfection and seeps in.
The chimney cap uses overhang. A quality metal cap extends several inches past the sides of the flue tile. This overhang acts like a wide brim on a hat. It prevents rain from falling vertically into the flue. Instead, water hits the cap’s top and drips from its edges onto the sloped crown, which then sheds it away.
This combination, a brimmed hat (the cap) on a sloped hill (the crown), is the direct answer to how chimneys stop rain from getting inside from the top. When either part fails, the system fails.
Your First Line of Defense: Caps and Crowns
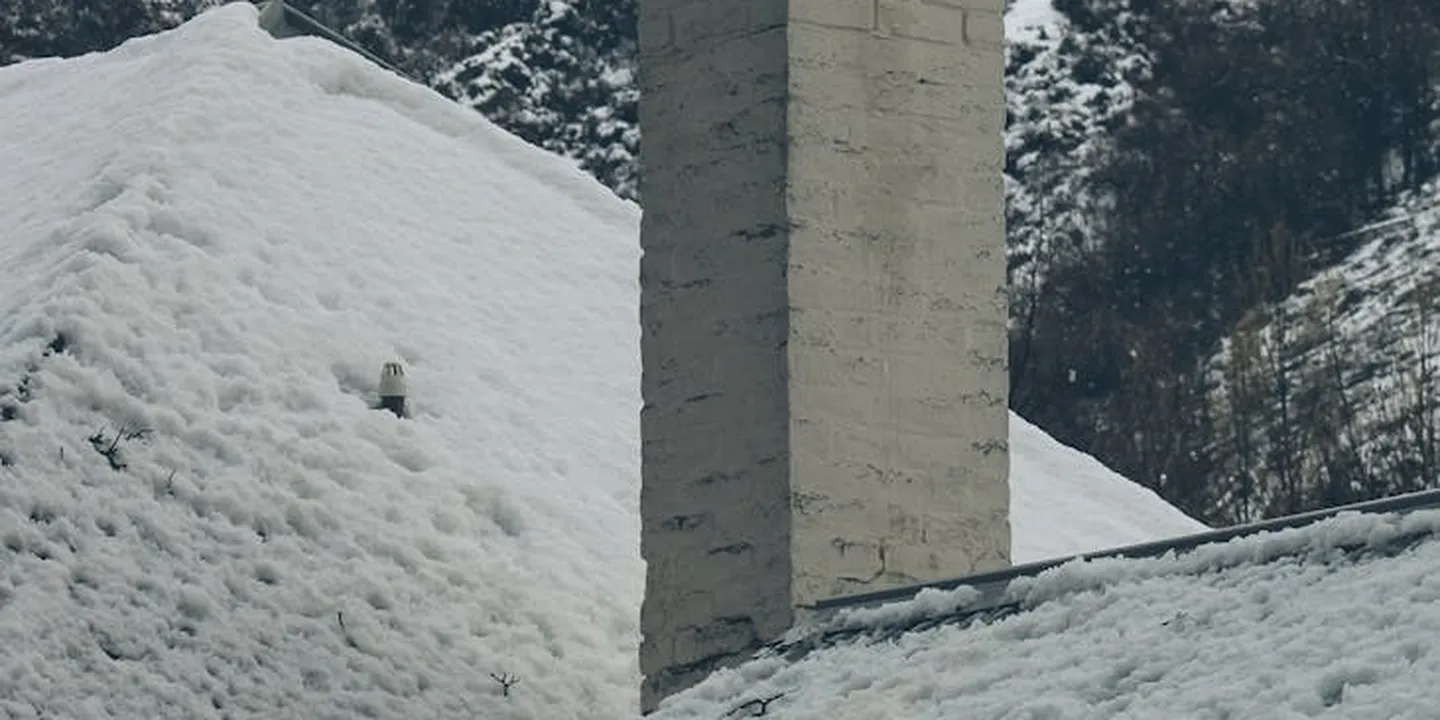
Think of your chimney top like a hat in a rainstorm. Without protection, water pours right in. Installing a proper cap and maintaining the crown is the most effective fix I’ve used on countless jobs to stop water at its source.
I always advise homeowners to invest in stainless steel or copper caps. They cost more but last for decades without rusting out. I’ve replaced too many galvanized caps that failed after just a few seasons.
Do Chimney Caps Keep Water Out? Choosing the Best Type
Yes, a quality chimney cap is your primary barrier against rain. It sits directly over the flue opening to deflect water. But a basic mesh cap won’t cut it in heavy weather; you need a design with a solid top.
Basic mesh caps keep animals and sparks out, but driving rain can still get through. Top-mounted models with a solid hood over the mesh are far superior for water prevention.
What type of chimney cap is best for preventing water entry? For most homes, I recommend a stainless steel cap with a solid top and fine mesh sides. The solid top stops rain, and the mesh allows proper draft. In wet or snowy climates, choose a taller design to prevent clogging and ice buildup. This is among the key requirements for any effective chimney cap.
Material is key. Copper develops a protective patina and lasts a lifetime. Stainless steel is durable and low-maintenance. Mesh size should be small enough to block debris but not so small it restricts flow.
A good cap does more than keep water out; it also stops birds, raccoons, and embers from entering your home.
How to Install a Chimney Cap: A Roofer’s Safe Method
How do you install a chimney cap? Start with safety. Never work on a roof without a harness, a ladder secured at the base, and in dry, calm conditions. I’ve seen too many close calls.
Here is my step-by-step method from years on the job:
- Measure the outside dimensions of your flue tile carefully. A snug fit is critical. Even a small gap lets water in.
- Gather tools: measuring tape, drill with masonry bit, stainless steel screws or high-temperature adhesive.
- If the chimney crown is cracked, repair that first. Capping over a damaged crown is a temporary fix at best.
- Place the cap over the flue. For screw-on types, pre-drill holes to avoid cracking the tile, then secure with screws. For adhesive, apply a continuous bead as directed.
- Test the installation. Give the cap a gentle pull to ensure it’s firmly attached and doesn’t move.
Measuring correctly is the difference between a permanent fix and a callback for leaks. I always double-check my numbers before drilling.
Repairing a Damaged Chimney Crown
How do you repair a chimney crown? First, know what it is. The crown is the concrete slab that acts as a lid on top of the chimney stack. It should slope away from the flue to shed water, just like those used in crown restorations.
Spot damage by looking for cracks, chips, or a flat surface. Water enters these cracks, freezes, and expands, causing more damage and leaks inside your home. In my experience, a damaged crown is a common source of mysterious interior moisture near the fireplace.
You have two options. For small cracks, use a flexible crown repair sealant. Clean the area, fill the crack, and smooth it over. For major damage or incorrect slope, a full replacement is better. This involves forming and pouring new concrete.
Whether patching or replacing, always recreate the slope. Aim for about a quarter-inch of drop per foot away from the flue. This ensures water runs off, not into, the chimney structure.
Sealing the Chimney Sides: Flashing and Waterproofing
After the top, the next vulnerable spot is where the chimney meets the roof. This junction handles a lot of water runoff, similar to a roof valley. It needs a perfect, flexible seal.
On inspections, after checking the cap, I immediately examine the flashing. It’s the second most common leak point I find.
What is Chimney Flashing and How Do You Maintain It?
What is chimney flashing and how is it maintained? Flashing is the metal strips, usually aluminum or steel, that create a watertight bridge between the chimney bricks and roof shingles.
Step flashing is layered under the shingles as they go up the chimney. Counterflashing is set into the mortar joints and bent down over the step flashing. This layered system sheds water away.
Maintenance is simple. During your annual roof check, look for rust, nails that have popped up, or cracked sealant along the metal edges. A quick visual inspection can catch small issues before they become big leaks.
If you see minor gaps, re-sealing with a high-quality roofing sealant is a common DIY fix. Clean the area well, apply the sealant, and smooth it. For extensive rust or bent metal, call a pro for replacement.
How to Waterproof a Chimney: The Final Seal
How do you waterproof a chimney? This is the final exterior defense. Waterproofing is a breathable coating applied to the brickwork. It repels liquid water but allows vapor from inside the masonry to escape. It is not paint; paint traps moisture and causes damage.
Think of it like a technical shell jacket for your chimney-it keeps rain out while letting the structure breathe.
Here are the basic steps:
- Clean the chimney thoroughly. Remove all dirt, moss, and loose mortar with a brush or low-pressure wash.
- Repair any cracks in the mortar joints with fresh mortar. Let it cure completely.
- Apply a waterproofing membrane or sealant made for masonry. Use a sprayer or brush for even coverage, following the product’s instructions.
What is the cost to waterproof a chimney? DIY materials typically cost between $100 and $300. Professional application can range from $500 to $1500, depending on the chimney’s size and height. This upfront cost prevents far more expensive repairs from water-damaged bricks and mortar down the road. A proper seal also helps prevent seal waterproof chimney roof leaks by keeping water out at the chimney joint. If leaks are suspected, sealing and flashing are common follow-up steps to consider.
Can a Chimney Liner Help Prevent Water Damage?
Can a chimney liner help prevent water damage? Its primary role is to ensure proper draft and contain heat for safety. But it’s connected to water issues, especially when it fails to prevent leaks.
A cracked clay tile liner can allow water to seep into the surrounding masonry. When I do a full chimney assessment, inspecting the liner is part of the process. A damaged liner won’t cause the initial leak, but it can let water spread inside the chimney structure.
A stainless steel liner, often installed during a relining project, can sometimes reduce minor moisture inside the flue because it’s non-porous. Still, it’s not a replacement for a good cap, solid crown, and proper flashing. Always address the exterior first.
The Homeowner’s Chimney Maintenance Routine
A chimney is built to last, but only with basic care. Think of it like changing the oil in your car. A little regular attention prevents a major breakdown. Make sure to inspect all chimney components during your routine maintenance.
The best way to avoid a shocking repair bill is to catch small issues before they become big ones. A simple, seasonal check from the ground can tell you most of what you need to know to keep your chimney dry for decades. I keep a log for my own home, and it takes just a few minutes each season.
- Spring: Look for winter damage. Check for cracked or missing mortar (the cement between bricks) and see if the chimney crown (the concrete top) has new cracks.
- Summer: Inspect the metal flashing where the chimney meets the roof. Ensure it’s tight and the sealant isn’t cracked or peeling.
- Fall: Before fireplace season, verify your chimney cap is secure and free of bird nests or debris that can trap water.
- Winter: After storms, do a visual scan for obvious new problems like displaced flashing or a missing cap.
How Often Should You Inspect Your Chimney for Water Damage?
Timing is everything. You don’t need to be on the roof every month, but you can’t ignore it for a decade either.
Start with your eyes. Make a visual check from the ground with binoculars each season, as outlined above. This is your first line of defense.
Every year or two, you or someone you trust should take a closer look. This means safely accessing the roof to inspect the cap, crown, and flashing up close. If you use your fireplace regularly, lean toward the yearly side.
Schedule a professional chimney sweep or mason for a detailed inspection every 3 to 5 years. Regular chimney cleaning helps identify issues early. They see things you might miss. If you live where winters are harsh with constant freeze-thaw cycles, or you get heavy, driving rain, lean toward the 3-year mark. That constant expansion and contraction from ice is a masonry killer.
What Are the Signs of Water Damage in a Chimney?
Water tells on itself. You just need to know what to look for, both outside and inside your house.
Exterior signs are your early warning system. Spot them early, and you save money.
- White Staining (Efflorescence): A chalky white powder on the bricks. This is mineral salt left behind as water evaporates. It means water is moving through the masonry.
- Spalling Bricks: The face of the brick is flaking or crumbling away. This happens when water gets inside, freezes, and expands.
- Cracked or Crumbling Crown: The concrete slab on top of the chimney is cracked, chipped, or sloping toward the flue instead of away from it.
- Missing Mortar Joints: Gaps or holes in the cement between the bricks. This is an open door for water.
Interior signs mean water has already found a way in and the problem is advancing.
- A persistent musty or damp odor coming from the fireplace, even when it’s dry.
- Visible dampness or water pooling on the hearth.
- Water stains or discoloration on the ceiling or walls near the chimney. In the attic, look for dark stains on the rafters or wet insulation around the chimney chase.
How Do You Check for Leaks Around a Chimney?
If you suspect a leak, you can often find it yourself with a simple test. The goal is to isolate each component-cap, crown, flashing-to see where the failure is.
Wait for a stretch of dry weather. Have a helper go inside near the fireplace and into the attic with a flashlight. You go on the roof with a garden hose.
- Start at the top. Run water slowly only over the chimney cap for a few minutes. Your helper watches for any drips inside the firebox.
- Move to the chimney crown. Pour water so it runs across the concrete top. Watch for leaks.
- Finally, focus on the flashing. Slowly run water along each side where the metal meets the bricks and the roof. This is the most common leak point, so take your time here.
While you’re in the attic, don’t just rely on the hose test. Shine your light on the wood framing and insulation surrounding the chimney box. Look for dark brown or black water stains, which are a sure sign of a past or active leak. If you find any, it’s best to take steps to diagnose and fix the issue.
Also, closely examine the flashing from inside the attic if you can. Look for any light coming through gaps or for old, brittle caulk that has pulled away from the metal. Deteriorated sealant at these joints is a frequent culprit.
Common Questions
How often should I get my chimney professionally inspected for water issues?
Do a visual check from the ground each season. Schedule a hands-on professional inspection every 3 to 5 years, or every 3 if you live in an area with harsh freeze-thaw cycles.
What’s the most common sign of chimney water damage I can spot from the ground?
Look for a white, chalky stain (efflorescence) on the bricks. This mineral deposit is a clear early warning that water is moving through the masonry.
What’s the best way to check if my chimney is already leaking?
Conduct a controlled hose test from the top down, focusing on the cap, crown, and flashing separately. Simultaneously, have a helper check the attic and fireplace interior for any new moisture or stains.
Your First Line of Defense Is a Dry Chimney
Focus your efforts on the top of the chimney where water enters, starting with a secure cap and a solid, sloped crown. A small investment in these two components prevents the vast majority of water problems that can lead to costly interior damage and masonry decay.
Treat your chimney as the critical roof component it is, scheduling a visual check with your annual roof inspection and addressing small cracks immediately. Staying informed about proper roof and masonry care is the best way to protect your home’s value and your family’s safety for the long term, especially from chimney problems that affect home safety.
Ray Huffington
Ray is an experienced roofer. He has worked as a general contractor in the roofing industry for over 15 years now. He has installed and repaired all kinds of roofs, from small houses to large mansion, and from basic shingles to cement and metal roofs and even solar roof panels. He has seen homeowners struggle with roofing questions and always has experience based proven advice to help those in need. If you need roof pros, Ray's your guide.