
How Do You Build and Install Roof Trusses Yourself for a House or Garage?
What if you could frame a roof yourself and save serious money on your project? I’ve built trusses on job sites for everything from garages to home additions. You likely have two big questions: is this safe for a DIYer, and do you have the skills? Let me give you the straight talk from my years in the field.
I’ll show you how to plan a simple, strong truss design for your specific building.
You’ll get my step-by-step method for cutting wood and assembling trusses correctly.
I’ll explain how my crew safely lifts and installs trusses to meet building code.
Before You Start: Is This a Job for a DIYer?
Let me give it to you straight. Building roof trusses is not a casual weekend project. This is heavy, precise work where a mistake can lead to a roof collapse or a serious fall. I’ve been on crews for twenty years, and I’ve seen what happens when structural work is rushed. That’s exactly why roof structure building framing best practices matter for every project. Safe, lasting roofs start with solid framing decisions.
Here is my firm advice. Leave house trusses to the professionals every single time. The loads are too complex, and the consequences of failure are too high. For a determined DIYer, a simple garage or shed truss might be possible. That’s your realistic limit.
You need to respect the dangers involved.
- Falls from a steep pitch. Even a low slope gets slippery with morning dew.
- Heavy lifting injuries. A bundle of 2x4s is awkward and can throw out your back.
- Truss collapse if built wrong. A single weak gusset plate can cause a domino effect.
- Working near power lines. Always treat them as live and keep all materials far away.
Never, ever skip the permits and engineered plans. These are your legal and safety blueprint, not suggestions. I watched a neighbor try to save money by winging it. The building inspector made him tear it all down. Start right, with paperwork in hand.
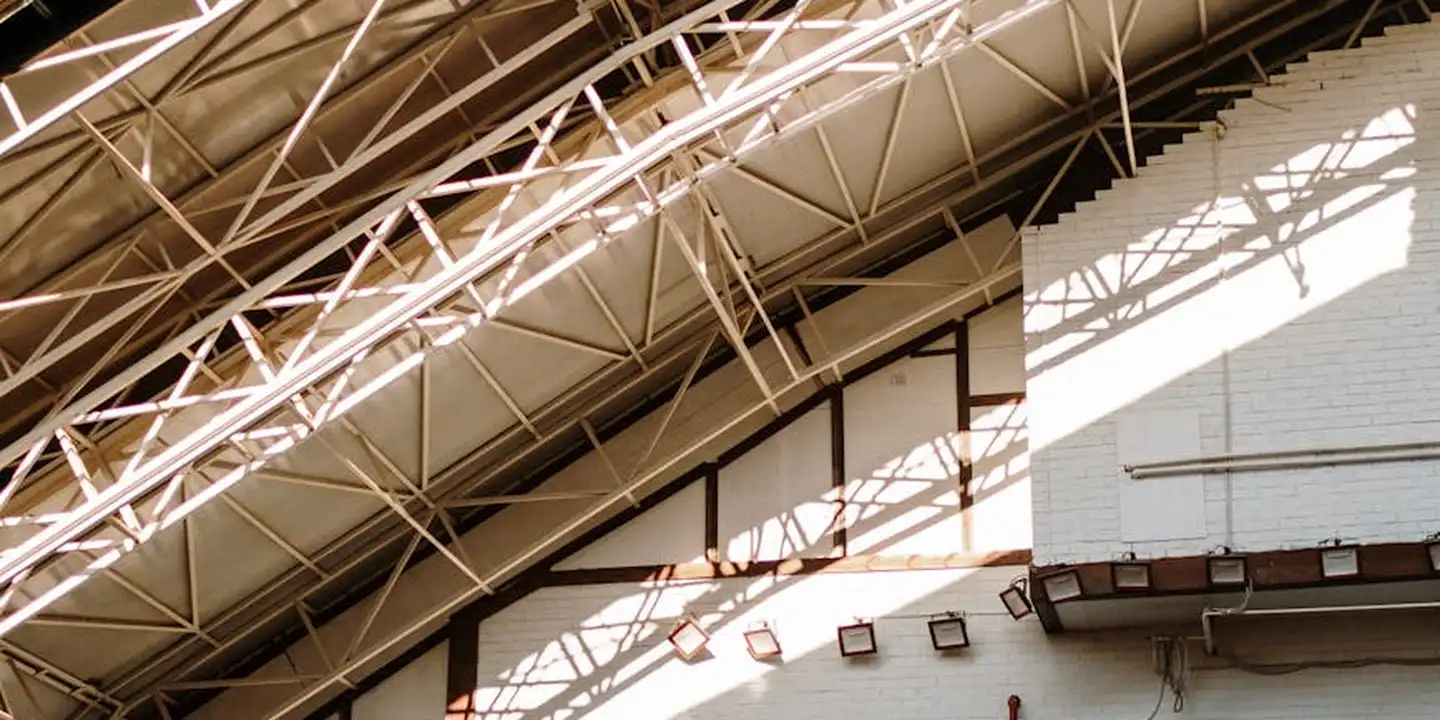
How a Roof Truss Actually Works (The Simple Version)
At its heart, a roof truss is a stable triangle. This shape spreads the weight of the roof, snow, and wind out to the walls of your building. It prevents the sagging you see in old barns. Think of it as a team sharing the load. Other roof parts, like overhangs and eaves, are also structural components that extend protection beyond the walls. Along with the trusses, they help shape the roof’s strength and reach.
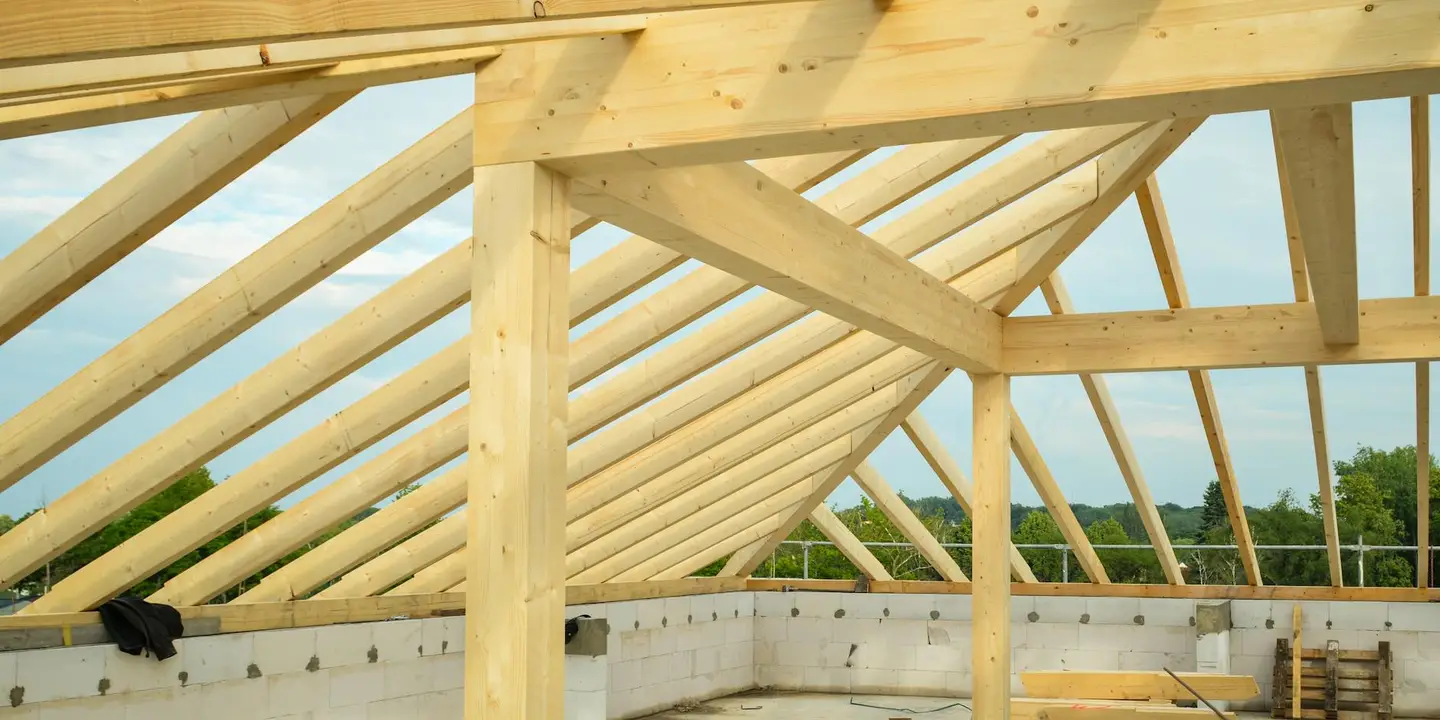
Let’s name the parts. It’s simpler than it sounds.
- Top Chords: These are the sloped boards that form the roof’s peak and eaves. They act like rafters.
- Bottom Chord: This is the horizontal board at the base. It works as a ceiling joist, holding the walls together.
- Internal Webs: These are the smaller boards inside the triangle. They connect the chords and direct forces where they need to go.
How does the force move? I use a bicycle frame as my go-to analogy. Just like the triangular frame of a bike stays rigid and transfers your pedaling force, the truss channels roof loads efficiently along its members. Push on one part, and the whole structure reacts.
Trusses are different from the old stick-framed rafters you might see in an attic. Trusses are engineered for strength and material efficiency, but they sacrifice attic space because of all the internal webs. Stick framing uses larger, spaced-out rafters and allows for open rooms upstairs. You trade flexibility for precision.
Gathering Your Gear: Tools and Materials You Can’t Skip
Before you touch a single board, you need the right equipment. I learned this the hard way on an early shed project when a dull blade made my cuts uneven. Having sharp, reliable tools is the difference between a truss that fits and one that causes headaches later. Start with these essentials.
- Circular saw for straight cuts.
- Speed square for marking angles.
- Framing square for checking layout.
- Hammer for adjusting plates.
- Pneumatic nailer for speed.
- Clamps to hold pieces steady.
- Ladders for access.
- A solid, flat work table.
Mandatory safety gear is not optional. I’ve seen too many close calls. You must use a full-body harness tied off properly when working at height. Set up roof jacks for a stable platform. Always wear safety glasses and gloves. Treating safety as an afterthought is how people get hurt.
Your materials matter just as much. For lumber, use SPF (Spruce-Pine-Fir) #2 grade or better. This wood has the strength you need. For connector plates, use brand-name products like Simpson Strong-Tie. They are engineered for this. Use the nails or screws specified on your truss plans. Do not substitute.
You must begin with pre-engineered, stamped drawings from a licensed engineer or a reputable building plan service. This is the only safe and legal starting point. I get my plans from online architectural libraries or local engineers. Never guess at the design.
How to Calculate Lumber and Connector Costs
Reading the truss plan is your first step to budgeting. The plan shows each piece, like the top chord and webs, with its length. Write down every piece you see on the plan to create your cut list. For a garage, you’ll have multiple identical trusses, so count how many of each piece you need total.
To estimate board feet, multiply the number of pieces by their length in feet. A 2×4 that’s 8 feet long is one board. Always add a waste factor of 10-15%. Wood has knots, and cuts can go wrong. This buffer saves a last-minute trip to the lumberyard.
Now, compare costs. Buying lumber and plates to build yourself might seem cheaper. But factor in your time, potential errors, and the cost of tools you might not own. Often, ordering pre-fabricated trusses from a local supplier, including delivery, is very competitive when you consider the guaranteed quality and speed. For my garage, buying them ready-made was worth it for the peace of mind.
Step-by-Step: How to Build Roof Trusses for a Garage
Building trusses yourself is a big job. This is the one scenario I tell skilled DIYers they might tackle, but only for a simple garage or shed. A house roof is too complex and risky. Success depends on two things. Use a perfectly flat, level surface like a concrete garage floor. And build every truss using an identical template or jig. Consistency keeps your roof line straight.
Step 1: Laying Out Your Truss Jig
Use your stamped plans to draw the outline of one truss directly onto your worktable. This drawn shape becomes your master pattern. Mark the exact location of each joint where the wood pieces meet. I use a framing square to ensure my lines are perfectly perpendicular.
Next, screw wooden blocks onto the table at these joint points. These blocks will hold your lumber in the exact right position during assembly. Take your time here. A jig that’s off by an eighth of an inch will multiply that error in every truss you build.
Step 2: Cutting All Your Pieces at Once
Do not cut pieces one truss at a time. Measure and cut all identical pieces in a single batch. Stack and cut all your top chords, then all your webs. This guarantees they are the same length and have matching angles. It’s faster and more accurate.
To mark angled cuts, hold your speed square firmly against the edge of the board. Line up the degree mark you need from your plans. Draw your line along the square’s edge. This method is simple and prevents guesswork. A clean, precise cut starts with a clear, precise mark.
Step 3: Assembly and Connector Plate Installation
Place your pre-cut lumber pieces into the jig, nestled against the blocks. They should fit together snugly. If they don’t, re-check your cuts. Now, position your metal connector plates over each joint. The plate must cover both pieces of wood completely.
Use a hammer to tap the plate down so all its teeth grip the wood. Then, use a pneumatic nailer or a heavy hammer to drive every tooth flush. Every single tooth on that plate must be embedded; skipping any compromises the joint’s strength. I’ve had to repair trusses where plates were only partially nailed.
Before you even think about lifting the truss from the jig, check it. Use your square on the corners. Measure the diagonals from opposite corners. They should be equal. If the diagonals match, your truss is square and ready. Only then can you carefully remove it and start on the next one.
How Are Roof Trusses Installed and Anchored?
The core question is how roof trusses attach to walls safely and to code. It is not just about nails. It is about creating a connection that resists gravity, wind, and time.
Prepping the Walls and Setting the First Truss
Everything starts with a solid foundation, and for trusses, that is your wall’s top plate. If it is not level and square, every truss will sit wrong.
Use a long, reliable level and a measuring tape across diagonals to check for square. I spend more time here than anywhere else. A crew I worked with once had to sister new lumber to an entire wall plate because we skipped this step. It cost us a day.
Set the two end trusses first and brace them plumb before you even think about the others. Nail temporary 2×4 braces to the truss and stake them into the ground. This keeps them from falling over like a sail in the wind. They become your guideposts for the entire roof and are crucial when using any roof construction methods.
Lifting, Setting, and Bracing the Run
Lifting trusses is a crew job. Do not try it alone. I have seen too many close calls. Use proper lifting technique with your legs, and have spotters guide each truss into position.
Slide each truss into place between your braced ends. Toe-nail it to the top plate with two nails on each side to hold it. But that is just for temporary positioning.
The real anchoring happens with metal connectors, like hurricane ties or clips, nailed according to the manufacturer’s spec. This is what code requires for uplift resistance. Toenails alone can pull out in a storm. I think of toenails as fingers holding the truss, and the metal tie as a steel handshake.
As you set each truss, immediately install permanent lateral bracing. This is a long board running horizontally along the bottom chords, nailed to each truss. It keeps them all in a straight line and prevents them from buckling sideways.
Final Permanent Bracing
Lateral bracing is not enough. You need diagonal bracing in the plane of the roof and permanent cross bracing between the truss webs. This also ties into roof crossbars studs trusses spacing. When those spacings are correct, diagonal and cross bracing work more effectively.
Diagonal bracing, often made from 1x4s, runs from one end of the roof to the other in an X-pattern across the trusses. Cross bracing connects the vertical and angled web members inside the trusses.
This network of bracing ties all the individual trusses into one rigid, solid unit. For a gable roof, the way those trusses connect at the ridge and walls matters as much as the bracing itself. Without it, your roof is just a row of dominoes waiting to tip over. On a shed project, I skipped the diagonal braces to save time. A year later, the whole roof frame had a noticeable sway. I had to retrofit the bracing, which was ten times harder. In the next steps, we’ll cover gable roof connection methods.
Common Mistakes and How to Spot Them Early

Most truss problems stem from a few common errors. Catching them early saves your roof and your wallet.
Here is what I look for, based on callbacks I have done over the years:
- Uneven Spans or Poor Plate Seating: If a truss does not sit flat on the wall plate, it creates a pivot point. This leads to sagging. Run your hand under the bottom chord where it meets the wall. You should not feel a gap.
- Wrong or Poorly Seated Connector Plates: On pre-built trusses, the metal plates that join the wood must be fully embedded with no gaps. A gap means the teeth are not gripping the wood properly. Tap them with a hammer; they should not move or sound hollow.
- Inadequate Bracing: Before sheathing goes on, the truss system should feel solid. Push on the end of a truss. If the whole row wobbles easily, the permanent bracing is missing or poorly installed.
- Reliance on Toenails Only: Look at the connection where the truss meets the wall. If you only see angled nails and no metal hurricane tie or clip, it is not anchored for uplift. This is a major code issue in most areas.
A simple homeowner check is to go in the attic and look for wobbly trusses or visible gaps where wood meets wood or metal. Use a flashlight. If something looks off, it probably is. Trust that instinct. I have been hired to fix jobs where the homeowner saw a gap but were told it was “normal.” It was not. It was a failure waiting to happen.
Long-Term Care for Your Roof Truss System
Your work isn’t done once the trusses are installed. Think of them like the bones of your roof. They need regular checkups to stay strong, especially before any signs of damage appear.
I learned this lesson early. A homeowner asked me to look at a sagging garage ceiling. Someone had cut a truss chord to make room for a storage shelf. Never cut, drill, or notch a roof truss for any reason. It destroys the engineering that holds your roof up.
How to Inspect Your Attic for Trouble
Make this a yearly habit, like checking your smoke alarms. Go into your attic with a bright light. Look for these three signs of stress.
- Cracked or split wood on the chords is a major red flag. The long top and bottom pieces should be solid. A crack is a stress fracture.
- Check the metal connector plates. They should sit flat and feel rock-solid. If you see rust or they move when you touch them, the connection is failing.
- Look for excessive sagging, or deflection. Lay a long, straight board along the bottom chord. If you see a gap or a dip, the truss is bending under weight it wasn’t designed for.
Catching these issues early is the difference between a simple repair and a full roof frame replacement. I’ve fixed loose plates for clients who spotted them in time. It saved their roof—more on common misconceptions in roof repairs.
Protect the Wood from the Top Down
Your shingles and underlayment are the truss’s umbrella. Keeping your roof covering in good shape is the best long-term care for your trusses. A small, unnoticed leak can rot the wood chords and rust the metal plates from the inside. On my crew, we always said a tight roof skin keeps the skeleton dry.
Common Questions
How long should a properly built roof truss system last?
A well-built and maintained truss system should last the lifetime of the structure-often 50+ years. Its longevity depends entirely on keeping the wood dry and the connections secure through proper attic ventilation and roof covering maintenance. Beyond these basics, residential roof life expectancy factors—climate, moisture control, ventilation, and material quality—shape how long the roof lasts. Understanding these factors helps guide maintenance decisions and upgrades.
Can I modify or cut a truss to make room for an attic storage area?
Absolutely not. Cutting any part of a truss-chord or web-compromises its engineered integrity and is a leading cause of roof sag or collapse. If you need attic space, consult a structural engineer about alternative solutions before you touch a saw.
What’s the most obvious warning sign of truss failure I can spot from the ground?
Look for a sagging or uneven roof ridge line. This visible dip often indicates a failing truss or insufficient bracing and requires an immediate professional inspection. Don’t wait for a leak; structural movement is a serious red flag.
Your Trusses: Built to Last
The best roof begins with a plan you trust and a design you can build with confidence. Double-check your measurements, follow the spec sheet exactly, and never hesitate to get a second pair of experienced eyes on your work before you lift anything into place.
Building your own trusses is a serious commitment to your property’s long-term safety. Treat that responsibility by making regular roof inspections a habit and using resources like our All Types of Roof Guide to stay informed on care and maintenance.
Ray Huffington
Ray is an experienced roofer. He has worked as a general contractor in the roofing industry for over 15 years now. He has installed and repaired all kinds of roofs, from small houses to large mansion, and from basic shingles to cement and metal roofs and even solar roof panels. He has seen homeowners struggle with roofing questions and always has experience based proven advice to help those in need. If you need roof pros, Ray's your guide.