
Emergency Roof Repair: Your First Response to Storm Damage or a Leak
Hear that ominous drip or see missing shingles after a windstorm? As a roofer with 20 years under my belt, I’ve seen the panic firsthand. Your immediate goal is to stop further damage safely.
Here’s exactly what I’ll walk you through: how to check for damage without getting hurt, quick fixes to contain leaks now, and when to make the call for pro help.
Key Takeaways: Your 5-Minute Action Plan
When water starts dripping or a storm has passed, your mind races. I know the feeling. Here is the order of operations I’ve drilled into my crew for twenty years.
- Do not climb onto a wet or steep roof. A slippery surface is the fastest way to a hospital visit.
- Your first job is to catch water, not find the leak. Grab buckets and tarps before you do anything else.
- Move furniture and rugs away from the drip line immediately. Water damage happens fast.
- If water is near lights or outlets, shut off the electricity to that area at your breaker box.
- Take clear photos of the interior water damage and any visible exterior damage from the ground. Date-stamp them if you can.
Step 1: Stay Safe and Assess the Indoor Damage
Your attic is ground zero. I’ve been in hundreds after storms, and the first look tells you a lot.
Grab a good flashlight. Do not rely on a pull cord light if there’s any chance of wiring issues. Shine the beam slowly across the underside of the roof deck. You’re looking for two big things: dark wet spots and any sagging between the rafters. Wet insulation acts like a heavy sponge and can pull down damaged wood.
If the decking sags or you see daylight through a hole, get out and call a pro right away. That’s a structural red flag.
Now, stop the indoor flood. This is hands-on work.
- Place buckets directly under active drips. A trick I use is to tape a string to the ceiling; the water will run down it right into the pail.
- Move all furniture, electronics, and valuables out of the area. Even a small leak can ruin a sofa given time.
- For a wider spread drip, use plastic tarps or even a cut-open garbage bag. Drape it over furniture you can’t move and slope it toward a bucket.
Electricity and water are a deadly mix. If water is running down a wall with an outlet, or pooling near a light fixture, go to your electrical panel and turn off the breaker for that room. Do not touch wet cords or fixtures. It’s better to lose power for a bit than risk a shock.
Step 2: Find the Source (Without Climbing on the Roof)

Water loves to travel. The spot where it drips inside your house is rarely right under the hole in the roof. Finding the source is like detective work. You start inside and work your way out.
First, go into your attic with a bright flashlight. Look for the highest point of the water stain on the wood or insulation. That’s your trailhead. Now, picture a straight line up from that point to your roof.
Your goal is to look at the roof area directly above that interior stain, but from the safety of the ground or a properly placed ladder.
Common Leak Points and What They Mean
Over decades, I have found that almost all leaks happen in the same handful of spots. I call them the Critical Junctions. These are where different roof planes meet or where something sticks through the roof.
- Roof Valleys: Think of a roof valley like a riverbed during a storm. It channels a huge volume of water down its length. If a shingle is missing or the metal lining is cracked there, water will flood directly into your attic.
- Chimneys and Skylights: The flashing around these is like a perfectly tailored shirt cuff. It’s custom-fitted to seal the gap between the roof and the structure. If that seal breaks from age, weather, or poor installation, water has a direct highway inside.
- Vent Pipes: The rubber boot (called a pipe boot) that seals around plumbing vents gets brittle and cracks over time. A small split here lets in a surprising amount of water.
- Fascia and Drip Edge: Wind can lift shingles at the roof’s edge. If the protective metal drip edge is damaged or missing, wind-driven rain can get underneath everything.
From your ladder, use binoculars to scan these specific areas on your roof. You are looking for obvious problems.
- Missing, curled, or cracked shingles.
- Bent, rusted, or lifted pieces of metal flashing.
- A pile of leaves or a broken branch lodged in a valley.
- Dark, worn patches or cracks in rubber pipe boots.
Remember that layer called ice and water shield I mentioned earlier. In valleys and around chimneys, this sticky underlayment is the last line of defense. If you have a leak in a critical junction, it often means both the primary roofing material and this backup shield have failed.
Step 3: Apply a Temporary Patch (If It’s Safe)
A temporary patch can buy you days or weeks until a pro arrives. But your safety is not temporary. Only consider this if all the following are true.
Your roof is “safe” for a temporary fix if it has a low slope, the surface is completely dry, you can reach the damage from a ladder leaned at the correct angle, and you have another person spotting you from the ground. Still, you should never compromise roof repair safety practices for convenience.
If your roof is steep, wet, or slippery, or if the damage is far from the edge, do not go up. Call a professional. It is not worth the risk.
Essential Safety Gear
If you determine it is safe to proceed, you need the right gear. This isn’t optional.
- Sturdy shoes with solid rubber soles (like work boots). Never wear sneakers.
- A person on the ground to hold the ladder and watch you.
- For any work more than a few feet from the ladder, a proper fall arrest harness anchored securely is the only safe way.
Material-Specific Temporary Fixes
Once you are safely in position, use the right fix for your roof type. These are bandaids, not cures, but good ones can hold for a while.
For Asphalt Shingle Roofs
For a missing shingle or a small puncture, you need roofing cement (a thick, black adhesive) and a piece of roof fabric or even a scrap of shingle. If you’re dealing with a larger area, make sure you have enough shingles to cover the roof.
- Clean any loose debris from the hole or gap.
- Spread a thick layer of roofing cement over the damaged area.
- Press your fabric or shingle scrap firmly into the cement.
- Cover the patch with another thick layer of cement, sealing all the edges.
For Metal Roofs
The goal is to seal the seam or hole. Butyl tape is excellent for this.
- Clean and dry the area around the leak.
- For a seam, press a strip of butyl tape firmly along its entire length.
- For a small hole, you can use a peel-and-stick metal roof patch. Cut it to size, peel the backing, and press it down hard, working from the center out to avoid bubbles.
For Clay or Concrete Tile Roofs
You usually cannot safely replace a tile temporarily. Instead, you deflect water.
- Carefully lift the broken tile. Tiles are brittle, so go slow.
- Slide a piece of sheet metal or even a flat piece of plastic under the tile above the broken one.
- Angle it so it directs water over the gap and onto the tile below.
- Gently lower the broken tile back into place.
For Flat (EPDM or TPO) Roofs
You are creating a sealed, watertight patch.
- Cut a patch of matching material (EPDM rubber or TPO plastic) at least 4 inches larger than the damaged spot on all sides.
- Apply a generous coat of the correct roof adhesive to both the patch and the roof area.
- Let the adhesive get tacky, then press the patch down firmly. Roll it with a roller or a can of paint to remove air bubbles and ensure a tight seal.
Step 4: When is This a Pro-Only Job? The Hazard Assessment
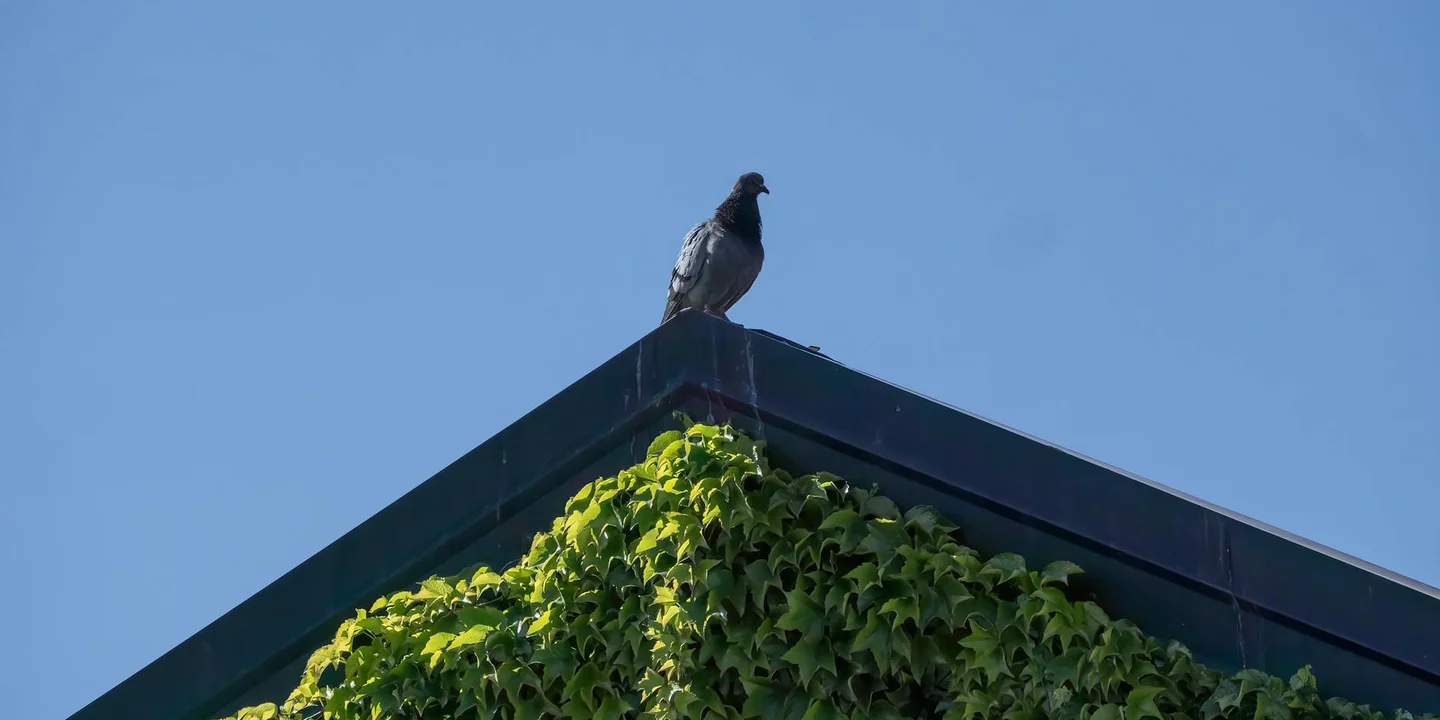
You need to know when to stop. On a steep roof or with major damage, your safety is the first priority. I tell homeowners to look for these four stop signs. If you see one, step back and call a professional roofer immediately.
- Steep Pitch: If your roof looks more like a wall than a gentle slope, it’s a fall hazard. I won’t walk on a roof steeper than a 6-in-12 pitch without proper safety gear.
- Extensive Damage: More than a few missing shingles or a single small hole is a big job. If an area larger than your dining room table is damaged, it’s time for a pro.
- Active Sagging: A dip or bow in your roofline means the structure underneath is compromised. This is a critical failure that needs expert attention right away.
- Electrical Concerns: If broken tree limbs are touching power lines near your roof, or if you see damaged wiring from a vent fan, do not go near it. Call the utility company and a roofer.
Fixing a roof yourself seems like it could save money. The risks are very real. Falls from heights are the most obvious danger, but ladder accidents are just as common. I’ve helped homeowners who slipped because their ladder wasn’t secured. Using the wrong tool, like a hammer instead of a roofing nailer, can crack good shingles and void warranties. An amateur repair can often make the leak worse, leading to hidden water damage that costs thousands more to fix later.
When you search for “emergency roof repair near me,” you need to filter the results. A good 24/7 roofer will be licensed, insured, and able to give you local references from past storm jobs. They carry tarps and materials for temporary patches that hold until a permanent fix. A random handyman might be cheaper, but they rarely carry the right insurance for roof work. For anything structural, you need a specialist who understands building code and how to tie a repair into the existing system properly. I’ve been called to fix too many handyman patches that failed in the next rain. Additionally, a hurricane-specific roof repair guide can walk you through safe, temporary fixes and tarp placement for storm conditions. It helps you know when to bring in a licensed pro for a permanent solution.
Step 5: Navigating Insurance and Cost Expectations
Your insurance claim lives or dies by your documentation. Act like a pro from the moment the storm ends. Grab your phone and take clear photos of everything. Get wide shots of the damage on the roof, then close-ups of specific problems like torn shingles or a dented vent. Take pictures from the ground and, if safe, from inside your attic showing water stains. Write notes with the date and time of the storm and when you first noticed the leak. This photo log creates a timeline that supports your claim and prevents disputes, especially when used in roof leak insurance claims.
Everyone wants to know emergency roof repair cost. For a professional temporary tarping to stop a leak, expect to pay between $300 and $800, depending on the roof size and difficulty. A permanent repair for storm damage, like replacing a section of shingles and underlayment, typically starts around $1,000 and can go much higher for large areas. Paying a pro’s $150 to $300 diagnostic fee is a smart investment. They can spot hidden damage and write a report your insurance adjuster will trust. This can be the difference between a fully covered repair and a denied claim.
Understand your role versus the insurance company’s role. Your job is to prevent further damage and document the loss. Their job is to restore your home to its pre-loss condition. This “pre-loss condition” principle is key. If your 10-year-old roof had a sudden, accidental hole from a tree limb, they owe you for a repair that matches the rest of your roof. They don’t owe you a brand-new roof unless the damage is widespread. A good roofer will help you navigate this conversation with the adjuster to ensure a fair outcome, especially when dealing with insurance coverage for roof replacement.
Step 6: Preventing the Next Emergency

Once the immediate threat is contained, your thinking needs to change. I tell my clients to shift from a crisis mindset to a care mindset. The goal is to stop the next leak before it starts. A little regular attention is far cheaper and less stressful than another midnight bucket brigade.
Your Biannual Ground-Level Checkup
You don’t need to climb on your roof to spot most developing problems. Do this simple walk-around in the spring and fall. Grab a pair of binoculars for a closer look.
- Scan the roof surface for missing, cracked, or curling shingles. Look for any shingles that look different from their neighbors.
- Check all roof valleys (the V-shaped channels where two roof slopes meet). They should be clear of leaves and pine needles. Debris here forces water under the shingles.
- Inspect the gutters and downspouts. Are they sagging, pulling away, or full of debris? Water overflowing from a clogged gutter can rot your fascia and roof deck.
- Look at the chimney, vents, and skylights. Do you see cracked, brittle, or missing caulk or flashing? These are the most common leak sources I find on old roofs.
- Examine the soffit and fascia boards under the roof edge. Peeling paint, soft wood, or stains can signal trapped moisture from poor attic ventilation.
This twenty-minute inspection twice a year will reveal ninety percent of the issues that lead to major leaks. It turns you from a reactive homeowner into an informed one.
Guard Your Roof’s Drainage System
Your roof is designed to shed water. Valleys, gutters, and drains are its plumbing. Keep them clear.
Think of your roof valley like a fast-moving stream. If you dam a stream with logs and leaves, the water will find a new path, often through your living room. That’s exactly what happens when valleys are blocked.
Clean gutters are not just about avoiding a mess on the ground; they protect your entire roof edge system from water damage. I’ve seen rotten roof decks start with a single clogged downspout that let water pool and soak backwards under the shingles for months. That’s why regular maintenance and using gutter guards can be crucial.
The Ultimate Pre-Storm Strategy: A Pro Inspection
Your eyes from the ground are good, but a trained eye from on the roof is better. If your roof is over a decade old, schedule a professional inspection in the late spring, before your area’s typical storm season.
A good roofer will check the things you can’t see: the tightness of fasteners, the integrity of underlayment in key areas, and the condition of sealants. They can spot a worn-out rubber boot on a vent pipe or a tiny puncture in the flashing-small fixes that prevent huge problems.
On past jobs, the most common thing I told homeowners was, “You caught this just in time.” A small repair scheduled on a sunny day costs a fraction of an emergency fix in a downpour. Scheduling a professional inspection is the single best “emergency repair” you can buy, because it happens before the emergency exists.
Common Questions
1. How do I find a trustworthy contractor for emergency roof repair?
Look for a local, licensed, and insured roofer with specific storm damage experience. Avoid general handymen; a true specialist will provide a proper assessment and use code-compliant methods for lasting repairs, unlike DIY attempts that often overlook crucial details.
2. What should I expect the emergency roof repair cost to be?
For a professional emergency tarping to stop a leak, expect $300 to $800. A permanent repair starts around $1,000 and increases with damage severity. Paying for a professional inspection report ($150-$300) is often crucial for insurance purposes, especially when dealing with leaky roof repairs.
3. What’s the single best thing I can do to prevent needing emergency repairs?
Schedule a professional inspection in late spring, before your typical storm season. A trained roofer can spot and fix minor wear-like cracked flashing or worn pipe boots-that you can’t see from the ground, preventing a major leak.
Your Roof’s Resilience Starts With You
When water starts coming in, the most powerful tool you have is a clear plan focused on safety and containment. Act quickly to protect your home’s interior, then make that temporary fix to give yourself time for a proper, permanent repair.
Owning a roof is an ongoing commitment to inspection and learning. I encourage every homeowner to build their knowledge on roof care, maintenance, and the specific guide for their roof type-it’s the best way to ensure durability and safety for years to come. Debunking common roof care myths can also be helpful.
Citations and Authoritative Sources
- Emergency Roof Repairs – A Homeowner’s Guide – IKO
- Emergency Roof Repair: Everything You Need to Know | Angi
- Emergency Roof Repair | 24/7 Fast & Reliable Fixes
- 24/7 Emergency Roof Repair Surfside Beach SC | Weather Shield
- Emergency Roof Repair Services in Sarasota, FL | RNW Contractors
- Emergency Roof Repair Foley, Al Near Me | 24/7 Service Available
- Emergency Roof Repair Services in New Orleans | Priority Roofing
- Emergency Roof Repair for Newport News | (757) 540-6600 Call Us
- Storm Damage Emergency Roof Repair in New Orleans & Jefferson Parish, LA | 24/7 Response
Ray Huffington
Ray is an experienced roofer. He has worked as a general contractor in the roofing industry for over 15 years now. He has installed and repaired all kinds of roofs, from small houses to large mansion, and from basic shingles to cement and metal roofs and even solar roof panels. He has seen homeowners struggle with roofing questions and always has experience based proven advice to help those in need. If you need roof pros, Ray's your guide.