
How Do You Pick the Right Mortar for Chimney Repair? Type N, Type S, or Refractory Mix
Seeing cracks in your chimney mortar and feeling overwhelmed by the bags of Type N, Type S, and refractory mix at the hardware store? Grabbing the wrong one can mean your repair crumbles in a year or worse, damages the brickwork. I’ve fixed dozens of chimneys where the previous mortar failed because someone used a standard mix when they needed a specialty one.
I’ll explain the real-world differences between Type N, Type S, and heat-resistant refractory mixes.
You’ll get a clear guide on which mortar to use for your chimney’s location and job.
I’ll give you my crew’s advice for a lasting repair, from mixing to tooling the joint.
Key Takeaways: Your Quick Decision Guide
From my years on the job, here’s the quick guide I wish every homeowner had before touching their chimney.
- Type S mortar is your best all-around bet for most brick chimney repointing jobs. It offers the perfect blend of strength and flexibility for the weather up there.
- Refractory mix is non-negotiable for the firebox or flue tile repairs. Using anything else near direct flame is asking for cracks and a safety hazard.
- If your mortar is crumbling every few years, you’re likely using the wrong type. I’ve seen too many quick fixes with Type N in high-stress spots that turned into repeat calls.
- Choosing the right mix is only half the battle safety and proper prep are just as important. The best mortar in the world won’t bond to a dirty or unstable surface.
Why Chimney Mortar is Your Roof’s #1 Leak Point
Your chimney takes more abuse than any other part of your roof. It’s a tall masonry tower stuck right in the path of sun, rain, wind, and snow. Three forces work together to break down the mortar first, especially between the different types of bricks used in residential roofs.
Thermal expansion is the big one. The bricks and mortar heat up fast when you use the fireplace. Then they cool down just as fast. They expand and contract at different rates. This constant movement stresses the mortar joints.
Add in decades of weather exposure and the natural settling of your house. The chimney moves slightly. The mortar can’t keep up. It becomes brittle. Even with the best care, some components of a chimney have a limited lifespan.
Think of aged mortar like the cracked, brittle caulk around an old window. It lost its flexibility. It can’t seal the gap anymore. On your chimney, those cracks are an open door for water.
This leak doesn’t just make your fireplace damp. Water seeps behind the bricks. It runs down the inside of your chimney structure and into the house walls. I’ve opened up ceilings to find major rot that started from a single cracked mortar joint at the roofline. It’s crucial to address such issues by chimney leak repair and waterproofing.
How long should chimney mortar last? With a quality installation, 25 to 50 years is common. But several things shorten that life. Harsh winters with constant freezing and thawing are brutal. Salt air near the coast attacks it. Poor original workmanship or the wrong mortar mix can cause failure in just a few years, especially when not properly addressed in chimney maintenance.
Mortar 101: Breaking Down Type N, Type S, and Refractory Mix
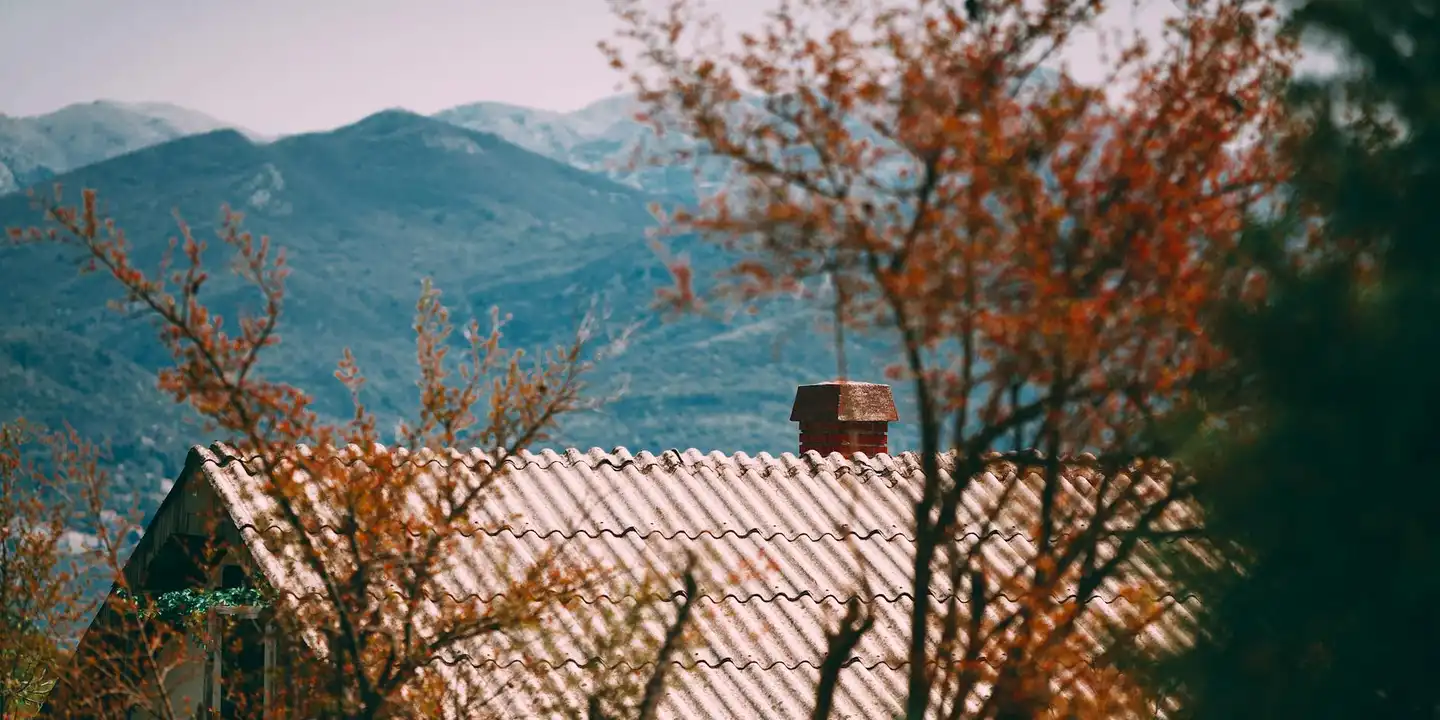
Think of chimney mortar as the specialized glue that holds your bricks together. It’s not the same as the mortar used for a garden wall. This glue has to withstand a brutal one-two punch: intense heat from inside and decades of rain, ice, and sun from the outside. Using the wrong type is like wearing a summer jacket in a snowstorm. When it comes to chimney systems, every component has to do its job perfectly.
A common question I get is whether you can just use regular mortar from the hardware store. The short answer is no. General masonry mortar isn’t formulated for the thermal cycling and weather exposure a chimney faces. Using it is a shortcut that leads to cracks, leaks, and bigger repairs down the line.
Type N Mortar: The General-Purpose Player
Type N mortar is a medium-strength mix. Its main advantage is flexibility. It can give a little as a structure settles or expands, which helps prevent it from cracking the bricks themselves. This made it very common in older construction with softer, more porous bricks.
Type N works best for cosmetic repointing on historic or older chimneys in regions with mild winters, where matching the original mortar’s softness is more important than ultimate strength.
The weakness is clear. It lacks the compressive strength for modern, harder bricks or for any part of the chimney bearing significant load. In areas with harsh freeze-thaw cycles, Type N can crumble faster than stronger mixes.
Type S Mortar: The Chimney Workhorse
If Type N is a reliable sedan, Type S is a heavy-duty truck. It has a much higher compressive strength and creates an excellent bond with the brick. On most chimney repair jobs I’ve run, Type S is the bag we reach for.
Its high strength is what makes it the default choice for chimney repointing, as it stands up to freeze-thaw cycles and minor structural movement far better than Type N.
The trade-off for that strength is less flexibility. It’s designed for use with harder, modern brick. If you use a very hard mortar like Type S on very soft, historic brick, the mortar won’t give, and the brick itself can spall and crack instead.
Special Refractory Mix: The Firebox Specialist
This is a completely different product. Refractory mixes are made with special heat-resistant ingredients like fire clay. Their job isn’t just to bond; it’s to insulate and survive direct, prolonged flame contact without breaking down.
Using a standard Type N or S mortar inside the firebox or for flue tile repairs is a direct fire hazard and a guaranteed failure.
This mix is non-negotiable for the firebox interior, the joints between flue tiles, and often for the chimney crown. These areas see temperatures that will make ordinary mortar powder and fall out in just a season or two.
The Mortar Match-Up: Choosing Based on Your Chimney’s Job
Here’s a quick side-by-side look to help you choose.
For Repointing Brick Joints (The Most Common Repair)
Repointing means scraping out the old, failed mortar and filling the joints with new. For this job, Type S mortar is my strong recommendation for most homes. Its durability against weather is what you need for a long-lasting repair.
The best mortar for a chimney repointing job is usually Type S, because its strength provides the weatherproof seal your chimney needs.
I only advise Type N if you are working on a historic property with very soft, old brick and the goal is a perfect visual and physical match to the original, softer mortar. Even then, in a cold climate, you’re trading authenticity for a potentially shorter repair life.
For the Chimney Crown or Flue
The crown is the concrete slab on top of the chimney, and the flue is the clay tile liner inside. These are high-stress zones. The crown catches all the rain and snow, and the flue directs super-hot gases. That’s why chimney rebuilding and crown restoration often involve repair masonry to restore strength. A careful check of the flue liner is also key to long-term safety.
For the crown or flue tile joints, only use a mix specifically labeled for those purposes, like a chimney crown repair sealant or a refractory flue mortar.
Using standard mortar here is one of the most common mistakes I see. It will crack from the heat and thermal shock, letting water pour into the chimney structure. This always leads to costly internal damage.
A Quick Note for Canadian Readers
Searching for the right chimney mortar type in Canada follows the same rules. Your climate actually makes the choice simpler. Given the severe freeze-thaw cycles across much of the country, Type S mortar is almost always the correct choice for brickwork repointing due to its superior strength and weather resistance.
Mortar types (N, S, etc.) are standardized across North America, so your local building supply or masonry shop will have the same Type S products we use here in the States. Just tell them you need mortar for a chimney repair in a cold climate, and they’ll point you to the right high-strength mix.
How to Repair Chimney Mortar: A Roofer’s Safe Method
Repointing a chimney is a solid DIY project if your chimney has just a few weathered joints. Think of it like filling a crack in your driveway. The goal is to remove the bad mortar and pack in new material to seal out water. Doing it right protects the brick and saves you a big repair bill later. Pair your repointing with a quick chimney inspection to spot red flags like cracked bricks, loose mortar, or creosote buildup that help set repair priorities. If issues arise, compare quotes and negotiate to handle the most critical fixes first.
Your first job is always safety, because a roof is not a forgiving place to make a mistake. Always have a spotter for your ladder. Tie it off at the top. Wear shoes with solid grip. If your roof pitch is steep or the chimney is high, this is not a DIY job. When you’re grinding out old mortar, you must wear a tight-fitting respirator mask (not a dust cloth) and safety glasses. That mortar dust is terrible for your lungs.
Tools You’ll Need (No Fancy Gear)
You don’t need a mason’s full kit. A trip to the hardware store will get you set. Here’s what I keep in my bucket for small repointing jobs:
- Mortar Hawk (a small square platform with a handle). This holds your mud right where you’re working.
- Tuckpointing Trowels (a narrow brick trowel and a pointing trowel). The narrow one packs mortar in, the pointing tool shapes it.
- Joint Raker or Cold Chisel and Hammer. To scrape out the old, crumbly mortar.
- A stiff wire brush and a shop broom.
- A small bucket for mixing and plenty of clean water.
- Safety glasses and heavy-duty gloves.
For beginners, I recommend a mortar bag, which works like a pastry bag for icing. You load it with your mixed mortar, snip the tip, and squeeze it into the clean joint. It’s much cleaner than using a trowel at first and helps you avoid messy smears on your brick face.
The Step-by-Step: From Old Crud to New Seal
Take your time with each step. Rushing leads to a patch that fails in a year or two.
Step 1: Remove Old Mortar. Use your joint raker or chisel to carefully scrape out the damaged mortar. You need to go deep, about an inch back. This gives the new mortar something substantial to bond to. Brush out all the dust and debris with your wire brush and broom. The joint must be clean and dry.
Step 2: Mix Your Mortar. Follow the mix instructions on the bag for Type S mortar, which we chose earlier. Use clean water. The consistency you want is like thick, chunky peanut butter. It should hold its shape on your trowel, not run off. Mix only what you can use in about 90 minutes.
Step 3: Pack the Joints. Load your mortar bag or onto your hawk. Force the mortar deep into the joint with your narrow tuckpointing trowel. Press it in firmly to eliminate any air pockets, which are weak spots. Your aim is to slightly overfill the joint.
Step 4: Tool and Cure. After the mortar firms up a bit (like stiff clay), use your pointing tool to shape it. Match the existing joint profile, whether it’s concave, V-shaped, or flush. Finally, lightly mist the fresh mortar with water a few times over the next day to help it cure slowly and strongly. Don’t let it dry out in hot sun.
If the mortar won’t stick, the joint wasn’t clean or damp enough. If it dries too fast, you’re working in direct heat and need to mist it and slow down. Always work in the shade if possible.
When NOT to Touch Your Chimney Mortar: Calling a Pro
I’ve shown up to too many jobs where a small, fixable problem was made worse by a well-meaning homeowner. Knowing your limits keeps you safe and saves money.
Call a licensed mason or experienced roofer immediately if you see any of the following:
- Extensive crumbling where more than a few joints are bad. This points to a bigger failure.
- Any cracks running through the bricks themselves, not just the mortar. This is a structural warning sign.
- The chimney is leaning or has visibly shifted. Do not climb near it.
- The repair area is high up on a steep roof where ladder and fall protection get complex.
- You suspect issues with the clay flue liner inside. A mason can scope it to check.
A professional can tell if your chimney just needs repointing or if it needs to be partially rebuilt. Rebuilding involves taking it apart brick-by-brick, which is a whole different skill set. Making the call for professional help isn’t a DIY failure. It’s the smart move that protects your home and your safety, especially when challenges arise that affect home safety.
Common Questions
Can I mix Type N and Type S mortar together for my repair?
Never mix them. They have different strength and flexibility properties, and blending them creates an unpredictable, weaker compound. Always choose and use one consistent, correct type for the entire job.
Does our cold climate change which mortar I should use?
Yes, significantly. In regions with harsh freeze-thaw cycles, always choose Type S mortar for its superior strength and weather resistance. If available, use a mortar with air-entrainment additives specifically designed for freeze-thaw durability.
How can I check my chimney mortar without climbing on the roof?
Use a good pair of binoculars from the ground. Look for visible cracks, gaps, or sections where the mortar appears recessed or missing compared to the brick face. If you spot these issues, then it’s time to call a professional for a hands-on inspection.
Final Advice on Selecting Chimney Mortar
Pick the mortar that matches your specific chimney job. Using the wrong type is a fast track to cracks, leaks, and another repair bill next year.
Your roof’s health depends on these small, correct decisions. Find the truth behind common roof myths in our roof care myths debunked guide. Keep that hands-on learning going by exploring our guides on Roof Care, All Types of Roof Guide, Care, and Maintenance for your next project.
Sources and Additional Information
- Choosing the Right Cement and Mortar for Your Chimney: A Comprehensive Guide – Chimney Repair – NEPA, Scranton, Moscow, Gouldsboro, Dupont, Wilkes Barre
- How to Choose the Right Mortar Type: Composition Types vs. Types S, N, O, M, and K
- r/stonemasonry on Reddit: Type N or Type S mortar for chimney
- What Type of Mortar Is Used in Chimneys? | ehow.com
- The Ultimate Guide to Masonry Mortar