
What Are the Correct Installation Methods for Asphalt Shingle, Metal, and Tile Roofs?
Have you ever looked at a newly installed roof and wondered if it was done right? A roof’s longevity depends entirely on the methods used to put it on.
I will explain the core practices that prevent leaks and failures. You will learn about asphalt shingle nailing patterns and underlayment, metal panel fastening and flashing details, and tile roof batten layout and mortar setting.
The Truth About How to Install a New Roof: It’s Not Just Shingles
Think of your roof like a good winter coat. It is not one piece of fabric. It is a system of layers that work together to keep you dry.
The shingles, tiles, or metal panels you see are just the outer shell. They are the waterproof jacket that takes the brunt of the rain and sun. Underneath, you have the underlayment. This is your thermal layer, a felt or synthetic barrier that catches any water that sneaks past the shell.
Then you have the flashing. Flashing is the sealed seams around chimneys, vents, and valleys. It directs water away from the weak spots. If any part of this system fails, you get a leak.
From my experience, a roof installed correctly as a complete system will prevent nearly all the leaks and failures I get called to fix years later. I have been on crews where we focused only on slapping down shingles fast. Those roofs always had problems. The ones where we took care with every layer are the ones still holding strong today. There’s a lot of misinformation out there about what makes a roof fail, but the truth is the right installation is key.
Why a Flawless Deck is Non-Negotiable
Everything rests on the deck. This is the plywood or OSB sheathing nailed to your roof rafters. It is the foundation. You cannot build a good roof on a bad deck.
Before any new material goes on, you must inspect every square foot of the deck. Walk on it. Listen for soft spots or squeaks. Probe with a tool for rot. Any decking that feels spongy or shows water stains needs to come out.
Replacing rotten decking is straightforward: cut out the bad section with a circular saw and nail in a new piece of the same thickness. Do not patch over soft wood. It will only get worse and compromise your entire roof.
How you fasten the deck matters. Use ring-shank nails or decking screws, not smooth shank nails. Space them every 6 inches along the edges and every 12 inches in the field. This creates a solid, squeak-free base that won’t shift over time.
You also must decide what to do with the old roof. A full tear-off, where you remove all old layers down to the deck, is always best. It lets you inspect and repair the foundation. An overlay, where new shingles go over old ones, hides problems and adds unhealthy weight. In my opinion, a tear-off is the only method that guarantees a long-lasting, code-compliant roof.
Safety First: This is Why Roofing is a Pro Job
Before we talk about a single nail, we need to talk about safety. I’ve seen too many close calls.
Roofing isn’t just hard work. It’s dangerous work. Gravity never takes a day off.
Your Non-Negotiable Safety Gear
If you’re overseeing a job or a pro is on your roof, this is the gear you must see.
- Harness and Rope Grab: This is your lifeline on steep roofs. It must be anchored to a certified roof anchor or a substantial structural point.
- Roof Jacks and Planks: These create a stable platform to work from on steep pitches. Never trust just your boots on a steep slope.
- Proper Footwear: I use shoes with soft rubber soles for maximum grip. Absolutely no smooth-bottomed boots or sneakers.
The Real Dangers You Can’t Ignore
The fall is what everyone fears, but it’s not the only hazard.
- Pitch Steepness: A roof with a 6/12 pitch (6 inches of rise for every 12 inches of run) is where walking gets tricky. Anything steeper requires special equipment and training.
- Power Lines: Carrying long metal drip edge or ladder near overhead lines is a silent killer. Always look up and keep a massive distance.
- Heat and Dehydration: A black shingle roof in July can hit 150°F. Heatstroke happens fast. Water and frequent breaks in the shade are mandatory.
The statistics on falls are stark, and a mistake from this height changes everything.
Setting Up for Safety
A safe job starts from the ground up.
Your ladder should extend at least 3 feet above the roof edge. Set it on solid, level ground and have someone foot it when climbing. Use ladder stabilizers.
Stage your materials evenly across the roof deck. Piling all the bundles in one spot can stress the framing and creates a tripping hazard.
My honest advice? For most homeowners, a full roof installation is a ‘watch and verify’ process, not a DIY one. Your most important job is hiring a qualified, insured crew and knowing what to look for. Which brings us to the details.
How to Install an Asphalt Shingle Roof That Lasts
So, what are the correct installation methods for asphalt shingle roofs? It’s a system, not just shingles. Getting each layer right is what separates a 15-year roof from a 30-year roof. Many areas regulate how many shingle layers can be installed and how they must be fastened. Knowing these rules helps ensure a durable, compliant roof.
Laying the Groundwork: Starter, Chalk, and Nails
It all starts at the eaves. The starter strip is a continuous course of shingles, or a manufactured starter roll, applied upside-down along the roof edge. This seals the first shingle course and protects against wind uplift.
Next, we snap horizontal chalk lines. This isn’t optional. Chalk lines are your guide to keeping every shingle course perfectly straight and aligned across the roof. A crooked roof is a leaky roof.
Nail placement is everything. Each nail must go in the manufacturer’s marked nailing zone, never too high or too low. They must be driven flush. Not sunk deep enough, and they’ll catch the wind. Sunk too deep, and you’ve punched a hole in the shingle.
Mastering the Valleys and Ice Guard
Roof valleys are gutters on your roof. They funnel massive amounts of water.
There are two main methods: the woven valley, where shingles from both slopes are woven together, and the closed-cut valley, where one slope’s shingles run over the valley and the other slope’s are trimmed back. I prefer a closed-cut with ice and water shield underneath for a cleaner, more reliable look.
Speaking of ice and water shield, this self-adhering membrane is mandatory in the eaves and valleys in any climate that sees ice. It’s cheap insurance against ice dam back-up, and I use it in all valleys regardless of climate.
Capping It Off: The Ridge
Ridge cap shingles are made by cutting standard 3-tab shingles into thirds. You bend them over the ridge and nail them. The key is to overlap each piece so it sheds water like fish scales. The final piece gets a heavy bead of roof sealant under it.
Common Mistakes I See Every Season
- Missing sealant on ridge caps or in critical cut areas.
- Under-driven nails that stick up and wear holes in the shingle above.
- Shingle alignment that drifts, making the roof look wavy and compromising seals.
- Not staggering shingles from bundle to bundle to avoid a patterned “blotchy” look.
Asphalt Shingle Leak-Point Mastery: Flashing & Drip Edge
Shingles cover the field. Flashing seals the holes. This is where 90% of leaks happen.
Focus on the critical junctions. Where the roof meets a wall, you need step flashing. Each piece is layered under each shingle and up the wall. It’s a step-by-step process that can’t be shortcut with one long piece.
For a chimney, a cricket (a small peaked diversion) should be built on the uphill side to shed water and snow around it, not into it. Properly built, a chimney cricket improves roof drainage by directing runoff away from the chimney. This is a standard detail in the chimney cricket build for effective roof drainage.
The correct installation order at the eaves is non-negotiable: underlayment goes down first, then the metal drip edge is installed over it, then the starter shingle. This directs water into the gutter. Reverse this order, and water gets behind your fascia.
Vent pipes use rubber or metal boot flashings. The base must be sealed to the shingle below, and the shingles must be layered up the sides and over the top of the boot’s flange. Never just caulk around it and call it done.
How to Install a Metal Roof That Won’t Rattle or Leak
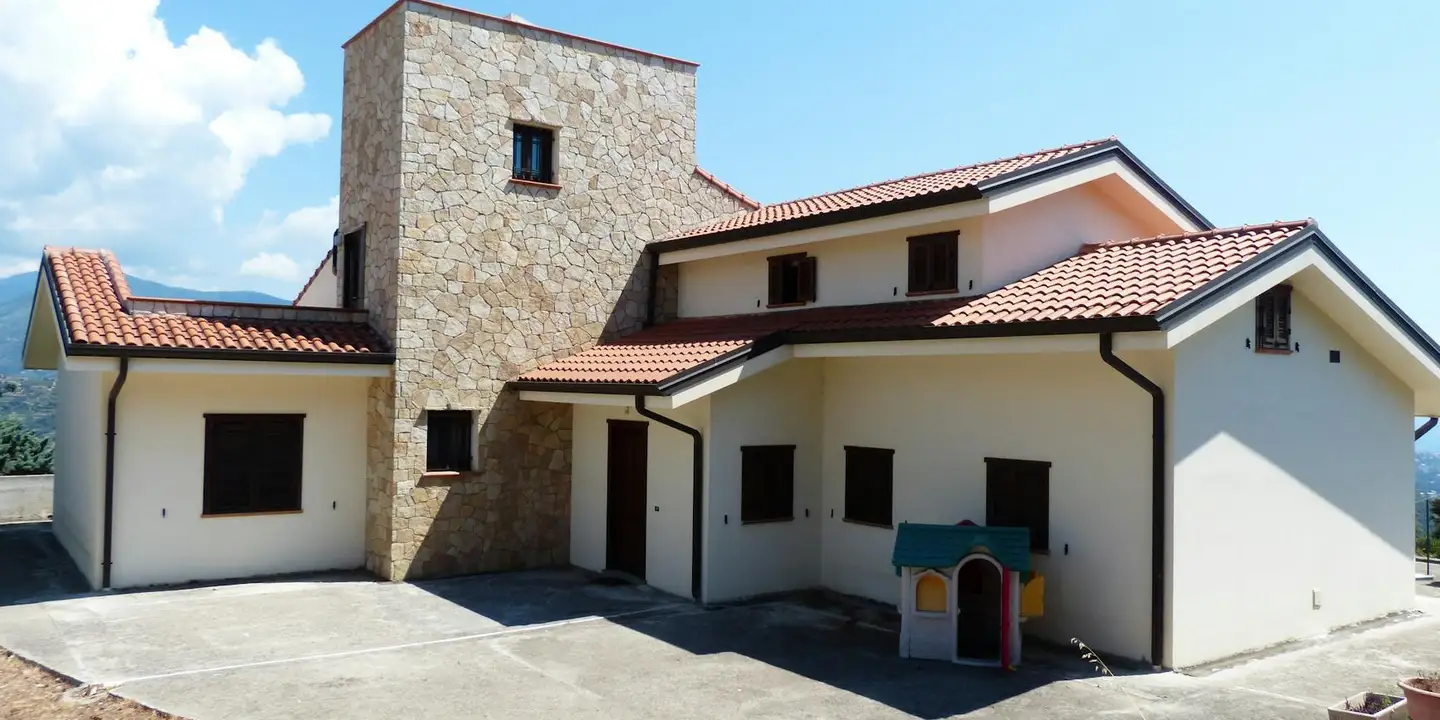
Roofers ask me all the time, what are the correct installation methods for metal roofs. The goal is simple, a roof that stays quiet and dry for decades. Getting there depends entirely on the panel type and the details, especially when working on residential metal roof installations.
You have two main paths, standing seam or corrugated panels. Think of standing seam like a suit of armor, the fasteners are hidden under the raised seams. This lets the metal expand and contract silently. Corrugated panels are like a sturdy work jacket, they are attached directly through the face of the metal with screws. Both are great, but the installation is different.
A quiet metal roof starts with a perfectly flat foundation. You can use solid decking or spaced wooden battens. I always check for high nails and uneven plywood seams first. Metal will telegraph every bump underneath, creating hollow spots that can drum in the rain.
The fasteners are your most critical tool. You must use screws with a sharp drill point and a thick, bonded neoprene washer. The trick is in the drive. Over-tighten, and you crush the washer and strip the hole. Stop driving the moment the washer makes full contact and just starts to spread. You should see a tiny “bead” of rubber, not a flat pancake.
Metal roofs move with temperature changes, expanding on hot days and contracting at night. If you screw it down too tight at every point, it will buckle and groan. For standing seam metal roofs, this is why hidden clip systems are used, the panels float. For corrugated, you follow the manufacturer’s screw pattern, placing them in the flat of the panel, not the high rib.
Metal Roof Waterproofing: Seams, Closures, and Underlayment
Water finds the weakest point. On a metal roof, that’s the seams and edges. For side laps on corrugated panels, use a manufacturer-approved sealant tape. For end laps, you need at least a 6-inch overlap and sealant between the layers. I run a bead of high-quality lap sealant along the uphill edge of the overlap.
Closure strips are foam pieces that seal the open ends of the panels. You install them at the ridge, eave, and along the rake edges. They keep out wind, rain, and pests. Without them, you’re inviting problems into your attic. Cut them to fit snugly.
Your underlayment is your backup plan. For most climates, a synthetic underlayment is my go-to, it’s tougher and slides better. But in very hot climates, or under darker metal colors, you need a high-temperature rated synthetic. Standard felt can cook and degrade from the heat radiating off the metal from below.
How to Install a Tile Roof (Concrete or Clay) the Right Way
The first question for any tile job is always the same, what are the correct installation methods for tile roofs. It’s less about sticking tiles down and more about building a stable, drained system that can handle immense weight. Roof construction methods shape the underlying structure to support the tiles. Understanding these methods helps ensure a durable, well-drained roof.
Tile is heavy. A concrete tile roof can weigh over 900 pounds per square (100 sq. ft.). Your roof deck and framing must be verified by an engineer or qualified contractor. I’ve walked away from jobs where the structure sagged, it’s not worth the risk.
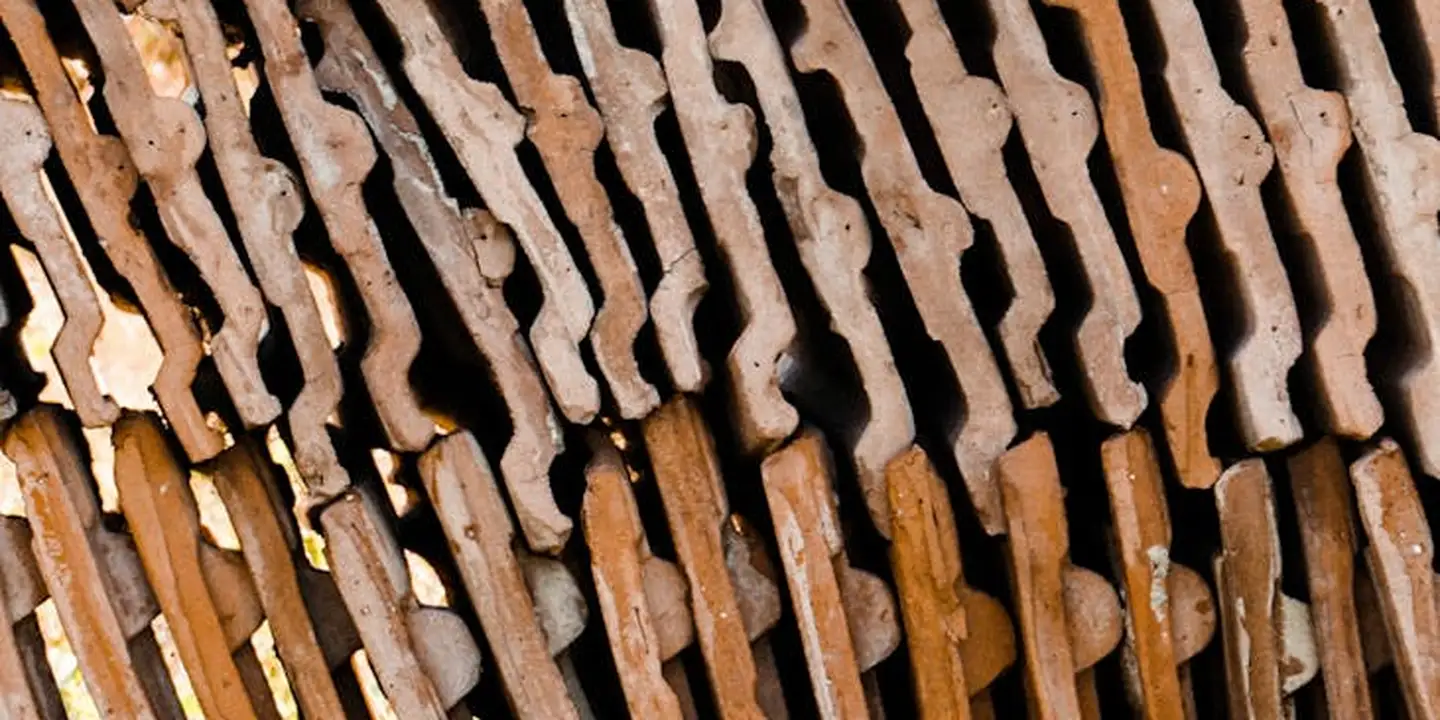
The sequence is non-negotiable. First, a solid synthetic underlayment goes over the deck. Next, horizontal wooden battens are nailed down, creating the “ladder” the tiles hang on. Finally, the tiles are placed. This creates a critical air and drainage channel beneath the tiles.
How you fasten the tile depends on your local wind speed. In low-wind areas, the tile’s weight and the interlocking design might be enough. In high-wind zones, you’ll nail every tile and often add stainless steel clips that hook under the batten. A good crew will know the code for your area.
Always, always mix tiles from at least three different pallets as you work up the roof. Color varies between production batches. If you install one pallet at a time, you’ll get obvious blotches of slightly different color that you can’t fix.
Tile Roof Precision: Valleys, Hips, and Ridges
Valleys are a common leak point. You start with a formed metal valley liner over the underlayment. Then, you cut the field tiles to follow the angle of the valley. You never mortar tiles directly together in a valley, you need that open channel for water to rush down.
Hips and ridges are the crown of the job. You can use pre-formed concrete or clay caps that are set in a mortar bed. The old-school way is to form a mortar ridge and bed the tiles into it. Either way, the mortar must be the right mix, not too wet, and each piece must be solidly set and pointed to shed water.
At the eave edge, before the first course of tile, you install a “bird stop” or “eave closure.” This is a molded piece that fills the gap under the first tile. It looks finished and, more importantly, stops birds, bees, and critters from making a home in the nice, sheltered space under your roof tiles.
Pro Tips Your Roofer Should Follow (And You Should Check)
I’ve seen too many jobs where the crew cut corners no homeowner would notice until it’s too late. A proper install isn’t just about the shingles you see. It’s about the hundred small steps underneath.
Never Let Them Skip the Permit
Local building codes aren’t just red tape. Think of them like the seatbelt laws for your house. They exist because people learned the hard way what happens without them.
Permits trigger inspections. An inspector coming out to check the roof deck, the underlayment, and the flashing is a free layer of quality control. A roofer who suggests skipping the permit to “save you money” is often planning to skip critical steps they know won’t pass inspection. If something goes wrong later, an unpermitted job can also void your insurance and create huge problems when you sell your home.
The Warranty Rulebook is Real
Your shingle or metal panel warranty has a secret second half: the manufacturer’s installation instructions. Break those rules, and the warranty is void. I’ve been the guy telling homeowners their 30-year warranty is worthless because the previous crew used the wrong nails.
Every major brand publishes detailed specs. They dictate the right type of underlayment for your roof’s slope, the exact nailing pattern, and required ventilation. Knowing these underlayment requirements isn’t optional—it directly affects roof performance and warranty validity. Your best defense is to ask your roofer, point-blank, to confirm the install will follow the specific manufacturer requirements for the product you’re buying. Get it in writing.
The Final Walk-Through Checklist
The last day of the job is your most important. Don’t just sign the check. Do these checks:
- Magnet Sweep: The crew must run a magnet roller over your entire yard, driveway, and flower beds. Leftover nails are a flat tire or a foot injury waiting to happen.
- Gutter Clearing: All gutters and downspouts must be completely clear of old shingle granules, plastic caps, and debris. Clogged gutters cause immediate water damage.
- Ventilation Verification: Go into your attic. They should have installed any new vents (soffit, ridge) they quoted. Feel for air movement. A silent, stuffy attic means they forgot a crucial step.
How to Be a Good Client (It Helps You Get a Better Roof)
A smooth job starts with you. A prepared homeowner helps a good crew work efficiently and carefully.
First, provide clear access. Move cars, patio furniture, and grills. Trim back tree branches. Your crew will appreciate it and spend less time navigating obstacles and more time on your roof.
Next, discuss the plan. Walk the perimeter with the foreman before they start. Point out any delicate landscaping, satellite dishes, or skylights. A vague “just do the roof” leads to assumptions. A clear “please protect this garden bed” leads to a tarp being laid down.
Finally, ask questions. If you see them doing something you don’t understand, ask. A professional won’t mind explaining why they’re layering ice and water shield in a valley or how a drip edge works. Your engagement shows you care about the details, which makes the crew care more too.
Common Questions
1. What’s the #1 thing I should check after a new roof is installed?
Get in your attic with a flashlight and look for any stray daylight piercing through. Then, walk your property with a magnet to collect fallen nails. These two immediate checks catch major sealing errors and prevent safety hazards.
2. Which roof type is the most forgiving if the underlayment isn’t perfect?
None of them. A compromised underlayment is a guaranteed future leak, regardless of the outer material. For any roof, insist on a synthetic underlayment installed to the manufacturer’s specs for your roof’s slope.
3. My metal roof is noisy when it rains. Can it be fixed without a re-roof?
Often, yes. The noise is usually from loose fasteners or panels. A pro can tighten screws to the proper torque and may add anti-rattle tape. Consistent drumming, however, often points to inadequate solid decking or battens underneath.
Securing Your Roof for the Long Haul
After decades of repairs, I know the best installation is the one you never have to think about. Focus on getting the basics right for your material, and your roof will handle the weather so you don’t have to.
Treat your roof as a living part of your home that needs regular, safe check-ups. Staying informed on general roof care for all types of roofs is your best tool for preventing small issues from becoming major projects. Practicing proper roof repair safety practices is essential whenever you inspect or repair, protecting you and your family. We’ll outline key safety guidelines in the next steps.
Ray Huffington
Ray is an experienced roofer. He has worked as a general contractor in the roofing industry for over 15 years now. He has installed and repaired all kinds of roofs, from small houses to large mansion, and from basic shingles to cement and metal roofs and even solar roof panels. He has seen homeowners struggle with roofing questions and always has experience based proven advice to help those in need. If you need roof pros, Ray's your guide.