
How Do You Install a Torch Down Roof Correctly and Maintain It for the Long Haul?
You’re probably looking at a torch down roof because you need a tough, watertight seal for a low-slope area. I’ve installed hundreds of these systems, and the difference between a roof that lasts 20 years and one that leaks in two comes down to the steps taken during installation and the care that follows.
Let me walk you through what really matters. I’ll outline the proven installation sequence my crew uses, starting with a clean deck. You’ll learn the right torching technique to avoid costly blisters and gaps. Finally, I’ll give you my simple, biannual maintenance checklist to catch small issues before they become big problems.
What Exactly Is a Torch Down Roof and Is It Right for You?
Think of a torch down roof like a giant, super-strong adhesive bandage for your house. The material is called modified bitumen. It comes in big rolls. A pro uses a roofing torch to melt the asphalt on the bottom side, fusing it directly to the roof deck or the layer below.
For flat or low-slope roofs, you mainly have three choices: rubber (EPDM), single-ply plastic (TPO), and torch down. EPDM is like a big rubber sheet glued or weighed down. TPO is a similar sheet, often heat-welded at the seams. Torch down is different. It bonds into a continuous, seamless membrane with heat. On low-slope roofs, roof pitch matters for performance. The right material choice can improve drainage, durability, and installation success.
Its core strength is creating a monolithic, watertight seal that can handle a lot of foot traffic and weather. It’s less likely to puncture than some single-ply systems. This makes it a top pick for residential garages, home additions, and many commercial buildings with pedestrian traffic on the roof.
Is torch down roofing good? On the right roof, absolutely. A properly installed torch down system is one of the most reliable flat roofs you can get. How long does a torch down roof last? With good installation and basic care, you can expect 15 to 25 years, sometimes more. Residential roof life expectancy factors include climate, maintenance, and installation quality. Understanding these factors helps homeowners plan care and replacements.
The ‘roofing torch’ is a specialized propane tool that puts out a wide, consistent flame. This is not a job for a homeowner with a handheld torch from the hardware store. It requires skill to apply even heat without burning the material or the building. It’s a pro-only system because of the extreme heat, fire risk, and technique needed.
The Pro-Only Installation Process: A Step-by-Step Walkthrough
Understanding what a professional crew does helps you spot a quality job. This is not a DIY guide. It’s a look behind the scenes so you know what to expect.
Hazard and Safety Assessment: The Non-Negotiables
Safety is the first tool unpacked on every job I’ve run. An open flame on a roof demands respect.
- Critical Gear: Full fall protection (harness, anchor, lifeline), roof jacks and planks for safe footing, multiple fire extinguishers on the roof and ground, heat-resistant gloves, and eye protection.
- Specific Risks: The obvious one is fire. We clear the area of all debris and have a water hose ready. Hot asphalt can cause severe burns. Even a low-slope roof is a fall hazard. We always check for overhead power lines before raising a torch.
Tools and Materials Checklist
A crew will show up with a specific kit. For materials, a standard roll of torch down roofing is about 3 feet wide and 33 feet long. They’ll need enough rolls to cover your roof’s square footage, plus extra for overlaps and flashing.
- Tools: Roofing torches, heavy-duty utility knives, seam rollers, a long-handled broom for cleaning, and a chalk line.
- Materials: Modified bitumen cap sheets, a base sheet or underlayment (like fiberglass or polyester), metal drip edge, roofing nails, and specific flashing materials for walls and pipes.
While you might see a torch down roofing price per roll listed, remember the final torch down roof cost is heavily weighted toward skilled labor and safety protocols. In practice, understanding the torch down roofing cost per square helps you compare bids more accurately. This per-square figure translates pricing into a straightforward metric you can use when shopping around.
The Sequential Installation Steps
1. Deck Inspection and Prep: A pro starts by inspecting the wood or concrete deck. It must be clean, dry, and structurally sound. Any rotten wood gets replaced. We sweep off every bit of gravel, dust, and old nail.
2. Installing the Base: We often install a base sheet first. This is a layer nailed or adhered to the deck. It provides a smooth, stable surface for the cap sheet and adds another line of defense against moisture. On some jobs, a specific underlayment takes its place.
3. Rolling Out and Torching the Cap Sheet: Here’s where the skill comes in. The crew unrolls a section of the cap sheet. One person uses the torch to heat the underside and the deck or base sheet simultaneously. You see the asphalt begin to melt and bubble. They move slowly, keeping the torch about 12 inches away.
The goal is a consistent, shiny black line of melted asphalt behind the torch. Another crew member follows right behind, pressing the sheet down firmly with a weighted roller to ensure a full bond. No bubbles, no wrinkles.
4. Proper Seaming: Where one roll meets the next, you create a seam. The side edge of the sheet has a granule-free “splice line.” We overlap the next sheet over this line. The torch heats both layers at the overlap, melting them together into one thick, waterproof seam. We roll this seam aggressively. A good seam is the key to the whole system.
5. Flashing Details: Finally, we address all the penetrations and edges. We install metal drip edge at the roof’s perimeter. Where the roof meets a wall or a pipe, we create custom flashings from the torch down material or compatible metals, integrating them into the main field with heat and adhesive. Proper vent flashings are integrated to prevent leaks around roof penetrations. This focus on vent details aligns with the next steps on install flash roof vent leak prevention. This attention to detail at the edges is what separates a waterproof roof from a leaky one.
Your Essential Guide to Torch Down Roof Maintenance
Think of your torch down roof like a high-performance engine. It’s built tough, but skipping routine checks leads to breakdowns. A simple, consistent maintenance habit is the single best way to protect your investment and avoid costly emergencies.
Your Seasonal Maintenance Log
Twice a year is the sweet spot. Aim for late spring and early fall. This catches winter damage and preps for rain or snow.
Spring Checklist (After the last frost):
- Remove all leaves, branches, and debris from the entire roof surface.
- Inspect for blisters or wrinkles that may have formed over winter.
- Check all flashings around walls and vents for gaps or cracks.
- Ensure roof drains and scuppers are completely clear.
Fall Checklist (Before winter sets in):
- Clear fallen leaves and pine needles to prevent clogged drains.
- Look for any new punctures from summer hail or foot traffic.
- Confirm gutters and downspouts are securely attached and flowing freely.
- Trim back any tree branches that are touching or overhanging the roof.
What to Look For On the Surface
Debris is more than just an eyesore. Piles of leaves hold moisture against the membrane and can hide problems. Ponding water is a major red flag; if water stands for more than 48 hours after a storm, it stresses the system and accelerates wear.
Walk the perimeter with binoculars. Look for small, dark spots (potential punctures from tools or branches) and raised, air-filled bubbles called blisters. Catching a small blister early means a simple repair.
The Lifeline: Drains, Scuppers, and Gutters
This is non-negotiable. A single clogged drain can cause widespread ponding. I’ve seen it turn a minor roof issue into a major interior leak. Water must have a clear, fast path off the roof, or it will find a path into your building. Make checking and clearing outlets part of every seasonal inspection.
Inspecting Flashings Safely
Most flashing problems can be spotted from a ladder or the ground. Never walk on a torch down roof if you’re not trained and equipped. Focus on where the roof meets vertical surfaces: parapet walls, pipe collars, and skylights. Look for visible gaps, cracked sealant, or membrane that has pulled away. A common failure point is the metal counterflashing not being properly embedded or sealed. If you’re unsure about the flashing installation, it’s best to consult a professional.
Dealing with Trees and Traffic
Overhanging branches scrape the membrane and dump debris. Keep them trimmed back. Limit foot traffic. Torch down is not designed for constant walking; repeated pressure on the same spot can grind the gravel surface and weaken the membrane. If access is needed, a professional will use specific walkway pads to distribute the weight.
Spotting Trouble: Common Torch Down Roof Problems and Repairs
Even with great care, problems can pop up. Knowing the difference between a simple fix and a system failure saves time, money, and stress.
Integrity & Lifespan Report: Red Flags
A simple repair fixes an isolated spot. A failing roof shows widespread, systemic issues. If you see multiple large blisters, extensive membrane shrinkage pulling away from edges, or widespread alligatoring (a web of deep cracks), the roof’s lifespan is likely nearing its end. Other major signs are rotten decking felt under the membrane or leaks that appear in many unrelated interior locations. Rotted decking underneath the membrane is a hidden danger that can undermine structural support. Roofs built over rotted decking can fail suddenly if not addressed.
Detail on Common Issues
- Ponding Water: Often a drainage or structural issue, not the membrane itself. It must be addressed to prevent membrane deterioration.
- Open Seams: A critical failure. The factory seams are the roof’s strongest part. If they open, water gets directly to the underlayment.
- Punctures: Caused by dropped tools, severe hail, or falling branches. They appear as small, clean holes.
- Blisters: Trapped moisture or air heats up, forming a bubble. Small ones can be repaired; widespread blistering indicates installation problems.
- Membrane Shrinkage: Over decades, the membrane can slightly shrink, pulling tension on flashings at the roof’s perimeter and causing tears.
Tracing a Leak Back to Its Source
Water is a tricky traveler. It enters at a high point, runs along a deck joist or under the membrane, and drips down far from the original leak. Start inside: find the highest point of the water stain on your ceiling or wall. Then, go directly above that point on the roof and look for issues within a 10-foot radius uphill. Check all penetrations and seams in that zone first. It’s detective work.
Professional Repair Methods
For small punctures or blisters, a pro will clean the area, apply a torch-grade patch (a piece of matching membrane), and heat-weld it seamlessly into place. For flashing gaps, they use a compatible mastic or flashing cement. A proper torch repair fuses the new material to the old, creating a watertight, monolithic seal.
For a failed section-like a long open seam or large damaged area-they cut out the bad section, ensure the deck is dry, and install a new piece of membrane, torching all seams. This is not a DIY job. It requires specific torches, materials, and fire safety protocols.
Integrated FAQ: Can a Torch Down Roof Be Repaired?
Absolutely, yes. Torch down membrane is one of the most repairable systems when done correctly. The key is using the exact same type of membrane and torching technique for a permanent bond. Glue-down or asphalt patches are temporary bandaids on a system designed for heat welding. A professional repair, when the surrounding roof is still sound, can extend the life for many more years.
Professional Installation vs. DIY: Understanding the Risks and Reality
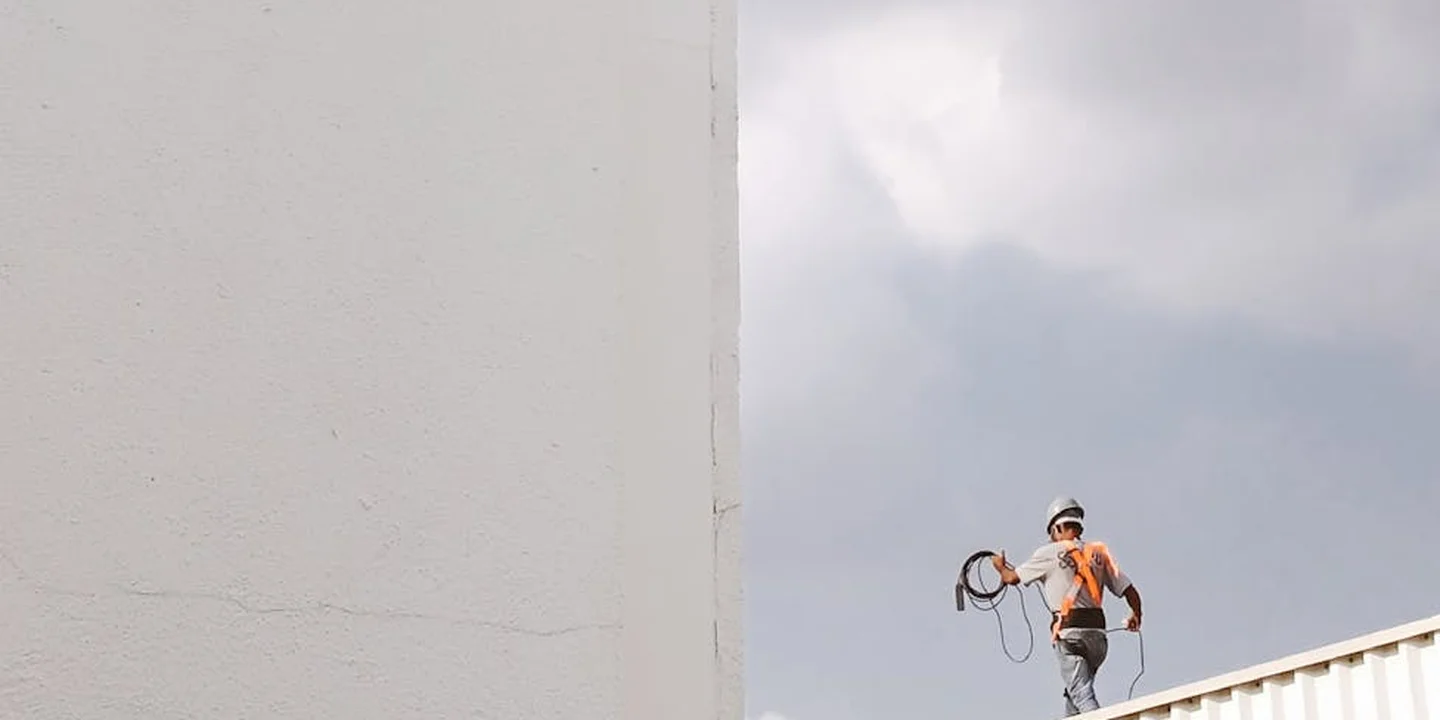
Torch down roofing is a pro-driven system. The name itself tells you why. You are literally using an open flame to melt asphalt and fuse sheets of roofing together. This isn’t a simple overlay job like built-up roofing layers. It requires specific skills, experience, and a serious respect for safety that comes from doing it every day.
Choosing to do it yourself means accepting a steep list of risks. On a real job, the crew’s focus is split between perfect installation and constant fire watch. A DIYer often gets overwhelmed by just getting the material to lay flat.
The Real Dangers of a DIY Torch Down Attempt
Let’s be clear about what can go wrong.
- Fire Hazard: This is the biggest risk. You are applying direct flame to a building. Embers can fall into soffits or wall cavities. The torch can ignite debris on the roof or, in a worst-case scenario, the roofing material itself. I’ve seen tarps catch fire from a stray spark. A professional crew has fire extinguishers on the roof and a spotter watching for trouble.
- Immediate Leaks: If the seams aren’t torched perfectly, they won’t fuse. A cold seam or an over-burned seam is a guaranteed leak path from day one. The margin for error is tiny. Water will find that gap, and it won’t wait for a rainy season to start causing damage in your attic.
- Voided Warranties: Every major torch down membrane manufacturer voids their warranty if the installation isn’t performed by a certified, licensed contractor. You could buy the best material on the market and end up with a roof that has zero coverage.
- Personal Injury: You’re working with a hot torch, hot asphalt, and a steep slope. The combination is dangerous. Professional roofers are trained in tool handling and fall protection. A slip with a lit torch has consequences far beyond a scraped knee.
Skill, Time, and the Hidden Costs
People often look at the cost of labor and think they can save money. The math rarely works.
The skill level needed is high. It’s not just waving a torch. You need to know how to read the asphalt “roll-out” to see when it’s properly heated. You need to know how to detail edges, pipes, and walls. Every penetration is a potential leak if flashed incorrectly.
The time commitment is massive for a novice. A two-man pro crew can torch a simple roof in a day. It could take a DIYer a week or more, battling weather and the learning curve.
The true cost adds up quickly. You must rent a professional torch kit and propane tanks. You’ll need fall protection gear (harness, anchors, lanyard), specialty tools, and possibly a lift for the heavy rolls. When you add rental fees, material waste from mistakes, and your own time, the “savings” evaporate. You often end up paying more for a worse result.
How to Hire the Right Pro for the Job
Your goal is to find a contractor who treats torch work as a specialty, not a side job. Here is how to vet them.
- Check for Specific Licensing and Insurance: They must be licensed for roofing and carry full liability and workers’ compensation insurance. Ask for the certificates and call to verify they are current.
- Ask for Torch Down Experience: How many torch down roofs do they install per year? Can they provide addresses of local jobs from the last 2-3 years? Drive by and look at them.
- Request Manufacturer Certification: Reputable contractors are certified by the membrane manufacturers (like GAF, MuleHide, Polyglass). This training is crucial for warranty validity.
- Get a Detailed, Written Proposal: It should specify the exact membrane product name, all flashings details, tear-off procedures, and warranty terms. Avoid any quote that is vague.
- Understand the Warranty: A strong offer includes both the manufacturer’s material warranty and the contractor’s workmanship warranty (often 2-10 years). Know what each covers.
Hiring a qualified pro is your first and most critical maintenance decision. A perfectly installed torch down roof has fewer failure points and starts its life as a monolithic, watertight shell. Every inspection and cleaning task you do later is built on the foundation of that initial installation. Getting it done right is what unlocks the full 20-to-30-year lifespan you paid for. Whether you lean toward DIY repairs or hiring a pro, that choice affects the entire system. A professional hand protects that watertight seal and helps preserve the 20-to-30-year lifespan you paid for.
Common Questions
Is the price per roll a good indicator of my total torch down roof cost?
No. The material cost is a small part of the equation. The real value is in the skilled labor, safety protocols, and proper detailing that ensure a watertight, long-lasting installation.
Can I buy torch down roofing material at a home center and do repairs myself?
I strongly advise against it. While you may find materials, a proper repair requires specific torching technique and safety gear to create a permanent, monolithic seal. This is a pro-only task for reliable results.
What’s the most important maintenance task I can do myself?
Keep the roof surface and all drains absolutely clear of debris. Inspect twice a year from the ground with binoculars, looking for punctures, blisters, or ponding water, and call a pro immediately if you spot an issue. For a deeper, step-by-step review, consult our roof damage inspection guide. It includes checklists and common signs to watch for during routine checks.
Your Torch Down Roof: Built to Last, Maintained to Protect
Focus on a perfect, code-compliant installation first-that’s the foundation. Then, stick to a simple, biannual inspection routine to catch minor wear before it becomes a major leak.
Treat your roof as the critical asset it is, and always prioritize safety in every maintenance task you undertake. I’ve found that learning about roof care for all types of systems makes you a smarter, more prepared property owner.
Expert Resources and Citations
- r/Roofing on Reddit: Torch down installation
- Federal Way Torch Down Roofing | Federal Way Torch Down Roof | Torch Down Roof Installation
- How to Install Torch Down Roofing (with Pictures) – wikiHow
- How to Install Torch Down Roofing: A DIY Guide – JMK Miami Contractor
- How to Install Torch Down Underlayment – Roof Repair Specialist
Ray is an experienced roofer. He has worked as a general contractor in the roofing industry for over 15 years now. He has installed and repaired all kinds of roofs, from small houses to large mansion, and from basic shingles to cement and metal roofs and even solar roof panels. He has seen homeowners struggle with roofing questions and always has experience based proven advice to help those in need. If you need roof pros, Ray's your guide.