
How Do You Care for a Historic Roof? Preserving Character While Ensuring Durability
Does the thought of repairing your historic home’s roof fill you with dread, worried that modern fixes will ruin its timeless look? You love the character, but you need it to be strong and weatherproof. I’ve been on hundreds of these roofs, and the right approach keeps the charm intact for decades.
Here’s what we’ll cover to get you there:
- How to identify your original roofing materials and find authentic replacements.
- Repair methods that fix problems without compromising historic integrity.
- Working with local preservation guidelines to ensure your project is approved.
Assessing Your Historic Roof’s Current Health
Start with a simple ground-level visual inspection every spring and fall. Use a good pair of binoculars to scan the roof without climbing. Focus on three things: any dips or sagging in the roofline, green patches of moss or algae, and missing or broken shingles or tiles. Catching these issues early from the ground saves you from bigger headaches later.
Your attic holds the best clues. On a sunny day, go up there and turn off the lights. Look for tiny spears of daylight coming through the roof boards. Any spot of light is a direct path for rainwater and means trouble. Also, check for dark water stains, rusty nail heads, or wood that feels damp or spongy. This “attic tell” never lies.
Keep a basic “Roof Integrity” checklist. Write down these three details to understand your roof’s story:
- Material: Identify what it’s made of-slate, wood, clay tile, metal, or early asphalt.
- Approximate Age: Estimate when it was last installed. Check old homeowner records or ask previous owners.
- Prior Repairs: Note any patches or replaced sections you can see. This helps track its health over time.
Some problems demand immediate professional help. Watch for these red flags:
- Widespread rot you can see from the street.
- Multiple leaks appearing in different rooms after a storm.
- Severe structural sagging where the roof ridge looks bent or sunken.
If you see any of these signs, stop your inspection and call a qualified roofer experienced with historic homes.
Your safety is non-negotiable. Never walk on a historic roof yourself. Aged materials are brittle, and the underlying structure may be weak. That’s why roof walking safety guidelines advise against DIY on fragile roofs. A professional will use proper fall protection and know exactly where to step to avoid causing damage. I’ve seen too many homeowners risk a fall or punch a foot through old wood.
Understanding Your Roof’s Materials and Realistic Lifespan
Historic roofs were built with materials meant to last, but nothing is forever. Here’s a practical comparison from my time on the job: roof replacement timeline by materials.
- Slate: Can last 75 to 200 years. It usually fails because the copper nails holding it rust or work loose, a slow process called nail fatigue.
- Wood Shake or Shingle: Lasts 25 to 40 years. Moisture is its enemy, leading to rot, mold, and insect damage over time.
- Clay Tile: Often good for 50 to 100 years. Freeze-thaw cycles make it brittle and crack, especially if walked on.
- Standing Seam Metal: A durable choice lasting 40 to 70 years. Failure starts at seams or fasteners if rust breaks through the protective coating.
- Early Asphalt Shingles: Common in early 1900s homes, they last about 20 to 30 years. The asphalt dries out, becomes brittle, and cracks.
Finding the right replacement parts is a unique challenge. You often need to hunt for authentic or compatible materials to match the original size, color, and texture. This might mean visiting specialized suppliers or searching salvage yards for reclaimed slate or specific tile profiles.
For preserving character, like-for-like repair is the gold standard. Replacing a wood shake with a new wood shake keeps the historic look seamless. This approach maintains your home’s architectural truth and protects its value, which is vital in historic districts. Swapping materials can stick out and hurt the home’s charm.
You can add modern protection invisibly. When making repairs, installing a contemporary synthetic underlayment beneath the original material adds a strong water barrier. Think of it as a high-tech liner inside a classic coat-it extends life without changing the historic appearance anyone sees.
Slate and Tile Roofs: The Century-Old Workhorses
Inspect these roofs carefully from the ground. Look for individual tiles or slates that are cracked, have slipped down out of line, or are completely broken. Pieces in your gutters are a clear sign. Use binoculars to methodically scan each row; one broken unit can funnel water underneath its neighbors.
The hidden details matter most. These roofs rely on copper nails and proper flashing. Copper nails resist corrosion and hold the heavy material securely. Flashing around chimneys, valleys, and walls is the roof’s drainage system-it must be intact and watertight to prevent leaks. Check for flashing that is cracked, loose, or covered in roof cement, which is a temporary fix at best. Poorly installed chimney flashing is a common source of leaks.
Avoid the temptation to pressure wash. The intense force can crack slate and tile, drive water up under them, and destroy their natural weathered color. For cleaning, only use low-pressure soft washing methods with cleaners made for these materials. I’ve repaired damage from pressure washers that turned small repairs into major replacements.
Wood Shake and Shingle Roofs: Managing Moisture and Moss
Moss and lichen trap moisture, so removal is key. Do it gently to avoid gouging the wood. Use a soft brush or a plastic putty knife to lift growth away. You can apply a zinc-based moss killer designed for wood roofs. Let the treatment do the work for a few days, then gently rinse with a garden hose on a light spray setting. Never use a metal scraper or high-pressure water when you remove moss from a roof.
Ventilation is your best tool against decay. Make sure your attic has clear, working vents so air can flow and dry the roof from underneath. If you see black stains or soft, crumbly wood, you might have mold or insects. A roofing pro can apply targeted treatments to stop infestations without harming the historic wood or surrounding environment.
Preservatives can help, but know their limits. A breathable wood coating or oil can protect sound, slightly weathered shakes and restore color. However, if the wood is cracked, deeply split, or has lost more than half its thickness to rot, coating it is a waste-replacement is the only real fix. Always assess the wood’s solidity before deciding on a treatment.
The “Leak Point” Analysis: Sealing Critical Junctions
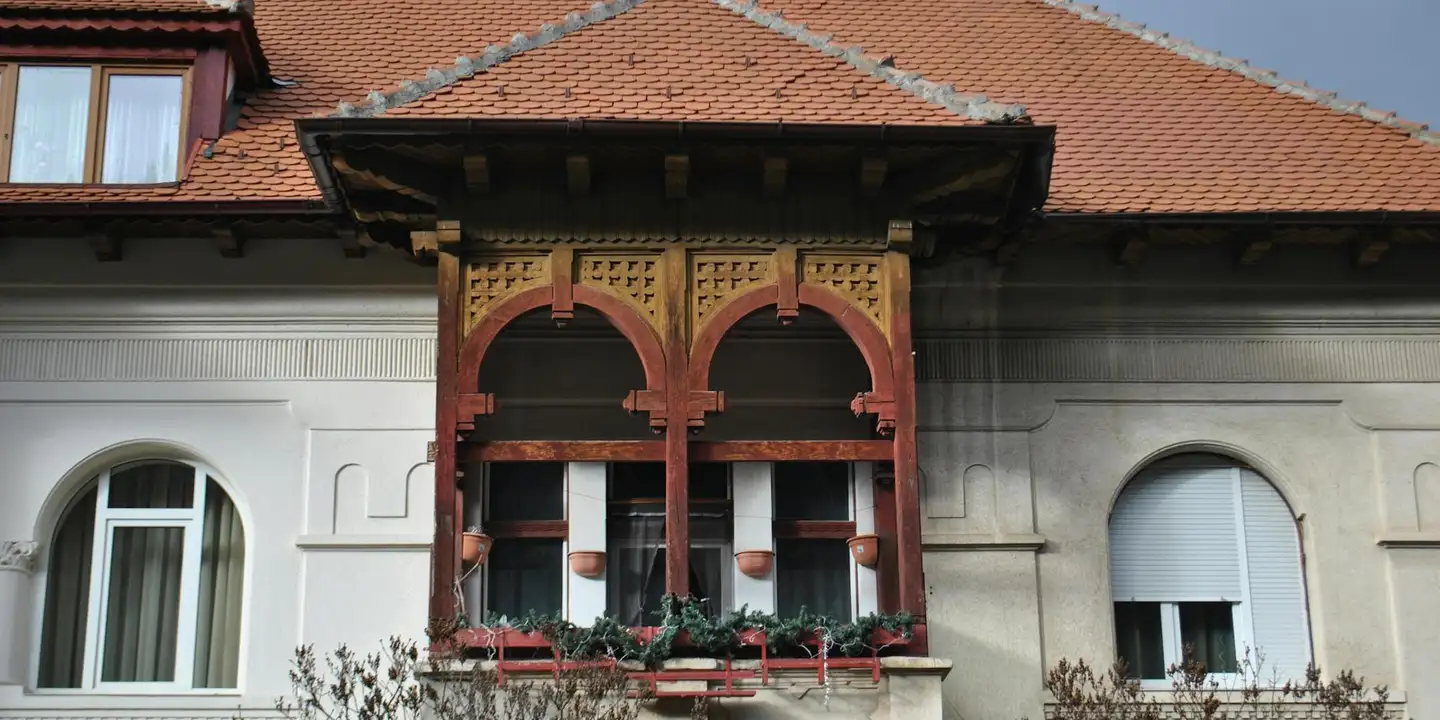
Think of your historic roof like an old coat. It’s the seams and buttonholes that fail first, not the broad fabric. On a roof, water always finds the weak links.
Chimneys, valleys, dormers, and spots where the roof meets a wall are your roof’s seams. They have more joints, angles, and different materials coming together. These junctions move at slightly different rates as temperatures change. That movement, over decades, slowly works open the seals. Water doesn’t need a big hole. A hairline crack is a welcome mat.
Flashing: The Unsung Hero of Waterproofing
Flashing is the thin metal that bridges these gaps. On older homes, it was often lead or copper. These are fantastic, durable materials, but they don’t last forever.
Lead can creep and sag over time. Copper can develop pinholes from years of expansion and contraction. I’ve seen original copper flashing from the 1920s still doing its job, but more often, the seams where pieces are joined have opened up.
You have two main repair choices. Patching a small section with a compatible metal and proper sealant can work for minor issues. For widespread failure, replacing whole sections is better.
Always replace with a historically appropriate metal; a patch of modern aluminum on a copper roof will cause galvanic corrosion and make things worse. A roofer who knows historic homes will understand this.
Here’s a modern trick we use that respects the home’s character. We can install a self-adhering ice and water shield membrane behind the new flashing. From the street, you only see the correct period metal. But underneath, you have a secondary, waterproof barrier. It’s an invisible upgrade that adds decades of protection.
Valleys and Chimneys: High-Traffic Water Channels
Valleys are the gutters on your roof. Half the water from two slopes funnels through them. Chimneys are massive obstacles sitting in the path of that water. They get punished.
Twice a year, look closely. For metal valleys, check for rust streaks or open seams at the center. For chimneys, look at the base where the flashing meets the bricks. Is the mortar (called parging or counterflashing) cracked or crumbling? That’s a direct path inside.
A proper valley repair isn’t just slapping on sealant. Here’s how we do it to prevent a callback:
- Carefully remove the old valley metal without damaging surrounding shingles or slate.
- Install a new layer of ice and water shield in the valley.
- Fabricate and install new, painted steel or copper valley metal, secured at the edges only.
- Never nail through the center of the valley channel where water flows.
For chimney work, the masonry is as important as the metal. A skilled mason who understands historic mortar mixes is worth their weight in gold. Modern Portland cement mortar is too hard for old, soft bricks. It will trap moisture and spall the face of the brick, causing more damage than the original leak.
Your Seasonal Maintenance Log: Extending Roof Life by a Decade
The biggest threat to a historic roof is neglect disguised as “it’s fine.” A simple, seasonal routine catches small issues before they become catastrophic, expensive repairs. Think of it as changing your car’s oil. Do this, and you can easily add ten more years to your roof’s life.
Spring and Fall: The Inspection and Clean-Out Seasons
These are your main work windows. The goal is to clear the way for water to drain and to look for problems.
- Clear gutters and downspouts completely. Clogs cause water to back up under shingles and rot fascia boards.
- Trim any tree branches that overhang or brush against the roof. They scrape surfaces and drop debris.
- From the ground with binoculars, check for piles of leaves, moss, or fallen branches in valleys and behind chimneys.
If you need to clean the roof surface, be gentle. Use a soft-bristle broom or a leaf blower on a low setting. For washing, a garden hose from a ladder at the roof’s edge is safer than pressure washers, which can blast away the granular surface of old shingles or damage soft slate. Look for a mild, roof-safe cleaner and test it on a small area first to safely clean roof shingles stains without damage. Gentle scrubbing with a soft brush and a thorough rinse can lift stains without harming the surface.
Your best tools are a good pair of binoculars for safe ground inspection and a sturdy, properly secured ladder for closer looks at gutters.
Winter and Storm Watch: Managing Weight and Water
Historic roofs, especially low-slope ones, were not designed for massive snow loads modern building codes consider.
If you must remove snow, use a roof rake with a long extension pole to stay safely on the ground. Never get on a snowy or icy historic roof. Pull only the first few feet of snow back from the eaves to help prevent ice dams. Let the rest melt naturally.
Ice dams happen when a warm attic melts snow, which refreezes at the cold eaves. Monitor for thick ice buildup at the gutter line, and know that the real fix is in your attic, not on your roof. Proper insulation and ventilation keep the roof deck cold and prevent the melt-freeze cycle. They are important for ice dam prevention on roofs.
After any major windstorm or hail event, do your binocular inspection immediately. Look for displaced or missing shingles or tiles, and check for new debris. Catching a small leak early saves the interior plaster and woodwork down the line.
When to Patch, Repair, or Fully Replace a Historic Roof
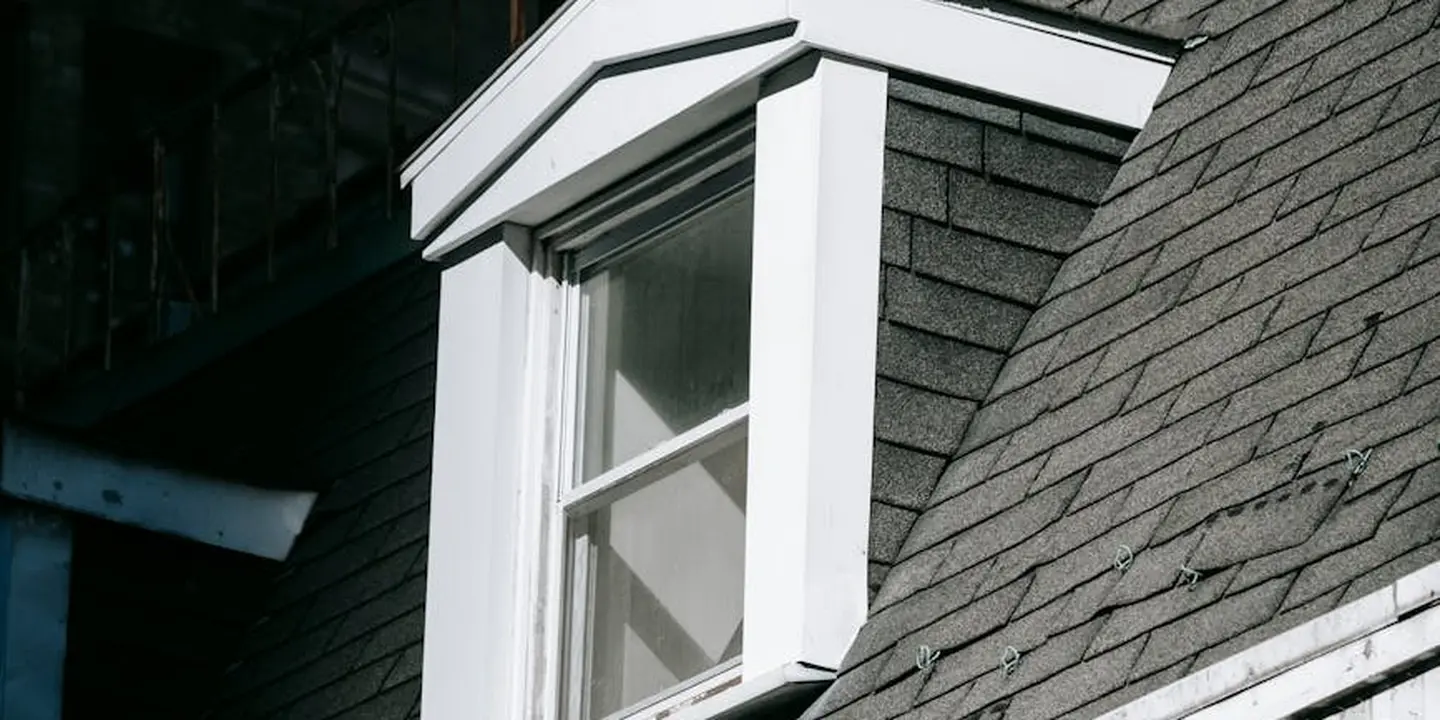
This is the million-dollar question I hear from every historic homeowner. The answer is rarely simple. It’s a balancing act between preserving history and protecting your home.
Think of it like caring for an antique wool coat: a small tear gets a careful stitch, but if the entire lining is gone, you need a full restoration. Making the right call comes down to four key factors.
Your Historic Roof Decision Matrix
Use this framework to talk with your roofer. It clarifies your options.
| Factor | Favor Repair/Patch | Favor Full Replacement |
| Material Condition | Most of the roof is sound. Damage is localized (a few bad slates, one cracked tile). | Material is brittle, cracked, or eroded over large areas. Frequent leaks from multiple spots. |
| Percentage of Damage | Less than 10-15% of the roof surface is problematic. | Over 25-30% is failing. You’re constantly fixing new spots. |
| Budget & Timeline | You can fund careful, phased repairs over time. | You have capital for one major, long-term investment. |
| Preservation Goal | Maximum retention of original, authentic material is the top priority. | Long-term durability and weather-tightness are the primary concerns. |
The real cost comparison isn’t just today’s invoice. Meticulous, ongoing repair seems cheaper upfront. But over 10 years, the total of many small repairs can approach the cost of a full replacement, without the long-term peace of mind.
A full, historically sensitive replacement is a major project. Yet, it can be the most durable choice. Modern materials like synthetic slate or standing seam metal can be formed to look identical to the original but last 50 years or more with almost no maintenance. This path makes sense when the original material is mostly gone or failing beyond salvage.
My strongest caution is against over-restoration. I’ve seen roofs stripped of perfectly good, century-old clay tiles just to make a new install “look uniform.” A skilled roofer will salvage and reuse every serviceable piece of historic fabric. Removing it unnecessarily destroys the home’s character and its story, which is something to consider especially when working on historic homes.
Finding a Roofer Who Gets Historic Homes

This is the single most important step. The wrong crew can cause irreversible damage. The right one becomes a preservation partner.
You need a craftsperson, not just an installer. Here are the exact questions to ask when you interview roofers. Knowing how long the project should take helps you plan around weather and other commitments. The roof installation timeline is a crucial reference during this planning.
- Can you show me photos of completed historic roof projects in my area?
- Have you worked with my local historic preservation commission or district board? What was the process?
- What are your sources for period-appropriate materials (like slate quarries, custom tile makers)?
- Are you familiar with traditional techniques like installing slate with copper nails, or mixing historic mortar for ridge caps?
Vetting for Authenticity and Skill
Start your search in the right place. Your local historic preservation society or architectural salvage nonprofit keeps a list of recommended tradespeople. These referrals are gold. General contractor listings often won’t highlight this specialized skill.
Always verify their license and insurance are current. Then, ask for at least two references for historic projects. Tell the roofer you want to drive by and see the referenced roofs from the street. A confident pro will agree immediately.
Your written scope of work must be detailed. It should read like a recipe. It must specify:
- Exact material type, color, and source (e.g., “Vermont unfading black slate from the ____ quarry”).
- The repair method for each area (e.g., “Individual slate replacement using copper tingle strips”).
- How salvageable original materials will be protected and reused.
The Site Visit: What a Good Pro Looks For
A thorough assessment for a historic home takes time and covers three areas.
They start inside. They’ll check the attic for daylight peeking through, old water stains on rafters, and ventilation. Then, they go outside. A good pro will use binoculars to inspect every slope, looking for cracked tiles, slipped slates, and failing metal details like valleys and dormer flashings. They’ll note the condition of gutters and downspouts, which are often original.
A trustworthy roofer will explain how modern building codes intersect with your historic home. They might discuss adding a synthetic underlayment for extra protection while preserving the exterior look, or proper attic venting strategies that don’t require cutting holes in historic soffits.
Finally, they should advocate for two non-negotiables: worker safety on complex, steep roofs, and the use of durable, sustainable materials. Using a long-lasting copper flashing instead of aluminum is a sustainable choice-it won’t need replacement for 80 years. This mindset shows they care about the home’s future, not just a quick fix.
Common Questions
What’s the right way to treat moss without harming old wood or slate?
Never pressure wash or scrape aggressively. Apply a zinc sulfate moss killer formulated for historic materials and let it work over a week. Gently remove the dead growth with a soft brush or low-pressure rinse from a garden hose.
My attic gets hot and stuffy. Will adding more vents damage my historic roof’s look?
Proper ventilation is critical, but vents can be discreet. A skilled pro can install low-profile vents along rear roof slopes or gable ends to preserve the street-side appearance. They may also improve existing, less visible venting to boost airflow.
If a repair is needed, can you use modern materials to match the old look?
Yes, but the match must be exact. For example, use synthetic slate or custom-fabricated metal that replicates the original profile and color. The key is sourcing from specialists who cater to historic preservation, not using off-the-shelf substitutes.
Stewarding Your Roof’s Legacy
The most valuable lesson from my crew’s years on historic homes is this: consistent, gentle inspection is everything. Fixing a single cracked tile or a minor valley flaw promptly preserves your home’s story and prevents costly, character-altering repairs.
Caring for a historic roof is a hands-on commitment to safety and preservation. Make it a habit to learn more about Roof Care, All Types of Roof Guide, Care, Maintenance, so every decision you make protects both the craftsmen and the craftsmanship for years to come. For historic homes, roof care is essential to preserving their integrity and character. Thoughtful maintenance safeguards original materials and the heritage they carry.
Industry References
- Historic Roof Maintenance & Information | Heidler Roofing Blog
- Historical Building Roof Reconstruction | Florida
- Roofing Tips for Historic Homes: Preserving Charm While Staying Protected – Rescue My Roof
- Historic Roof Restoration & Repair | Pfister Roofing
- Historical Roof Preservation & Installation | Huber & Associates
Ray Huffington
Ray is an experienced roofer. He has worked as a general contractor in the roofing industry for over 15 years now. He has installed and repaired all kinds of roofs, from small houses to large mansion, and from basic shingles to cement and metal roofs and even solar roof panels. He has seen homeowners struggle with roofing questions and always has experience based proven advice to help those in need. If you need roof pros, Ray's your guide.