
How to Kill Roof Moss on Your Home: Safe Methods and Lasting Solutions
Is that patch of green on your roof just ugly, or is it actually causing harm? From my years on roofing crews, I can tell you moss is a silent problem. It holds water against your shingles, which leads to rot and leaks if you ignore it.
Let’s get straight to fixing it. I’ll walk you through the safest ways to kill moss without damaging your roof. You’ll learn how to stop it from growing back. I’ll also share the common cleanup mistakes I see so you can avoid them.
Key Takeaways
You can beat moss for good, but you need the right plan. Here are the non-negotiable points I’ve learned from cleaning hundreds of roofs.
- Always kill the moss first, then remove it later. Trying to scrape or brush live moss just spreads spores and makes the problem worse.
- Never use a pressure washer on an asphalt shingle roof. The high-pressure blast strips away the protective granules, destroying your shingles and voiding warranties.
- For long-term prevention, install zinc or copper strips at the roof’s peak. As rain washes over the metal, it deposits moss-killing ions down the roof slope.
- If you are not comfortable working on a ladder or a roof slope, call a professional. A damaged roof is cheaper to fix than a hospital bill.
Understanding Your Moss Problem: Why It’s There and What It Does
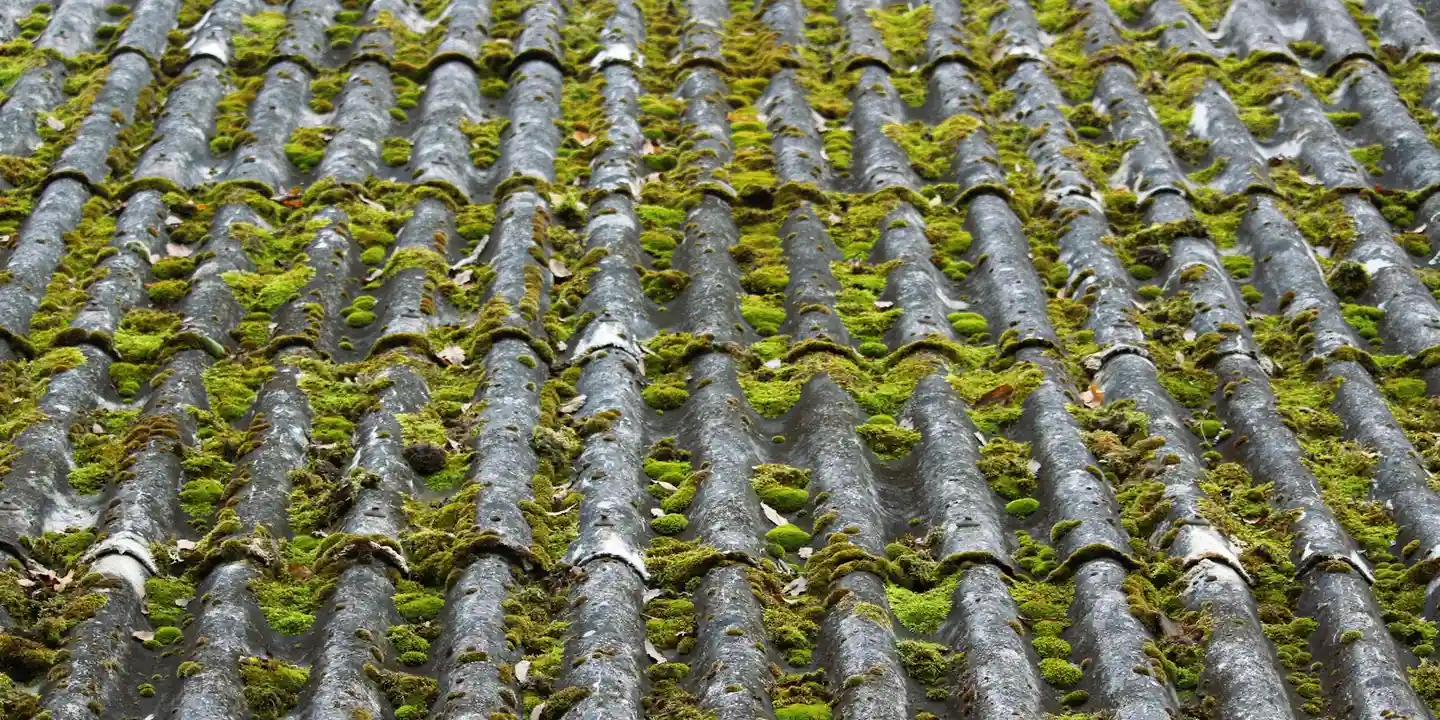
Think of moss like an uninvited guest that needs three things to move in: shade, dampness, and a rough surface to grab onto.
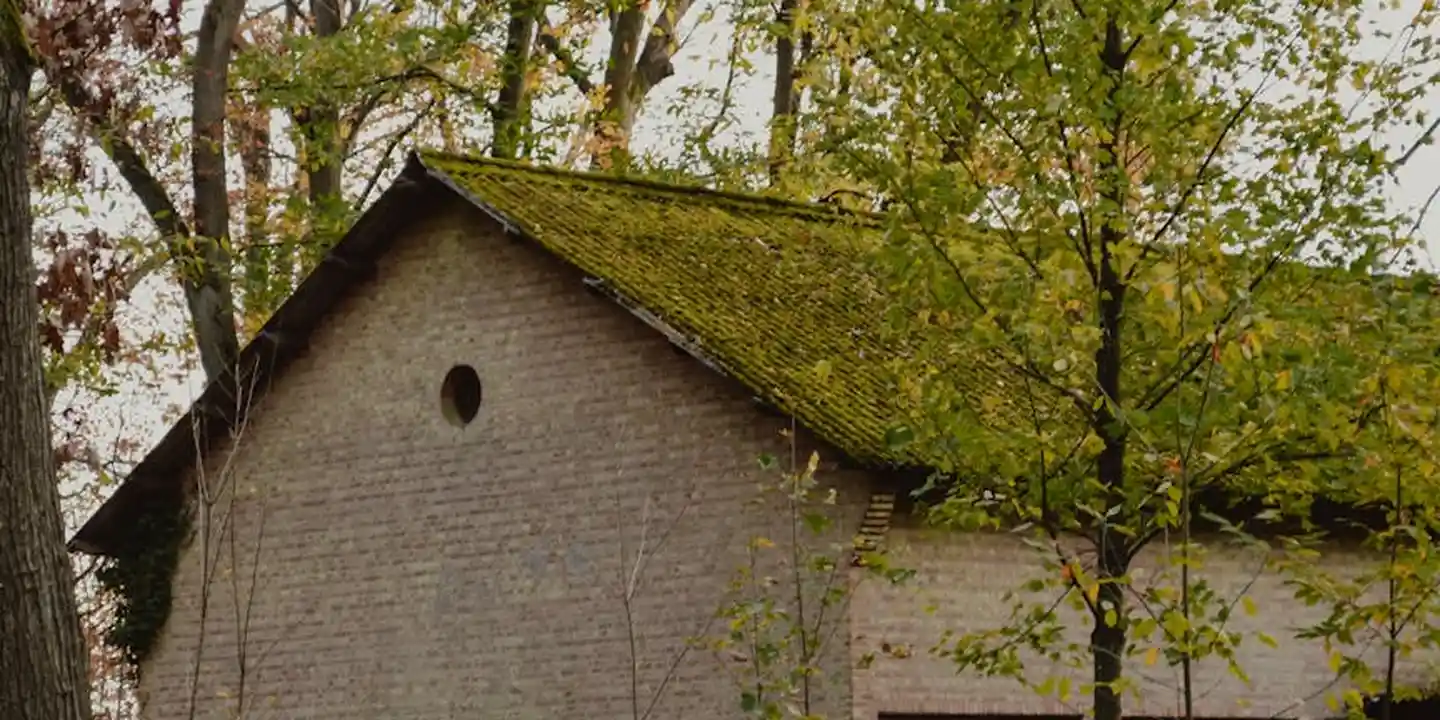
Your north-facing roof slopes, or areas shaded by trees, are prime targets. They stay cool and damp longer after rain or morning dew. The gritty surface of asphalt shingle granules gives moss the perfect foothold to start growing.
Moss is more than an eyesore; it acts like a permanent wet blanket smothering your roof.
It doesn’t just sit on top. Those tiny green plants lift the edges of your shingles. This breaks the seal that keeps water out. Once the shingles are lifted, water gets trapped underneath. This hidden moisture can rot the roof deck, rust the nails, and leak into your attic.
I’ve been on jobs where we pulled up mossy shingles to find the plywood underneath was soft and black. The damage was silent, but expensive.
People often ask me, “How long does roof moss take to cause real damage?”
It’s a slow process, not an overnight disaster. But each season it grows, it’s doing harm. One winter of trapped ice under moss can accelerate granule loss. One summer of held moisture can speed up wood decay. You won’t see a leak until the damage is already done, which is why proactive care matters so much.
The Right Way to Kill Moss: Solutions Compared
You want the best method. Let me save you time and money by comparing what I’ve used on hundreds of jobs. The “best” solution balances effectiveness, safety for your roof, and safety for you and your plants.
Commercial Roof Cleaning Solutions (The Pro’s Choice)
When my crew shows up, this is what’s in our sprayer tanks. These solutions fall into two main types.
- Bleach-based cleaners (Sodium Hypochlorite): This is the standard for a reason. It works.
- Specialized Biodegradable Biocides: These are newer, often preferred near sensitive plants or waterways.
You probably have questions. Let’s answer them directly.
Does bleach kill roof moss? Yes, absolutely. Sodium hypochlorite is incredibly effective at killing the organic matter of moss and algae. It also bleaches away the dark stains, leaving your roof looking clean.
Can you spray moss killer on a roof? You can, but not with any sprayer. Use a low-pressure garden sprayer, never a pressure washer. Think of it like watering your garden, not power washing your driveway.
If you go this route, treat it with respect. Always follow the product’s dilution instructions on the label. Add a surfactant like a few ounces of ordinary dish soap to the mix; it helps the solution stick to the steep, vertical shingle surfaces instead of just running off.
Your most important job is protecting your landscaping. Thoroughly wet all plants below the roof line with plain water before you start. This creates a barrier. Cover shrubs with plastic tarps. The runoff will still kill grass and flowers if you’re not careful.
Homemade and Alternative Moss Killers: What Works?
I understand the DIY urge. I’ve tested many “kitchen cabinet” solutions over the years. Let me tell you what actually happens.
Does baking soda kill moss on a roof? It can dry it out superficially, but it’s not a reliable killer. Sprinkling baking soda on damp moss might make it turn brown, but the roots often survive. You’ll see it again in a few weeks. It’s a temporary fix at best. If you’re considering DIY options, compare roof moss removal cost with using a roof rake. DIY approaches can save money, but require careful use to avoid damaging shingles.
Does Dawn dish soap kill moss on a roof? No. Dish soap alone is not a biocide. Its real value is as a surfactant, making other solutions like bleach or commercial cleaner cling to the roof better. A small amount in your spray tank is a pro trick.
Does laundry detergent kill moss? Not effectively. It’s designed for fabrics, not roofing. It can leave a filmy residue that actually traps dirt and may harm your plants more than targeted cleaners.
You might hear about copper. Does copper kill moss on roofs? Yes, copper ions are toxic to moss and algae. This isn’t a spray-on solution, but a long-term prevention strategy we’ll cover later. Strips of copper installed near the ridge line slowly wash ions down the roof, creating a surface moss can’t grow on. It’s one of the natural ways to control moss.
The Step-by-Step Method: How to Safely Remove Roof Moss
Killing the moss is only half the job. Here is the exact sequence I follow to get it off your roof without causing damage.
1. Gear Up for Safety
Roof work is dangerous. Do not skip this step. I’ve seen too many close calls.
- Shoes: Wear rubber-soled shoes with a solid grip. No sneakers or boots with worn soles.
- Harness: If your roof is steep, use a proper fall-arrest harness anchored to a secure point. It’s not worth the risk.
- Eyes and Hands: Safety glasses and chemical-resistant gloves are mandatory.
Place your ladder on firm, level ground. Have someone with you to hold the base steady. Work only on a dry, calm day. Wet roofs or windy conditions are an invitation for a fall.
2. Applying the Treatment
Now for the application. The goal is to soak the moss, not your yard.
- Soak all plants and grass at the roof’s edge with your garden hose.
- Mix your chosen cleaning solution in a pump sprayer according to its instructions. Add your surfactant (dish soap) if needed.
- Starting at the roof ridge, spray the solution directly onto the mossy areas. Work your way down. Applying from the top down prevents you from accidentally walking over areas you’ve just treated.
- Apply enough to wet the moss thoroughly, but avoid massive runoff. A fine, even coat is what you want.
Let the solution dwell. It needs 15 to 30 minutes to work, but don’t let it dry completely in the sun. If it’s a hot day, you may need to lightly mist the area with water to keep it damp. The solution needs to stay active.
3. Removing the Dead Moss
Be patient. Do not scrub or scrape the moss right away. Wait at least a day, until the moss is completely dead, dry, and brittle.
Then, from your ladder or a safe, stable position on the roof, gently brush the dead moss away. Use a soft-bristle brush or a wide plastic putty knife. The goal is to lift it off, not scrape the shingles. Work gently, in the direction of the shingle layers (upward). For safety, refer to guidance on safely removing moss from asphalt shingles. It will help you choose the right methods to protect your roof.
Let me be perfectly clear about one tool. Never use a pressure washer on asphalt shingles. The high-pressure stream will blast off the protective mineral granules that shield your roof from the sun. Once those granules are gone, your shingles will fail rapidly. I’ve replaced roofs ruined by well-meaning homeowners with pressure washers. It’s a costly mistake.
When to Call a Professional Roof Cleaner
Sometimes, the best tool for the job is a professional’s phone number. I’ve seen too many homeowners bite off more than they can chew with roof moss. Knowing when to call for help keeps you safe and your roof undamaged.
Do not try DIY moss removal if any of these apply to your situation.
- Your roof has a steep pitch. Walking on it is dangerous without proper training and gear.
- Your home has more than one story. A fall from that height can be serious.
- Moss covers a large area. Extensive growth often means a deeper issue.
- Your roof is made of delicate materials like clay tile, slate, or old wood shakes. These can crack or break easily.
- You are simply uncomfortable with heights or working on a ladder. Trust that feeling.
If you decide to hire a pro, ask them a few key questions. Always verify they carry liability insurance and workers’ compensation for your protection. Ask about their cleaning method. A soft wash system that uses low pressure and moss-killing solutions is much safer for your shingles than high-pressure washing. Finally, ask how they plan to protect your landscaping and gutters from runoff during the cleaning process.
Stopping Moss From Coming Back: Long-Term Solutions
Killing the moss is only half the battle. The real win is stopping it from growing back. Focus on prevention, and you might never have to clean your roof again.
Install Zinc or Copper Strips
This is a trick I’ve used for years on homes in shady areas. You install metal strips near the top of your roof. When it rains, tiny amounts of metal ions wash down the shingles. This creates a zone that moss and algae simply cannot grow on. It’s like putting a gentle, invisible shield over your roof.
Installation is straightforward. Buy strips of zinc or copper from a roofing supplier. Lift the very top row of shingles, called the cap shingles, at the ridge of your roof. Slide the metal strip underneath so about two inches are exposed. Nail it down and seal the nails. The next rain will start the protective process.
Manage Your Environment
Moss loves shade and damp, still air. Change that environment, and you take away its home. Trimming back overhanging tree branches is the single most effective thing you can do to prevent moss long-term. It lets in sunlight and improves airflow, which dries the roof surface quickly after rain. If moss is still a concern, the best methods for cleaning moss roofs can guide your next steps. These methods also complement the preventive approach by keeping the roof dry and sunlit.
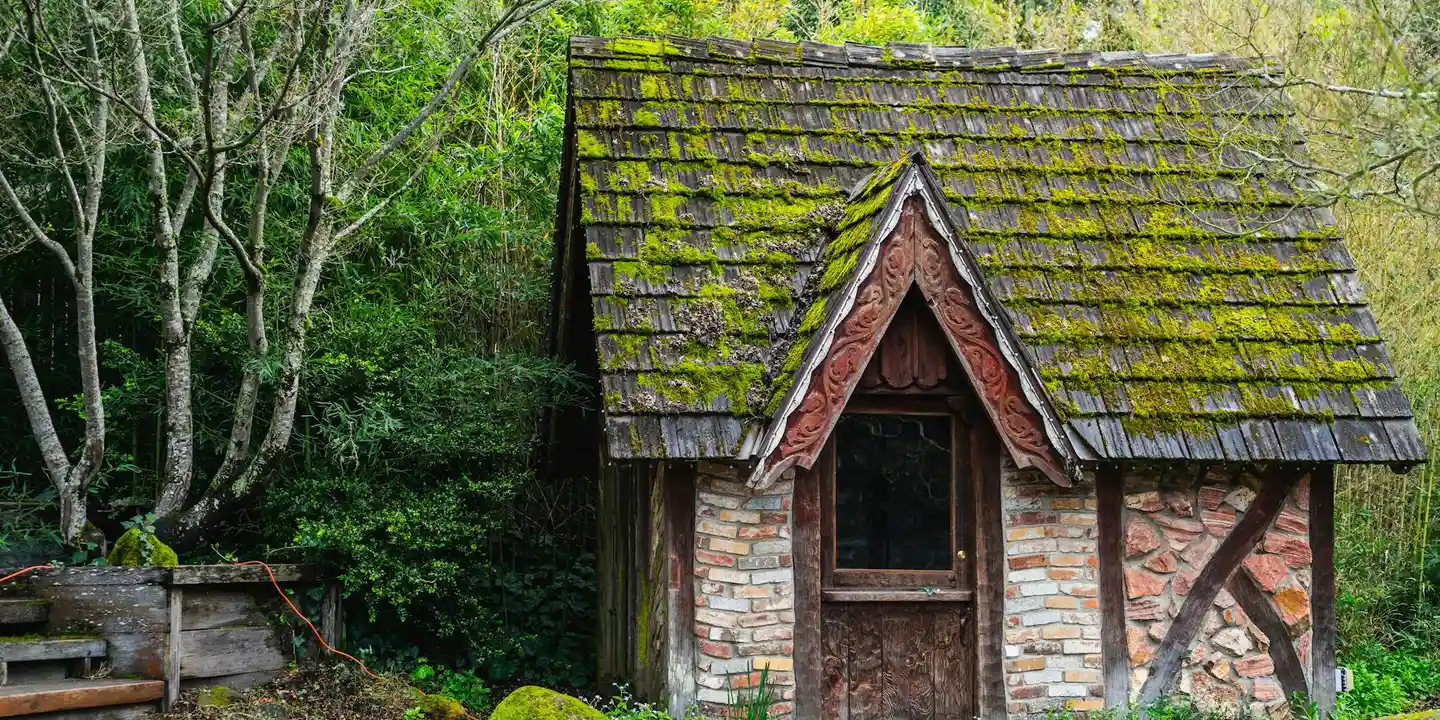
I once worked on a cabin so covered in moss you couldn’t see the shingles. After a major tree trimming, the roof stayed clean for over a decade with no chemical treatment. Sun and wind are powerful, free tools to clean roof shingles without damage.
Keep Gutters Clean and Functional
Your gutters have a direct effect on your roof’s health. When gutters are clogged with leaves, water can’t flow away. It backs up and spills over the edge, soaking the lower sections of your roof. This constant dampness creates a perfect nursery for moss to take root and thrive.
Make a habit of cleaning your gutters at least twice a year, in spring and fall. Ensure downspouts are clear and direct water several feet away from your home’s foundation. A dry roof edge is a moss-free roof edge.
Your Seasonal Roof Moss Maintenance Routine
Think of moss like a slow leak. Ignore it, and it causes rot. Catch it early, and you save your roof. A simple, seasonal check-in is the difference between a simple cleaning and a costly roof repair. This routine takes minutes from the ground and adds years to your shingles.
| Season | Key Moss-Fighting Task |
|---|---|
| Spring | Ground-level inspection for new growth. |
| Late Spring / Early Summer | Gutter clean-out & moss treatment. |
| Fall | Final gutter clearing and pre-winter check. |
| Winter | Passive observation of trouble spots. |
Spring: The Inspection Season
As the snow melts and things dry out, grab your binoculars. Do not get on the roof when it’s wet. Walk around your house and look up. Focus your inspection on the north-facing side and in roof valleys, where shade and moisture linger longest. These are moss incubators. You’re looking for any green fuzz or dark patches that weren’t there last fall. This is about establishing a baseline.
Late Spring / Early Summer: The Action Window
This is your most important season for control. The weather is consistently warm and dry, which helps treatments work.
- First, clean every gutter and downspout. Clogged gutters spill water back onto your roof edges, creating the perfect damp habitat for moss.
- If your spring inspection showed moss, this is the time to apply your zinc or potassium salt-based moss killer. A dry roof allows the solution to stick to the moss, not just rinse off the shingles. I always preferred a calm, overcast day for application to prevent drift and evaporation.
Fall: The Pre-Winter Prep
Once the leaves finish falling, clean those gutters again. A roof edge sitting in a bed of wet leaves all winter is asking for moss and ice dam problems. Give your roof one last visual scan from the ground before the short, wet days set in. If you see a small patch you missed, you can still hit it with a treatment, but your primary goal now is removing debris that holds moisture against the roof.
Winter: The Observation Period
Your job now is to watch, not work. From your window, notice where snow and ice last the longest on your roof. Those persistent white patches often align with moss colonies, which hold moisture and cold against the shingles. Make a mental note, or even take a photo. These are the exact areas you will target when your late spring action window opens. This cycle of observation and action stops moss from ever getting a firm grip.
Common Questions
What’s the best time of year to treat roof moss?
Treat moss in late spring or early summer. Dry, calm weather lets the solution work effectively without quick evaporation or rain washing it away.
Does the type of shingle I have change the cleaning method?
Absolutely. Asphalt shingles are durable, but never use a pressure washer. For delicate materials like wood shake, clay, or slate, skip DIY and call a pro to avoid costly damage.
I’ve killed the moss. What’s the one mistake to avoid during cleanup?
Do not scrub or scrape while the moss is still wet and alive. Wait until it’s completely dry and brittle, then gently brush it off with a soft-bristle brush to avoid lifting shingle granules.
Your Next Steps for a Healthier Roof
Stopping moss starts with a simple choice: use a gentle, long-term solution like zinc strips instead of waiting for a major clean-up. This one action protects your shingles and saves you from costly repairs. For homeowners, pairing this with a moss damage assessment of your residential roof can reveal hidden moisture risks and guide the next steps.
View your roof as a living part of your home that needs regular, safe check-ups. Keep building your knowledge with our practical guides on roof care and maintenance for every material.
Ray Huffington
Ray is an experienced roofer. He has worked as a general contractor in the roofing industry for over 15 years now. He has installed and repaired all kinds of roofs, from small houses to large mansion, and from basic shingles to cement and metal roofs and even solar roof panels. He has seen homeowners struggle with roofing questions and always has experience based proven advice to help those in need. If you need roof pros, Ray's your guide.