
How to Safely Handle an Abandoned Chimney in Your Interior Wall
What do you do when a wall in your old house hides a chimney that hasn’t been used in decades?
An abandoned chimney inside a wall is more than a curious relic; it can quietly threaten your home’s safety and energy bills. I’ve seen the surprises they hold during many retrofit projects.
I’ll walk you through the real risks a sealed-off flue can create.
You’ll learn the step-by-step removal process my crew follows.
I’ll show you how to seal it properly for good.
How to Spot an Abandoned Chimney: The Telltale Signs
Think of an abandoned or “dead” chimney as a hollow brick tube running up through your house that no longer has a job. The fireplace or furnace it served is gone, but the chimney structure remains, often hidden inside a wall or a framed box called a chase.
You can find these ghosts without tearing open walls. Start inside your living space. Run your hand along the wall where an old fireplace might have been. A persistently cold spot is a huge clue. You might feel a draft coming from a baseboard or an outlet on that wall. Look for a flat wall that juts out into the room-that’s a chimney breast, and if there’s no fireplace facing it, you’ve found your suspect.
The attic is your best source of proof. Go up there with a good flashlight. Look for a brick or masonry column, or a round metal pipe, running from the floor up through the roof deck. The key sign? Nothing is connected to the bottom of it. It just starts in your attic and goes up. Finding a flue that simply ends in your attic is the definitive sign you have a dead chimney on your hands.
Many homeowners discover this during a kitchen remodel or when finishing a basement. You open up a wall and find old, sooty bricks. This is a classic “now what?” scenario that requires a plan, not panic.
The Hidden Risks: Why a “Dead” Chimney Isn’t Harmless
Leaving a dead chimney in place is like ignoring a slow leak in your boat. It might seem fine for a while, but the problems are building. As a roofer, I see these not as quirks, but as liabilities. Chimney problems affect home safety, not just the roof, from fire risk to carbon monoxide exposure. Left unchecked, cracks and blockages can escalate into real hazards.
First is fire. An old flue liner can be cracked or missing. Decades of creosote from past fires can still coat the inside. This combustible residue sits right next to the wooden framing of your house. It’s a hidden risk you can’t see.
That hollow stack is also a massive energy thief. In winter, warm air from your house rises into it and escapes out the top. Cold outside air gets pulled down in its place, creating drafts. It reverses in summer, pulling your cool, expensive air right out. Your HVAC system works overtime.
Moisture is the next big enemy. When warm, moist indoor air hits the cold bricks inside that flue, it condenses. This constant dampness leads to mold growth inside your walls and rot in the wood framing around the chimney. I’ve also seen many where the old roof flashing has failed, letting rain pour directly down the chase. Chimney flashing for metal roofs is a frequent culprit in these leaks. Damaged or poorly sealed flashing can channel rain straight into the chase, worsening moisture behind walls.
Lastly, think of it as a welcome tunnel. For birds, squirrels, raccoons, and bees, that open flue at your roofline is a perfect entryway into a sheltered space. From there, it’s a short trip for them to find a way into your attic or even your walls.
The Pro-Only Hazard Assessment (Do Not Skip This)
If you’ve found one, stop. Do not start poking around or planning removal yourself. A responsible contractor’s first move is a hazard check. Flue liners installed before the 1980s often contain asbestos. Old chimney flashing is almost always lead. Both require special abatement procedures. Furthermore, the brickwork itself may be unstable. Understanding the chimney flue components materials—liners, flues, caps, and flashing—helps define the testing and replacement scope. In the next steps, you’ll see how these materials affect safety and choices. Investigating or removing an old chimney requires testing for hazardous materials and evaluating the structure’s integrity first. This is not a DIY project.
Removal vs. Sealing: How to Decide the Right Path
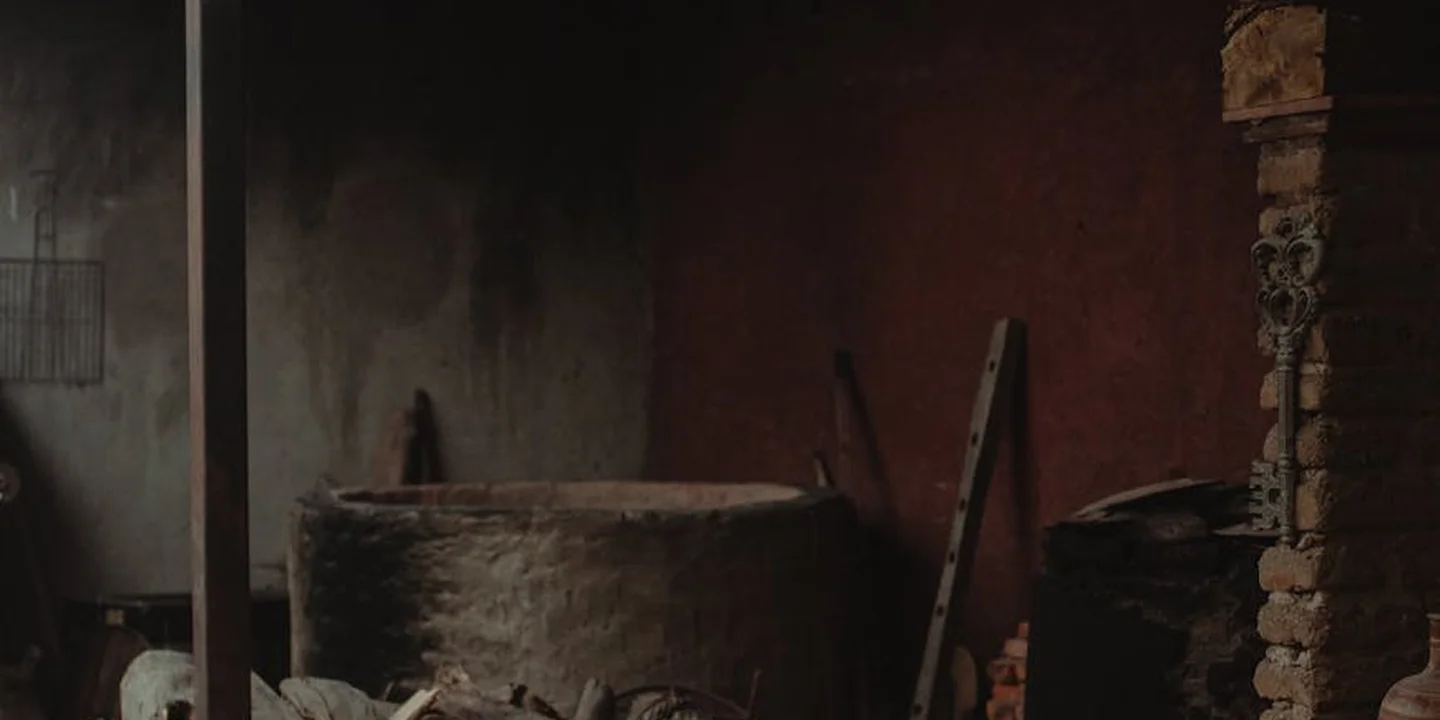
You have two main roads to take: full removal or a professional seal-off. I’ve done both on dozens of jobs, and the right choice depends on your home, your budget, and your future plans.
Full removal gets rid of the chimney from the roof down through the interior wall, while a professional seal leaves the structure in place but makes it permanently inactive and watertight. Let’s break down the pros and cons so you can decide.
The Case for Full Removal
Taking it all out is the ultimate fix. The biggest benefit is you reclaim every inch of interior space the chimney occupies. I once helped a homeowner in a 1920s bungalow turn a useless chimney chase in their living room into a beautiful built-in bookshelf. That’s square footage you get back. Regular chimney components maintenance is a smart next step to protect that investment. It keeps flues, dampers, caps, and crowns in good shape and helps prevent future issues.
- Reclaims all interior space (you can frame new walls).
- Eliminates every future risk of leaks, drafts, or pests from that structure.
- Removes any potential hidden damage inside the wall for good.
But it comes at a price. The cost is significantly higher. You’re paying for roof work, complex interior demolition, and carpentry. The job creates an unbelievable amount of dust and debris. You also need to be sure the chimney isn’t providing any hidden structural support for the house frame. Removing a chimney requires careful consideration of both methods and its impact on the house.
When Sealing is the Smarter Choice
Sealing is often the more practical and affordable path. If the chimney is structurally sound and not in your way, capping and sealing it is a wise investment.
Choose sealing if the brickwork is solid, the cost of removal is too high, or the chimney runs through a hard-to-access spot like a finished closet. I typically recommend this when homeowners want to solve the leak and draft problems without a major interior remodel.
Let’s talk cost naturally, since it’s a huge factor. The price for interior chimney removal varies wildly. It depends on the linear feet of chimney, how easy it is to access from inside, and your local labor rates. Online estimators like HomeWyse can give a general ballpark, but you need local quotes. On homeowner forums, you’ll see people discussing quotes from a few thousand dollars for a simple, one-story removal to much more for complex, multi-story jobs. Always get multiple estimates from licensed pros near you, whether that’s near Bridgeport, CT or anywhere else.
The Professional Removal Process: A Roofer’s Step-by-Step
This is not a do-it-yourself project. The weight, the debris, and the critical roof patch require a trained crew. Here’s how a professional team, like one I’d run, handles it.
Step 1: The Critical Inspection
We never swing a hammer on day one. A full inspection comes first. A chimney specialist maps the entire flue path through the house. Often, we bring in a structural engineer. They check if the chimney is bearing any weight for the floors or roof. This step finds hidden problems and creates the game plan.
Step 2: Making the Roof Watertight
As roofers, this is our main domain. We start at the top, carefully removing the chimney stack down to the roof line. The most critical part is analyzing the “leak point”-the hole where the chimney passed through the roof deck.
We don’t just slap shingles over it. We install a proper patch. This means extending the ice and water shield underlayment up into the hole, putting in new roof decking, and then weaving in new shingles so the patch is invisible and, more importantly, won’t leak.
Step 3: The Interior Demolition
Once the roof is sealed, the interior crew takes over. They carefully open up the walls and ceilings around the chimney. Then, working from the top down inside the house, they dismantle the flue brick-by-brick. This creates a massive pile of brick, mortar, and soot. Containment and cleanup are a huge part of the job.
Step 4: Structural Repair and Close-Up
With the chimney gone, you have a vertical tunnel through your house. The crew frames in the new opening in each floor and the interior wall. They insulate the cavity for energy efficiency and soundproofing, then install and finish new drywall. When done right, you’d never know a chimney was there.
When NOT to Try This
There are clear times to avoid removal. Hire a different kind of pro instead.
- Multi-Story or Complex Chimneys: A chimney running up three floors through multiple bedrooms is a vastly bigger job than one in a single-story wall.
- Historically Designated Homes: Altering original features can violate preservation codes and hurt your home’s value.
- Signs of Major Structural Compromise: If the initial inspection shows the chimney is holding up a sagging floor joist, removal requires an engineer’s plan first.
In these cases, a professional assessment is not just a recommendation; it’s a requirement for your home’s safety.
How to Properly Seal and Cap an Abandoned Chimney
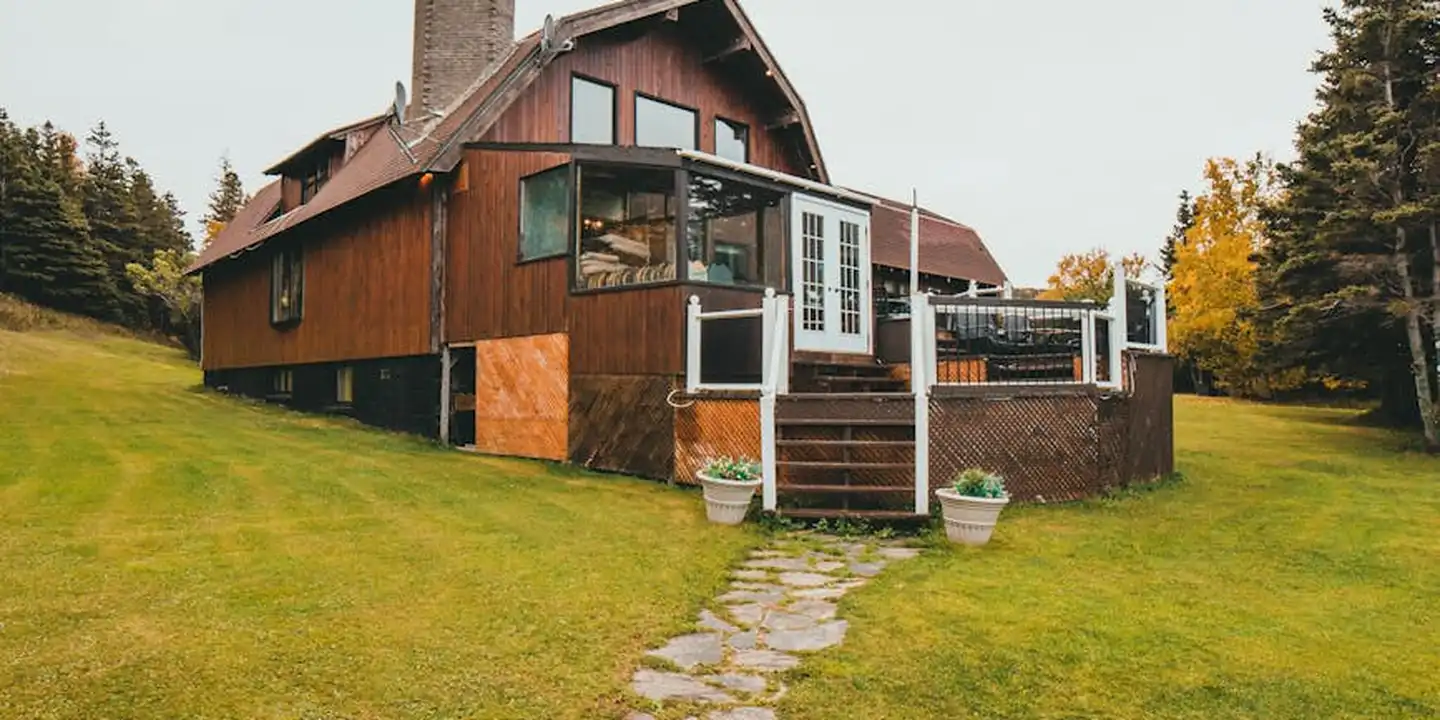
Think of an old chimney like an open pipe running through your house. To make it truly safe and dry, you need to plug both ends. A cap on the roof keeps rain out, but a sealed base inside stops drafts and pests.
Permanent sealing is a two-part job: the roof-side seal and the interior seal. Doing only one leaves your home vulnerable to leaks in your roof.
The Roof-Side Seal: Stopping Water at the Source
You cannot just shove some bricks in the top or slap on a cheap, thin metal cap. Weather will defeat those fixes in a season.
The professional method involves installing a permanent, custom-fitted cover. For a masonry chimney, this is often a heavy-gauge galvanized steel or copper pan that gets set into the crown (the chimney’s top slab) and sealed. For a metal flue pipe, a welded or mechanically-sealed cap is used.
This cover must then be integrated into your roof’s waterproofing system with new, proper flashing. We cut the new base flashing into the existing shingles and seal all seams with a high-quality roofing cement or membrane. This creates a unified barrier that sheds water like the rest of your roof.
The Interior Seal: Closing the Chimney at its Base
With the top sealed, you must address the bottom. If you only cap the fireplace opening, you’ve left a huge cavity inside your walls that can trap cold, moist air.
Here’s the right way, which I’ve seen done on retrofit jobs:
- First, a solid insulation plug is installed deep inside the flue, well above the damper area. We use a rigid foam block cut to a tight fit. This acts as a thermal and air barrier.
- Next, the fireplace opening itself or the old wall register is sealed shut. For a fireplace, this means installing an airtight, fire-rated material over the opening, like sheet metal or cement board, which is then framed and finished to match the wall.
Sealing the interior opening with an airtight barrier is what finally breaks the connection between your living space and that empty stone shaft.
The Critical Need for Chase Ventilation
Even when sealed top and bottom, the hollow space (chase) around the old flue can sweat. Warm, moist air from your house can touch the cold chimney liner inside the wall and create condensation.
Because of this, building codes often require passive ventilation. We usually add small, screened vent openings near the top and bottom of the exterior chase siding. This allows a slight air flow to carry moisture out, preventing rot and mold inside your walls. A good contractor will know your local rules.
Getting the Job Done Right
This is not a standard handyman task. It combines masonry, roofing, framing, and insulation work. You need a specialist.
Always get at least three detailed quotes from licensed, insured contractors who can show you photos of previous chimney abandonment work. Ask them specifically how they will seal the top, seal the bottom, and handle ventilation. If they only talk about the roof cap, thank them and move on.
Common Questions
Can I check the work after the chimney is sealed or removed?
Absolutely. For a roof seal, get on a ladder (safely) after the job and inspect the new flashing and cap-it should look integrated and watertight. Inside, use a thermal camera or simply feel for drafts; a proper interior seal will eliminate cold spots on that wall.
What’s my best move if full removal is too expensive right now?
Prioritize a professional, two-part seal immediately. A proper roof cap with new flashing and an interior air barrier will solve the major leak, draft, and pest issues. This is a safe, cost-effective holding action that protects your home until you can budget for removal.
If I remove the chimney, can I use the old flue space for anything?
Never use the flue itself as a duct or chase. Once the brick is gone, your contractor will frame and insulate the new cavity. This creates safe, usable space inside your wall for recessed shelving, or simply a better-insulated, flat wall.
Finalizing Your Chimney Removal for a Sound Roof
Properly sealing an abandoned chimney is a quiet but vital part of maintaining your home’s primary weather barrier. Get that flashing sealed tight from the shingles down, and you stop a major source of hidden leaks before they ever start.
Treating your roof with this level of care is what prevents small issues from becoming major repairs. You may have heard common roof myths. Our Roof Care Myths Debunked guide helps separate fact from fiction. For more on protecting your investment, explore our practical guides on Roof Care, All Types of Roof Guide, Care, Maintenance for trustworthy, step-by-step advice.
References & External Links
- Abandoned Chimneys in buildings, fire hazards, structural hazards, what to do
- r/Oldhouses on Reddit: Discovering chimneys: there are no visible fireplaces in this home. However, I found this chimney in the attic. A neighbor has an identical old home with 4 fireplaces (2 chimneys). How would you start to investigate this? (Home built in 1920)
- r/homeimprovementideas on Reddit: Chimney in wall
- removal – Removing lower section of an old chimney? – Home Improvement Stack Exchange
- Removing an Old Chimney: Should You Do It? Pros, Cons, and FAQs
Ray is an experienced roofer. He has worked as a general contractor in the roofing industry for over 15 years now. He has installed and repaired all kinds of roofs, from small houses to large mansion, and from basic shingles to cement and metal roofs and even solar roof panels. He has seen homeowners struggle with roofing questions and always has experience based proven advice to help those in need. If you need roof pros, Ray's your guide.