
How Tall Should Your Chimney Be? Roof Safety and Draft Principles Explained
Ever wonder why some fireplaces smoke up the living room or why a new roof can suddenly cause draft problems? The answer almost always points back to two things: chimney height and flue design.
Getting these principles wrong doesn’t just mean a smoky house. It can create serious fire hazards and roof damage. Proper chimney height and flue sizing are non-negotiable for safety, efficiency, and code compliance.
In this guide, I’ll cover the exact chimney height rules for your roof, how to size a flue correctly, and the installation mistakes I see crews make every season.
Key Takeaways: Your Quick Safety Checklist
Before we get into the details, here are the rules you cannot bend.
- The 3-2-10 rule governs chimney height. It’s your first and most important check.
- Your flue must be the correct size for your appliance. A liner that’s too large or too small will not draft properly.
- Local building codes are the final word. Always check with your municipality; some areas have stricter rules.
The single biggest danger of ignoring these rules is poor draft, which silently fills your chimney flues with flammable creosote and can push carbon monoxide back into your home.
Remember this: the most critical part of your chimney’s roof penetration isn’t the masonry, it’s the metal flashing that seals it to the roof. A tall, perfect chimney is still a disaster if the flashing leaks.
Why Chimney Height and Flue Design Aren’t Just Suggestions
Think of your chimney like a drinking straw. When you want a good sip, you need a straw that’s tall enough and smooth inside.
The height creates the “pull” or draft. The hot air rising inside wants to escape out the top. A taller column of hot air creates a stronger, more consistent upward pull. A short chimney struggles to establish this flow, especially on windy days.
The flue liner is the smooth interior. Old, rough clay tiles or crumbled mortar create turbulence, like trying to drink a thick milkshake through a cracked straw. This slows the smoke down, letting it cool and deposit creosote.
Poor draft means smoke and gases can reverse into your living space, a condition called backdrafting. This introduces carbon monoxide, a deadly, odorless gas. It also allows creosote, a highly flammable tar, to build up rapidly on the flue walls. I’ve seen chimneys with creosote deposits thicker than my arm, a severe fire hazard.
You often see the brick chimney structure extend above the roofline. This does more than look traditional. That extra height gets the flue opening up into cleaner wind flow, helping to pull exhaust out and prevent wind from blowing down into it. It also helps keep rain and snow from directly entering the flue top.
The 3-2-10 Rule: The Gold Standard for Chimney Height
This rule from modern building codes is simple to remember but must be applied carefully. Here is what it means.
Your chimney must extend at least 3 feet above the point where it penetrates the roof. This is the minimum, measured from the uphill side of the chimney, to meet wood stove chimney requirements.
It must also be at least 2 feet higher than any part of the roof structure (like a ridge, dormer, or parapet wall) that is within a 10-foot radius. This prevents wind turbulence from nearby structures from killing your draft.
Let me give you two common scenarios from jobs I’ve inspected.
Scenario one: a chimney in the middle of a simple roof. It just needs to be 3 feet above the roof surface right around it.
Scenario two: a chimney near the roof ridge. If the ridge is within 10 feet, the chimney top must be 2 feet higher than the ridge, even if that’s more than 3 feet above the penetration point. This is where many DIY installations fail.
To answer a frequent question: Do the chimney bricks have to be above the roof? The flue liner termination definitely must be. The masonry can stop at the roofline if a listed, code-compliant metal chimney pipe is used to achieve the required height above the roof. The critical part is where the smoke exits.
How Roof Pitch Radically Changes Your Chimney’s Job
Your roof’s steepness isn’t just about looks. It changes the wind patterns and weather your chimney battles.
On a low-slope or flat roof, wind sweeps across easily. Your chimney needs to be tall enough to get above this wind layer to create a good pressure differential for draft. On a flat roof, that 3-foot minimum is often not enough. I recommend at least 4 feet in these situations to ensure consistent performance.
A steep roof, like an 8/12 pitch, creates a different challenge. Wind hits the roof face and creates swirling eddies on the leeward side. If your chimney is on the downhill side of a steep roof, it’s sitting in turbulent air. You might meet the 3-2-10 rule but still get smoke blowback on windy days. Sometimes, adding an extra 6 inches to a foot of height solves this.
Snow is another factor. On a steep roof, snow slides off. On a shallow roof, it piles up. Your chimney height must clear the anticipated snow depth in your area. In heavy snow regions, local codes often require chimneys to extend 3 feet above the *anticipated snow line*, not just the roof surface.
Always check your local amendments. Coastal high-wind zones or mountain towns with heavy snow load will have specific, non-negotiable adjustments to these general rules. Your local building department has the final say for your safety.
Flue Design 101: Size, Shape, and the Magic of Smooth Flow
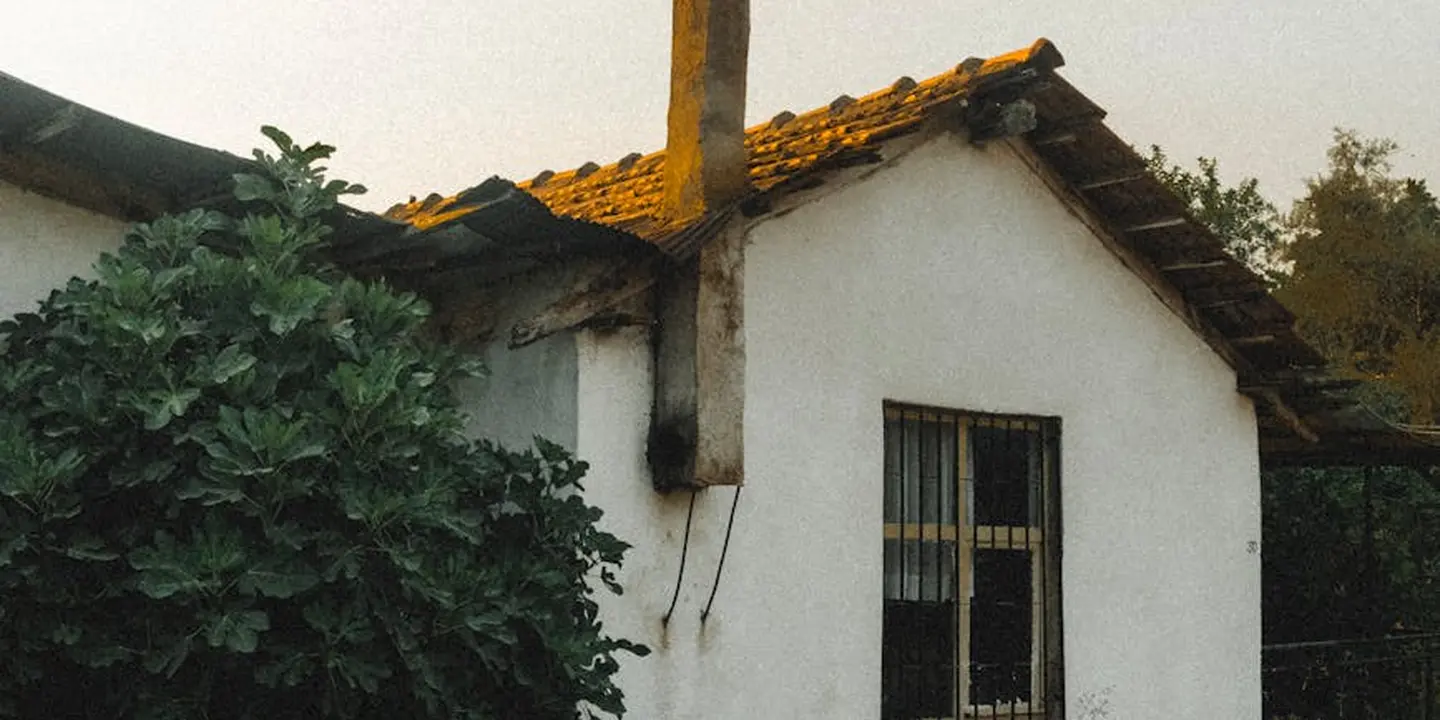
First, let’s clear up a common mix-up. The brick column you see is the chimney. Inside that column is the flue. Think of the flue as the exhaust pipe. It’s the smooth, interior liner that the hot gases and smoke actually travel through to get outside.
A single chimney structure can house multiple flues. This is like having separate exhaust pipes bundled together inside one brick shell. You might have one flue for your fireplace and another for your furnace or water heater. They must remain completely separate all the way to the top to prevent gases from mixing.
Sizing the Flue: Match the Appliance, Not the Hole in the Roof
Here’s the golden rule I tell every homeowner. The flue size is dictated by the appliance it serves, not by the size of the hole in your roof or the chimney’s outer dimensions. The appliance manufacturer provides the required flue size.
Getting the size wrong has serious consequences. An oversized flue is a common problem in older homes. The exhaust gases cool down too much as they spread out in a large space. Cool, slow-moving gases lead to heavy creosote buildup, which is a major fire hazard.
An undersized flue is just as bad. It chokes the exhaust, preventing it from leaving quickly. This often causes smoke to spill back into your home. A modern, high-efficiency furnace produces much cooler exhaust than a roaring open fireplace. Their flues are sized specifically for that lower temperature and flow rate. Never interchange them.
Bends, Offsets, and Horizontal Runs: How Many Are Too Many?
Can a chimney flue have a bend? Yes, but every bend is a speed bump for the rising exhaust. The goal is a straight, vertical shot to the sky.
If you must have a bend, keep this in mind. Minimize the number. Use gentle 30 or 45-degree offsets instead of sharp 90-degree elbows if possible. Most appliance manuals state a maximum, often two bends total. Exceed that and you’re asking for draft problems and buildup.
Horizontal runs, like when a vent goes straight out through a wall, are a different animal. They rely on the appliance’s blower to push exhaust out. These horizontal sections have very strict code requirements for clearances to any wood or other combustible materials in your wall. This is not a DIY guesswork area.
The Critical Junctions: Where Your Roof Meets the Chimney
You can have perfect height and a perfectly sized flue, but if the seal where the chimney meets your roof fails, none of it matters. In my decades on roofs, this junction is the single most common leak point I repair.
Flashing: The Waterproof Seal That Can’t Fail
Proper flashing is a two-part metal system integrated into your roof layers. Step flashing is layered under each shingle as you go up the chimney side. Counter flashing is then embedded into the chimney mortar joints and bent down to cover the step flashing. This creates an interlocking, shingled effect that sheds water down and away.
On every job my crew does, we install a sheet of ice and water shield underlayment up the chimney base before the flashings go on. This sticky, rubberized membrane is a secondary waterproof barrier. If a tiny leak gets past the metal, this catches it.
Code & Compliance Check: Proper flashing isn’t just about technique, it’s about materials. Building codes often specify minimum material thickness, like 28-gauge galvanized steel or 16-ounce copper. Using thin, pliable “boot” flashings can void your shingle warranty. Always use a roofer who follows the manufacturer’s installation requirements for warranty coverage. Proper flashing installation is crucial to ensure durability and code compliance.
Chimney Cricket (Saddle): The Roof’s Best Defense on the Up-Slope Side
Look at the uphill side of a wide chimney. It’s a massive wall for water and snow to slam into. A chimney cricket is a small, peaked roof built directly onto your main roof, just behind the chimney. Properly shaped, it directs runoff away from the chimney, improving roof drainage. This is a key aspect of chimney cricket build roof drainage.
Think of it as a miniature mountain diventer. Its job is to split the flow of water and snow, guiding it smoothly around the sides of the chimney instead of letting it pile up against it. For any chimney wider than 30 inches, a cricket isn’t just a good idea, modern building codes require it. Without one, the pressure from ice dams and pooled water will almost certainly defeat your flashing and cause a leak. If you notice staining or damp spots, take a moment to diagnose the source before you begin a fix. This quick check will guide you to the right remedial steps to fix a leaky chimney.
Common Problems and How to Spot Them
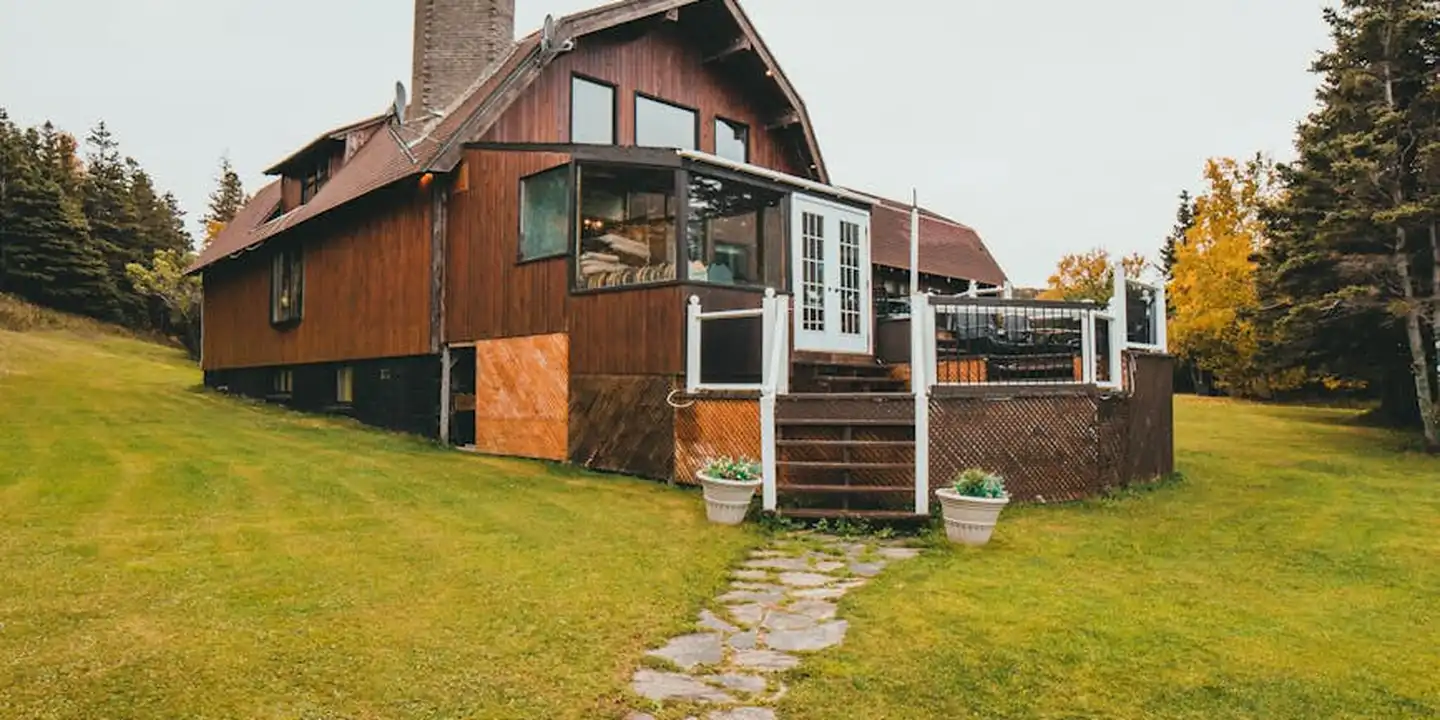
If your fireplace acts up, don’t just blame the wood. The real issue is often on your roof. I want to help you play detective. Look for these clear signs that your chimney or flue isn’t right.
Five Signs Your Chimney Height or Flue Is Wrong
Your chimney system should pull smoke up and out, not into your house. When it fails, it tells you. Here are the five biggest warnings I’ve seen on job after job.
- Smoke filling the room. This is your most urgent sign. If smoke rolls into the room when you light a fire, your draft is weak or reversed. This isn’t just a nuisance; it’s a direct health risk from carbon monoxide and a fire hazard from creosote buildup inside the flue.
- Difficulty lighting or keeping a fire going. A fire that sputters or dies needs air. If the chimney isn’t tall enough to create a strong upward draft, it can’t pull in the fresh air the fire needs to burn.
- Soot stains on the wall above your fireplace. These dark marks, called “ghosting,” mean smoke is leaking back into the room before it can exit. It often points to a flue that’s too large for the fireplace, letting smoke cool and stall.
- Strong downdrafts on windy days. Does wind howl down your chimney, blowing ash and cold air into the room? This means the chimney top is sitting in a wind pressure zone that forces air down. It’s usually too short.
- Excessive black streaking on the chimney’s exterior. Some discoloration is normal, but heavy, tar-like streaks (creosote) mean combustion gases are cooling too fast and condensing. This signals a flue that’s oversized, unlined, or a chimney that’s simply too cold because it lacks proper height above the roofline.
Each of these symptoms answers the key safety question. Proper chimney height and flue design create a reliable draft. That draft carries dangerous gases away from your home, prevents flammable creosote accumulation, and stops smoke from backing up into your living space.
The Perils of a Shared Flue and Other Quick Fixes
Homeowners often ask me, “Can a chimney have 2 flues?” The modern, safe answer is yes, but only if it’s built with two separate, isolated flue liners. Ideal practice is one fuel-burning appliance per dedicated flue. In older homes, I’ve opened up chimneys to find a single, large flue serving two fireplaces. This shared setup is a problem. It can cause cross-drafting where one fireplace steals the draft from the other, forcing smoke indoors.
Be very wary of simple “solutions.” A common band-aid is slapping a thin metal extension on top of a short chimney. Adding height without fixing the underlying flue size or condition is like putting a taller hat on someone who needs different shoes. It might look better, but it doesn’t solve a draft caused by an oversized, crumbling, or unlined flue. That cheap extension can also rust quickly, leaving you back at square one with a new leak point.
Working with Pros: What to Ask Your Roofer and Mason
Getting this work done right requires a team. You need to be an informed client. Here’s how to talk to your contractors to make sure safety comes first.
Your Pre-Work Checklist
Before anyone steps on your roof, have this conversation. It separates the professionals from the hustlers.
- Verify they will pull a local building permit. This is non-negotiable. A permit means the work will be inspected by a third-party for code compliance. If a contractor hesitates, see it as a major red flag.
- Ask which specific code sections guide their plan. Tell them, “Please show me how this design meets the requirements in the International Residential Code, Chapter 10.” A pro will be able to reference this.
- Confirm who is doing what. The roofer should handle the cricket (the small peaked roof behind a wide chimney) and the metal flashing integration. A chimney mason or specialist should handle the flue liner and height calculations. Make sure they plan to talk to each other. I’ve fixed leaks caused by a beautiful new flue liner that wasn’t properly sealed to the roofer’s new flashing.
Red Flags During the Job
Even with a good plan, watch the work. If you see any of these, speak up immediately.
- No cricket on a wide chimney. If your chimney is more than 30 inches wide, it needs a cricket (saddle) to divert water and snow. A crew trying to flash a wide, flat backside with just sealant is setting you up for a leak.
- Reliance only on roof cement. Roof cement (or “tar”) is a sealant, not a primary waterproofing layer. Proper, stepped metal flashing is what keeps water out. Tar should only be used as a supplementary seal on flashings.
- A flue liner that doesn’t match your appliance manual. Your wood stove or furnace manual specifies the required liner size and type (e.g., stainless steel, flexible, rigid). Using a different size or material can ruin draft efficiency and void warranties.
- Ignoring the 3-2-10 rule for looks. This rule means the chimney must be 3 feet above the roof at the penetration point, and 2 feet higher than any part of the roof within 10 feet. Cutting this short because a taller chimney “looks awkward” compromises your home’s safety for cosmetics.
Common Questions
How can I tell if my chimney is tall enough without getting on the roof?
Use the 3-2-10 rule as a visual guide from the ground. If the chimney top isn’t clearly higher than the roof ridge within 10 feet, it’s likely too short. For a definitive answer, hire a certified chimney sweep or roofer for a formal inspection and measurement. There are standards and codes that specify how high a chimney must extend above the roof peak. Checking these can help ensure proper venting and code compliance.
My flue needs relining. What’s the best material choice?
For most wood-burning appliances, a stainless-steel liner is the standard, durable fix. Always match the liner size to the appliance manufacturer’s specification, not the old chimney dimensions, to ensure proper draft and safety.
What’s the single most important thing to check where the chimney meets the roof?
Inspect the metal flashing. Look for gaps, rust, or heavy reliance on roof cement/caulk instead of proper stepped metal. Compromised flashing is the leading cause of leaks, especially around chimneys on metal roofs, regardless of how tall or well-built the chimney is.
Securing Your Roof with a Proper Chimney
Getting your chimney’s height and flue design right is a fundamental part of roof safety. Stick to the basic rule of keeping the chimney top at least two feet above any roof surface within a ten-foot radius, and you’ll protect your home from drafts and fire risks. Additionally, ensure that it meets the building code requirements for chimney flues in residential houses.
Treat your chimney as a critical part of your roof’s defense system. Regular, knowledgeable inspections are your best tool for ensuring everything works safely for years to come. This includes chimney components maintenance—regular checks of flue liners, caps, dampers, and flashing—to catch wear before it becomes a problem. Regular maintenance helps prevent small issues from becoming costly repairs.
Ray Huffington
Ray is an experienced roofer. He has worked as a general contractor in the roofing industry for over 15 years now. He has installed and repaired all kinds of roofs, from small houses to large mansion, and from basic shingles to cement and metal roofs and even solar roof panels. He has seen homeowners struggle with roofing questions and always has experience based proven advice to help those in need. If you need roof pros, Ray's your guide.