
How Do You Install a Rubber Roof to Last?
Why does one rubber roof stay dry for 30 years while another springs a leak in five? I’ve peeled back enough failed membranes to know the answer always comes down to installation. Get the method wrong, and you’re inviting water and wasted money into your home.
We’ll start with how to prepare the deck, because nothing sticks to a mess. Next, I’ll show you the right way to roll out adhesive and set the membrane. Finally, we’ll lock it all down with foolproof seam sealing.
Is a DIY Rubber Roof a Safe Job for You?
Let’s be honest right from the start. This isn’t a weekend project for every handy person. You need to judge your own skill with tools and, more importantly, your comfort with being up high. I’ve helped neighbors who started this job and had to call me in a panic because they froze on the roof. If you get dizzy on a ladder, rubber roofing is a job you should hire out.
Your safety kit is not optional. It’s your most important tool.
- A OSHA-approved safety harness, properly anchored.
- Roof jacks and staging planks to create a safe work platform.
- Boots with a defined heel and aggressive tread, meant for roofing.
- Impact-resistant safety glasses, especially when cutting or applying adhesive.
Many rubber roofs go on low-slope surfaces, but low slope does not mean no risk. The primary danger isn’t the angle, it’s the distance to the ground. A wet patch or a loose tool can cause a slip from any height, and a fall from a single-story roof can break bones.
Know when to call a professional crew. I tell friends to hand off the job if they see any of these red flags:
- Complex penetrations like plumbing stacks, HVAC curbs, or multiple vent pipes.
- Any section of the roof with a pitch steeper than 3-in-12 (imagine a rise of 3 inches for every 12 inches of length).
- Visible sagging, widespread soft wood, or signs of major structural repair needed underneath.
The First, Most Critical Step: Preparing the Deck
This is where your project succeeds or fails. I’ve torn off failed rubber roofs where the membrane was fine, but it was glued to a rotten mess. Installing a perfect rubber sheet over a bad deck is a complete waste of time and money. 90% of the problems I fix began right here.
Preparation is a dirty, methodical job. Do it in this order.
- Remove all old roofing material. You must get down to the bare wood or concrete deck. Every old nail and bit of debris has to go.
- Inspect every square inch of the deck. Probe with a screwdriver. Replace any plywood or board that is rotted, delaminated, or warped. Nail down any squeaky or loose sheets.
- Sweep and vacuum the deck until it’s spotless. I mean cleaner than your garage floor.
The surface you bond to must be flawless. Your deck needs to be smooth, perfectly dry, and solid as a rock. I use the “no debris, no nails” rule from my old foreman: if you can slide a 4-foot level across it without catching, you’re ready for the next step.
Always read the adhesive manufacturer’s instructions. Some require you to roll on a liquid primer to the deck first. This primer seals the wood and creates the best possible surface for the adhesive to grip. If the can says to prime, you prime. It’s that simple.
Gathering Your Gear: Tools and Materials Checklist
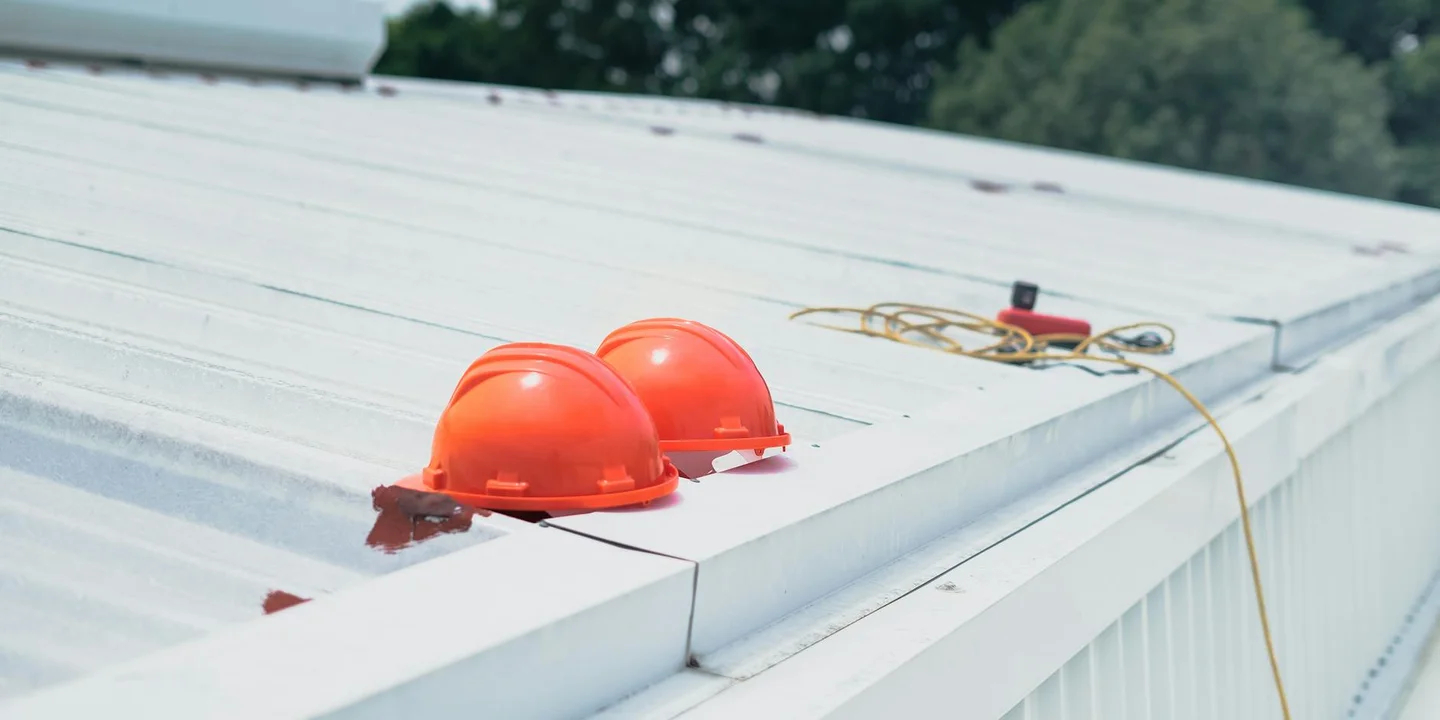
Having the right tools on hand before you start is half the battle. I learned this the hard way on an early job where we had to stop twice to run for supplies. Never start a rubber roof install without checking your gear list first.
For a sheet rubber (EPDM) installation, gather these tools:
- Utility knives with plenty of sharp blades
- A metal straightedge for guiding cuts
- A heavy seam roller (the hand-held kind, not a paint roller)
- A notched trowel specified by the adhesive manufacturer
- Stiff brushes for applying adhesive
- A chalk line for marking layout lines
For a liquid rubber coating project, you will need:
- A heavy-duty roller with a long handle
- Stiff brushes for edges and details
- A mixing paddle and a drill for stirring
- A professional spray rig (this is for roofing crews, not typical DIY)
The core materials are non-negotiable. Always buy these together from the same supplier to guarantee compatibility.
- The rubber membrane (EPDM sheets) or liquid rubber coating
- The specific adhesive and primers made for your chosen product
- Seam tape or sealant for sheet rubber
- Pre-formed flashing details for pipes, vents, and walls
Sheet Rubber vs. Liquid Rubber: Choosing Your Method
Think of this choice like picking between a raincoat and a spray-on waterproofer. Sheet rubber (EPDM) is your best bet for large, simple roof areas like a garage or shed. You roll out big sheets and glue or weigh them down. I’ve put miles of this stuff on flat commercial roofs. For sheds and other flat roofs, this approach scales well and keeps water out year after year. With proper prep and seam work, it’s a long-lasting waterproofing solution.
With sheet rubber, you have two main ways to secure it. A fully-adhered system uses glue over the entire deck. It’s like wallpaper for your roof. A loose-laid or ballasted system lays the sheet down and holds it with smooth river stones or pavers. Ballast is cheaper but much heavier on the roof structure.
Liquid rubber coatings excel on complex roofs with lots of pipes, corners, or odd shapes. You brush or roll it on, and it dries into a seamless, watertight skin. I’ve used it to seal around old skylights where cutting sheet rubber would have been a nightmare. It’s one of my go-to residential rubber roof coatings for these tricky areas.
Remember, liquid rubber needs time to cure between coats. It’s not a one-and-done job. You typically apply two or three layers, waiting for each to dry. Rushing this step is the most common mistake I see.
The Step-by-Step Guide to Installing Sheet Rubber
This is the core process for an EPDM roof. I’ll walk you through it like I’m training a new crew member. Take your time and focus on each step.
How to Measure, Layout, and Cut Rubber Sheets
The old carpenter’s rule holds true: measure twice, cut once. Use a sharp blade in your knife. A dull blade will tear the rubber and give you a ragged edge that’s hard to seal.
Plan your sheet layout to run the long seam parallel to the longest roof edge. This minimizes the number of cross-seams you have to make. Dry-fit the sheets before you cut anything. On one project, we saved a full sheet by shifting the layout just six inches.
For straight cuts, use your straightedge and score the rubber firmly. For complex shapes around a pipe, I make a paper template first. Trace the template onto the rubber, then cut carefully. Always cut from the backside of the sheet for cleaner edges.
How to Glue Down Rubber Roofing Correctly
Adhesive is what bonds the roof to the deck. Using the wrong trowel is a fast way to fail. The notched trowel size is specified by the adhesive maker to spread the right amount of glue. A too-thin layer won’t stick. A too-thick layer won’t dry properly.
Apply adhesive to the deck, or to the back of the membrane, or both. Follow the product instructions exactly. Once the glue is down, you have an “open time” to work. This is the window, usually 10 to 30 minutes, when you can position the sheet before the glue starts to set. Watch the clock.
As you lay the sheet, smooth it out from the center toward the edges with your hands. Then, go over the entire area with a heavy roller. This rolling step pushes out air bubbles and ensures full contact between the rubber and the glue. Miss a spot, and you’ll get a blister that can lead to a leak.
Seaming and Sealing: Creating a Watertight Lock
This is the most critical skill for a leak-free roof. A bad seam will fail. I’ve seen it happen within a year.
First, clean the seam area with the cleaner recommended by the membrane manufacturer. Dirt or grease will break the bond. Then, apply the seam tape or a bead of liquid adhesive along the edge.
Press the two sheet edges together over the tape or adhesive. Immediately use a heavy seam roller to apply firm, even pressure along the entire seam length. Roll it multiple times. You should see a consistent, uniform bead of adhesive squeeze out along the seam.
A proper seam is fully bonded with no gaps, wrinkles, or lifted edges. Run your hand over it. It should feel smooth and solid, like one piece of material. If you see a void, you must cut it out and re-seal that section.
Mastering the Leak Points: Flashing, Edges, and Penetrations
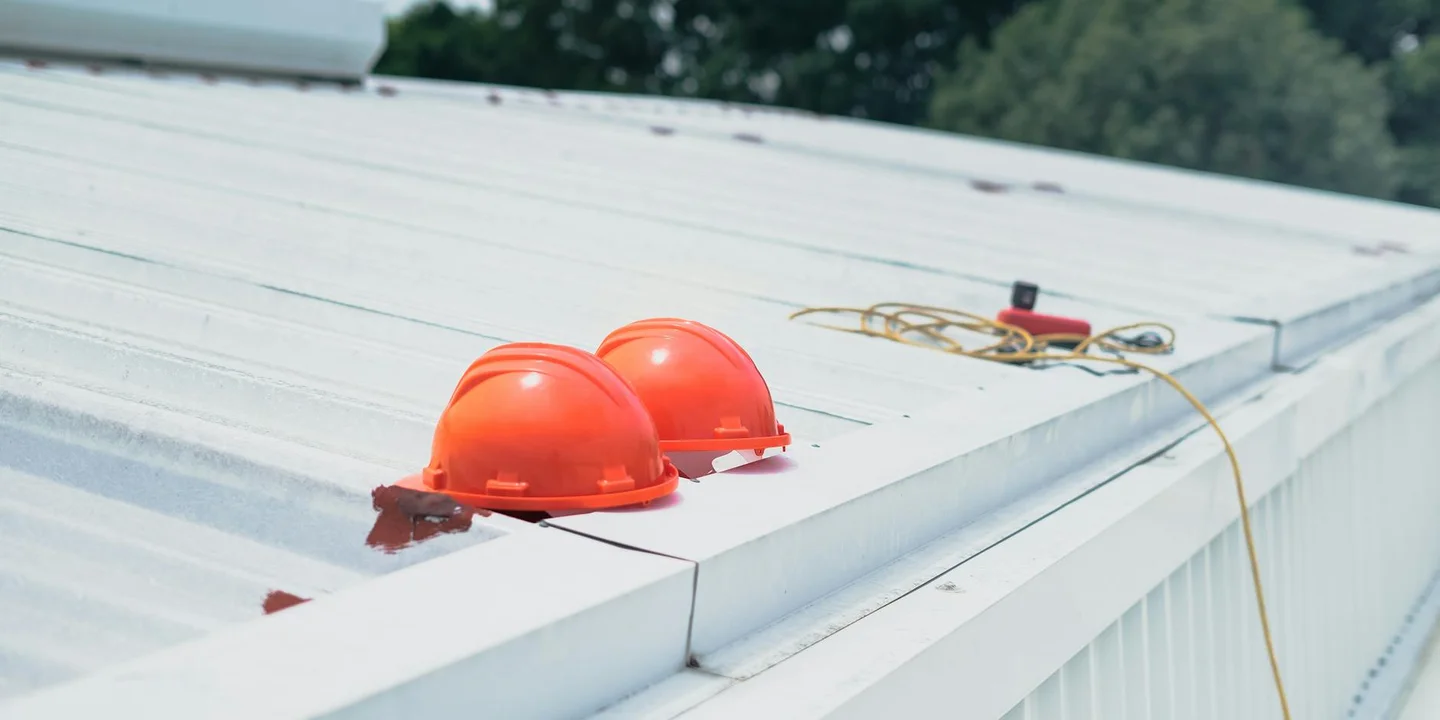
I have fixed hundreds of leaks over my career. Roofs almost never fail in the middle of a wide, open area; they fail at the edges and where things poke through. Water finds the weakest point, and that’s always at a transition or penetration. Getting these details right is what separates a lasting roof from a problematic one. There are a few common roof repair myths that can mislead homeowners. This is exactly the kind of thing addressed in roof repair myths debunked.
Installing Rubber Roofing Around Pipe Boots and Vents
For plumbing vents, exhaust pipes, or any penetration, the “boot and seal” method is your best friend. You use a pre-fabricated rubber pipe boot designed for this job. Think of it like a rubber glove for your pipe. You slide it down over the pipe until its base rests flat on the roof deck.
Here is how to fit the main membrane around it. Lay your sheet of rubber roofing over the penetration and mark the pipe’s center. Cut a small “X” from the center out, just big enough for the pipe to fit through. Do not cut a large hole. Feed the pipe through the “X” and smooth the membrane down flat. The pre-fab boot then gets a heavy bead of compatible adhesive under its flange before being pressed firmly over the membrane and around the pipe. I always seal the top collar of the boot to the pipe itself with an extra wrap of sealant tape. This double-seal system locks water out.
Terminating at Walls, Parapets, and Roof Edges
Where your roof meets a wall or a parapet, you need a mechanical termination. This means using a termination bar, which is a long, flat metal strip with pre-drilled holes. You extend the rubber membrane up the vertical surface at least 6 inches. Then, you place the termination bar over the membrane and fasten it directly into the wall with screws.
The termination bar clamps the membrane securely, preventing wind uplift and stopping water from traveling behind it. After the bar is installed, you cover it with a piece of metal counter-flashing. This flashing is sealed at the top and sides, creating a final, clean cap that sheds water down over the bar and membrane below.
At the roof’s outer edge, install a metal drip edge first. Run your rubber membrane over it, extending slightly past the edge. Trim it neatly. This drip edge creates a defined drip line, forcing water to fall clear of your fascia and siding. On a low-slope roof I worked on, a missing drip edge let water curl back underneath and rot the wood in just two seasons.
Applying Liquid Rubber Roof Coating: A Brush-and-Roll Guide
If your goal is to apply a liquid rubber coating, follow this brush-and-roll process. This method works for coating an existing roof or a new substrate. When planning, you may compare roof coatings spray vs brush sealants to pick the best approach for your roof. That choice can affect coverage, cure time, and application conditions.
Everything depends on surface preparation. Sweep and wash the roof completely. It must be dry and free of dirt, and any old roof material or paint spills should be removed before recoating. For active cracks or wide seams, lay down a polyester fabric reinforcement mesh. You will embed this fabric in the coating. It acts like a flexible scab, bridging gaps so they can’t reopen. Apply a primer if the coating manufacturer requires it, usually on chalky or dusty surfaces.
Application is a two-step dance with your tools. Use a stiff brush to work the first coat into every corner, seam, and penetration detail. This gets the liquid into places a roller can’t reach. Then, use a medium-nap roller to cover the broad, open field areas. Pour the coating into a paint tray and roll it on in manageable sections. Work from one edge of the roof to the other to avoid trapping yourself. If you’re applying roof coating from the ground, use an extendable roller pole to reach the far edges. This keeps you safe and ensures even coverage.
One coat is never enough. You must apply a second coat. Apply this second coat perpendicular to the direction of the first coat to build uniform thickness and seal any microscopic pinholes. If you rolled your first coat north to south, roll the second coat east to west. This cross-direction technique creates a monolithic, seamless barrier. Always allow the first coat to dry to the touch as specified on the product can before adding the second.
Common Mistakes That Cause Leaks (And How to Avoid Them)
I have seen too many good materials ruined by simple installation errors. Rubber roofing is durable, but only if it’s put down right. Avoid these common pitfalls to ensure your roof stays dry for decades.
Poor surface preparation is the number one cause of early failure. Installing a rubber membrane over damp plywood or trapped debris is asking for trouble. Moisture gets locked in, leading to rot and mold. Debris creates bumps and weak spots that can puncture the membrane over time. You must sweep the deck completely clean and let it dry fully before any adhesive or membrane touches it. On a job last spring, my crew found a small puddle under some old insulation. We waited an extra day for the wood to dry. That patience prevents callbacks.
Inadequate seam cleaning or sealing will guarantee a leak. The seams are the waterproof seals of your roof. If you don’t clean the lap area with the manufacturer’s approved cleaner, the adhesive won’t bond. Dirt or oxidation acts like a barrier. Always use a clean rag and the specific cleaner for your membrane type, wiping until the surface is uniformly clean and slightly tacky. This step cannot be rushed.
Stretching the membrane too tight is a subtle but serious error. Rubber needs to relax and contract with temperature changes. If you pull it drum-tight during installation, it will shrink over time. This puts massive stress on the seams and fasteners, causing them to pull out or tear. Lay the membrane flat with a slight, relaxed wave in it, allowing for natural expansion and contraction. Think of laying down a blanket, not stretching a drum skin.
Ignoring manufacturer instructions for adhesive or coating is a gamble you will lose. These products are chemically formulated to work together. Using a generic “all-purpose” adhesive or the wrong lap sealant can lead to a weak bond or a chemical reaction that degrades the rubber. The installation instructions are your bible; follow the primer, adhesive, and seam sealant recommendations exactly as written. The extra cost for the right products is cheap insurance.
Walking on fresh seams or uncured coating destroys the bond before it sets. Curiosity or haste can ruin hours of careful work. Respect the cure times listed on the product labels and plan your work to avoid trafficking over freshly sealed areas. Use walkway pads if you must access another section. I’ve seen a perfectly good seam fail because someone stepped on it 30 minutes too early.
Caring for Your New Rubber Roof
Your rubber roof is now your home’s shield. Proper care is straightforward and will extend its life significantly. Think of it like maintaining a good pair of boots; a little attention prevents big problems.
I recommend a visual inspection twice a year, in spring and fall. Check again after any severe weather like hail or heavy windstorms. Look for punctures from fallen branches, loose seams, pooling water, or any foreign objects that shouldn’t be there. From the ground, use binoculars. If you go on the roof, wear soft-soled shoes and step carefully. Catching a small issue early is the key to a simple, low-cost repair.
Cleaning your roof is simple but requires a gentle touch. Dirt, leaves, and algae can hold moisture. Use a soft-bristle brush or a low-pressure garden hose with a spray nozzle. A mix of mild dish soap and water works well for grime. Never use a pressure washer, especially near the seams, as the high-pressure jet can force water underneath or damage the seal. It’s important to clean roof shingles carefully to avoid damage. Rinse thoroughly with clean water.
For small punctures or a seam that’s lifting, a DIY repair is often possible. Purchase a repair kit made for your specific type of rubber roofing (EPDM or TPO). The process usually involves cleaning the area, applying primer if required, and then a patch or sealant. Cut a round or oval patch larger than the damaged area, follow the kit’s bonding steps carefully, and roll it firmly to remove air bubbles. These patches can last for many years when applied correctly.
A properly installed and maintained rubber roof can last 30 years or more. Signs it’s time for a professional assessment include widespread seam failure, large areas of membrane becoming brittle or cracked, or persistent leaks that patching can’t solve. If your roof is approaching 20-25 years old, have a qualified roofer inspect the membrane’s overall condition and the integrity of the underlying insulation. They can tell you if a recoating is feasible or if a replacement should be planned. Looking ahead, a roof sealants membranes lifespan guide can help you understand expected durability and maintenance timelines. This context supports the decision between recoating and replacement.
Common Questions
How do I spot a bad seam job after installation?
Look for wrinkles, lifted edges, or gaps where the sheets meet. Run your hand over it; a good seam feels smooth and solid, while a bad one will catch or feel loose.
What’s the biggest maintenance mistake homeowners make?
Using a pressure washer. The high-pressure jet can force water under seams and damage the membrane. Clean gently with a soft brush, mild soap, and a garden hose instead.
When should I choose a liquid coating over sheet rubber?
Choose liquid for complex roofs with lots of pipes, corners, or odd shapes. Stick with sheets for large, simple areas, unless you have professional spray equipment and experience.
Your Rubber Roof’s Foundation for the Long Run
Nothing matters more than a perfectly clean, dry, and smooth substrate before the rubber ever goes down. Get this first step right, and you’ve built a roof designed to last.
Treat your roof as the critical protector it is by committing to safe, annual inspections. For practical, step-by-step guidance, a roof damage inspection guide can help you spot issues early. Keep building your know-how with resources on Roof Care, All Types of Roof Guide, Care, and Maintenance to make confident decisions for your home.
Ray Huffington
Ray is an experienced roofer. He has worked as a general contractor in the roofing industry for over 15 years now. He has installed and repaired all kinds of roofs, from small houses to large mansion, and from basic shingles to cement and metal roofs and even solar roof panels. He has seen homeowners struggle with roofing questions and always has experience based proven advice to help those in need. If you need roof pros, Ray's your guide.