
How Do You Install and Paint Shingles on a Dormer Roof? A Roofer’s Guide
Those small dormer roofs might look simple, but have you ever wondered why they’re often the first spot to leak after a storm?
Getting shingles to lie flat and seal properly on a dormer’s tight angles is the real challenge, and a poor job means water damage inside your walls. Based on my crew’s experience, I’ll show you how to do it right.
This guide walks you through the key stages: preparing the dormer decking, installing shingles with correct flashing, and selecting and applying durable paint.
The Dormer Roof: A Roofer’s Guide to a Tricky Job
A dormer is like a smaller roof built on top of your main roof. Think of it like a hood scoop on a car. It has walls and a roof of its own that projects out. This creates windows or extra space in an attic.
Every one of these little roofs is a magnet for leaks. They have more angles, corners, and seams than a flat section of roof. Water running down the main roof hits the dormer and gets funneled into tight junctions called valleys and sidewalls. These junctions are where 90% of dormer leaks start, because water is actively directed right into the seams.
You’ll mostly see two types. A shed dormer has a same, sloping roof plane. A gable dormer has two slopes that meet at a peak, like a tiny traditional house roof. The repair principles are the same for both.
Can a dormer be higher than the main roof? Technically, yes, but it’s unusual and raises questions. Structurally, the dormer’s sidewalls must sit on load-bearing floor joists or beams below. Aesthetically, a towering dormer can look awkward. If you’re considering this, a structural engineer needs to review the plans, as the weight distribution changes significantly.
Before a Single Shingle: Site Prep and Safety First
How do you prepare the dormer roof surface before installing shingles? You treat it with the same respect as the main roof, but with extra attention to detail. Here is the process my crew follows on every dormer job.
- Remove all old shingles, underlayment, and any rotten flashing completely.
- Inspect the wood decking (the plywood or boards underneath) for soft spots, rot, or damage. Replace any compromised sections.
- Sweep the entire surface clean of all nails, debris, and dust. A clean deck is crucial for underlayment to stick properly.
The “Leak Point” Analysis is the most critical prep step. Before new material goes down, you need to examine the skeleton. Focus on the valleys where the dormer roof meets the main roof. Check the sidewalls where the dormer’s vertical walls meet the main roof shingles. Look for gaps, old tar, or poorly installed step flashing. I often find hidden rot in these spots that doesn’t show until you peel everything back.
Hazard & Safety Assessment cannot be overstated. A dormer job is one of the most dangerous tasks on a house. You are working on a steep pitch, around tight corners, and near fall hazards from multiple sides. My non-negotiable rule is a certified fall arrest system anchored to a structurally sound point. Roof jacks and planks create a stable work platform. Always assess the pitch before climbing-if it feels too steep, it is. Check for overhead power lines when carrying ladders or long materials.
Gathering Your Gear: Tools and Materials You Cannot Skip
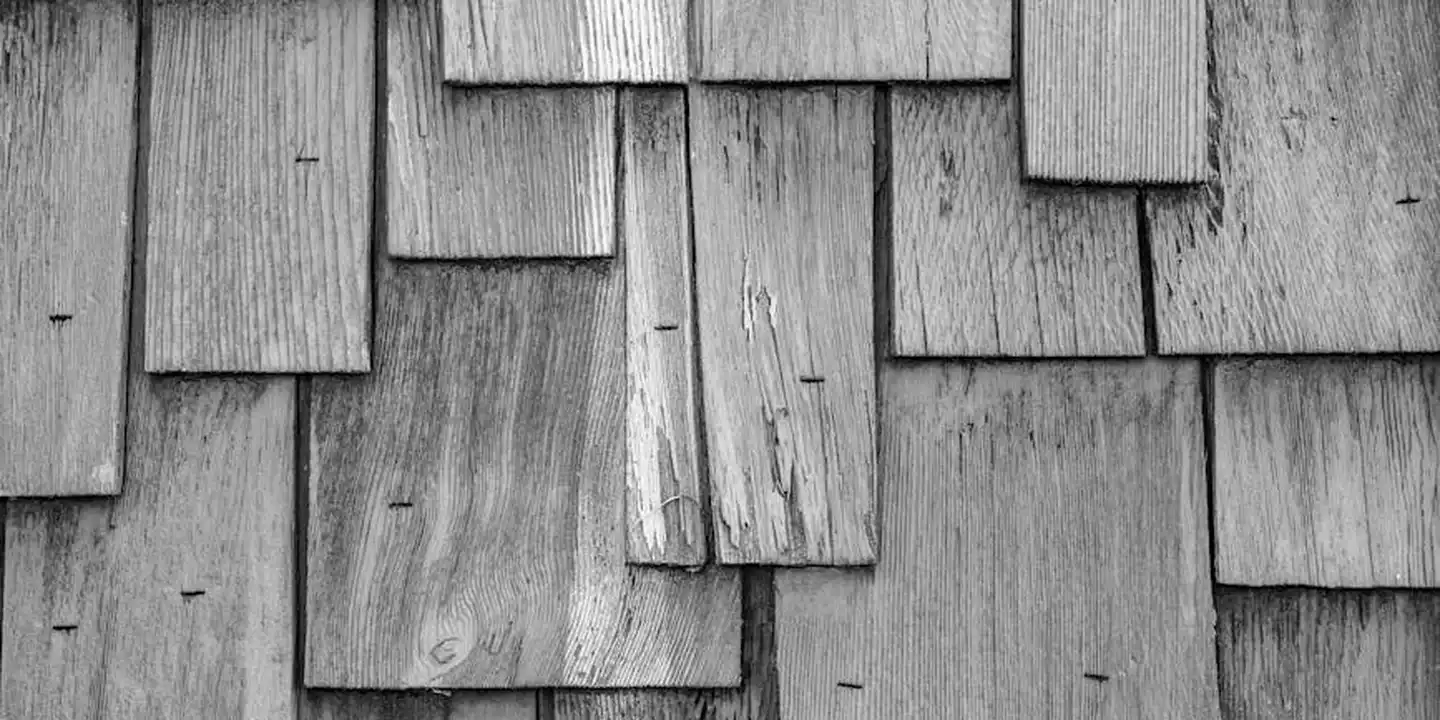
Let’s start with a practical question I hear all the time: what materials and tools are needed for the installation? Skipping a proper setup is the fastest way to a leaky dormer. I always lay everything out on the ground first. It saves a dozen trips up and down the ladder.
Your tool list is short but non-negotiable. Think of these as an extension of your hands on a small, tricky roof.
- Roofer’s hammer: The hatchet style lets you align shingles and drive nails in one motion.
- Utility knife with hook blades: For clean, safe cuts on shingles and underlayment.
- Chalk line reel: Critical for keeping your courses straight on such a visible area.
- Pry bar: For careful removal of old drip edge or flashing.
- Tape measure: Measure twice, cut once is the law up here.
- Sturdy work gloves and safety harness: Dormers are steep. Never work without fall protection.
Your materials list is where waterproofing battles are won or lost. Dormers have more seams and joints than a main roof, so quality matters.
- Architectural shingles: They offer better wind resistance and a fuller look on a small plane.
- Synthetic roof underlayment: This is your primary water barrier. It’s tougher and less slippery than old felt paper.
- Ice and water shield: You must use this self-adhering membrane. Apply it in all valleys, along the eaves, and around the dormer’s perimeter where it meets the main roof.
- Galvanized roofing nails (1 1/4 inch): Coated nails resist rust. Don’t use staples.
- Aluminum drip edge: For the eaves and rakes to direct water into the gutter.
- Step flashing: This is the secret sauce for the sidewalls. You’ll need individual L-shaped metal pieces to weave with each shingle course where the dormer meets the house wall.
On shingle and paint choice, pick a color you like, but ensure any primer you use later is labeled for direct application to asphalt shingles. Also, think about roof shingle color choices that complement your home. The right color can affect heat absorption and curb appeal. Incompatible paints can peel.
The Step-by-Step: Installing Shingles from the Drip Edge Up
So, what is the step-by-step process for installing shingles on a dormer roof? It follows the same logic as the main roof, just on a tighter, steeper stage. The biggest difference is access. You’re working in a confined space, so each move needs to be deliberate. Roofs with complex features like dormers, skylights, or towers require extra attention to flashing and alignment. Even with the same step-by-step logic, these elements add precision and coordination to the job.
We’ll focus on covering the main field of the dormer roof itself. The tricky flashing where it joins the main house wall comes later. Get this base layer right first.
Step 1: Securing the Waterproof Underlayment
On a dormer, you don’t have much room for error. Start at the bottom eave and roll your synthetic underlayment up towards the peak. Keep the rolls tight and overlap each horizontal row by at least 4 inches. Staple or nail it down with plastic caps every few feet to hold it secure against the wind.
Now, bring out the ice and water shield. This sticky membrane is your insurance policy. I use it exclusively for the first 36 inches up from the eave and in any valleys, as these are the spots most vulnerable to ice dams and wind-driven rain. For the rest of the dormer field, the synthetic felt is sufficient. Peel and stick the membrane, smoothing out any wrinkles with your hand.
Step 2: Laying the Starter Course and Shingle Rows
Snap a chalk line. On a short dormer roof, being off by half an inch will show at the top. Measure up from the eave 7 inches and snap a line along the entire bottom edge. This guides your starter strip.
Create a starter course by cutting the tabs off three-tab shingles or using manufactured starter strips. Align this strip so it overhangs the drip edge by about 1/4 to 3/8 of an inch-just enough to direct water away but not so much it sags. Nail it in place.
For your first full shingle row, align the bottom with your starter course. Stagger the seams from the starter. Use four nails per shingle, placed just above the adhesive strip and below the shingle’s seal line. Drive them straight in. Angled nails can tear the mat. Work your way up the dormer, using the chalk lines on each row to keep everything straight. The small size means you’ll reach the ridge quickly, but don’t rush the alignment.
Mastering the Critical Junctions: Valleys, Flashing, and Walls
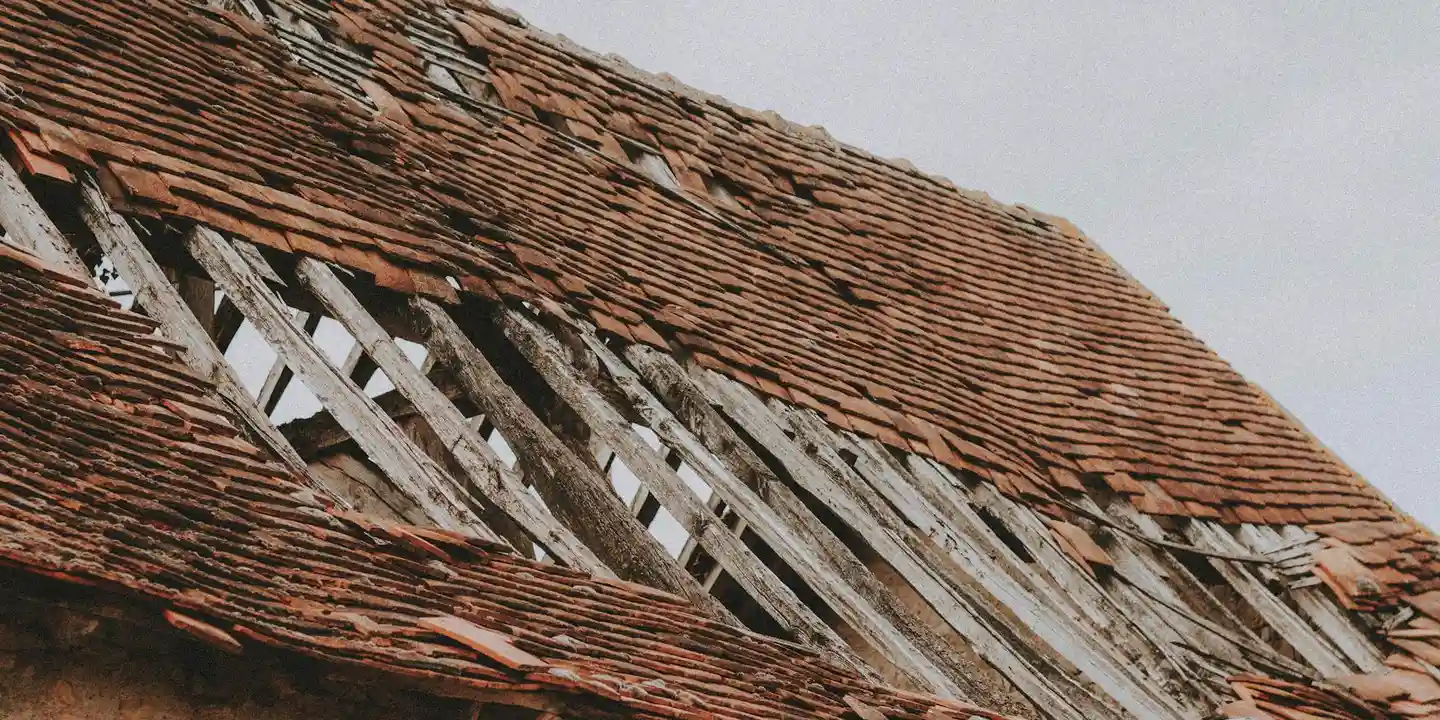
How do you properly cut and fit shingles around dormer features like valleys and edges? This is where the job is won or lost. A dormer creates multiple intersections where water wants to sneak in. Treating these junctions correctly is non-negotiable.
Choosing and Building Your Valley
Valleys are the gutters of your roof, channeling massive amounts of water. For a dormer, you typically have two choices: woven or closed-cut.
- Woven Valley: Shingles from both roof planes are interlaced over the valley. It’s a strong, traditional method. On a small dormer, it can sometimes look a bit bulky where all the layers meet.
- Closed-Cut Valley: Shingles from the main roof run continuously through the valley. The dormer roof shingles are then installed over them, trimmed back about 2 inches from the valley centerline, and sealed down. This gives a cleaner, more streamlined look on a dormer face.
I often prefer a closed-cut valley for dormers because it presents a cleaner aesthetic on a highly visible part of the house. Whichever method you choose, you must start with a layer of ice and water protector in the valley, followed by a metal valley liner. This is your backup system that saves you if a shingle fails.
Flashing the Sidewall: The Interlocking Armor System
Where the dormer roof meets the vertical sidewall is the most common leak point. The solution is step flashing. Think of each piece of step flashing as an armor plate. They lock together with the shingles to deflect water down and onto the next shingle, piece by piece.
Here is the step-by-step process:
- As you install each course of shingles up the dormer roof, integrate a single L-shaped piece of galvanized or aluminum step flashing.
- Nail that flashing piece high on its face, so the next shingle course will cover the nail head completely. The bottom flange of the flashing lays flat on the roof shingle.
- Slide the next piece over the first, overlapping by at least 2 inches. Install the next shingle course over it.
- Repeat this all the way up the wall. This creates a cascading water barrier with no exposed nail heads in the path of water.
- Finally, the vertical wall siding (or a separate counter-flashing piece) is installed over the vertical leg of the step flashing. This final layer completes the seal, directing all water safely onto the roof surface.
Getting this sequence right is what separates a watertight dormer from a future headache. I’ve had to repair too many jobs where a roofer just slapped a long, single piece of flashing against the wall and called it a day. Water always finds a way behind those.
Painting and Finishing: When and How to Do It Right
What are the best practices for painting or finishing the shingles after installation? My first piece of advice is a firm warning: be cautious when painting or applying coatings to shingles.
Stop. Not all shingles are designed to be painted. Many asphalt shingles have protective, colored granules that painting can void the warranty on, making it a questionable option even if suggested by some DIY guides. Wood shakes and some specialty shingles are meant for it. Your single most important step is to check the manufacturer’s specifications for your exact shingle product before you even think about paint.
The Correct Order of Operations
If your shingles are paintable, follow this sequence:
- Install the shingles. The installation is complete, with all flashing sealed.
- Let them weather. New wood shakes often need 3-6 months to lose their natural mill oils and allow the grain to open for proper paint adhesion. Your shingle manufacturer will have a specific recommendation.
- Paint them. Never paint shingles before they are installed. You’ll damage them during handling and miss the critical edges and seams.
Choosing and Applying Paint
For the paint itself, use a high-quality 100% acrylic latex exterior paint. This type flexes with temperature changes and breathes to allow moisture vapor to escape.
On a roof, the best method is to use a sprayer for an even, consistent coat that gets into all the textures and gaps. However, you must always “back-roll” after spraying. This means following immediately behind the spray with a roller. It pushes the paint into the surface for better adhesion and ensures a uniform film thickness with no thin spots.
Work in small, manageable sections. Always maintain a “wet edge” to avoid lap marks. Apply two thin coats for the best durability, allowing proper drying time between coats as specified on the paint can.
Picking Your Painting Day
Weather is your co-pilot here. Ideal conditions are mild, between 50°F and 90°F. The day should be dry with low humidity, and crucially, with very little wind. Wind will blow your spray everywhere but on the roof and cause the paint to dry too fast. Planning your painting for perfect weather is the final, critical step to a finish that lasts for years.
Common Pitfalls and a Reality Check on DIY
Most dormer leaks I fix come from three predictable spots. They are almost always a result of rushing the details. Missing even one can undo all your good work.
Where DIY Dormer Roofs Fail
Let’s walk through the big three. Think of your roof as a system designed to shed water. A leak is just water finding a gap in that system. A common weak point is the joints where shingles meet, where sealants and flashing can fail. Properly sealing those shingle junctions helps keep leaks at bay.
1. Improper or Missing Flashing
This is the number one cause of dormer leaks. Flashing is the metal (or sometimes synthetic) sheet that bridges the gap between the dormer wall and the main roof. If it’s not layered correctly, water gets behind it. Proper flashing installation is crucial to prevent any leaks.
Incorrect installation creates a direct leak point where water is funneled behind the shingles and straight into your attic or wall cavity.
- Flashing must be installed under the housewrap or siding on the dormer wall.
- It must then be woven or layered over the main roof’s underlayment and under the dormer’s shingles.
- Sealing just the top edge with caulk is a guaranteed future leak. Caulk dries and cracks.
2. Missed or Over-Driven Nails
On a small dormer face, every nail matters. A missed nail means a shingle tab isn’t secured. Wind can catch it and rip it off, exposing the underlayment beneath.
An over-driven nail sinks the head too deep into the asphalt. It punctures the shingle’s sealant strip and creates a tiny hole for water to enter.
Each missed or over-driven nail creates a potential entry point for wind-driven rain, and on a steep dormer, rain hits with force.
3. Rushed Valley Work
If your dormer roof meets the main roof in a valley, this is a critical intersection. Water from two slopes converges here. Shingling a valley requires precise cutting and alignment.
Rushing this step leads to uneven shingle lines or exposed nail heads in the valley channel. A misplaced nail in a valley is a puncture waiting to happen.
A poorly constructed valley acts like a funnel directing water directly into any small flaw, massively increasing the leak risk at that joint.
When NOT to Try This
I always tell friends to be brutally honest about their skills and the job’s difficulty. A dormer isn’t the place to learn roofing.
This is a Job for a Pro If…
- The dormer is a new addition. This isn’t a repair, it’s new construction. It requires integrating with the existing roof structure and likely pulling permits. Get it done right from the start.
- The roof pitch is steep (over 6:12). On a pitch this steep, you’re not walking, you’re climbing. It drastically changes safety and installation technique.
- You are unsure about any flashing detail. If the diagrams don’t make perfect sense to you, your flashing won’t be right. This is the core of the job.
- You lack proper safety equipment and experience working at height. This means a full fall-arrest system, not just a ladder. A dormer is often high up and awkward to access.
Understanding the Cost Factors
Many folks ask how much this costs so they can weigh DIY savings. A pro’s price isn’t random. It’s based on three things.
- Size and Complexity: A large, ornate dormer with multiple valleys takes more time and skill than a simple shed dormer.
- Repair vs. New Construction: Tearing off old shingles and repairing rotted wood (a repair) costs more than just shingling a new, framed dormer.
- Material Access: If the dormer is on a back roof slope with no easy equipment access, the job gets more expensive due to labor.
Getting multiple quotes helps you see the average cost for your specific, local project.
The Final Recommendation
Here is my firm but fair take. If your dormer is a simple repair on a low-pitch roof, and you have solid experience with standard roof shingling, you can potentially handle it. Your focus must be ten times sharper on the flashing and valley details.
For most homeowners, hiring a licensed and insured professional is the wise choice for a dormer. You are paying for their experience with these exact leak points, their safety gear, and the warranty on their work. It protects your home’s integrity and your own safety.
Common Questions
How should I inspect my dormer roof after installation?
Get a good look at all flashing points-especially the sidewalls and valleys-from a safe vantage point like a ladder. Check for lifted shingle tabs, exposed nail heads, or any gaps in the metalwork; these are your first signs of a future leak.
What type of shingles are best for a highly visible dormer?
Use architectural (dimensional) shingles. They provide a more substantial, shadowed look on a small roof plane and offer superior wind resistance compared to standard 3-tabs, which is critical on an exposed dormer.
When is a dormer repair a definite “call a pro” job?
If you see any soft, rotted wood during inspection or if the roof pitch is steep enough to make you uneasy. These scenarios require expert material handling and safety systems that go beyond typical DIY, especially when comparing DIY vs professional roof inspection.
Securing Your Dormer Roof for the Long Haul
The key takeaway from any dormer job is this: precise shingle installation and a durable paint application are partners, not separate tasks. When you treat them as one complete system, you build a roof that defends your home year after year without constant worry.
Own your roof’s future by scheduling simple, safe check-ups and staying informed on care basics. Building your knowledge about materials and maintenance is how you protect your investment and ensure everyone under that roof stays safe and dry. Curious about what really works? Our roof care myths debunked guide separates fact from fiction.
Ray Huffington
Ray is an experienced roofer. He has worked as a general contractor in the roofing industry for over 15 years now. He has installed and repaired all kinds of roofs, from small houses to large mansion, and from basic shingles to cement and metal roofs and even solar roof panels. He has seen homeowners struggle with roofing questions and always has experience based proven advice to help those in need. If you need roof pros, Ray's your guide.