
Roofing Tar vs. Liquid Rubber Sealant: How to Pick the Winner for Your Repair
Struggling to choose between a bucket of tar and a bottle of liquid rubber for your roof fix? It’s a common dilemma that can make or break your repair. From my years on rooftops, I’ve seen both succeed and fail, and I’m here to guide you to the right choice.
I’ll break down the key differences in how tar and rubber perform when the sun beats down or the temperature drops.
You’ll learn which material is the best tool for specific jobs, like sealing a valley or patching a flat roof.
I’ll share the hands-on application tips my crew uses to make sure the repair actually lasts.
Key Takeaways: Quick Facts for Your Decision
Fixing a roof leak means picking the right tool for the job. After years on roofs, I see it simply. Tar is a stiff, traditional patch for quick fixes. Rubber is a flexible, modern seal for long-term protection. Considering leaky roof repair cost helps you plan the right balance between immediate fixes and lasting protection. Budget-aware decisions can prevent surprises when the next leak hits.
You reach for tar to stop an emergency leak on a pitched shingle roof. It plugs a hole fast. You choose liquid rubber for flat roofs, metal seams, or sealing around things like vents and chimneys. It moves with the roof.
Durability matters. Rubber generally outperforms tar. It resists sun damage better and stays elastic for years. Tar hardens and can crack over time.
For a DIY project, liquid rubber is often cleaner and simpler to apply with a brush. Both need strict safety measures. Wear gloves and eye protection.
Tar is cheaper when you buy it. Rubber costs more upfront. Think about time. Rubber may save money over the years because it lasts longer.
Material Basics: What Are You Actually Using?
Roofing tar is an asphalt-based petroleum product. It is thick and black. I have used it for decades. It hardens as it cures and can become brittle over time, especially in extreme weather.
Liquid rubber sealant is different. It is a synthetic elastomer, like acrylic or polyurethane. It cures into a flexible, waterproof membrane. Imagine painting a stretchy skin on your roof.
The primary difference is in the feel. Tar sets up like dried glue. Rubber acts like a stretchy rubber band. This change affects everything.
Where are they best used? Use tar for quick patches on dry, pitched roofs. Do not use it as a permanent fix on flat roofs or areas that move. Rubber is best for flat roofs, metal, and sealing around protrusions like vents. I always pick rubber for a lasting seal near flashings.
Tar: The Old-School Workhorse
Tar comes in two main forms. Cold-applied mastic is in a can. It is ready to use but messy. Hot-pour tar must be heated first. I have used it on big jobs. It is even messier and requires care.
Tar is ideal for plugging holes in shingle roofs or making a temporary patch on a dry surface. I have used it to stop a leak until my crew could do a full repair. It is a short-term solution. Know the roofing tar drying time and the ideal weather conditions to plan a longer-lasting patch. Dry, warm days with low wind are typically best for tar work.
Do not use tar on areas with frequent expansion and contraction. I have seen it fail on flat roofs and around chimneys. It cracks because it cannot flex. It is not a permanent fix for those spots.
Liquid Rubber: The Modern Protector
You apply liquid rubber with a brush, roller, or spray. This leads to a seamless coat. On my projects, we often use a roller for control. It is a clean process compared to tar.
Use liquid rubber to seal entire sections of a flat or low-slope roof, repair tears in EPDM rubber membranes, or waterproof metal seams. It is perfect for spots that need to stretch.
The surface must be clean before you start. Dirt or grease ruins adhesion. For some materials, like metal, you often need a primer first. I always prep the area well. It makes the seal last.
Performance Showdown: Flexibility, Lifespan, and Curing
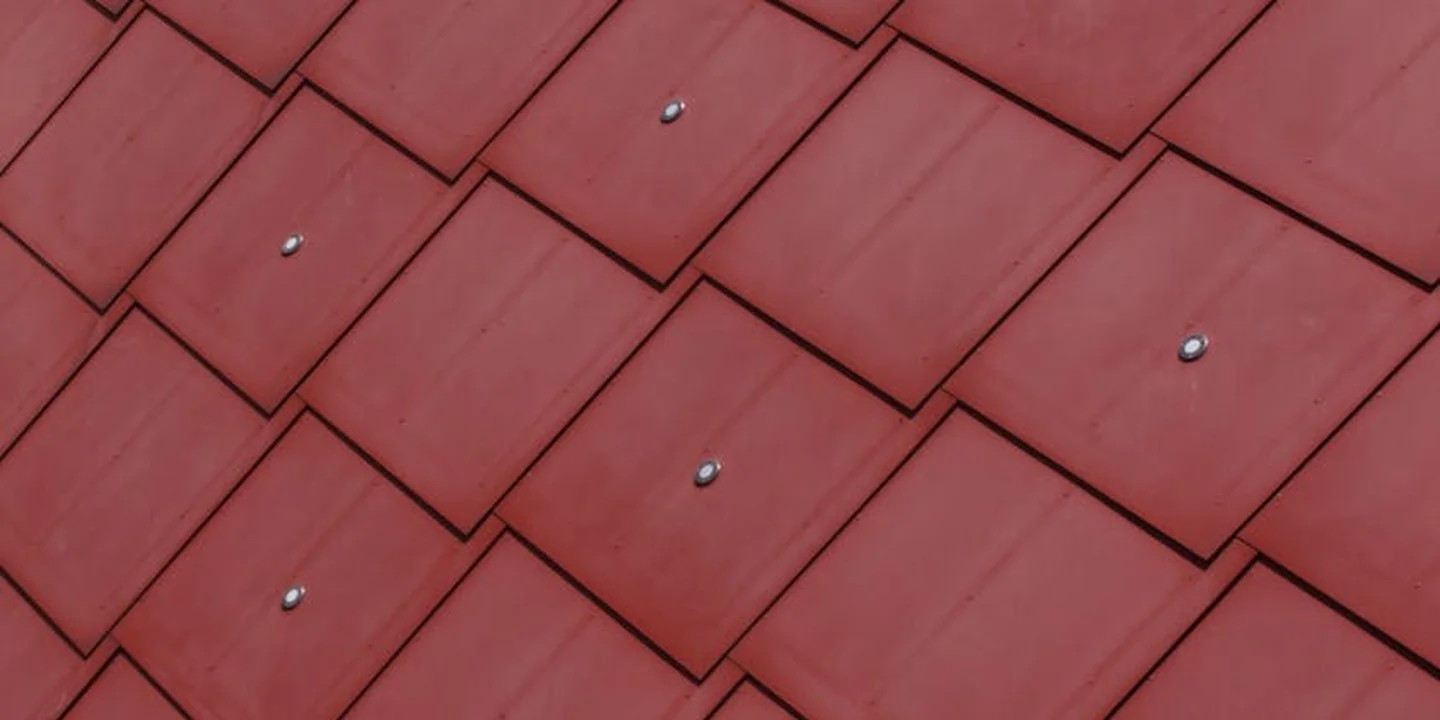
Putting these two materials side by side shows a clear difference in how they behave over time. The right choice depends on what your roof needs to handle.
Liquid rubber sealant is designed to move, stretching and compressing with your roof’s natural expansion and contraction. Roofing tar, while initially very sticky, becomes brittle as it cures fully. In my experience, this is the main reason tar patches fail on flashing seams or between materials that shift.
On lifespan and sun resistance, modern rubber formulations have a distinct advantage. They often include UV blockers and reflective properties. A good quality liquid rubber can offer a reliable seal for 10 years or more. Traditional tar, constantly baked by the sun, will oxidize, dry out, and develop a network of cracks (we call it alligatoring) much sooner.
Curing time is another practical difference. Many liquid rubbers will form a protective skin in a few hours, allowing you to breathe a little easier before the next rain. Cold-applied tar from a caulk tube can stay tacky and soft for a surprisingly long time, attracting dirt and remaining vulnerable.
Here are direct answers to common questions:
Which is more flexible? Liquid rubber, by a wide margin. It acts like a stretchy bandage.
Which lasts longer under the sun? Quality liquid rubber sealants are formulated for UV resistance and typically outlast tar.
Which cures faster? Liquid rubber usually skins over faster, though full cure for both takes days.
Why Flexibility Matters on Your Roof
Think of your roof like skin on a living body. On a hot day, it expands. On a cold night, it contracts. Materials nailed together move at slightly different rates. A sealant at a critical joint needs to stretch like elastic, not snap like a dry twig. That’s the core job.
I’ve seen countless leaks return because a stiff tar patch cracked at the very seam it was meant to protect. Liquid rubber accommodates that movement at valleys, around vent pipes, and where the roof meets a wall. It bridges small gaps without tearing, which is what prevents the next leak from starting.
Sun, Weather, and Long-Term Durability
The sun is your roof’s biggest enemy. It breaks down almost everything over time. Tar absorbs that heat and radiation, which drives out the oils that keep it pliable. The result is a dried-out, cracked crust.
Quality rubber coatings are engineered to reflect UV rays and resist the chemical breakdown caused by constant exposure. They are essentially sunblock for your roof’s weak points.
You need to assess your roof’s integrity honestly. A small, flexible patch with rubber can be a great 5-10 year fix. But if you see large areas of alligatoring tar, widespread cracking, or degraded underlayment, that’s a red flag. No sealant in a tube or bucket is a substitute for a failing roof system. At that point, patching is just delaying the inevitable replacement.
The DIY Reality: Application, Safety, and Common Mistakes
For a homeowner, the application process is where the choice becomes very clear. One material is generally simpler and safer to handle than the other.
Liquid rubber is the more DIY-friendly option straight out of the bucket. It has minimal odor, requires no heating, and can be applied with common tools like a brush or roller. Roofing tar, especially in cold weather, can be thick, messy, and often needs a propane torch to flow properly-a significant safety concern.
Your safety gear is not optional. For any roof repair:
- Sturdy gloves
- Eye protection
- Non-slip shoes
When working with tar, add a proper respirator rated for organic vapors-the fumes are potent and unhealthy to breathe.
The biggest mistake I see is rushing the preparation. No sealant, no matter how good, will stick to dirt, loose granules, or moisture. Cleaning and drying the repair area is 90% of the job.
Common questions answered:
Which is easier for a DIYer? Liquid rubber, due to its simpler cold application.
Which sticks to a damp surface? Neither. You must dry the area completely for any lasting bond.
How do I get the best adherence? Scrub the area with a stiff brush, rinse it clean, let it dry fully, and follow the product’s primer instructions.
Your Tool Kit for the Job
Gathering the right tools before you go up makes the job smoother and safer.
For roofing tar (cold application):
- A heavy-duty caulk gun for cartridges
- A putty knife or small trowel for spreading
- A propane torch (only if using roll tar or in cold weather, with extreme caution)
If you must use a torch, have a fire extinguisher on the roof with you and be acutely aware of surrounding dry materials.
For liquid rubber sealant:
- A stiff bristle brush or short-nap paint roller for application
- A paint tray
- A primer brush, if the product requires a primer for your roof material
Step-by-Step: Sealing a Leak Correctly
Follow this sequence for a repair that lasts. The steps are similar for both materials, but the execution is easier with rubber.
- Locate the exact source. Water can travel, so look uphill from the interior leak stain. Check flashing, vents, and seams first.
- Clean the area thoroughly. Remove all dirt, moss, and loose material. A wire brush works well.
- Dry it completely. This is the critical rule. Wait for a full 24 hours of dry weather if you can.
- Apply primer if needed. Some materials (like metal or certain plastics) require a primer for the sealant to bond. Read the product label.
- Apply the sealant. For rubber, brush it on in overlapping layers. For tar, apply a thick bead and spread it smoothly to feather the edges.
- Allow full cure time. Refer to the product instructions. A skin on the surface does not mean it’s fully cured underneath. Resist the urge to test it with a hose too soon.
Never, ever apply tar or rubber to a surface that feels even slightly damp to the touch. The moisture will prevent adhesion, guaranteeing the patch fails and you’re back up the ladder in a few months. I’ve learned this the hard way on early jobs, and it’s a lesson that sticks.
Cost-Benefit Breakdown and Final Verdict
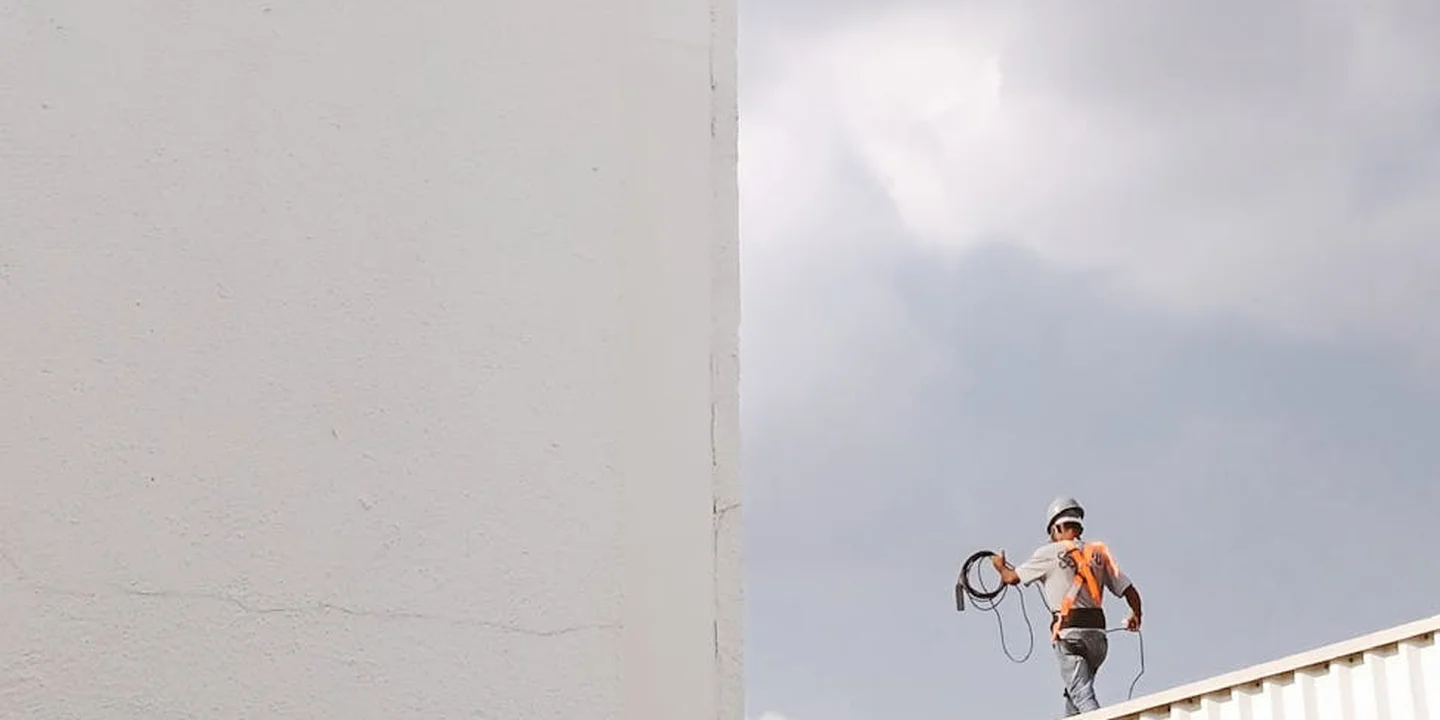
Choosing the right product isn’t just about the tube in your hand. You need to see the whole roof. A smart patch today can save thousands. A bad one can cost you more tomorrow.
The Financial Verdict: Patch, Seal, or Replace?
My rule is simple. Use a sealant for a single, pinpoint leak on a roof that’s otherwise in good shape. Think of a popped nail head or a small crack in a boot around a pipe. For a quick, flexible option, the Flex Seal roof leak guide can help you pick the right method for those small, isolated leaks.
If you have water showing up in different rooms, or the roof deck feels soft, a sealant is a waste of money. You’re putting a bandage on a broken bone. For a roof near the end of its life, a full replacement is the only financially sound choice.
Look at the long-term cost, not just the price at the store. A gallon of roofing tar might cost you $20 to $50. A quality liquid rubber starts around $30 and can go up to $80 per gallon. The rubber seems more expensive, but it can come with longer-lasting benefits.
But here’s the crew secret. A basic tar patch might stop the leak for a season or two. A properly applied rubber sealant can last a decade. Over ten years, you might buy and apply tar five times. You’d apply the rubber once. The total cost and effort tips the scale.
Contrast that with a full roof replacement. That’s a project costing thousands of dollars. A $50 sealant fix that buys you five more years on a sound roof is brilliant economics. The same $50 fix on a failing roof is money you’ll never get back.
Environmental and Health Considerations
What you put on your roof can affect your home’s air and the wider environment. Traditional roofing tar is a petroleum-based product. It releases high levels of VOCs (volatile organic compounds) during application. The smell is strong for a reason.
Many liquid rubber sealants, especially water-based acrylic or hybrid formulas, have significantly lower VOC levels. Some are even labeled as low-odor. They have a better sustainability profile overall.
If indoor air quality or environmental impact is a priority for you, a low-VOC liquid rubber is the better choice. Always work in a well-ventilated area, wear a respirator rated for organic vapors, and protect your skin with gloves and long sleeves. Safety isn’t optional.
Your Final Decision Guide
So, which one do you pick? Stop thinking about “best.” Start thinking about “right for this job.” Match the product to your specific situation.
- For asphalt shingle roofs with minor flashing leaks: A high-quality rubberized asphalt sealant (a hybrid) often works best. It bonds well with the surrounding asphalt.
- For metal roofs, rubber membranes (EPDM), or around odd shapes: Pure liquid rubber is your friend. Its elasticity handles expansion and complex contours far better than stiff tar.
- For a quick, emergency, low-budget stopgap: A traditional tar patch can work. Just know it’s a temporary hold, not a permanent fix.
- For a repair you hope to never think about again: Invest in a premium liquid rubber. The higher upfront cost pays for itself in longevity and peace of mind.
Red Flags: When to Call a Pro
Sealants are powerful tools for homeowners. But they have limits. Knowing when to put the caulk gun down is as important as knowing how to use it.
Call a professional roofer immediately if you see any of these signs. A sealant will not help and will delay the proper repair. For quick, practical steps, see our emergency roof repair guide. It outlines what you can do right away and what to avoid until help arrives.
- Water stains or leaks appearing in multiple areas of your ceiling.
- A section of your roof deck or ceiling that sags or feels spongy underfoot.
- Rotted or crumbling roof decking visible from your attic.
- Previous patches that have failed or are surrounded by new damage.
- Major storm damage with missing shingles or cracked tiles over a large area.
A professional inspection is cheap insurance. A good roofer can tell you if a simple sealant application will solve your problem for years, or if you’re looking at a bigger issue. A roof damage inspection guide can provide a quick checklist to review beforehand. It helps you know what signs to look for before the visit. Don’t guess with your roof.
Quick Answers
1. Can I apply either product over an old, failed sealant patch?
No. For a lasting bond, you must completely remove the old, cracked material and clean the surface down to the original roof. Both tar and rubber will fail if applied over a compromised base.
2. Is one material better for sealing the small gaps around nail pops on shingles?
Liquid rubber is the superior choice here. Its flexibility allows it to move with the shingle without cracking, whereas tar will become brittle and often break the seal.
3. How do I know if my roof problem is too big for a sealant fix?
If you have multiple leaks, widespread discoloration (alligatoring), or a spongy roof deck, a sealant is a waste. These are systemic failures requiring professional repair or full replacement.
Sealing Your Decision with Confidence
Pick your sealant based on the repair size and your roof material, not just habit or convenience. Getting this match right is what turns a quick fix into a repair that lasts for seasons.
Make safety your first step with every repair by using the right gear and working in good conditions. Building your knowledge on roof care and maintenance is how you become a true partner in protecting your home.
References & External Links
- Roofing Tar vs. Silicone (Analysis & Comparison)
- Comparing Roofing Cement and Tar: Best Roof Sealants for Durability and Protection – Collingwood Roof Repair
- r/Roofing on Reddit: Tar or sealant recommend
- Roofing Tar Coatings & Sealants | ARC Coat
- Sealants vs. Complete Replacement | Findlay Roofing
- r/Roofing on Reddit: Best sealing solution for a tar and gravel roof with no gravel?
Ray Huffington
Ray is an experienced roofer. He has worked as a general contractor in the roofing industry for over 15 years now. He has installed and repaired all kinds of roofs, from small houses to large mansion, and from basic shingles to cement and metal roofs and even solar roof panels. He has seen homeowners struggle with roofing questions and always has experience based proven advice to help those in need. If you need roof pros, Ray's your guide.