
How Do You Fix an Old Roof Without Losing Its Historic Charm?
Does the thought of a roof repair on your century-old home fill you with dread? You’re not worried about just any leak, you’re worried about damaging the very character that makes your house special.
You can maintain your home’s historic integrity while making necessary, durable repairs. It requires a different approach than a standard modern roof job. This guide focuses on three practical priorities for preserving your historic roof: finding the balance between repair and replacement, sourcing the right materials, and choosing a contractor who understands old buildings.
| Material | Look From the Ground | Touch/Feel (if accessible safely) | Common Age Signs |
|---|---|---|---|
| Slate | Thin, flat, rectangular stones in even rows. Colors often gray, black, purple, or green. | Hard, cold, and stone-like. Taps with a metallic ring if good. | Delamination (splitting into layers), crumbling edges. |
| Wood Shake | Irregular, thick wooden shingles with a textured, rustic surface. Often cedar. | Rough, woody. Can be soft or spongy if rotting. | Deep splitting, moss growth in the splits, curved edges from wear. |
| Clay Tile | Distinctive curved (barrel) or flat shapes. Terracotta orange is common, but also glazed colors. | Hard, ceramic feel. Heavy. | Cracks, broken corners, tiles sliding out of alignment. |
| Metal (Tin, Copper, Terne) | Large, flat sheets with soldered seams. Tin/terne develops a gray patina; copper turns green. | Smooth, metal. May be wavy or dented. | Pinhole rust, cracked solder seams, lifting at the fasteners. |
What Does a Healthy Historic Roof Look Like?
A healthy historic roof has a quiet dignity. The lines are straight and the plane is flat. The color is consistent, weathering gracefully across all slopes.
For slate and tile, the courses run in perfect, unbroken lines, like soldiers at attention. On a wood roof, the shakes lay flat without curling at the ends. Metal roofs should show no bulges or oil-canning waves. Fasteners, like the copper nails on a slate roof, should be tight and not “proud” of the surface. Compare this to a modern asphalt shingle roof, which aims for a uniform, monolithic look. A historic roof celebrates the individual character of each piece.
Conducting a Hands-Off Inspection
You can learn a lot with your feet planted firmly on the lawn. Gather binoculars, a notepad, and a camera with a zoom lens.
- Start at the gutter line. Look for granules (from slate) or wood debris in the gutters. This is runoff from wear.
- Pan slowly up the roof. Follow the plane. Your goal is to spot anything that breaks the pattern a missing piece, a dark stain, a dip.
- Examine ridges, hips, and valleys closely. These complex intersections fail first. Look for cracked mortar on a tile ridge or missing pieces.
- Document everything. Take photos and note locations. This log becomes your repair map.
This is a visual inspection only. Do not climb a ladder to touch or walk on a historic roof without a professional present. The materials are fragile and a misstep can cause thousands in damage.
Red Flags That Shout “Major Problem”
Some issues go beyond normal wear. I look for patterns, not just single points of failure.
- A sagging roofline is a structural emergency. It indicates failed rafters or decking, often from long-term water intrusion.
- Widespread moss or lichen with deep root intrusion means moisture is trapped. On wood, this causes rot. On slate, roots can lift and break the stones.
- Multiple broken tiles or slates in a concentrated area often points to a decking issue underneath or past impact damage. Isolated breaks are normal; clusters are a system failure.
These red flags mean your roof’s underlying system is compromised. It needs a professional diagnosis immediately.
Why Historic Roof Repair Isn’t a Modern Job: Key Differences
Fixing a historic roof is a different trade from installing a new one. The goal isn’t just to stop a leak it’s to preserve the original fabric of the house for another century. Even so, the leaky roof repair cost is part of the stewardship, not a quick fix. A careful estimate helps balance preservation with budget.
Modern roofing is about replacement and speed, using standardized materials applied with power tools. Historic roofing is about preservation and precision, using custom materials placed by hand. A modern crew might replace a whole section of damaged decking. On a historic job, we often “sister” new wood to the old, saving every original board we can. The nails matter, too. Modern galvanized steel nails can stain slate and tile and corrode faster than the original copper or wrought iron. Using them can create new problems.
I’ve seen roofs ruined by well-meaning but wrong repairs. A crew used a pressure washer on a 150-year-old wood shake roof, blasting away the protective gray patina and shredding the wood fibers. Another used modern asphalt cement to “glue” a slate back down. It failed in a year and stained the surrounding slates permanently. These shortcuts destroy historical value. These stories feed a common roof repair myth that ‘any quick fix will do.’ Debunking these myths helps homeowners recognize that proper restoration requires expert assessment and durable, historically appropriate materials.
Mindset Shift: Steward, Not Just Owner
Think of your home not just as property, but as a piece of history you’re holding for the next generation. This leads to the core rule: “like-for-like” repair.
Like-for-like means replacing a broken clay tile with a matching salvaged or newly crafted clay tile, not a piece of painted concrete. It means using heartwood cedar shakes, not pressure-treated pine. It’s the difference between restoring a vintage car with original parts and keeping it running, versus dropping in a modern engine and cutting the frame to fit. The first preserves its soul and value. The second just makes it go.
The Tools and Techniques That Matter
The tools tell the story. On a modern site, you hear the constant pop of pneumatic nail guns. On a historic repair, the sounds are different the scrape of a slate ripper hooking under a damaged slate to cut the old nail, the tap of a slate hammer driving a pure copper nail, the snip of tin snips on a flashing detail.
We use hand tools because they allow control. A power nailer can split an old slate or shake in an instant. Driving a nail by hand lets you feel the resistance. You stop before the material cracks. This work isn’t fast. Replacing fifty slates by hand can take a skilled crew a full day. But it’s done right, and the surrounding hundred-year-old slates remain untouched and ready for another century.
Precision and patience protect the irreplaceable. Speed risks it all.
Choosing Your Weapons: Materials for Authentic Repairs
The right materials are everything on a historic roof. The wrong choice screams “patch job” from the street and can actually cause more damage over time. You often face a choice: authentic, traditional materials or modern substitutes. When weighing synthetic roofing materials versus traditional options, you compare durability, weight, and how well the look fits the historic character. Subtle differences in texture and color can influence the roof’s authenticity while still offering modern warranties.
The Traditionalist’s Toolkit: Sourcing Real Materials
For a seamless repair, nothing beats the real thing. Your first stop should be architectural salvage yards. These places are treasure troves for vintage slate, reclaimed clay tile, and even old-growth cedar shakes. I once spent a whole day at a salvage yard in Pennsylvania pulling perfect Vermont slate off a pallet for a 1920s home repair. It was a perfect match.
Specialty mills are your next best bet. They often stock historically accurate wood species and cuts for shakes and shingles. For slate and tile, dedicated quarries and manufacturers still produce materials using traditional methods.
Be very careful with “close enough” matches. A new cedar shake that’s slightly different in thickness or grain will weather to a completely different color, creating a spotted look on your roof. A synthetic slate tile might look okay in the showroom, but its flat, perfect surface will never have the subtle texture and depth of real stone.
| Material | Traditional (Real) | Modern Substitute |
| Slate | Natural stone, lasts 75-150+ years, unique color variation, heavy. | Fiber-cement or rubber composites, lasts 40-60 years, uniform appearance, lighter weight. |
| Wood | Real cedar or redwood shakes, naturally rot-resistant, beautiful aging to silver-gray. | Pressure-treated pine or “engineered” wood, requires chemical treatment, may not age gracefully. |
When Modern Materials Can Sneak In (Safely)
Not every modern material is the enemy. The key is to use them where they’re hidden from view but add serious protection.
Think of modern ice and water shield as a hidden raincoat. In the old days, they used layers of tar paper. Today, a self-adhering membrane at valleys, eaves, and around chimneys is a smart upgrade. It prevents leaks from ice dams and wind-driven rain. You’ll never see it, but it makes the roof far more resilient. Even when you do see it, it’s under the shingles.
Breathable underlayment is another smart secret. Older roofs were often built to “breathe,” letting moisture vapor escape from the attic. A modern synthetic underlayment protects the deck from rain during repair work but allows that vapor to pass through. This prevents rot by avoiding moisture trap between the new underlayment and the old roof deck.
The Leak Points: Fixing Critical Junctions Safely
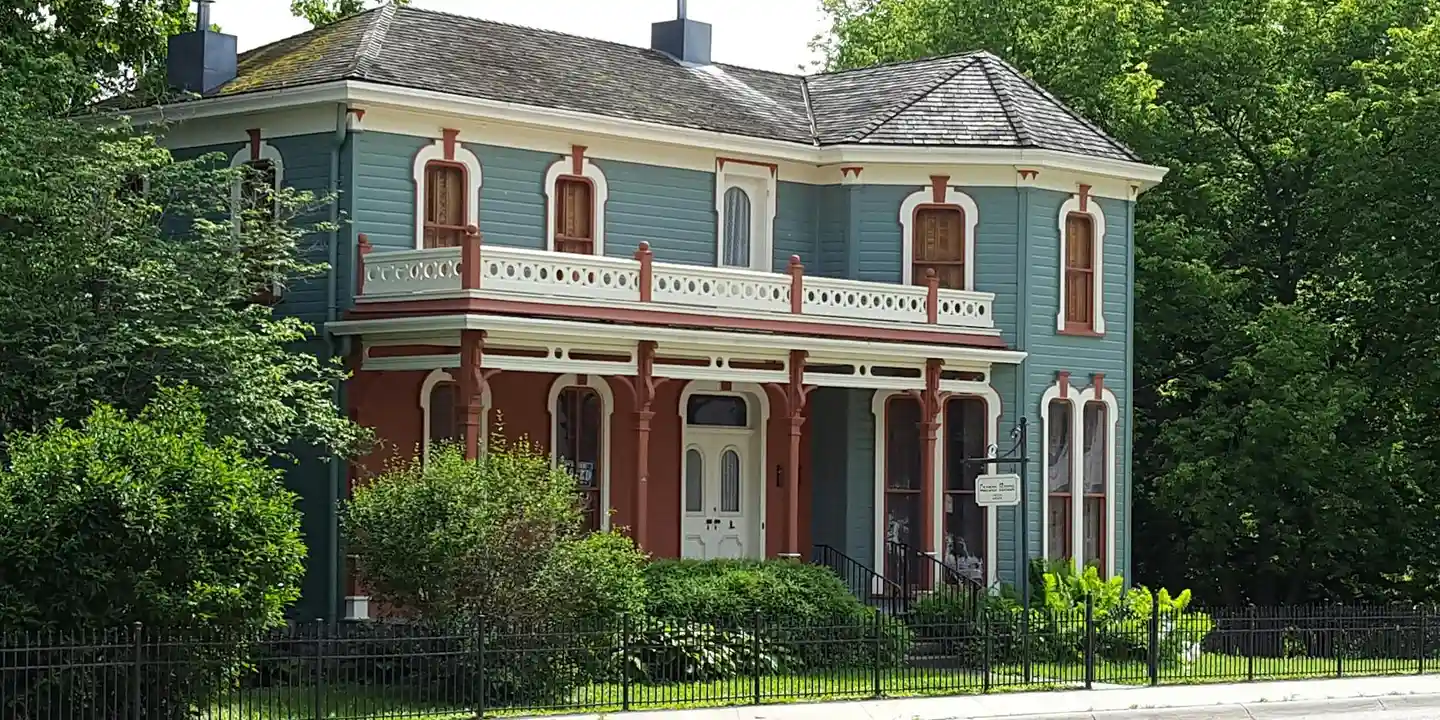
Roofs don’t leak in the middle of a perfect slate. They leak where different materials meet and move. On a historic home, these junctions have been flexing and weathering for a century. They fail first.
Chimneys are the biggest culprit. The masonry expands and contracts with heat, breaking the seal with the flashing. Valleys wear thin from decades of water flow. Old skylights have failing seals and thin flashings. The goal is to fix the leak without replacing the entire historic feature.
Flashing: The Historic Roof’s Weakest Link
Original flashing was often lead or copper. These are soft metals that craftsmen would “dress” or mold into place. Repairing lead or copper flashing is usually better than replacing it with a modern material like aluminum. You can often patch a small hole with a soldered piece of matching metal or re-seat a section that has pulled away.
Modern step-flashing-where small L-shaped pieces are woven under each shingle course-is a very effective technique. On a historic wood or slate roof, a skilled roofer can adapt this method using copper to repair a wall junction. The new copper will age to match the old patina over time. The mistake is using galvanized steel or aluminum that looks shiny and wrong.
Step-by-Step: Patching a Slate or Tile Roof Leak
This is delicate work. If you’re not comfortable on a steep roof with fragile materials, call a specialist. Here’s how a pro does it:
- Locate the leak from inside the attic to pinpoint the suspect area on the roof. Remember, water can travel along rafters, so the leak inside may be feet away from the breach outside.
- Gently clear any moss or debris from the area. Never use a pressure washer on historic slate or tile.
- To remove a broken slate, you need a “slate ripper.” Slide this tool up under the broken piece to cut the old nails. The goal is to pull the damaged piece out without disturbing the good slates above and below it.
- Slide the exact replacement slate into the gap. You may need to trim it for a perfect fit.
- Secure the new slate with two copper or stainless steel nails driven right above the slate course that sits over its head. Never nail through the face of the slate.
- Finally, dab a small amount of roofing cement under the nail heads and the leading edge of the new slate. Use sealant sparingly. A blob of black tar is a ugly, temporary fix, not a proper repair.
The most common question I get is, “Can I just seal the whole area with caulk?” The answer is almost always no. Trapping moisture accelerates rot. Proper repair means replacing the failed component while preserving everything around it that is still sound.
Keeping History Dry: Maintenance Routines for Longevity
How often should a historic roof be inspected? Look at it closely twice a year, in spring and fall. Always check it after any major storm. This regular watch is your best tool.
Think of it like checking an old book for loose pages. You are looking for small problems before they become big, expensive chapters.
The Gentle Art of Cleaning Historic Roofs
Cleaning is about roof health, not just curb appeal. Moss and algae hold moisture against the surface, speeding up decay. You clean to stop that cycle, especially when using the best methods for cleaning moss from roofs.
For slate and clay tile, hand removal is the only safe choice. I once spent a week carefully lifting moss from a slate roof with a plastic putty knife. It is slow, but the roof looked brand new for another 20 years.
- Do use a soft brush or low-pressure garden hose rinse.
- Do apply zinc or copper strips at the ridge to slow future moss growth.
- Do remove leaves and pine needles by hand or with a leaf blower on a low setting.
- Don’t ever use a pressure washer. It will force water under the materials and destroy the historic surface.
- Don’t use metal brushes or scrapers on terracotta or soft slate. They will scratch and gouge.
- Don’t walk on the roof to clean it unless absolutely necessary, and only with proper fall protection.
Gutter Care: The First Line of Defense
Your gutters are the roof’s drainage system. When they clog, water pools and finds a way inside. This is the most common repair call I get for old homes.
Maintaining period appropriate gutters, like half round styles, is critical. Keep them clear of debris monthly during fall. Ensure downspouts extend at least five feet away from the foundation to move water away from the house.
Do not forget the ornamentation. Decorative gargoyles, finials, and conductor heads are part of the water system. If they are blocked, water will spill down the wall, damaging masonry and wood.
Finding the Right Crew: Contractors and Code Compliance
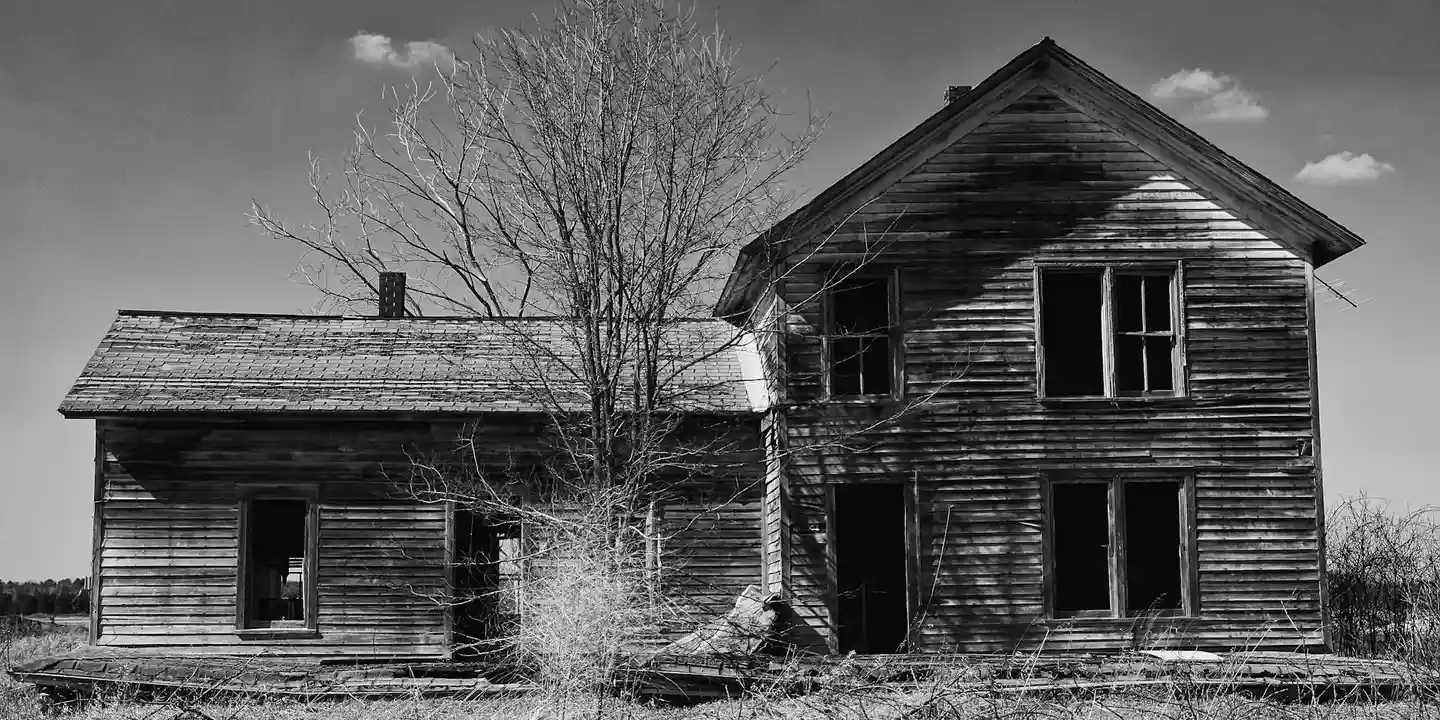
Finding a contractor for a historic home is different. You need a specialist, not just a roofing company. Ask your local historic preservation commission for a list of approved contractors. They know who follows the rules.
There can be tax incentives or grants for proper historic repairs. Using the wrong materials can make you ineligible and even lead to fines. Following the Secretary of the Interior’s Standards is not just about history. It protects your investment and the home’s character.
Worker safety is paramount on these jobs. Steep pitches, fragile materials, and often uneven surfaces require careful planning and proper safety equipment. A good contractor will discuss their safety plan with you.
Interviewing a Historic Roofing Specialist
When you meet a contractor, have your questions ready. Their answers tell you everything.
- “Can you show me photos of past historic roof repairs, not just replacements?”
- “Where do you source replacement slate, tile, or metal to match my existing roof?”
- “What is your philosophy on repair versus replacement for broken pieces?”
- “How will you protect my landscaping and historic features during the work?”
- “Are you familiar with the specific guidelines of my local historic district?”
A major red flag is a contractor who looks for five minutes and immediately recommends a full tear off and reroof. A preservation minded roofer will first talk about repair and selective replacement.
Navigating the Paper Trail: Permits and Guidelines
You will need permits. Your contractor should handle this, but you must understand why. Local codes and preservation guidelines control what you can do.
For example, you likely cannot install vinyl siding or modern asphalt shingles on a home in a historic district, even if just on a rear addition. The materials must match the historic character in composition, profile, and color.
Compliance is not a suggestion; it protects you from costly fines and ensures your repairs add value instead of detracting from it. Always get everything in writing, from the scope of work to the specific material brands and profiles being used.
The Final Call: Repair vs. Replace and What It Costs
You want to fix the problem, not create a new one. I’ve seen well-intentioned repairs damage more original slate or wood than they saved.
The best repair for a historic roof is one you can’t easily spot later, using materials and methods that match the original. In historic home roof maintenance, preserving original details is essential. That’s the core of preserving integrity. For cost, you need to think differently than with a modern home. A simple patch on a standard asphalt roof might cost a few hundred dollars. The same repair with custom-matched terra cotta tile or slate can easily run into the thousands.
Let’s break down the cost-benefit. A repair is a viable long-term solution when the problem is localized. Think of a few broken slates from a tree limb or a small section of deteriorated flashing. You fix just the bad spots. A repair becomes a money-wasting “band-aid” when you’re constantly fixing new leaks every season because the entire roof system is failing. At that point, you’re throwing cash at a sinking ship.
Cost Tiers: From Patch to Preservation
Prices vary wildly by region, material, and home complexity. Use these as planning guides, not quotes.
- Patch Repair: $500 – $5,000+. This covers fixing isolated damage. The low end is for replacing a few asphalt shingles. The high end is for sourcing and installing a dozen historic tiles or slates.
- Extensive Restoration: $15,000 – $60,000+. This is for a full roof of original material that needs significant work-replacing 30% of the wood shingles, re-bedding and re-pointing a clay tile roof, or re-securing a large slate field. You pay for meticulous labor and salvage materials.
- Full Replacement with Authentic Materials: $40,000 – $100,000+. This is the gold standard. It’s a complete new roof using materials identical to the original, like new slate or custom-cast tiles. For perspective, a full replacement with modern architectural asphalt shingles on the same historic home might be $25,000 – $50,000.
The high cost of true restoration isn’t just for looks, it’s buying another 80+ years of performance and maintaining your home’s value. A modern roof might need replacing in 25 years.
Making the Decision: A Practical Flowchart
Ask yourself these questions in order.
- Is the damage isolated to a few areas, with most original material sound? If YES, a quality repair is your best path.
- Is the roof leaking in multiple new places each year, with widespread rot or degradation? If YES, you’re likely in replacement territory.
- For a replacement: Can you afford and source a like-for-like material (e.g., new slate for old slate)? If YES, this preserves maximum value and authenticity.
- If like-for-like isn’t possible, is there a suitable modern alternative approved by historical guidelines (e.g., synthetic slate, metal that mimics standing seam)? This is the compromise step.
I tell homeowners that if 75% of the original roof is still solid, fight to save it. Preserving the original fabric is almost always the best investment for the home’s longevity, character, and your own stewardship.
Documenting the Work for Future Stewards
Think of this as writing a chapter in your home’s biography. Good documentation answers the FAQ of “what was done and when” for the next owner, or even for you in 30 years.
Here’s what to do. Photograph the roof before work starts, showing the specific problems. Take pictures during the repair, especially of hidden details like old flashing techniques or original decking. Keep all receipts, material spec sheets, and a written summary from your contractor describing the methods used.
File copies of this record with your house deeds and consider sharing a summary with your local historical society. This isn’t just paperwork. It’s proof of your care and a vital guide that adds tangible value for the future.
Common Questions

What’s the biggest mistake homeowners make when choosing a contractor for a historic roof?
Hiring a standard roofer who only knows replacement. You need a specialist who leads with repair and can show you a portfolio of past preservation work, not just new installations. For historic buildings, historic roof replacement code compliance matters. A preservation-focused pro will guide you through the required standards and permits.
My inspection shows a few problem spots. How do I know if it’s a simple repair or a sign of a failing roof?
Look for patterns. Isolated broken slates or tiles are normal wear; clusters or widespread moss intrusion signal systemic failure. When in doubt, get a professional diagnosis-a good roofer will differentiate between a patch job and a pending crisis.
Why is a “like-for-like” repair so expensive compared to using modern substitutes?
You’re paying for custom, handcrafted materials and meticulous labor to preserve value, not just for bulk installation speed. The cost buys another century of integrity, whereas a substitute may cut the lifespan in half and hurt your home’s historic and market value.
Stewarding Your Historic Roof Into the Future
Always pair repairs with the roof’s original craftsmanship to preserve its story and strength. A careful, compatible fix today prevents major issues tomorrow. Understanding roof truss repair methods helps guide a precise, respectful fix. It keeps load paths true and preserves the roof’s design.
Make safety and material sustainability your top priorities during every inspection and repair. Remember to follow roof repair safety practices—proper ladder setup, fall protection, and PPE are essential. These guidelines help you protect yourself while maintaining your roof. Keep exploring reliable roof care resources to confidently maintain your home’s legacy.
References & External Links
- Historic Roofing
- Historical Roof Preservation & Installation | Huber & Associates
- Washington D.C. Historic Roofing Company – Maggio Roofing
- Historic Roof Repair | PJ Fitzpatrick
Ray Huffington
Ray is an experienced roofer. He has worked as a general contractor in the roofing industry for over 15 years now. He has installed and repaired all kinds of roofs, from small houses to large mansion, and from basic shingles to cement and metal roofs and even solar roof panels. He has seen homeowners struggle with roofing questions and always has experience based proven advice to help those in need. If you need roof pros, Ray's your guide.