
How Much Roof Space Do You Need for Solar Panels? A Roofer’s Guide to Capacity and Layout
How much of your roof will those solar panels actually take up? I’ve helped countless homeowners answer this question, and the initial worry about having enough space is completely normal. With modern solar technology, your roof likely has more potential than you realize. Here’s what I’ll explain from my time on the crew: how to measure your usable roof area for solar, how panel wattage and efficiency determine your space needs, and smart ways to plan a layout around vents, chimneys, and roof shape.
Key Takeaways: What You Need to Know First
Before you think about panels, you have to think about your roof. It is your foundation.
A roof with leaks, damaged decking, or an older shingle layer is not a candidate for solar. Adding panels means adding weight and requiring penetrations. You must fix any underlying issues first.
As a quick rule of thumb, a typical 6-kilowatt (kW) solar system needs about 300 to 400 square feet of clear, unobstructed roof space. This gives you a starting point to visualize. For budgeting, consider the average cost of a residential rooftop installation in 2024, which helps frame your price expectations. This context also aids in comparing quotes and incentives as you plan your project.
Planning for solar comes down to three steps you cannot skip.
- Know your energy appetite (your kWh usage).
- Assess your roof’s physical and structural health.
- Factor in your local sun and shade patterns.
All the online calculators are just estimates. The only way to get a final, accurate answer on your roof’s solar capacity is with a professional site assessment. A good installer will check your rafters, decking, and roof condition in person.
Step 1: The Foundation – Your Energy Needs and Panel Math
Let’s clear up the biggest confusion first: kW vs. kWh. Think of it like a garden hose. The width of the hose (kW) is how much water can flow at once. The total amount of water in your bucket after an hour (kWh) is the energy you use. Your panels produce kW, but your utility bill charges you for kWh.
To figure out what size system you need, start with your past. Grab your last 12 months of electric bills. Find the total kilowatt-hours (kWh) used for the year. Divide that number by 365. This gives you a daily average usage. It is your energy target.
How do you calculate the number of solar panels needed for your home? You work backwards from your target. Let’s say you use 30 kWh per day. Your local area gets about 4.5 “peak sun hours” on average (you can find maps for this). You take your daily need (30 kWh) and divide by the sun hours (4.5). That equals about 6.7 kW. This is the system size you’d aim for to cover your usage.
Now for the panels. A standard 400-watt panel produces 0.4 kW. To get a 6.7 kW system, you’d divide 6,700 watts by 400 watts per panel. That is roughly 17 panels.
Panel efficiency changes the space game. A high-efficiency 400W panel might be smaller than a standard-efficiency 400W panel. High-efficiency panels, like some premium brands or solar roof tiles, need less roof space but usually come with a higher price tag. It is a trade-off between space and budget.
What is the average solar panel size and output? Most residential panels today are between 350 to 450 watts. A standard 400-watt panel is typically about 5.5 feet long by 3.5 feet wide. That is just under 21 square feet per panel. Premium models might squeeze more watts into a similar size, or be slightly more compact.
How Many Panels Can I Fit? Running the Basic Numbers
Let’s take that 400W panel, which is about 21 sq. ft. If your math says you need 20 panels, you need about 420 square feet just for the panel surfaces.
But you cannot cover every inch of your roof. Usable roof space is always less than your total roof area. You need setbacks from edges for fire code, space around vents and chimneys for access, and you must avoid shaded areas from dormers or plumbing stacks.
To answer “how many solar panels can fit on my roof,” you need to measure your “clear roof planes.” These are the big, unbroken sections that face south, east, or west. You can get a rough idea from ground-level photos or your home’s original plans. Draw rectangles on the clear sections, calculate their area, and subtract about 20% for setbacks and equipment. What is left is your realistic space – the actual roof capacity for solar panels.
Space Requirements for Common System Sizes
These numbers assume using standard-efficiency panels and a relatively clear roof plane. Your home will vary, but this chart gives you a ballpark.
- 4kW System: ~10-12 panels | ~210-250 sq. ft. of clear roof needed.
- 6kW System: ~15-18 panels | ~315-380 sq. ft. of clear roof needed.
- 8kW System: ~20-24 panels | ~420-500 sq. ft. of clear roof needed.
- 10kW System: ~25-30 panels | ~525-630 sq. ft. of clear roof needed.
Remember, these are ideal-scenario estimates. A complex roof with hips, valleys, and multiple levels will fit fewer panels than a simple south-facing gable roof of the same total square footage. This is why the professional assessment is so important.
Step 2: Your Roof’s Report Card – Health, Type, and Structure
Think of this step as a roof inspection. I tell homeowners this all the time. Putting solar panels on a roof that’s nearing the end of its life is one of the most expensive mistakes you can make. You’ll pay to remove and reinstall the system when the roof needs replacing. Let’s give your roof a report card first.
What are the best roof types for solar panel installation? From my years on crews, here’s how the common ones stack up, including their mounting methods for residential roofs.
- Asphalt Shingle: This is the bread and butter of residential roofs. Installers attach mounting rails with lag bolts that go through the shingles into the roof deck. The added weight is about 3 to 5 pounds per square foot. Your shingles need at least 10-15 good years left to make the installation worthwhile.
- Metal Roof: Specifically, standing seam metal is ideal. We use special clamps that grip the raised seams, so there’s no need to drill holes. It’s a clean install. The weight load is similar to asphalt, but the roof itself is lighter. A metal roof’s 40+ year lifespan pairs perfectly with solar panels.
- Tile (Clay or Concrete): Installation is more labor-intensive. We carefully lift tiles to place mounting brackets underneath. Tile roofs are already heavy, so the structural load needs a close look. The brittle nature of tile means installers must be careful to avoid breakage.
- Flat Roofs: These usually use a ballasted rack system (weighted with blocks) or a rack tilted for angle. The key is ensuring the roof membrane is sound and drainage won’t be blocked. Flat roofs require a different approach to manage weight and water flow.
Now, a quick note on a common mix-up. When people search “how many metal roof panels do i need,” they’re talking about the roofing material. That calculation is for your metal roofing sheets, which is a separate job from planning your solar panel array. Your roofer figures that out based on your roof’s measurements, including the standard widths of metal roofing panels.
The RoofMason Material Verdict: Roofing Under Solar
Let’s compare three materials head-to-head for solar readiness. I judge them on lifespan, weight, and how easy they are to install racks on.
- Asphalt Shingles (The Common Choice): Remaining lifespan is the biggest factor. Weight capacity is usually sufficient for modern panels. Installation is standard, using flashing and sealant to prevent leaks.
- Standing Seam Metal (The Premium Pick): Lifespan matches or exceeds solar panels. Weight capacity is excellent. Installation is the easiest, with no penetrations if done right. This is the best bang for your buck in hot, sunny climates because it reflects heat.
- Synthetic Slate (The Modern Alternative): It has a long lifespan like real slate but is much lighter. Weight capacity is rarely an issue. Installation ease depends on the brand, but it’s generally straightforward. For a durable, lightweight option in various climates, it’s a strong contender.
My practical take: in temperate zones with good roofs, high-quality asphalt shingles work perfectly fine. In areas with intense sun, standing seam metal is worth the investment for its cooling benefits and durability.
The Attic Connection: Ventilation and Load
Here’s a detail many miss. Solar panels can act like a blanket, raising the temperature of your roof deck. This “Attic Connection” means your roof’s ventilation system becomes even more critical.
You need good airflow in two places: under the panels and inside your attic. Without it, trapped heat and moisture can bake your shingles from below or cause rot in the sheathing. I’ve repaired roofs where poor ventilation led to premature failure after a solar install.
Then there’s the literal load. You must have a professional check if your roof’s framing can handle the added weight of the system and the increased wind uplift. This isn’t a guess. An engineer’s assessment protects your home’s structure and helps you understand residential roof load limits.
Step 3: The Layout – Sun, Shade, and Setbacks
With a sound roof, we plan the panel layout. How does roof orientation and tilt impact layout? A south-facing roof with a slope between 15 and 40 degrees is the solar sweet spot. If your main roof faces east or west, you can still get great production, but you’ll likely need more panels to hit your energy goals.
How do shading and obstructions affect layout? Everything casts a shadow. A chimney, a plumbing vent, a tree branch, or the neighbor’s house. Shade is a system killer because it can shut down whole strings of panels, not just the shaded one. Your layout must avoid these spots.
How do I plan the layout of solar panels on my roof? Good installers don’t just eyeball it. They use satellite imagery and software to model the sun’s path across your roof for every season, calculating exactly where each panel should go for maximum harvest. From there, the installation starts with secure mounting and roof compatibility checks. Ongoing maintenance then helps sustain efficiency and safety.
Leaving Room to Work: Access and Maintenance Clearance
How much space should be left around solar panels? Building codes are very clear on this for fire safety. You must maintain clear pathways, usually 3 feet wide, from the eave to the ridge and along the ridge itself for firefighter access.
Beyond code, think about future roof care. Leave enough open space around the array so you or a roofer can safely access areas to replace a damaged shingle, clean gutters, or inspect valleys. On my jobs, we always plan for at least 18 inches of clearance at the roof edges.
Local building codes and regulations also dictate specific setback distances from the roof’s edges, ridges, and other features. Your installer should know these rules, but it’s wise to ask how the layout complies with your town’s requirements.
Step 4: When Your Roof Comes Up Short – Practical Alternatives
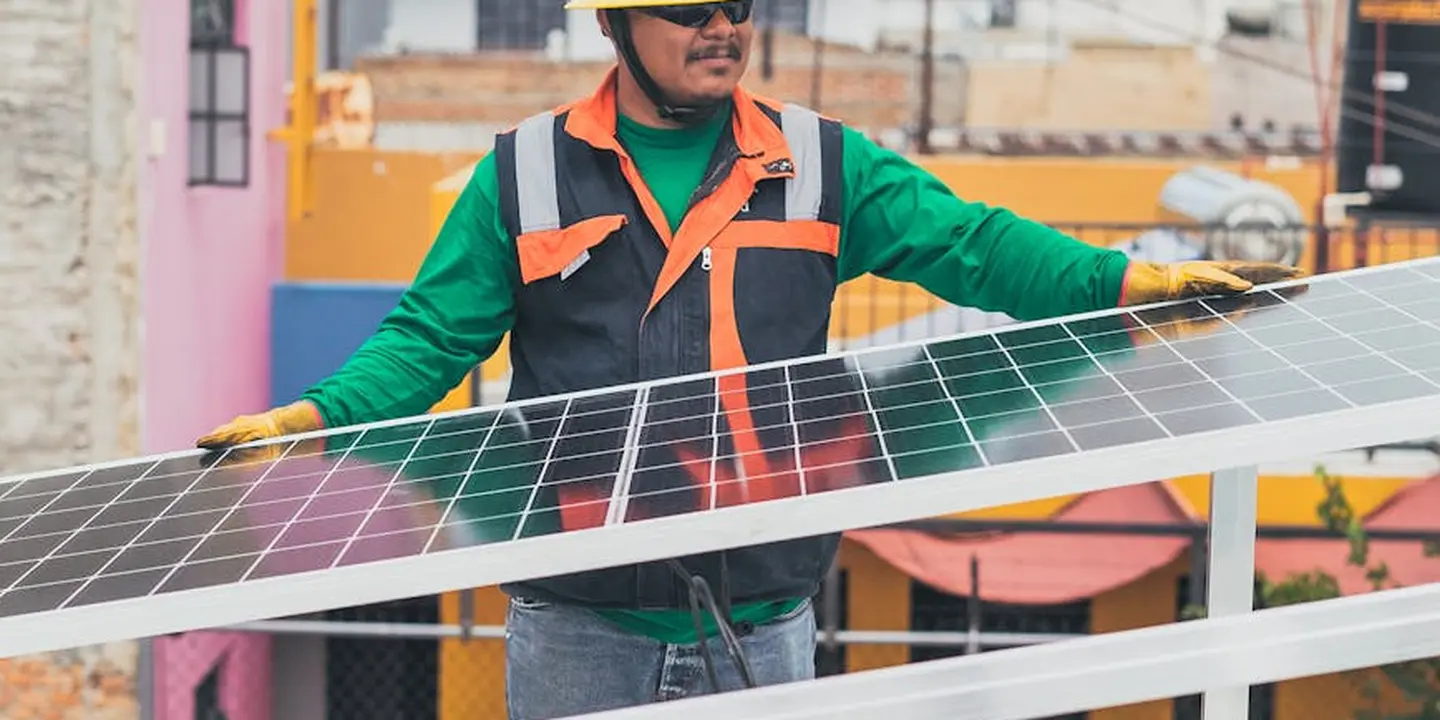
Can you install solar panels on a small roof? Yes. You just need to accept some compromises from the start. You will likely need to use fewer, higher efficiency panels, which means you might not offset 100% of your energy bill. The goal becomes maximizing what you have.
If your roof truly doesn’t have the space, your solar dream isn’t over. You have other good paths to consider.
- Ground Mounted Systems: These are frames installed in your yard, like a small array. They avoid the roof entirely and can be positioned for perfect sun angle. They need a clear, unshaded plot of land.
- Solar Carports: You replace a standard carport or gazebo roof with a solar panel structure. It serves two purposes: shelter and power generation.
- Community Solar: You buy into a larger, shared solar farm in your area. You get credits on your electric bill without any equipment on your property.
Some homeowners ask me about integrated systems like solar roof tiles. These are shingles with built in solar cells. They look sleek and use all your roof space because they are the roof.
The trade off is significant cost and slightly lower efficiency than traditional panels. They are a great option if you need a new roof anyway and want a seamless look, but the price is often much higher per watt of power.
If you’re working with limited roof space, use it wisely. Not all roof planes are equal. Prioritize in this order:
- The south facing plane (in the Northern Hemisphere). This gets the most consistent sun all day.
- The west facing plane. It catches the strong afternoon sun.
- The east facing plane. It gets the morning sun.
- Only use north facing planes if you have no other choice, as they produce the least.
Step 5: The Professional Handoff – Working with Roofers and Installers
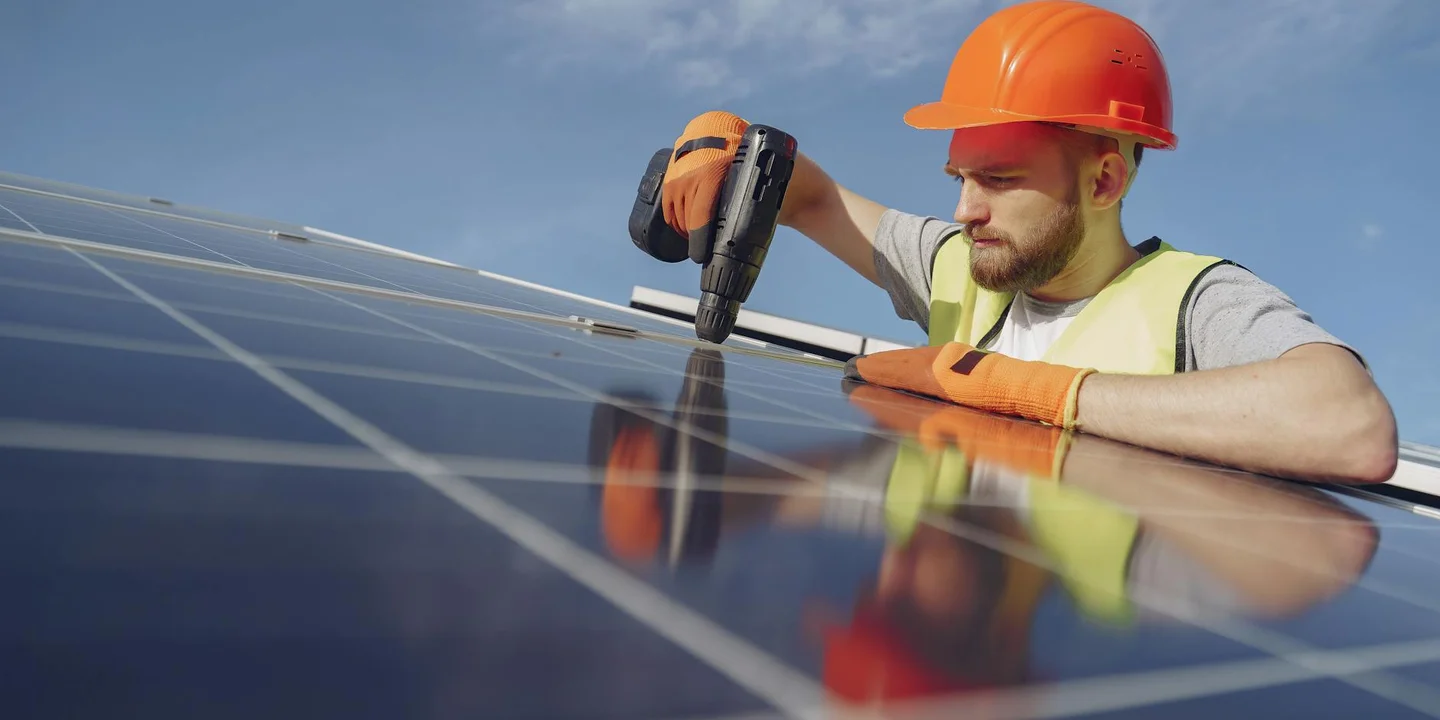
This is the most critical step I can teach you. Your solar installer is an expert in electrical systems and energy production. They are not a roofing expert. You must get a separate, professional roof inspection before you sign any solar contract.
I have seen too many solar arrays installed on roofs that were already 20 years old, forcing a costly removal and re installation just a few years later. Get a licensed roofer to give you an honest assessment of your roof’s remaining life.
The ideal sequence is simple but non negotiable.
- Your roofer inspects the roof, makes any necessary repairs, or performs a full replacement if the roof is near the end of its life.
- Once you have a sound, warrantied roof, your solar installer designs the panel system for that specific surface.
Coordination between the two crews is vital for your roof’s health. The solar installer will drill holes for mounting feet and conduit. Who seals those penetrations? Who warranties that flashing work? This handoff is where leaks happen.
Ask your roofer these questions:
- What is the realistic remaining life of my current roof covering and underlayment?
- If work is needed, will you provide a full warranty on the entire roof, including areas where solar will be mounted?
- Will you coordinate with the solar installer on the final flashing details for a watertight seal?
Ask your solar installer these questions:
- Do you require a roof inspection or warranty from a licensed roofer before installation?
- What is your process for sealing penetrations and integrating with existing roof flashings?
- If a roof leak develops under the array, what is the protocol? Who handles the investigation and cost?
Getting clear answers puts everyone on the same page and protects your biggest investment.
Common Questions
My roof is over 15 years old. Can I still install solar?
You can, but it’s a risk. Have a licensed roofer inspect it first to assess its remaining lifespan; installing panels on a roof that needs imminent replacement is a costly mistake.
How much clear space do I need to leave for future roof repairs?
Beyond required fire pathways, plan for at least 18 inches of clearance along roof edges and valleys. This allows safe access for you or a roofer to fix shingles, clean gutters, and perform maintenance without removing panels.
Do local building codes really change how many panels I can fit?
Absolutely. Codes dictate mandatory setbacks from ridges, edges, and other features for firefighter access. A good installer will design the layout to comply, but you should always ask how your local rules impact the final plan.
Securing a Strong Roof for Solar Power
Always start with a professional roof inspection to confirm its structure and clear space can handle solar panels. Knowing the roof preparation and structural requirements for residential solar panels guides safe mounting and long-term performance. This simple step safeguards your home and ensures your energy system performs reliably for years.
Make roof care a regular part of your home maintenance schedule, always putting safety first. I encourage you to keep building your knowledge with our detailed articles on Roof Care, All Types of Roof Guide, Care, and Maintenance.
Sources and Additional Information
- Is My Roof Big Enough for Solar Panels?
- Project Sunroof
- How Much Solar Power Can My Roof Generate? | EnergySage
- How Much Roof Space Do You Need for Solar | SouthFace Solar & Electric
- Solar Rooftop Potential | Department of Energy
- The Best Roof for Solar Panels: A Guide | Freedom Solar
- Solar Panel Installation Methods – Different Commercial Roofs | SFS USA
- How Many Solar Panels Can I Fit on My Roof?
- How much area is needed for solar panel installation | Enphase
Ray Huffington
Ray is an experienced roofer. He has worked as a general contractor in the roofing industry for over 15 years now. He has installed and repaired all kinds of roofs, from small houses to large mansion, and from basic shingles to cement and metal roofs and even solar roof panels. He has seen homeowners struggle with roofing questions and always has experience based proven advice to help those in need. If you need roof pros, Ray's your guide.