
How Do You Install Gutters on a Complex Roof with Angles and Obstacles?
Staring at a roof with dormers, valleys, and chimneys and wondering where to even start with gutters? You’re right to be cautious. A bad installation on a tricky roof leads to leaks, overflow, and damage fast.
I’ve hung miles of gutter on roofs like yours. Here’s what we’ll cover: mapping the ideal water path around every corner, the right way to cut and seam gutters on steep angles, and solving the puzzle of tight spaces around roof features.
What Defines a “Complex” Roof for Gutter Work?
Think of your roof as a maze for rainwater. A simple roof is a straight hallway. A complex roof is a maze with dead ends, forks, and slopes going every which way. Water gets confused.
These features create that maze:
- Multiple pitches and slopes changing direction
- Valleys where two slopes meet inward
- Hips where two slopes meet outward
- Dormers and skylights creating walls in the middle of a slope
- Steep slopes over 8-in-12 pitch
Each of these breaks the basic rule of gutter installation: follow a single, straight line with a consistent slope. Valleys dump a concentrated river of water that can overwhelm a standard gutter section. Hips and dormers force you to install gutters around corners or stop and start runs. Where you live adds another layer. In places like Englewood, FL, high winds and driving rain test every seam. In snowy regions, you must plan for the weight of ice.
Identifying Your Roof’s Problem Spots
Never start a project by climbing up. Your first tool is a good pair of binoculars. Walk around your house on a dry day and look up. Your goal is to trace the path water will take from the peak down to the edge. Mark every spot where that path is not simple.
Look for areas where water from a large upper roof drains onto a smaller lower section. Spot the valleys. See where a dormer wall meets the main roof. Make a simple sketch. Next, get your tape measure. You need the length of every single roofline that needs a gutter. Measure the overhang (the fascia board) at each section. An inch of difference in overhang depth can throw off your entire gutter slope plan.
Multi-Pitch Roofs: Where Water Diverges
Imagine a river hitting a rock and splitting into three smaller streams. A multi-pitch roof does that to rain. A high, steep pitch feeds water down to a lower, flatter section. That lower section now gets its own rain plus a surge from above. This convergence point is where most gutter systems fail because they’re not sized for the double volume. Managing this is like planning for several streams to merge into one river. Your gutter and downspout at that merger point must be big enough to handle the combined flow, or you’ll get constant overflow during a storm.
Gathering the Right Tools and Materials
For a complex roof, your tool list is your best friend. Do not try to wing it.
- Tape Measure (25-foot minimum)
- 4-foot Level
- Chalk Line
- Hacksaw with fine-tooth blades for metal
- Cordless Power Drill/Driver
- High-Quality Sealing Caulk Gun
Material choice becomes critical when your roof isn’t a simple rectangle. You have two main gutter shapes: K-style (the common modern shape with a flat back and decorative front) and half-round (a true semicircle). K-style holds more water, which is good for high-volume areas. Half-round is easier to clean and often fits historical home styles better. For hangers, skip the cheap spike-and-ferrule method. Use heavy-duty hidden hangers or strap hangers that can be screwed into solid wood, not just the fascia. They provide support on the irregular angles of a complex roof. Understanding the pros and cons of different roofing materials and styles helps you pick the best fit for climate, weight, and curb appeal. That choice also informs your overall approach to fasteners, underlayment, and installation methods.
Always choose corrosion-resistant materials. Aluminum is a standard, good choice. In coastal areas, consider aluminum with a baked-on finish or stainless steel hardware. Galvanized steel is strong but can rust over time if the coating is scratched during your complex cuts and fittings. Your safety gear is not optional: a proper roof harness attached to a certified anchor, heavy-duty gloves, and impact-rated glasses are the bare minimum when working at height on a tricky roof line.
Choosing Gutters for Irregular Roofs
You have a big decision: sectional gutters (10-foot pieces joined together) or seamless gutters (long, custom-formed runs). For a complex roof with lots of angles, sectional gutters offer flexibility. You can cut and fit small pieces around dormers or short walls. The trade-off is that every connection point is a potential leak. Seamless gutters, formed on-site by a truck, have far fewer seams and are incredibly strong for long runs. But they are rigid. Installing them on a roof with many inside and outside corners requires expert planning and precise cutting.
Thickness matters. Gutter gauge (the thickness of the metal) is more important on an irregular roof. A thicker, heavier gauge (like.032 or.027 aluminum) will hold its shape better when spanning uneven areas or supporting extra weight from snow and ice. In areas with heavy pine needles or debris, a reinforced vinyl gutter can be a smart choice as it won’t dent and is easy to clean. Match your downspouts to your gutter capacity, and always go one size larger if you’re draining multiple roof pitches into one leader.
Mapping Out Your Gutter Runs: The Planning Stage

Start with a plan on paper. You will avoid costly mistakes.
First, decide where your downspouts will go. This is your anchor point. Downspouts should empty at least five feet away from your foundation. Think about where the water will go next, like toward a slope or a drain.
Only after you know where the water exits do you mark your gutter lines.
Use chalk or a pencil to mark the fascia board. You need a consistent slope, or “pitch,” toward each downspout. A quarter-inch drop for every ten feet of gutter is the standard rule. This gentle slope is enough to move water but not so steep it looks odd.
For a 40-foot gutter run, your high end will be one full inch higher than the end at the downspout. That’s the simple math. Use a string line and a level to snap a perfectly straight guide line between these two points.
Calculating Slope on Steep and Shallow Pitches
Your roof’s pitch changes the game. On a steep roof, water comes off fast and hard. You can sometimes use a slightly shallower gutter slope, like 1/8 inch per 10 feet, because the water has so much momentum.
On a very shallow roof, stick to the quarter-inch rule or even increase it slightly. Slower water needs more encouragement to move.
To set the line, drive a nail at your high point and another at your low point. Tie a string between them. Use a line level on the string to adjust until it’s perfectly level. That string is your true fall line. Mark along it.
Dealing with Angles Less Than 45 Degrees
Shallow roof valleys are trick zones. Water doesn’t rush down, it kind of sheets across. This can overwhelm a standard gutter.
For these areas, consider a 6-inch wide gutter instead of a standard 5-inch. The extra capacity prevents overflow. If the run is long, add a downspout in the middle of the valley, not just at the end.
Avoid the temptation to reduce the slope here. Too little pitch leads to standing water. Standing water breeds mosquitoes, causes premature rust in metal gutters, and lets heavy debris like leaves sink and clog the system.
Handling Angles More Than 45 Degrees
Steep pitches are a torrent. The force of the water can rip gutters right off the house if they’re not secured properly.
Use extra hangers and place them closer together. I space them no more than 18 inches apart on a steep section, compared to 24-36 inches on a normal pitch. This prevents sagging and bouncing.
Gutter guards are a smart investment here. They keep fast-moving debris from becoming a projectile that jams your downspout. Safety is key. Understanding gutter guard installation methods helps you plan a safer setup. It also points to options that reduce ladder time and heavy lifting. Working on a ladder against a steep pitch is hazardous. The physical strain of holding long gutter sections in place is real.
Tackling Common Roof Obstacles
Gutters are simple on a straight wall. Roofs are rarely that simple. Obstacles create leak points. A leak point is any junction where two different materials or planes meet. Water finds these spots.
The goal is to integrate your new gutter with the existing waterproofing, like flashing. For critical seams behind a gutter, I often run a strip of ice and water shield on the fascia before hanging the gutter. It’s a cheap insurance policy.
Gutters and Chimneys: Sealing the Gap
A chimney cuts right through your gutter line. You must custom-cut the gutter to fit around it. Measure the chimney’s width on the fascia. Add an inch for wiggle room on each side.
Cut your gutter section to length. Then, mark and cut out the notch for the chimney. Use a hacksaw or snips for a clean cut. You’ll have two separate gutter pieces that meet at the chimney.
The most critical part is the stepped flashing behind the gutter. Proper chimney flashing should already be there, woven into the shingles and stepped down the brick. Your gutter must tuck behind this flashing’s bottom apron. This directs any water that gets behind the gutter onto the roof surface, not into your wall.
Navigating Around Skylights and Roof Valleys
You never want a gutter downspout or an end cap dumping water directly onto a skylight frame. Route your gutter runs so they direct water away from the skylight. Sometimes this means running a gutter past the skylight and having the downspout on the other side.
A roof valley is a funnel. All the water from two roof planes concentrates there. Your gutter must be positioned directly under this waterfall.
Center the gutter run under the valley. Consider a wider gutter here, too. If the valley is long and the roof is steep, the sheer volume can cause splash-over. A gutter positioned just an inch too far out will miss half the water coming down that valley. Use your string line to ensure the gutter is perfectly aligned to catch the deluge.
The “Leak Point” Analysis: Critical Junctions
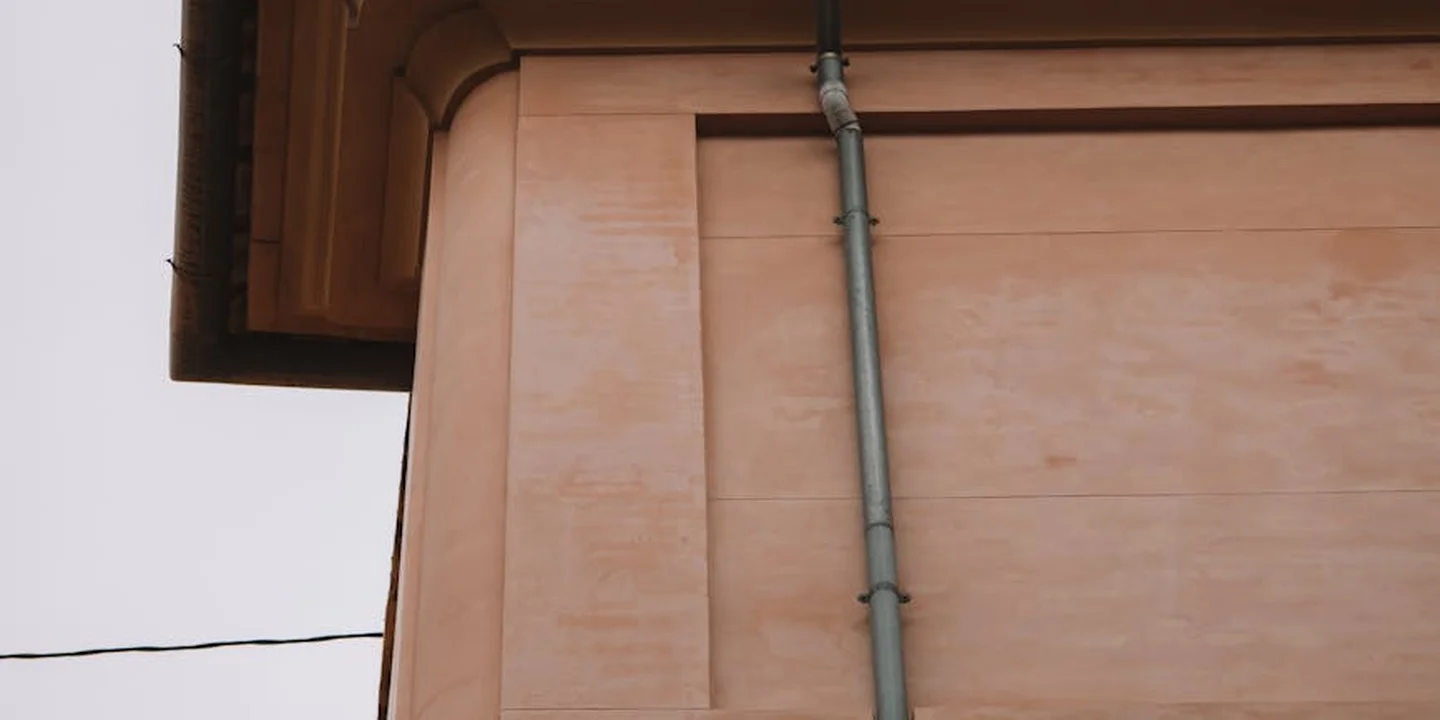
On a simple roof, water has one clear path. On a complex roof, water gets confused. It hits a wall, swirls around a corner, and searches for the weakest spot.
That weakest spot is almost always a joint. Think of your gutter system like a raincoat. It’s not the big flat panels that leak first, it’s the seams and zippers. Identifying these problematic areas can help you address gutter leaks, sagging, or separations effectively.
Inside corners, end caps, and seam connectors are the zippers of your gutter system, and they are the first places you’ll see a failure on a complex roof. They bear the brunt of water volume changes and debris impact at every turn.
Inside and Outside Corners on Complex Layouts
A standard 90-degree corner bracket is useless on a 135-degree bay window or a 70-degree turret. You can’t force it.
For a proper fit, you must miter the gutter sections to match the roof’s angle. This means cutting the ends of two straight gutter pieces at complementary angles so they join cleanly. For a perfect seal on metal gutters, the ideal method is a soldered joint. For vinyl or aluminum, a high-quality urethane sealant applied to the mitered joint, followed by a reinforced corner bracket with screws, is the way to go.
The most common mistake I see is a roofer loading up a mismatched corner with a glob of sealant and calling it a day. Sealant dries, shrinks, and cracks. It is a supplement, not a structural connection. Always use mechanical fasteners-screws through a sturdy corner bracket-to hold that joint together for good.
Using Drip Edge and Gutter Apron
Your gutter can be perfectly installed and still leak behind it, especially when guttering flat or metal roofs. That’s where drip edge and gutter apron come in.
Drip edge is a metal L-shaped strip installed under the shingles at the roof’s edge. Its job is simple: catch water running off the sheathing and direct it away from the fascia and into the gutter. Without it, water curls behind the gutter, rotting your fascia board. Proper drip edge installation and repair can save your roof from water damage.
Where a roof meets a sidewall, like on a dormer, you need a gutter apron (sometimes called kick-out flashing). This is a piece of flashing that extends from under the siding, over the back of the gutter. It acts as a bridge, kicking water out and down into the gutter channel, stopping it from pouring directly behind the gutter and down your wall. I’ve fixed more interior wall stains caused by a missing gutter apron than I can count.
Safety First: When This Job Becomes “Pro-Only”
Gutter work on a complex roof is part carpentry, part puzzle-solving, and part high-wire act. You must be honest with yourself before you grab a ladder. This hinges on precise roof gutter overhang measurements. Getting the extension right helps the system drain correctly and fit neatly along the fascia.
Start with a hazard assessment. Stand back and look at your roof. How steep is the pitch? A 6/12 pitch (6 inches of rise for every 12 inches of run) is where walking starts to feel like climbing. How high is the eave? Are there power lines running near the work area? Is the decking old or soft? I once put a plank down on what looked like solid roof only to have my foot go through rotten wood near a valley. It happens fast.
This job shifts from DIY to “pro-only” when the risk of a fall becomes significant. For me, the clear line is any roof over two stories tall, any pitch steeper than 6/12, or any layout where you feel uneasy about your footing. Your confidence level is a real safety indicator. Listen to it.
Professionals also bring code knowledge you might not have. A crew in Englewood, FL, for example, knows how to secure gutters for our high-wind storms and size them for our heavy rain bursts.
Essential Safety Gear You Cannot Skip
If you decide to proceed on a lower, simpler section, gear up. This isn’t optional.
- OSHA-Approved Fall Arrest System: This means a full-body harness, a secure roof anchor (not just a rope around a chimney), and a shock-absorbing lanyard. It’s your last line of defense.
- Sturdy, Wide Planks: Use proper roof planks or staging across the rafters to distribute your weight. Never work directly on shingles, especially on a slope.
- Non-Slip Footwear: Boots with a soft rubber, lugged sole designed for roofing.
- A Reliable Spotter: Someone on the ground to steady ladders, hand up tools, and call for help if something goes wrong.
The one-time cost of this gear is a fraction of the lifelong cost of a broken back, a traumatic brain injury, or worse. I’ve seen the aftermath. It’s not worth the gamble.
Knowing Your Limits: When to Hire a Professional
Calling a pro isn’t a failure. It’s a smart investment in a correct, safe, and lasting installation.
Clear signs it’s time to make the call:
- Your roof has multiple levels or is a true historic home with irregular shapes.
- The job requires custom-fabricated gutter sections or complex soldered miters.
- Your hazard assessment shows any red flags (height, pitch, rot).
When you hire, do your homework. Check for a valid state contractor’s license and proof of liability insurance. Ask for references and photos of past work on homes similar to yours. A good pro won’t hesitate to show you.
A local professional brings hidden value. Someone working in Langley, for instance, will understand the local soil composition and how to route downspouts to prevent foundation washout or basement flooding in that specific area. That’s expertise you can’t get from a general online guide.
Common Questions
How do I maintain gutters on a roof with lots of angles?
Increase your inspection and cleaning frequency, especially in valleys and behind dormers where debris collects. Use a trowel and flush with a hose; consider professional cleaning if the roof pitch makes access unsafe.
What’s the first sign my complex gutter system is failing?
Look for water stains on the siding directly below seams or inside corners, which indicate a leak at a critical junction. Also, check for any sagging sections between hangers, which means the slope is compromised.
Why does my location matter so much for gutter installation?
Local expertise is critical. A pro in Englewood, FL knows how to secure gutters for hurricane-force winds and torrential rain, while someone in Langley understands local soil for proper downspout routing to protect your foundation.
Securing Your Roof’s Drainage for the Long Haul
In all my years on the crew, I’ve seen that the best gutter job starts with a detailed plan for your roof’s specific angles and obstacles. Get this first step right, and your system will protect your home reliably for seasons to come. This is why it’s crucial to choose experts who provide comprehensive roofing and gutter services for residential properties.
You are the steward of your property’s safety, so make regular gutter inspections a non-negotiable part of your roof care routine. Continuing to learn about maintenance for all types of roofs is how you build a durable, trustworthy home. Knowing when to inspect your roof yourself and when to call in professionals can save you time and money.
References & External Links
- How to Install Gutters: 11 Steps – Taskrabbit Blog
- Seamless Gutter Installation on Complex Rooflines – Rain Master Seamless Gutters
- How to Install Upper Roofline Gutters on a Two-Story Home | Ace Gutter Inc.
- What’s the Gutter Installation Process? – Werner Roofing – Grand Haven
- waterproofing – Best way to install gutters on roof with no vertical facia or eaves – Home Improvement Stack Exchange
- How To Install Gutters
- Gutter Installation Guide for 70-Foot Roof – Expert Tips
- How to Install Rain Gutters (with Pictures) – wikiHow
- How to Install Gutters: A Step-by-Step Guide for Homeowners
Ray Huffington
Ray is an experienced roofer. He has worked as a general contractor in the roofing industry for over 15 years now. He has installed and repaired all kinds of roofs, from small houses to large mansion, and from basic shingles to cement and metal roofs and even solar roof panels. He has seen homeowners struggle with roofing questions and always has experience based proven advice to help those in need. If you need roof pros, Ray's your guide.