
How Do You Stop Ice Dams from Wrecking Your Gutters This Winter?
Ever peek at your roof after a snowfall and see solid ice blocking your gutters? That’s an ice dam, and it’s your roof crying for help.
Ice dams push meltwater under your shingles, leading to leaks, mold, and expensive repairs. You can prevent this damage with some smart winter prep.
I’ll explain why ice dams form and give you my proven steps for attic insulation, roof ventilation, and gutter maintenance.
Key Takeaways: Your Winter Action Plan
Before we get into the details, here is your core plan for stopping ice dams before winter hits.
- Ice dams start in your attic, not your gutters. Gutters are just where the problem becomes visible.
- The real fix is a balanced combination of three things: attic insulation, attic ventilation, and sealing air leaks.
- Keep your roof edge clear. Clean gutters in the fall and consider installing a water-repelling membrane under your shingles.
- Heat cables are a temporary, last-resort bandage. They use a lot of electricity and do not address the root cause.
What Exactly is an Ice Dam (And Why Should You Care?)
An ice dam is a thick ridge of solid ice that builds up along the edge of your roof. Think of your roof like a clogged kitchen sink.
The ice dam is the clog in the drain. The water backing up behind it is the warm meltwater from your roof. That water has nowhere to go but under your shingles.
This backed-up water can seep under your shingles, soak into the roof deck, and eventually drip into your attic and walls. I have seen it cause thousands of dollars in damage, from ruined insulation and moldy rafters to stained, sagging ceilings and peeling paint inside the home.
What happens if you don’t fix ice dams? The damage gets worse every season. I was called to a house where the owners ignored small stains for two winters. By the third, the leak was constant. We had to replace a 4×8 foot section of rotted roof deck and the entire living room ceiling below it. The repair bill was five times what a proper attic fix for ice dams would have cost.
The Real Culprit: Your Attic’s “Hot Head” Problem
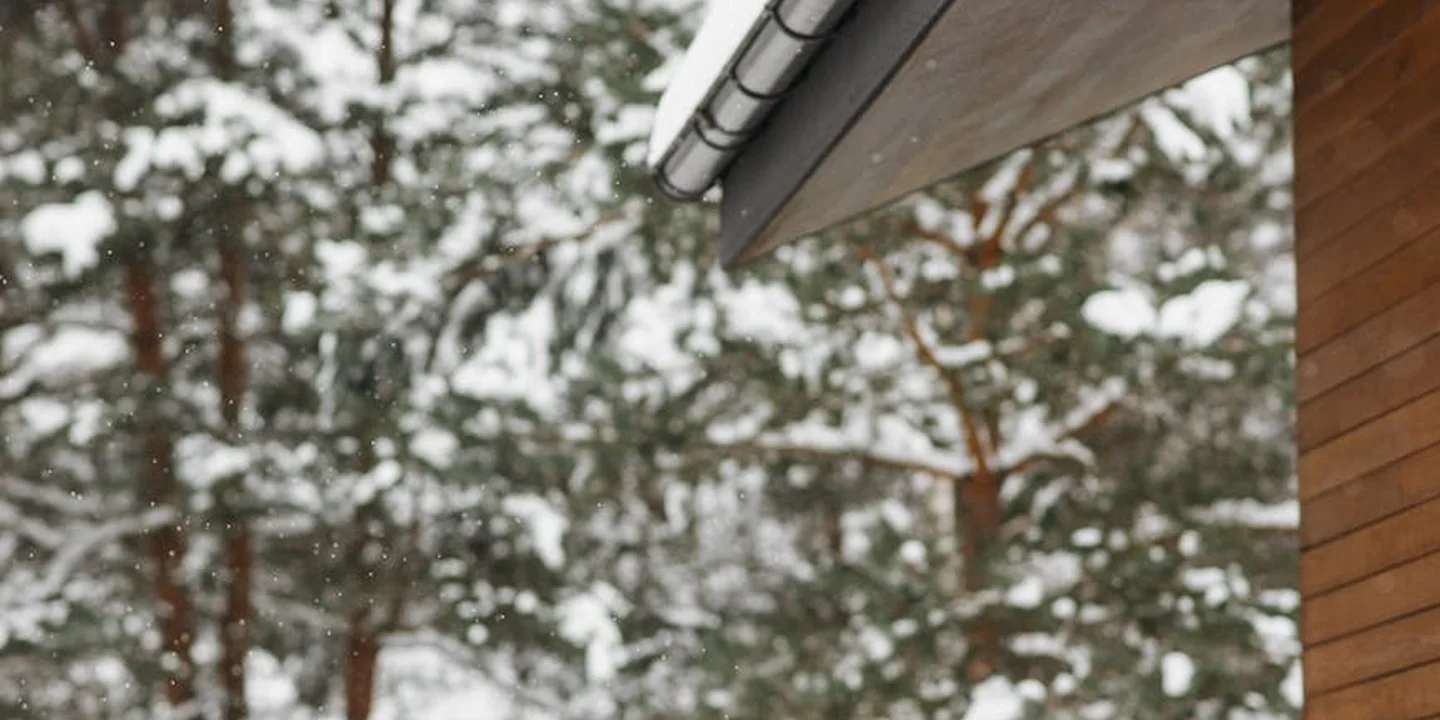
Forget about the ice for a second. The real issue is in your attic. Preventing ice dams is about 90% controlling your attic’s temperature.
Here’s how it works. Your living space is warm. If that heat leaks into your attic, it warms the roof deck from underneath. Snow on the roof melts. The water runs down the shingles.
When it hits the roof overhang, the story changes. The overhang is past the edge of your attic’s warmth. It’s as cold as the outside air. The water refreezes right there at the eaves. This frozen ridge is the start of your ice dam.
This isn’t just a roof problem, it’s a sign your house is wasting energy and risking rot. That escaping heat drives up your bills. The trapped meltwater behind the dam can seep under shingles, soak your roof deck, and lead to mold or wood rot in your attic and walls.
The Two-Part Fix: A Blanket and a Vent
You need to stop the heat from getting to the roof in the first place. The fix has two simple parts.
Insulation (The Blanket): Your job is to keep heat in the living space. Insulation on your attic floor acts like a thick winter blanket for your house. It slows the heat’s escape. We measure this “blanket’s” power with an R-value. A higher R-value means better insulation. For most attics in cold climates, you want at least R-38. That’s about 10-14 inches of fiberglass or cellulose. Check what you have. If you can see the tops of your attic floor joists, you likely don’t have enough.
Ventilation (The Vent): Your attic needs to breathe cold, dry air. Think of it like wearing a vented jacket. You stay warm, but sweat escapes so you don’t get wet and cold. A balanced system pulls in cold air from vents under your eaves (soffit vents) and lets warm, moist air out through vents at the peak of your roof (ridge or roof vents). This flow keeps the attic air temperature close to the outside air, so snow doesn’t melt from below.
Here’s a simple test. On a cold day after a snowfall, look at your roof. Is the snow melting in uneven patches or along the roof line while your neighbors’ roofs are still uniformly white? That’s a bright red flag that your attic is too hot.
Your Gutter and Roof Edge Defense Checklist
Fixing your attic is the main event. But you still need to handle the exterior. Think of this as your pre-winter defensive line. It supports the attic fix and protects your home.
Gutter Maintenance is Non-Negotiable
Clogged gutters are the perfect foundation for an ice dam. Leaves and debris hold water, which freezes solid. This creates a physical block right at the edge of your roof. Preventing ice dams and safely removing icicles can protect your roof. Details on prevention and removal steps will follow.
Deep clean your gutters in late fall, after the leaves finish falling. Scoop out all the muck and flush the downspouts with a hose. Safety first. Use a sturdy, secured ladder and have someone spot you. Don’t overreach.
Gutter guards can help reduce cleaning, but they aren’t “install and forget.” You still need to check them. Debris can build up on top of the guards and create its own problems. Understanding their effectiveness and value is crucial for proper maintenance.
Install an Ice and Water Shield
This is your critical backup layer. An ice and water shield is a sticky, rubberized membrane that gets installed right on the roof deck, under the shingles. We always put it along the eaves, in valleys, and around penetrations. It provides extra protection where it’s needed most.
If an ice dam does form and water backs up under your shingles, this membrane seals it out. It’s cheap insurance. If you’re planning a reroof, insisting on a full ice and water shield (at least the first 3-6 feet from the eaves) is one of the smartest upgrades you can make. Pairing this with snow guards on a metal roof can help manage snow and curb ice dam risk.
Ensure Proper Drip Edge Flashing
Drip edge is that angled piece of metal trim you see along the edge of your roof. Its job is simple but vital: it directs water off the roof and into the gutter.
Without it, or with a damaged piece, water can curl back behind the gutter. It soaks the wooden fascia board and can even get into the roof deck. Before winter, take a walk around your house. Look for missing, bent, or rusted drip edge. It’s a small detail that makes a big difference.
The Truth About Heat Cables (A Roofer’s Take)
Many homeowners ask me about heat cables right away. Here’s my honest take. Heat cables treat the symptom, not the disease. They are a temporary electrical fix for a thermal problem in your attic.
They have a place. In a home with a tricky, un-fixable design where a small dam always forms, they can help manage it. They create melt channels so water can drain.
But you must know the downsides. They add to your electric bill. They can fail or get damaged. You must check them and rearrange them every single year. They do nothing to stop the heat loss causing the problem.
If you choose to use them, do it safely. Follow the manufacturer’s layout exactly-usually in a zig-zag pattern in the gutters and downspouts, not just on the shingles. Always plug them into a GFCI (Ground Fault Circuit Interrupter) outlet to prevent shock hazards.
Special Strategies for Flat, Low-Slope, and Metal Roofs
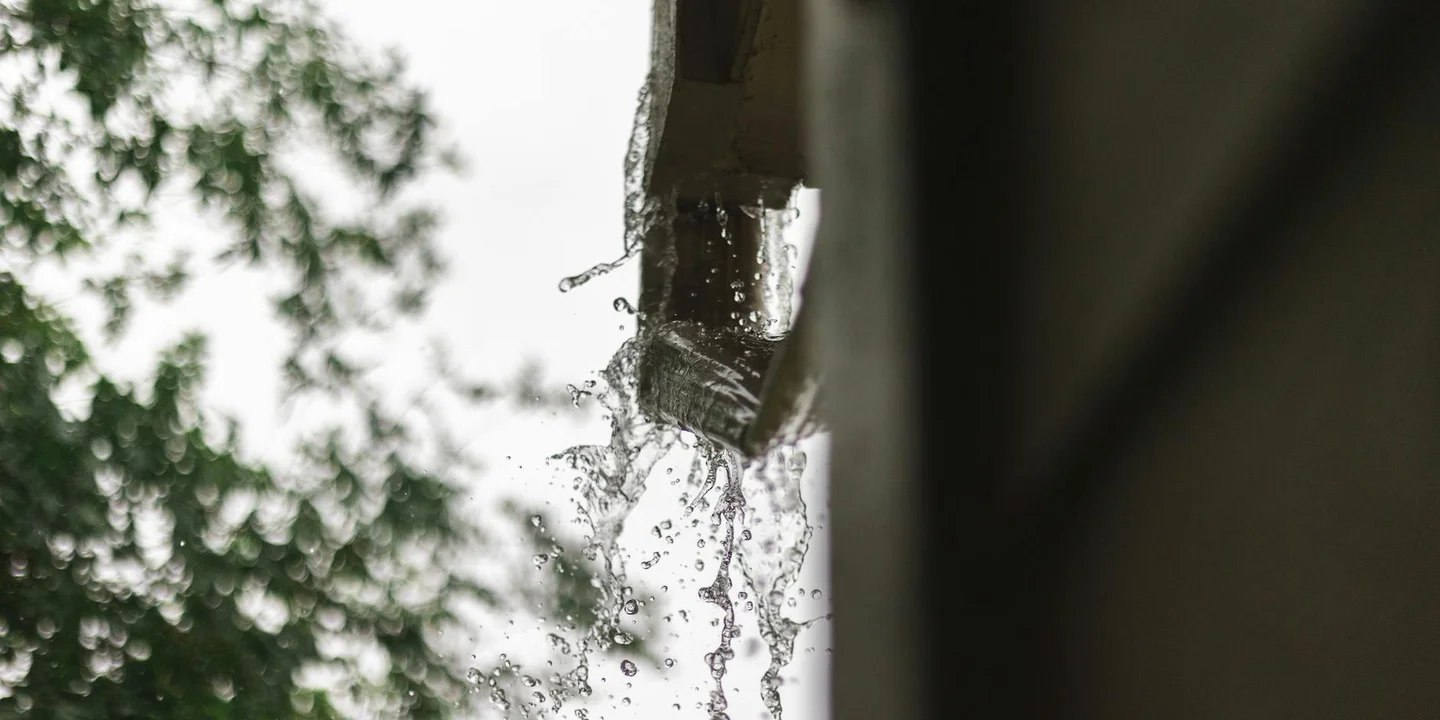
Not every roof handles snow the same way. Your prevention plan needs to match your roof’s design and load capacity. A mistake that works on a steep shingle roof can cause problems on a flat one.
How to Prevent Ice Dams on a Flat or Low-Slope Roof
On a pitched roof, snow wants to slide. On a flat roof, it just sits there. This creates a different kind of risk. The snow itself becomes a thick, insulating blanket. If your roof deck underneath is warm, that heat gets trapped. It can melt the bottom layer of snow. That water then runs until it hits the cold roof edge at your parapet or eave and freezes solid.
The single most important rule for flat roofs is perfect drainage. Water must have a clear, unimpeded path off the roof. A clogged drain is an ice dam waiting to happen.
- Before winter, clear all scuppers (wall drains) and interior drain heads of leaves, debris, and sediment.
- Ensure downspouts from interior drains are clear all the way to the ground.
You can use a roof rake, but you must be extra careful. The aluminum head can easily scrape or puncture a single-ply membrane or modified bitumen surface. Use a model with a non-marking roller guard or a wide, blunt plastic blade. For flat roofs, following safe snow removal techniques helps protect the membrane and reduce the risk of injury. Only remove enough snow to relieve weight and reduce the insulation effect.
If you use heat cables, the layout is different. Instead of just zig-zagging along the eaves, you often need to create a “path” for water to follow directly to the drain. This might mean running cables in a line from the center of a ponding area straight to the scupper.
How to Prevent Ice Dams on a Metal Roof
A metal roof with a steep slope is designed to shed snow. It works great, until a whole sheet of snow and ice decides to let go at once. I’ve seen gutters ripped right off a house from this.
That sudden avalanche is dangerous to anything or anyone below, making snow guards or snow rails a critical safety and protection feature. They break up the snow sheet into smaller, manageable chunks that melt in place or drop off gradually.
Here’s a twist many owners miss. Even though the snow slides off the main roof, ice can still form at the very eaves. How? If your attic space is warm, that heat can escape right at the wall line. It melts the bottom of any remaining snow or the snow that’s piled up behind a snow guard. The water runs under the snow, hits the cold overhang, and forms an ice dam. The fix is the same as for any roof: seal air leaks and boost insulation at the eaves, and ensure your soffit vents are wide open.
The Homeowner’s Seasonal Ice Dam Prevention Log
Preventing ice dams isn’t a one-time fix. It’s a seasonal habit. Think of it like changing your furnace filter. This simple routine extends your roof’s life and saves you from winter emergencies. Next, we’ll explore ice dam prevention roofs and how proper insulation and ventilation stop ice buildup before it starts. This will guide the next steps with practical, actionable tips.
Late Fall (Before First Snow)
This is your main preparation window. Get these tasks done on a dry, mild day.
- Clean all gutters and downspouts thoroughly. Flush them with a hose to check for flow.
- Go into your attic with a flashlight. Check insulation for gaps, especially along exterior walls. Look for places where it’s compressed.
- Visually inspect all attic vents (soffit, ridge, gable) from inside and outside. Make sure they are not blocked by insulation, dust, or bird nests.
- Locate your roof rake and make sure it’s in good repair. Store it somewhere you can reach it after a storm.
During Winter (After Heavy Snowfall)
Your job now is monitoring and light management. Do not get on a ladder on an icy day.
- Safely use your roof rake from the ground to remove the first 3 to 4 feet of snow from the roof’s edge. This creates a buffer zone that prevents meltwater from reaching the cold eaves.
- Look for the early warnings. Large icicles or a visible ridge of ice at the gutter mean a dam is forming. Address attic heat loss immediately.
Consistently pulling back that first few feet of snow after each major storm is one of the most effective hands-on tactics you have.
Early Spring
The thaw reveals what happened over the winter. Be a detective.
- In your attic, look for new water stains on the plywood or rafters, especially near the eaves. This is evidence of a leak you might have missed.
- From the ground, check for damaged or lifted shingles at the roof edge where ice may have worked its way under them.
- Any problems you find now become summer projects. Plan to upgrade insulation, add ventilation, or repair the roof when the weather is dry and warm.
Common Questions
Can I really prevent ice dams on a low-slope roof myself?
You can handle key prevention steps, but start in the attic. Seal air leaks above the exterior walls and confirm your insulation is deep and uniform to stop the primary heat loss.
My roof is metal; do I still need to worry about ice damming?
Yes, at the eaves. Ensure your attic is properly insulated and vented to stop heat from melting snow where the roof overhang is cold. Also, install snow guards to manage avalanches safely.
Are heat cables a good permanent solution to stop ice damming?
No, they are a temporary electrical bandage. Use them only as a last resort on problem spots, and always address the attic’s heat loss first for a real fix.
Your Winter Roof Action Plan
Stop ice dams at their source by keeping your attic space cold and well-ventilated. Get this right, and you protect your gutters, shingles, and home from top to bottom. Proper attic ventilation and insulation are essential to ice dam prevention. They reduce heat buildup that melts snow and refreezes at the eaves.
Owning a roof means embracing proactive, safe maintenance as a yearly habit. Continue building your knowledge with our practical All Types of Roof Guide, Care, and Maintenance insights gathered from real jobs.
Further Reading & Sources
- Preventing Roof Ice Dams
- Ice Dam Prevention: How Ice Dams Form And Ways To Stop Them
- How to Get Rid of Ice Dams: Prevention & Fast Fixes – This Old House
- Preventing Roof Ice Dams
Ray Huffington
Ray is an experienced roofer. He has worked as a general contractor in the roofing industry for over 15 years now. He has installed and repaired all kinds of roofs, from small houses to large mansion, and from basic shingles to cement and metal roofs and even solar roof panels. He has seen homeowners struggle with roofing questions and always has experience based proven advice to help those in need. If you need roof pros, Ray's your guide.