
Can You Really Fix Your Own Gutters? A Step-by-Step Guide
You’ve seen the water dripping where it shouldn’t, or maybe that section of gutter is pulling away from your house. Is fixing it a job you can handle, or is it time to call a pro? Let’s talk about what it takes to tackle common gutter problems yourself. Many homeowners can fix leaks, sagging, and separations with common tools and a little time. We’ll walk through the process step-by-step to help you decide if it’s right for you.
This guide will get you from problem to solution. You will learn how to patch a leak, re-secure a sagging section, and re-join a separation.
Key Takeaways: What You Need to Know Before You Start
Fixing your own gutters is possible, but you must respect the job.
- This is a ladder job. You will be working at height, and a fall can cause serious injury. Plan every move.
- A simple leak seal might take 30 minutes. Fixing a sagging section or a separation could take 1 to 2 hours once you are set up and safe.
- Do not climb up to look at the problem. Gather your ladder, gloves, and safety glasses first. Then assess the damage with your tools in hand.
There is a clear line between a DIY fix and a professional job. If the metal is more rust than gutter, or if the wood board it hangs from is soft and rotten, you need a pro. The same goes for very high or steep roofs where ladder work becomes dangerous.
Gutter Repair 101: Safety First, Tools Second, Fixes Third
On my crew, we had one rule before any gutter work: talk through the safety plan. This isn’t a suggestion. A slip from a ladder can change your life in an instant. We will get to the fixes, but only after we cover how to do them safely.
The Non-Negotiable Safety Gear
Your gear is not just equipment, it is your protection. Do not skip any of it.
- Use a sturdy extension ladder. Place it on firm, level ground. Follow the 4-to-1 rule: for every 4 feet of height, move the ladder base 1 foot away from the wall.
- A ladder stabilizer or stand-off is critical. It keeps the ladder from resting directly on the gutter, which can bend it, and gives you a more secure hold against the house.
- Wear heavy work gloves. The cut edges of metal gutters are sharp. Safety glasses stop sealant drips or old debris from falling into your eyes.
- Wear closed-toe shoes with a good grip. No sandals. No smooth-soled shoes.
When You Should NOT Try a DIY Gutter Repair
Knowing when to stop is a sign of a smart homeowner. Call a professional if:
- Your roof pitch is steeper than 6/12. That means the roof rises 6 inches for every 12 inches it runs. On a steep roof, your ladder can slide out from under you.
- The gutters are on a second story or higher, unless you have proper fall arrest training and equipment. The risk multiplies with height.
- You find significant rust-through. If you can poke a finger through the bottom of the gutter channel, it is time for a replacement section, not a patch.
- The wooden fascia board behind the gutter is soft, rotten, or pulling away. Your gutter is only as strong as what it is screwed into.
- Power lines run near or over your gutters. Never work within 10 feet of power lines.
Your Gutter Repair Toolkit
You do not need a truck full of tools. Gather these basics before you climb.
- Caulk gun and gutter sealant: Use 100% silicone or a high-quality polyurethane sealant. It stays flexible through freeze-thaw cycles.
- Drill/Driver: For tightening old screws or driving new ones. A cordless model is easiest.
- Hacksaw: To cut a new section of gutter or trim a downspout pipe neatly.
- Pop rivet tool or sheet metal screws: Rivets create a strong, waterproof seam. Short sheet metal screws with a washer can work for joining pieces.
- Wire brush: Scrub away all dirt, old sealant, and light rust from the area you are fixing. Sealant will not stick to a dirty surface.
- Garden hose: The final test. Run water through the gutter to check your work.
For a specific hole, a diy gutter repair kit with a metal patch and waterproof adhesive can be a perfect, simple solution. Think of it like a bandage made of aluminum.
Step 1: Diagnose the Problem – What’s Really Wrong?

Before you grab a tool, figure out what you’re fixing. Start from the ground. Use binoculars to scan the entire gutter line. Look for obvious dips, gaps, or stains. This gives you a plan before you ever climb.
When you get on the ladder, have someone hold it steady for you. Work in sections. Start by clearing out any leaves or gunk with a gloved hand. You can’t see a leak under a pile of wet sludge.
Is it a Leak?
Look for the evidence water leaves behind. Dark streaks or paint bubbles on the fascia board underneath the gutter are a dead giveaway. Rust spots on old steel gutters often mean a tiny hole.
The best test is simple: have a helper run a garden hose in the gutter while you watch from below. Start near a downspout and work upward. Most leaks aren’t in the middle of a section. They happen at the weak points.
Check every seam where two sections join. Look at the end caps, which are the closed-off sides. Inspect around old spike nails that might have worked loose and created a hole.
Is it Sagging or Pulling Away?
A gutter should have a gentle, consistent slope toward the downspout, about a quarter-inch drop for every ten feet. If a section looks like a hammock, that’s sagging.
Look directly at the fascia board. Are the gutter spikes (the long nails with ferrules) sticking out? Are the bracket hangers loose or missing? I see this all the time in the middle of a long span, where support is spaced too far apart.
Push up gently on the gutter bottom. If it moves easily, the fasteners have failed and the weight of water is pulling it down.
Is it a Separation?
This is when two gutter sections have come unglued at a seam. You’ll see a clear gap. Sometimes one end is hanging lower than the other.
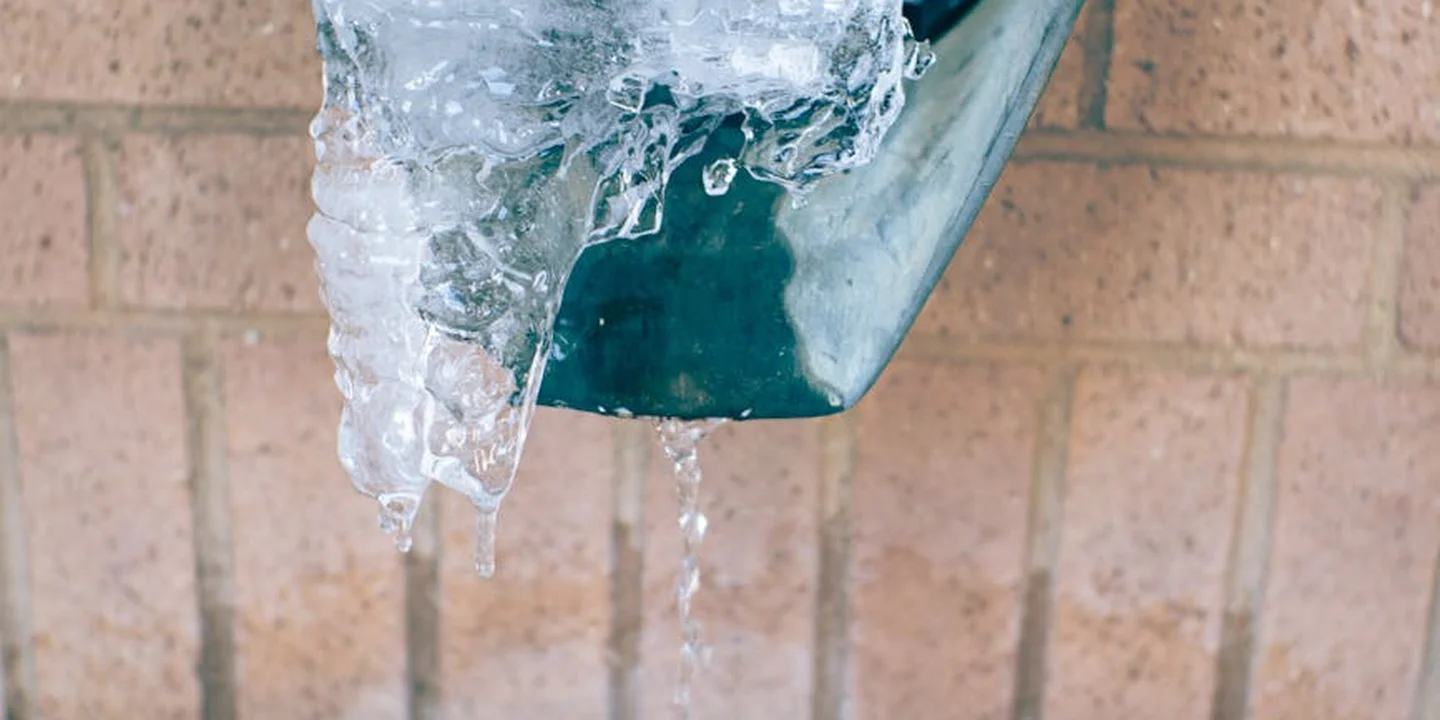
This is classic ice dam damage. Ice builds up, expands, and pushes sections apart. Heavy debris and old, brittle sealant are other culprits.
For a diy gutter repair terraced house, pay extra attention here. Long, continuous gutters on row houses expand and contract with the sun all day. If they’re secured too tightly, they’ll buckle and separate at the seams. Also, check the roof gutter overhang measurements during your review to ensure proper fit and drainage. Proper overhang helps prevent drainage issues and reduces strain on the joints.
Step 2: The Fix – Repairing Gutter Separations
A separated seam is one of the most common issues I get called for. The good news? It’s a straightforward repair you can do yourself in under an hour. Doing it right means it won’t come apart again next season.
Tools & Materials for This Job
Gather everything first. Working on a ladder is no time to go searching for a tool. You’ll need:
- A high-quality gutter sealant. Look for polyurethane or silicone specifically labeled for gutters.
- A pop rivet tool and aluminum rivets (3/16″ or 1/4″) OR stainless steel sheet metal screws with neoprene washers.
- A stiff wire brush.
- Rubbing alcohol and clean rags.
- Gloves and safety glasses.
Step-by-Step: Resealing a Split Seam
Pick a dry day. Sealant won’t stick to wet metal.
First, clean the joint. Scrub the inside of the female (outer) end and the outside of the male (inner) end with your wire brush. You need to remove all old sealant, dirt, and oxidation. Wipe it down with alcohol on a rag. This step is non-negotiable for a lasting bond.
Apply a thick, continuous bead of sealant inside the female end, about a half-inch back from the edge. Don’t be shy with it.
Push the male end back into the female end. Align the bottoms perfectly. You might need to gently flex the gutter to get it to slide in. Have a helper hold it in place.
Now, secure it. Here’s the pro’s choice: a pop rivet tool. It creates a smooth, tight connection that won’t snag debris. Drill a small hole through both layers of the seam, insert a rivet, and pull the tool handle until it snaps. Use two rivets, one near the top and one near the bottom of the gutter.
No rivet tool? Use two stainless steel screws with neoprene washers. They create a water-tight seal as they pinch the layers together. Drill a pilot hole first to avoid bending the metal.
Finally, run another bead of sealant over the rivet or screw heads and along the outside of the seam. Smooth it with a gloved finger. This waterproofs the entire repair.
Step 3: The Fix – Stopping Gutter Sag
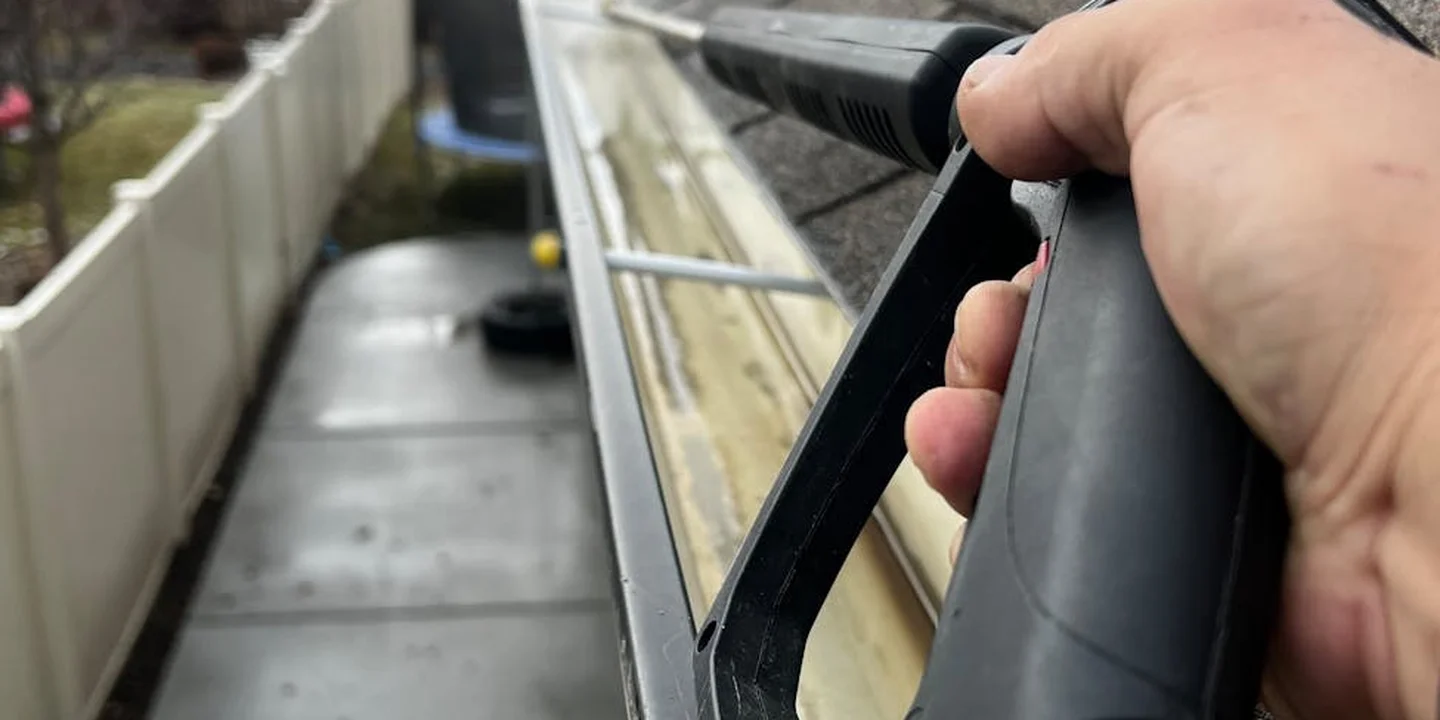
A sagging gutter is a broken promise to your house. It cannot do its job. Water sits in the low spot instead of flowing to the downspout. This standing water guarantees overflows, which then rot your fascia boards and can lead to costly foundation issues. I tell my crew to fix the slope first. Everything else is a waste of time if the water isn’t moving. Gutter replacement and mindful roof installation are essential for proper water management. Together they keep runoff away from the fascia and foundation.
Tools & Materials for This Job
You do not need fancy gear. Just these reliable items:
- New gutter hangers: Hidden bracket or strap style both work. I like hidden brackets for a cleaner finish.
- A cordless drill/driver.
- Long deck screws, at least 2.5 inches. You must hit solid wood.
- A 2-foot or 4-foot level. A longer one helps you see the full slope.
Step-by-Step: Restoring the Proper Slope
- Loosen the old spikes or hangers, but leave them in place for now. Back out the screws or tap the spikes partway out. They are still providing some support.
- Place your level on the gutter channel. You need a gentle slope toward the downspout. Aim for about 1/4 inch of drop for every 10 feet of gutter. Carefully lift the sagging section until your level shows this correct pitch.
- While holding the gutter level, install a new hanger right in the center of the sag. Drive a screw through it into the fascia board. Make sure it goes into solid wood, not just vinyl siding.
- Add more hangers for strength. Work out from the center, adding a new hanger every 2 feet. Swap out any old, wobbly hangers you find with new ones as you go. This creates a uniform support system.
- Now you can fully remove the old, ineffective spikes or screws. They will just work loose and cause problems later.
Step 4: The Fix – Patching Gutter Leaks
With a good slope, you can stop the drips. That starts with a quick gutter slope measure and adjustment for proper flow. Leaks usually happen at seams, end caps, or from rust holes. A proper patch is 90% preparation and 10% application. I have patched hundreds of these on old galvanized gutters. The method is always the same. Then adjust the flow to keep water away from seams and patches.
Tools & Materials for This Job
Get your materials ready on a dry day:
- A tube of waterproof gutter sealant. Buy a good brand that stays flexible.
- A stiff wire brush for cleaning.
- Rubbing alcohol and a clean rag.
- Flashing tape or a small sheet metal patch for bigger holes.
- A pair of sharp scissors.
If you look up a diy gutter repair patch reddit thread, many homeowners swear by specific aluminum flashing tapes. Those reinforced tapes can make a very strong, long lasting repair, especially compared to vinyl gutters.
Step-by-Step: Sealing a Leaky Seam or End Cap
- Clean the area until it shines. Scrub off all dirt, old caulk, and chalky residue with the wire brush. Then wipe it down thoroughly with rubbing alcohol. Sealant will fail on a dirty surface.
- Apply the sealant from the inside. Run a generous bead right into the gap of the leaking seam or around the end cap. Use a gloved finger to push the sealant deep into the crack and smooth it out neatly. This creates an interior dam.
- For extra insurance, you can run a second, thinner bead over the outside of the seam. Smooth this one flat with your finger so water sheets right over it.
Step-by-Step: Patching a Hole or Rust Spot
- Clean and dry the spot completely. Scrub the hole and an inch around it with your wire brush. Wipe with alcohol and let it air dry. No moisture can be present.
- For a pinhole (smaller than 1/4 inch), fill it completely with gutter sealant. Overfill it a little, then tool it smooth and flush with the gutter’s surface. It will cure into a rubbery, watertight plug.
- For a larger hole or a thin, rusty area, you need a physical patch. Cut a piece of flashing tape or metal larger than the damage. Apply sealant around the hole. Press the patch firmly into the sealant. Finally, seal over the entire patch, especially all the edges, to completely waterproof it. Let it cure fully before you run water through the gutter.
Step 5: Keeping Gutters Happy – Prevention and Maintenance
Think of everything we’ve fixed so far as treating symptoms. This step is about preventing the sickness. It is the most important repair you can do.
The #1 Rule: Clean Them Regularly
Clogged gutters cause every problem we have discussed. Water has to go somewhere, and it will find a way into your home.
Clean your gutters at least twice a year, in late spring and late fall. If you have pine trees or oaks hanging over your roof, plan for three or four cleanings. Your local conditions matter. Check debris buildup to tailor your cleaning frequency.
The method is simple. Wear gloves. Scoop out the muck by hand or with a small garden trowel. Once the big stuff is out, run a garden hose on full blast through the gutter. Watch the water shoot out the downspout. If it doesn’t, you have a clog deeper in the pipe that needs a plumber’s snake.
For folks in areas like Pittsburgh, Pennsylvania, that pre-winter cleaning is not optional. Clearing all debris prevents ice dams from forming at your roof’s edge, which can force water under your shingles. That also helps prevent dangerous icicles along the roofline. It makes it easier to remove icicles safely and protect your roof.
Annual Check-Ups You Can Do
Each spring, grab a coffee and take a slow walk around your house. Look up at your gutters. You are searching for small problems.
- Do you see a hanger pulling away from the fascia board?
- Is there a tiny gap at a seam where last year’s sealant cracked?
- Do you spot a single drip of water during a rainstorm?
These are five minute fixes. Tighten that loose screw. Apply a fresh bead of gutter sealant to that tiny gap. Catching these small issues during a casual walk saves you from a full weekend repair project later.
When Repair Isn’t Enough: Signs You Need New Gutters
Gutters don’t last forever. I have patched hundreds, but I have also told many homeowners when it’s time to stop patching. Repair is not always the right long term diy gutter repair solution. Overflow is a telltale sign that a longer-term fix is needed. If you’re dealing with frequent gutter overflow, it’s time to explore proper gutter solutions rather than patchwork repairs.
You should seriously consider a full replacement if you see:
- Multiple, large rust holes (not just one or two pinpricks).
- The entire gutter run sags like a hammock, even after you adjust the hangers.
- Peeling paint and rust stains cover long sections of the gutter.
- The seams leak every single year, no matter how well you seal them.
Constantly fighting a failing system wastes your time and money. Understanding the seamless vs sectional gutter pros and cons can help you choose the best option for your home. A new, seamless gutter system can be a smarter investment.
Making the Call: DIY or Professional Gutter Repair?
This is the real question after reading a guide. Be honest with yourself about your home, your skills, and your time.
You Can Probably DIY If…
- Your roof is a single story with a gentle slope you can safely work near.
- The problem is in one spot, like a single leaky end cap or a 4-foot sagging section.
- You own a sturdy ladder, have a helper to steady it, and feel confident working at height.
- The rest of the gutter system is solid, with no major rust or damage.
If this describes your situation, you have what it takes to handle the fixes we covered.
You Should Call a Pro If…
- Your roof is steep, two stories, or you simply hate being on a ladder. There is no shame in this.
- The leaks are everywhere, or the whole run of gutter is pulling off the house.
- You don’t have the time for the project or the tools, like a good cordless drill or sealant gun.
- For homeowners searching for diy gutter repairs near Mandurah WA, or anywhere with complex rooflines, a pro can manage tricky angles and match colors perfectly.
Your safety is more important than saving a few hundred dollars.
What a Professional Brings to the Job
When you hire a good gutter company, you are paying for more than labor. You are buying experience and peace of mind.
They work fast with a full crew. They have specialized ladders and lifts to work safely at any height. A seasoned pro will also check the fascia board and roof edge underneath your gutters for rot or damage that you might miss. They often guarantee their work with a warranty, so if a leak comes back, they fix it. That alone can be worth the cost.
Common Questions
Can I make a temporary gutter fix in the rain?
No. Never apply sealant to a wet surface-it won’t bond. Secure a separation with a clamp or screw to prevent more damage, then properly clean and seal it on a dry day. For a bad leak, divert water with a temporary downspout extension until you can make a permanent repair.
My terraced house has a long gutter run that keeps separating. What’s the real fix?
The issue is often improper expansion joints. Long runs need special slip joints or brackets that allow the metal to move with temperature changes. Resealing a rigid seam will just fail again; consult a pro to assess if your system needs these expansion points.
I’m near Pittsburgh. Is there a best time of year for gutter repairs?
Yes. Aim for late spring or early fall-dry, mild weather is ideal for sealant to cure. Knowing the roof cement sealant dry time helps you plan the curing window. It also helps you schedule inspections before colder weather. Crucially, complete any repairs before late fall to ensure your system is clear and secure before winter ice and snow load arrive, which is non-negotiable here.
Protect Your Roof by Mastering Gutter Care
From my years on crews, I learned that catching a minor gutter issue early is the best roof-care advice I can give. Fixing a small leak or straightening a sag yourself now prevents expensive water damage to your roof and walls later. It’s especially important for residential properties.
Being a proactive homeowner means making safety your first tool for any maintenance task. Keep building your knowledge on roof care for all types of roofs to make durable, smart decisions for your property.
Relevant Resources for Further Exploration
- Your Comprehensive Guide to Seamless Gutter Repair
- r/HomeImprovement on Reddit: Comprehensive Guide to Gutter Replacement?
- 5 DIY Gutter Repair Tips Anyone Can Do | Learn from the Pros
- The Ultimate Guide to Gutter Repair and Maintenance: Keep Your Gutters in Top Shape – Drury Bros. Roofing | Trusted Roofing Contractor in Pueblo, CO
- How To Repair a Gutter – This Old House
- Mastering Roof and Gutter Maintenance: A Homeowner’s Handbook | Spectra Gutter Systems
- Best Guide to Gutter Installation and Maintenance 2025
- Hey guys, I was just wondering if anyone knows some easy DIY fixes for minor gutter problems? Or do I always need to call in a pro for these kinds of issues? Thanks! – Quora
- Easy Gutter Fixes You Can DIY | Family Handyman
Ray Huffington
Ray is an experienced roofer. He has worked as a general contractor in the roofing industry for over 15 years now. He has installed and repaired all kinds of roofs, from small houses to large mansion, and from basic shingles to cement and metal roofs and even solar roof panels. He has seen homeowners struggle with roofing questions and always has experience based proven advice to help those in need. If you need roof pros, Ray's your guide.