
Direct Vent, B-Vent, or Chimney Vent: How Do You Choose for Your Gas Fireplace?
Struggling to decide between a direct vent, B-vent, or chimney vent for your new gas fireplace? Picking the wrong one can lead to drafts, poor heat, and even safety concerns. From my years on the job, I’ll cut through the confusion. This article covers how each system pulls in air and vents exhaust, the major differences in cost and installation, and which type works best for your home’s layout.
Key Takeaways: Your Quick Roof-Care Guide
All gas fireplace vents need a hole in your roof. The type of vent decides how that hole gets sealed.
The core difference is between a sealed system and an open system. A Direct Vent is a sealed, two-pipe system. It pulls air from outside and sends exhaust back outside. A B-Vent or Chimney Vent is an open system. It uses your indoor air for combustion and sends the exhaust up a single flue.
This difference changes your roof work. For a Direct Vent, you have two pipes to flash. Your main job is to seal the penetration perfectly. For a B-Vent or Chimney, you have one larger pipe. Your job gets more complex because you must integrate it with your existing roof structure, especially if you’re using an old masonry chimney.
Your vent choice forces a specific flashing method. You cannot use a universal flashing for all types. The vent’s size, shape, and heat output dictate the exact metal flashing kit and sealant you must use. Getting this detail wrong is the fastest way to a ceiling leak.
How Gas Fireplace Vents Interact with Your Roof Structure
Think of your roof as a continuous raincoat. A gas vent, no matter the type, requires you to cut a hole in that coat. This is not optional. All combustion exhaust must leave your home.
That penetration point is a critical junction where water wants to get in. A roof’s entire purpose is to shed water downward. A pipe sticking straight up is an obstacle. The flashing is the custom-made solution that wraps the pipe and directs water around it, back onto the shingles.
It’s easy to confuse these vents with attic vents. They are not the same. Your soffit and ridge vents manage attic temperature and moisture. A gas fireplace vent is a dedicated exhaust chute for dangerous combustion gases. They serve completely different jobs.
So, what are the main gas vent types for your roof? A Direct Vent is typically two concentric pipes (or two separate pipes side-by-side) exiting through a wall or roof. A B-Vent is a single, double-walled metal pipe that goes straight up. A Chimney Vent often uses a lined, existing masonry chimney or a large, prefabricated metal chimney system. Each one meets your roof at a different angle and size. These vents are part of your broader roof ventilation system, which helps control moisture and temperature in the attic. Choosing the right type and ensuring proper installation are key to effective roof ventilation.
The Roof Penetration: Your #1 Concern
Every roofer knows the golden rule: holes leak. A plumbing vent, a skylight, a chimney, a gas vent pipe. They are all top priorities during an inspection. Water follows gravity. It will find any gap in the flashing and seep into the roof deck and your attic.
To do this right, you need the right materials from the start. This is not a place for shortcuts. You need the manufacturer-approved flashing kit designed for your specific vent pipe diameter. You need high-temperature, flexible sealant. On most jobs, I also install a layer of ice and water shield underlayment around the penetration before the flashing goes on. This gives you a secondary seal if the primary flashing ever fails.
Why Flashing Here Fails First
This area gets more punishment than the surrounding shingles. The main culprit is heat. The metal vent pipe gets hot when the fireplace runs. Then it cools down. This constant expansion and contraction slowly works the pipe against the sealant and the flashing’s metal collar. Over years, it can crack the sealant or loosen the fit.
Weather attacks this spot from all sides. Wind can drive rain upward against the pipe. Snow and ice can melt and refreeze right at the base, creating an ice dam in a single spot. The sun’s UV rays constantly beat down on the plastic vent cap or metal top, making it brittle over time. This is why I always check these penetrations first on a maintenance call.
Direct Vent Systems: Sealed Combustion and Roof Flashing
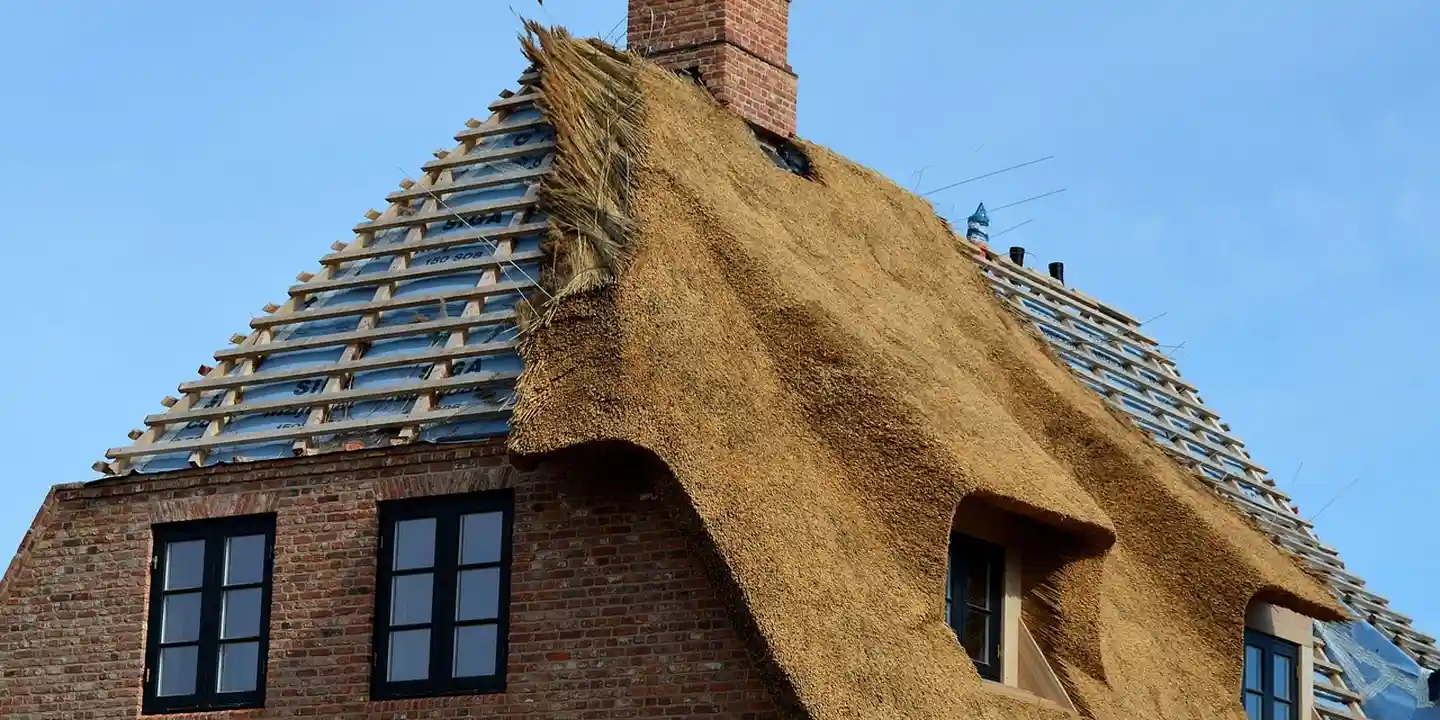
A direct vent is a two-in-one pipe system. The inner pipe exhausts fumes. The outer pipe pulls fresh air in from outside for combustion. Everything is sealed off from the air inside your home.
From a roof-care perspective, this design gives you one predictable, clean hole to flash, which dramatically lowers the risk of a future leak.
Direct Vent Roof Installation and Flashing
Flashing a direct vent is one of the cleaner jobs we do. The kit from the manufacturer includes a specific flashing collar that fits the pipe. You never want to substitute this part.
Here’s the basic process we follow on a shingle roof:
- We locate the exact spot from inside the attic and mark the center on the roof deck.
- We cut a round hole just big enough for the pipe assembly to pass through.
- We slide the manufacturer’s flashing collar up the pipe and set it over the hole.
- We weave the flashing’s base under the shingles above it and over the shingles below it.
- Finally, we apply a bead of high-temperature silicone caulk where the pipe meets the flashing collar.
The key is using only the parts designed for that specific pipe model to ensure a proper, watertight seal.
Efficiency and the Attic Connection
Because it brings in its own air, a direct vent doesn’t pull warm air from your living room or your attic. That keeps your heating bills lower and your insulation working as it should.
I like this system for modern, tightly sealed attics. It doesn’t change the attic’s moisture balance or pressure, so you avoid issues like pulling condensation into the insulation. It just passes through quietly and efficiently.
B-Vent (Type B) Systems: Natural Draft and Vertical Exits
A B-vent is a single, double-walled metal pipe. It works on a simple principle: hot exhaust air rises, creating a draft that pulls fumes out. It gets its combustion air directly from the room where the fireplace is installed.
You might hear different terms like “Type B,” “Type BH,” or “Class 2.” These are specifications for the pipe’s material and how much heat it can handle. Always match the pipe to your fireplace’s requirements.
B-Vent Roof Challenges: Clearances and Vertical Runs
B-vents get very hot. Code requires strict clearance-usually one or two inches-from any combustible material, like wood roof sheathing or attic framing.
This often means installing special metal shielding in the attic to protect the wood, which is an extra step you don’t have with direct vent.
They are almost always installed vertically, straight up through the roof. This creates a larger, more complex penetration than a direct vent.
Flashing a B-Vent Pipe
Flashing a B-vent pipe is a two-part sealing job. You can’t use a standard plumbing vent boot.
First, a large, flat metal flashing pan is slid under the shingles above the pipe. The pipe goes through a hole in its center. Then, a separate metal storm collar is fitted around the pipe and sits on top of the base flashing.
The critical seal is made with roof cement or high-temp caulk between the storm collar and the pipe, and between the collar and the base flashing. This two-layer approach handles the expansion, contraction, and heavy water flow around a chimney-like exit.
Chimney Vent (Type A) Systems: Masonry and Modern Liners
Think of a chimney vent system as a roof integration project. You’re tying a new gas appliance into an old, existing structure. This system uses either a traditional masonry chimney or a prefabricated “factory-built” metal chimney. Understanding how chimney system components function helps plan safe venting and reliable operation. Each component—flue, cap, flashing, joints, and supports—plays a crucial role in performance. Both present unique roof-care challenges.
Using an Existing Masonry Chimney
Connecting a gas fireplace to an old brick chimney seems simple. The path is already there. But from the roof up, it’s rarely a plug-and-play job. Your first step is a thorough inspection of chimney requirements for electric and gas fireplaces.
- Inspect the chimney crown. That’s the concrete slab on top. Look for cracks, chips, or erosion. A damaged crown lets water pour into the chimney chase, rotting the structure from the inside.
- Check the mortar joints between the bricks. Weather and time cause them to crumble. We call this spalling. This weakness can compromise the chimney’s stability.
- Ensure a proper gas liner is installed. You cannot just run the vent pipe up the old, wide-open flue. A correctly sized, insulated metal liner must be installed to contain exhaust and prevent condensation inside the masonry.
The chimney cap is your roof’s first line of defense for this system; a missing or damaged cap is an open door for water, birds, and squirrels. I’ve been on too many jobs where a simple, corroded cap caused thousands in attic water damage.
The Prefab Chimney (“Type A Vent”) Roof Exit
Modern prefab chimneys are like a thermos. They are an insulated, multi-wall pipe system-usually a stainless steel inner pipe, insulation, and a galvanized outer wall. They are a complete, listed system you install from the appliance up through the roof. Knowing chimney flue components materials helps gauge how they will perform in different settings. The specific materials—inner liner, insulation, and outer jacket—drive durability, heat resistance, and safety.
The roof exit is defined by its specific, large-diameter flashing. This isn’t a standard plumbing boot. It’s a custom-sized metal base that the pipe slides through, with a storm collar and roof sealant above it. The footprint is often 8 inches or more in diameter.
Compared to a B-vent, this roof penetration is significantly larger and requires more careful shingle integration to prevent leaks. You must cut a big hole and frame it properly. On a steep roof, flashing this correctly is a job for a pro who knows both roofing and chimney codes.
Side-by-Side Comparison: Roof Impact, Safety, and Cost
Choosing a vent type isn’t just about the fireplace. It’s about how it affects your house from the roof down. Here’s how they stack up from my experience on the job.
| Feature | Direct Vent | B-Vent | Chimney (Type A) |
|---|---|---|---|
| Roof Penetration | Small, concentric pipe (often 4-6″ total). | Single, medium pipe (5-8″ diameter). | Very large (8″+ diameter) or existing masonry structure. |
| Flashing Difficulty | Easiest. Uses a simple, all-in-one flashing boot. | Moderate. Standard pipe flashing, but clearances to combustibles are critical. | Most Complex. Custom large flashing or intricate masonry repair/integration. |
| Material Cost (Vent System) | Lower (shorter pipe runs, less material). | Moderate (requires more pipe, supports, roof cap). | Highest (liner kits or prefab systems are expensive). |
| Energy Efficiency | Best. Sealed combustion uses outside air, doesn’t pull heated air from house. | Poor. Uses warm indoor air for combustion and vents it outside. | Varies. Lined masonry is better than unlined, but still less efficient than direct vent. |
Roof Penetration and Flashing Difficulty
Every hole in a roof is a potential leak. My ranking for ease and reliability is clear.
Direct vent is the easiest and most contained. The hole is small, and the flashing is a one-piece unit that seals both pipes. I’ve installed these in an afternoon with high confidence.
B-vent is moderate. The pipe is hotter, so you must maintain strict clearance from roof framing. Getting the roof jack and storm collar sealed perfectly over the larger pipe takes a careful hand. On complex roofs, B-vent clearances become a puzzle that can dictate where the fireplace is placed in the home.
Chimney systems are the most complex. A prefab Type A vent requires a massive, perfectly framed hole. Masonry work depends entirely on the chimney’s existing condition. I’ve seen jobs where connecting to the old chimney tripled the project time due to needed repointing and a new crown.
Long-Term Roof Health and Maintenance
Your job isn’t done after installation. Each system demands specific roof-level attention.
Direct vent caps are low to the roof. In heavy snow country, they can get buried and plug. You need to keep the area clear. B-vent metal caps can rust over a decade or two, especially near the ocean. Check them during your annual roof inspection for corrosion.
Chimneys need the most vigilant care. That masonry crown and cap must be inspected every year, without fail. A single crack left unchecked will cause major damage. For prefab chimneys, check that the storm collar sealant hasn’t dried and cracked.
A common question I get is: “Do gas fireplace chimneys need to be cleaned?” The answer is yes, but not like a wood stove. You need a professional inspection to check for bird nests, leaves, or debris blocking the liner, but you won’t have creosote buildup. I recommend a level 1 inspection every other year to ensure the path is clear and the structure is sound.
Installing Your Vent: A Roofer’s Safety and Code Checklist
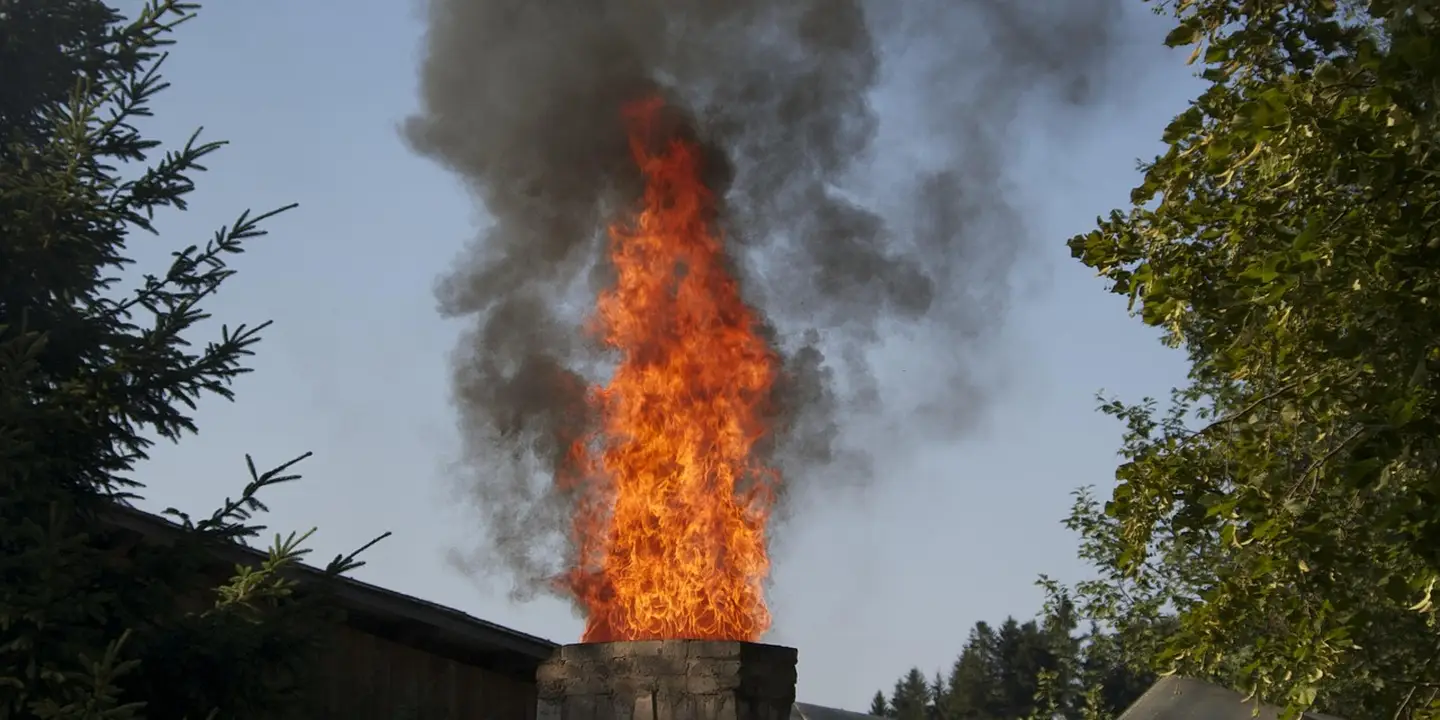
Choosing the right vent is half the job. Now, let’s get it on the roof correctly. I have seen too many leaks start at a poorly installed vent pipe. Make sure the cover and seal are tight to prevent leaks and roof damage. Ignoring this can turn a small issue into costly repairs. Follow these steps to protect your home.
Pre-Installation: Roof Inspection and Planning
Do not just go up and start cutting. What’s under your shingles matters most.
First, check the roof deck from inside your attic. Look for dark stains, soft spots, or existing water damage around where you plan to install the vent. If the decking is compromised, it must be replaced before you make a new hole.
Second, find the rafters. You must plan the vent path to go between them. Mark their locations from the attic, then transfer those marks up to the roof surface with a nail or chalk line. Drilling into a rafter weakens your roof structure.
A common question is about roof pitch.
Most gas vent manufacturers require a minimum roof pitch, often 2/12 or 3/12, to ensure the vertical cap clears the roof surface properly. A flatter roof might need a special extended mounting kit. Always check the installation manual for your specific vent model. The wrong pitch can trap exhaust gases or cause water to run back under the flashing.
The Critical Flashing and Sealing Process
This is where the real waterproofing happens. Skip a step here, and you are inviting a leak.
Follow this universal process:
- Install a section of ice and water shield underlayment under the entire penetration area. This self-sealing membrane is your primary backup defense against water infiltration.
- Use the flashing specified by the vent manufacturer. Do not try to make a generic flashing work. It needs to match the pipe diameter and roof pitch exactly.
- Seal the flashing-to-pipe connection with a UL-listed, high-temperature sealant designed for gas vents. Ordinary caulk will crack and fail from the heat.
- Never rely on sealant as your main water barrier. The roof shingles must overlap the top of the flashing correctly, and the flashing’s sides must tuck under the shingles above it.
Let’s clear up two frequent questions.
Roof vent flashings are the custom-fitted metal pieces that create a waterproof seal around the pipe where it passes through the roof. Think of it like a tailored collar for your vent pipe.
Yes, every gas fireplace vent needs a proper cap. The cap keeps rain, snow, leaves, and animals out of the pipe. A missing or damaged cap is a direct path for water into your home and can block exhaust flow.
Final Inspection and Attic Airflow Check
The job is not done when the last shingle is nailed down.
You must have the gas line and venting installation inspected by your local building department to meet code. This is for your safety. The inspector will check for proper clearances, secure connections, and correct drafting.
After the first heavy rain, go into your attic with a flashlight. Look for any signs of moisture or dripping around the new vent penetration. This is your final, real-world test.
Remember one last thing. While the fireplace vent exhausts combustion air, your attic still needs to breathe. Do not let the new vent pipe block your existing soffit or ridge vents. Proper attic airflow prevents moisture buildup and extends the life of your roof deck and shingles from the inside out.
Quick Answers
How should I inspect my gas vent when getting my roof replaced?
Tell your roofer to inspect the flashing, sealant, and vent cap for damage or corrosion. This is the time to replace any worn components with manufacturer-approved parts to ensure a perfect seal with the new roof.
Does my roof’s pitch or material limit which gas vent I can choose?
Yes, especially for B-Vents. Low slopes may not provide enough vertical clearance for the cap, risking downdrafts. On metal or tile roofs, you’ll need specialty flashing kits—always check the vent manufacturer’s specifications for your roof type before purchase.
Why is converting my old wood-burning chimney for a gas insert a major roof concern?
The main risk is hidden moisture damage. An old masonry chimney not built for cooler gas exhaust traps condensation inside, which freezes and thaws, accelerating spalling and crumbling mortar from the inside out, often invisible until the structure is compromised.
Your Roof’s Final Guard Against the Elements
Your choice in venting dictates how well your roof seals out weather. Always match the vent to your roof’s design and ensure a pro installs it with meticulous, code-compliant flashing.
You own the responsibility for routine checks where the vent meets the shingles. Keep learning about roof care; it’s the best way to spot small issues before they become costly, unsafe problems.
Further Reading & Sources
- Gas Fireplace Venting Explained | Heat & Glo
- 4 Types of Gas Fireplace Venting Options – G&B Energy
- A Guide to the Different Venting Options for Gas Fireplaces – Fireplaces, Outdoor Fire Pits, HVAC – L&M Service
- Types of Gas Fireplaces | Styles & Venting Explained | Regency
- Fireplace Venting: What Homeowners Need to Know
- What Are the Best Ways to Vent a Gas Fireplace? – Zoroast The Fireplace Store
- Gas Fireplace Ventilation: Proper Exhaust for Safe Indoor Use – The Torch Guys
- Venting – What Type Do You Need? | Heatilator
- 12 types of Gas Fireplaces you need to know
Ray Huffington
Ray is an experienced roofer. He has worked as a general contractor in the roofing industry for over 15 years now. He has installed and repaired all kinds of roofs, from small houses to large mansion, and from basic shingles to cement and metal roofs and even solar roof panels. He has seen homeowners struggle with roofing questions and always has experience based proven advice to help those in need. If you need roof pros, Ray's your guide.