
How Do You Maintain and Inspect a Zero-Clearance Fireplace Chimney?
Do you treat your zero-clearance fireplace like a traditional brick chimney? That common mistake can hide serious risks. I’ve repaired many where skipped care caused expensive damage or safety issues.
I’ll explain the specific cleaning and upkeep these factory-built systems need.
You’ll get my checklist for a thorough professional-level inspection.
We’ll review the safety requirements that are absolute must-follows.
What is a Zero-Clearance Fireplace Chimney and Why Does Roof Care Matter?
A zero-clearance fireplace is a factory-made unit, built in a box. The name comes from its ability to be installed with almost no space between its metal walls and your home’s wood framing. This is different from a heavy brick chimney that needs special footings.
Think of it like this: a traditional masonry chimney is a massive, permanent part of your house’s structure. A zero-clearance chimney is a lighter appliance that passes through your roof.
The firebox inside your living room is rarely the problem. The leak danger is almost always where the metal chimney pipe punches through your roof deck and shingles. That junction is your roof’s weak spot.
These systems use double-wall or triple-wall pipe. The inner pipe gets extremely hot, while the outer pipe stays cooler to protect your home’s structure. If this air gap gets compromised or the outer pipe rusts through at the roof line, you can get leaks, drafts, or even a fire hazard. Keeping the roof seal intact is non-negotiable.
The Anatomy of a Roof Penetration for a Zero-Clearance Chimney
From your roof deck upward, here’s what keeps you dry:
- Flashing: This is the custom-fitted metal sheet (usually aluminum or galvanized steel) that gets woven under the shingles above it and over the shingles below it. It forms the main water barrier.
- Storm Collar: A metal ring that clamps around the chimney pipe, sitting directly on top of the flashing. It deflects water running down the pipe away from the flashing hole.
- Chimney Cap: The metal “hat” on top. It keeps rain, animals, and debris out of the pipe.
- Pipe Sections: The insulated metal pipe itself, connected in sections that run from the fireplace up through the roof.
Imagine the flashing as a tall rubber boot and the chimney pipe as your leg. The boot is sealed to your leg (with the storm collar acting like a cinch) and integrated into your rain pants (the shingles) to keep water out.
This whole metal assembly is more vulnerable than brick. It expands and contracts with heat, relies on sealants that dry out, and can corrode over time.
Key Differences From a Traditional Masonry Chimney
- Material: Lightweight metal vs. heavy brick and mortar.
- Weight: Needs no special foundation, putting less stress on the roof structure.
- Clearance: Can be installed much closer to combustible materials, which is where its name comes from.
- Common Leaks: Leaks rarely come from the fireplace box. They come from failed sealant at the storm collar, cracked or loose flashing, or a damaged chimney cap.
You won’t get settlement cracks like in old mortar. Your main enemies are thermal movement breaking sealant bonds and weather slowly degrading the metal components.
The Homeowner’s Annual Maintenance Checklist: A Pro’s Priority List
Treat this like changing your smoke alarm batteries. Do it in the fall before you start your first fire and again in the spring after the heating season. This catches issues before they cause damage.
The most common question I get is, “How often should I clean my zero-clearance fireplace?” For wood-burning units, hire a certified chimney sweep for an interior inspection and cleaning every year, no exceptions. For gas units, a professional inspection every other year is a good rule, but still do your visual checks annually.
Let me be very clear: anything involving getting on the roof to inspect or repair the flashing, storm collar, or cap is a job for a qualified professional. Your checklist focuses on what you can safely see from inside your home and from the ground.
Interior Maintenance You Can Safely Do
With the fireplace completely cool, put on a headlamp and take a close look.
- Inspect the firebox interior lining for any cracks, holes, or signs of deterioration.
- Check the door gasket. It should seal tightly all the way around. Close a dollar bill in the door and try to pull it out; you should feel consistent resistance.
- Open and close the damper. It should operate smoothly without sticking.
For wood burners, understand creosote. It’s a flammable, tar-like buildup from burning wood, not just soot. If it’s more than 1/8-inch thick, it needs professional removal. That’s a major fire hazard.
For gas units, ensure the pilot light burns blue (not yellow) and look for any dust or spider webs near the burner or pilot assembly that could affect the flame.
Exterior Ground-Level Observations
Grab a pair of binoculars. From several angles on the ground, look up at your roof penetration.
First, look at the chimney cap. Can you see daylight through it, or is it clogged with leaves, twigs, or nesting material? Debris here restricts airflow and is a fire risk.
Next, scan the area where the flashing meets the roof and the chimney pipe. You’re looking for visible gaps, a missing storm collar, or dark rust streaks running down the pipe or shingles. Those rust stains are a telltale sign water is getting past the seal. For a step-by-step fix, consult our chimney flashing repair guide.
Finally, examine the color of the outer chimney pipe. Discoloration, bluish tinting, or visible warping are red flags. They mean the outer pipe is overheating, which points to a serious problem with the inner pipe or insulation. Call a pro immediately if you see this.
Step-by-Step Guide to a Professional-Level Inspection
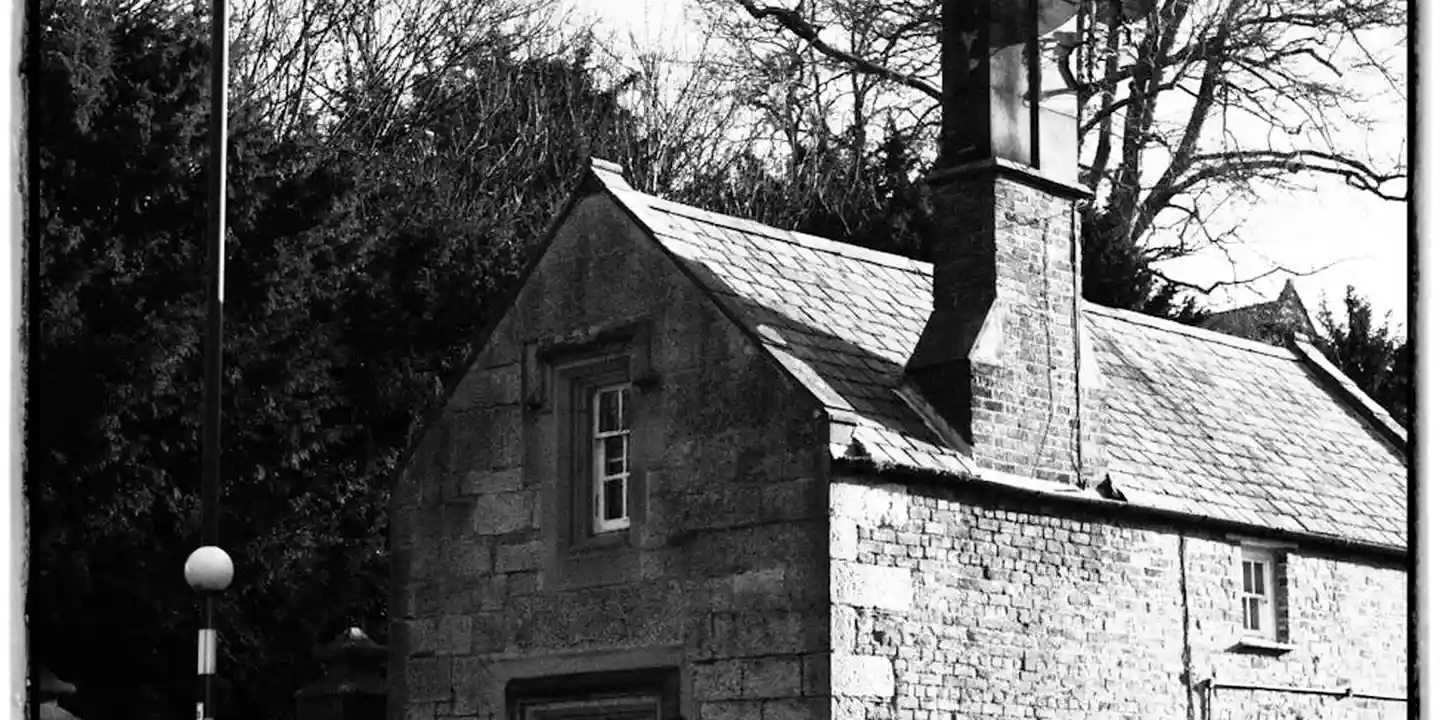
A good inspection follows a logical path from inside your house to the roof peak. When you hire a pro, you should know what they’re looking for. This lets you ask the right questions and understand their report. DIY checks can catch obvious issues from the ground, but a professional inspection climbs the roof and uses specialized tools. Understanding DIY vs professional inspection helps you choose the right path.
Any certified inspection should cover three zones: the interior fireplace, the attic space around the chimney chase, and finally, the roof penetration itself.
Inspecting the Attic Space Around the Chimney
This is where you often find the first evidence of a problem. Grab a strong flashlight and head up there. Your main job is to look for signs that water or heat is getting where it shouldn’t.
First, look at the wooden framing and insulation around the metal chimney chase (the pipe that goes through your house). Scan for dark water stains or streaks. Look for any signs of rust on the metal pipe itself, which indicates condensation or a slow leak. If you find any issues, diagnose and fix the leaky chimney promptly to prevent further damage.
Check for any thin lines of daylight sneaking in around the pipe where it passes through the roof deck; that’s a direct path for water and needs immediate sealing.
Next, check the insulation. Batts or blown-in insulation should never be touching the chimney pipe. There must be a clear air gap, usually two inches, all around it. Insulation that touches the pipe is a fire hazard and can overheat, damaging both the insulation and the pipe’s safety rating.
The Critical Roof-Top Inspection (Pro-Only Territory)
This part is not for homeowners. Climbing on a roof is dangerous, and assessing chimney components requires training. Here’s what a pro does up there so you know the job is thorough.
The technician will carefully examine four key things:
- Flashing Sealant: They check the bead of high-temperature roof cement or elastomeric sealant where the flashing meets the pipe and the shingles. They look for cracks, brittleness, or gaps.
- Storm Collar: This metal cone fits tightly around the pipe just above the flashing. They ensure it’s secure, not bent, and sealed properly with a heat-resistant sealant.
- Chimney Cap: They verify the cap is firmly attached, its mesh screen is not clogged with debris, and it shows no major rust or damage.
- Pipe Seams & Corrosion: They look for rust spots, especially at the seams where pipe sections join. Heavy rust can weaken the pipe.
A true pro doesn’t just look; they also test the system’s function by checking the draft and may use a specialized camera to inspect the interior liner for cracks or creosote buildup you can’t see from the top or bottom.
Why the Flashing is Your First Line of Defense
Think of your roof as a raincoat. The flashing is the sealed seam where the sleeve (chimney pipe) comes through. Its only job is to direct water away from that hole.
On a shingle roof, this is usually done with “step flashing.” These are L-shaped metal pieces woven under each course of shingles as they go up the side of the chimney. On a metal roof, it’s often a custom-made flat flange that gets sealed underneath the standing seams. In over 20 years, I’ve seen failed sealant at the flashing cause more leaks around chimneys than any other single issue. When that sealant dries out and cracks, water runs right behind it and into your attic—no matter how waterproof you tried to make it.
Addressing the Critical Junctions: Flashing, Caps, and Leak Prevention
All roof-care for a zero-clearance chimney centers on the spot where it punches through your roof. This junction is the constant battleground against weather. A common question comes up here: Can you use a zero-clearance fireplace without a cap?
The answer is absolutely not. A missing cap is an open invitation for trouble. Rain pours directly into the flue, causing interior rust and mold. Birds and rodents get in and build nests, creating blockages and fire hazards. Perhaps worst of all, wind can cause downdrafts, blowing smoke and dangerous carbon monoxide back into your home.
Understanding and Maintaining the Flashing System
Flashing isn’t one-size-fits-all. The type depends on your roof. For standard asphalt shingles, step flashing is the standard. Each piece is tucked under a shingle and over the one below, creating a stair-step pattern that sheds water down the roof. For a metal panel roof, a roofer will typically fabricate a flat, wide flange that the metal roof panels overlap. Proper flashing installation is crucial to prevent leaks and damage.
Proper repair is not a simple patch job; it involves carefully lifting and securing the surrounding shingles, removing all old, failed sealant, and installing new flashing or sealant with a precise, watertight overlap. One wrong move can damage surrounding shingles and create a new leak. This is skilled work best left to a roofing professional who understands the specific requirements for high-temperature applications.
The Role of the Chimney Cap and Storm Collar
These two parts work as a team right at the roof line. The chimney cap sits on top of the pipe. Its job is to keep rain, snow, and animals out while allowing smoke to exit. The storm collar is a separate piece placed a few inches below it, around the pipe itself.
Here’s how they work together: The storm collar is sealed to the pipe. When rain runs down the chimney pipe, the collar deflects that water outward, away from the vulnerable seam where the pipe meets the flashing underneath. The cap above handles the direct deluge from the sky. A damaged or missing cap doesn’t just risk a leak; it often voids the appliance manufacturer’s warranty and violates building codes designed for your safety. During your annual inspection, ensuring these two components are intact is a top priority.
Safety Protocols, Hazards, and When You Must Call a Professional
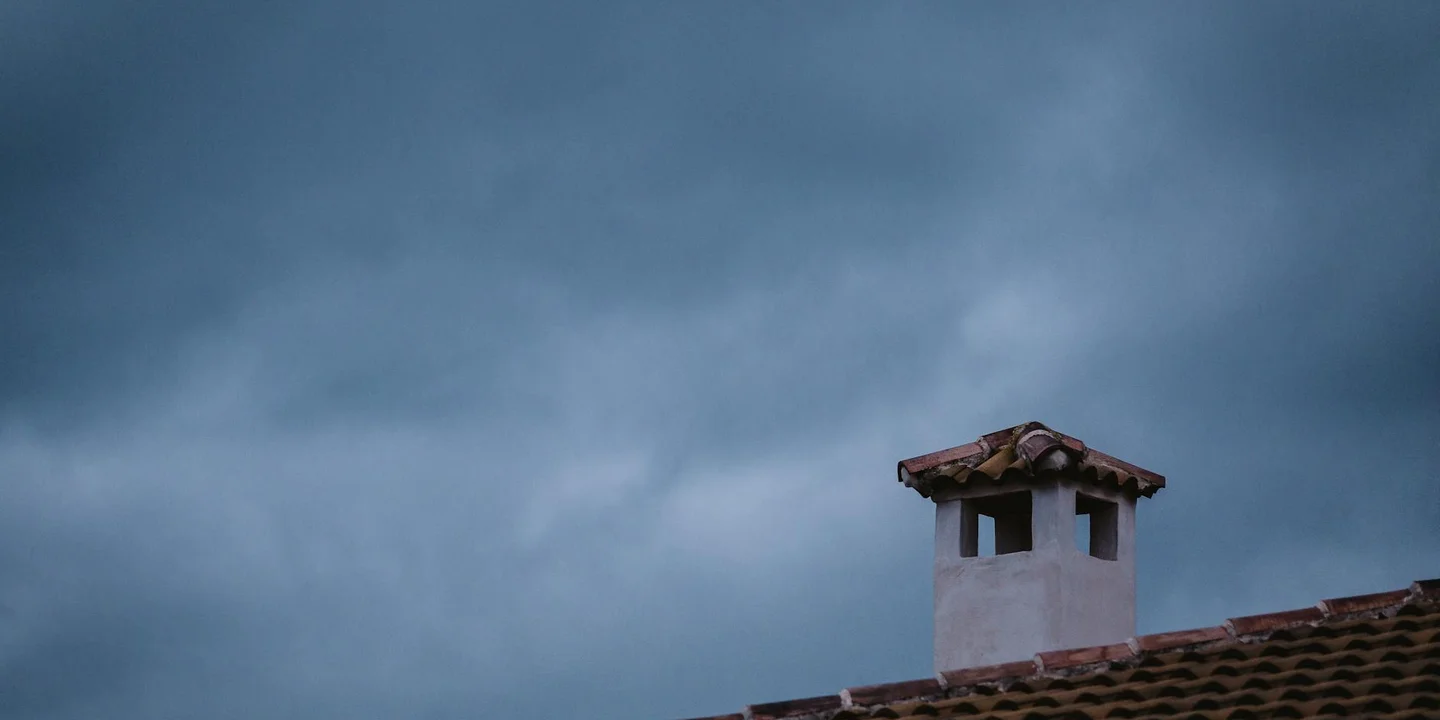
Let me be perfectly clear. Any work on your roof, especially around a chimney, is a job for a professional.
This is not a do-it-yourself project. The combination of working at height on a potentially steep surface and the technical precision required for a safe, watertight seal around a metal chimney creates too much risk.
A qualified crew doesn’t just climb up there. They use a full fall arrest system anchored to the roof structure. This includes safety harnesses, durable ropes, and secure anchors. They also use roof jacks and planks to create a stable, temporary work platform. This gear isn’t optional; it’s what separates a safe job from a tragic accident.
Beyond the fall risk, pros are trained to handle other dangers. They know how to navigate a steep roof pitch safely. They understand how to work cautiously near power service lines. They also know how to handle hot metal chimney components after the fireplace has been used, preventing burns.
Red Flags That Demand Immediate Professional Attention
Your fireplace and chimney will give you warning signs. Do not ignore them. Here are the red flags that mean you need to pick up the phone right now:
- Finding water inside the firebox or on the hearth after a rain.
- A persistent smoky smell in the room, even when the fireplace isn’t lit.
- Visible rust, dents, or holes in the metal chimney pipe you can see from the ground.
- Discolored or scorched wallboard, siding, or roofing materials near the chimney.
Is a zero-clearance fireplace safe? Absolutely, but only when it’s properly installed and meticulously maintained. Treating these red flags as urgent is a core part of that maintenance. They indicate potential failures in the critical air gap, the liner, or the flashing that keep your home safe from fire and water.
Choosing the Right Professional: Sweep vs. Roofer
Knowing which professional to call saves time and money. Their skills address different parts of the system.
Call a certified chimney sweep for issues related to the interior function. This includes cleaning creosote from the flue liner, checking the damper operation, and diagnosing draft or smoke issues inside the home. They focus on the health of the firebox and the venting path.
Call a licensed roofing contractor for issues related to the roof penetration. This includes inspecting and repairing the flashing, sealing the external chimney collar, and addressing any rot or water damage to the roof deck surrounding the chimney. We focus on the weathertight seal between the chimney and the roof.
For the most complete assessment, consider a combined inspection. I’ve coordinated with sweeps on many jobs. Having both experts look at the system gives you the full picture, from the firebox to the roof cap.
Navigating Building Codes, Warranties, and Sustainable Long-Term Care
Safety isn’t just about maintenance. It’s also about compliance. Local building codes exist for a reason, and they are not suggestions. Your homeowner’s insurance policy depends on your system meeting these standards.
The two biggest code points for zero-clearance chimneys are clearance to combustibles and venting height above the roof ridge. These height requirements are defined by the chimney height above the roof peak standards and codes and vary by jurisdiction. The factory-built chase must maintain specific air spaces from wood framing. The chimney top must extend high enough above the roof peak to ensure proper draft and prevent wind-driven downdrafts. Your local inspector will check these during any permitted work.
Manufacturer Warranties and Why Installation Records Matter
That warranty on your fireplace and chimney is only as good as the paperwork behind it. Most manufacturers require two things to keep the warranty valid: annual professional inspection and proof that the unit was installed exactly to their specifications and local code.
This is why you must keep your installation manual and receipt. If a roofer like me finds improper flashing installed by the previous homeowner, we have to fix it. That repair, while necessary for safety, can instantly void the original manufacturer’s warranty because the system was modified. A proper, code-compliant installation from the start protects your investment and makes it easier to determine the roof’s age and condition.
Best Practices for Extending the Life of Your System
Good habits prevent big problems. Start with what you burn. Only use approved, seasoned fuels like dry, split hardwood. Never burn treated wood, painted lumber, trash, or excessive amounts of paper. What should you burn in your zero-clearance fireplace? Seasoned hardwood is the best choice; it burns hotter and cleaner, producing far less creosote than softwoods or improper materials. Less creosote means a lower risk of chimney fires and less corrosive buildup in the liner.
Plan ahead for roof work. If you are getting a new roof, this is a prime opportunity to upgrade the protection around your chimney. Ask your roofer to install a self-adhering water-resistant barrier (often called ice and water shield) under the new flashing. This creates a secondary, seamless layer of defense against water intrusion, a trick I use on every chimney penetration to ensure it lasts for decades.
Common Questions
What’s the first thing I should do if I see rust on the chimney pipe from the ground?
Stop using the fireplace immediately. Call a certified chimney sweep and a licensed roofer to inspect; external rust signals a breach in the critical air gap or a failing pipe that needs professional assessment.
Can I use roof sealant from a store to patch a leak myself?
No. Standard sealants can’t handle the extreme heat and will fail quickly. This is a job for a roofer who will use high-temperature sealants and properly integrate new flashing with your shingles.
I found creosote during my interior check. What now?
Schedule a professional cleaning immediately if the glaze is thicker than 1/8 inch. Do not use the fireplace again until a certified sweep removes this significant fire hazard.
Your Roof’s Safety Hinges on This Habit
Make a professional, annual inspection of your zero-clearance chimney as routine as checking your smoke alarms. I consider this the single most effective roof-care step you can take for long-term safety and peace of mind.
Owning a home means committing to this vigilant, safety-first approach to maintenance. Keep building your knowledge on all types of roof care to make informed decisions that protect everyone under your roof.
Relevant Resources for Further Exploration
- ZERO CLEARANCE
- What’s a Zero Clearance Fireplace? | Vertical Chimney Care
- Factory-built fireplace inspection procedures
- A Guide To Zero Clearance Fireplaces
- Level 1 Inspection of a masonry chimney
- What Is A Zero Clearance Fireplace – Boggs Inspection Services
- Zero Clearance Fireplaces Our clients often ask us about adding a
- InterNACHI How to Inspect Fireplaces, Stoves, and Chimneys Course
Ray Huffington
Ray is an experienced roofer. He has worked as a general contractor in the roofing industry for over 15 years now. He has installed and repaired all kinds of roofs, from small houses to large mansion, and from basic shingles to cement and metal roofs and even solar roof panels. He has seen homeowners struggle with roofing questions and always has experience based proven advice to help those in need. If you need roof pros, Ray's your guide.